Fluix Admin Portal is the main hub for Fluix admins. There, they can perform all sorts of account-related tasks, such as creating and managing document- and task-based workflows, tracking users, documents, workflows, tasks, and activity, and making any changes to settings.
Fluix Admin Portal has the following sections:
Dashboard
Workflow Setup
Progress & Results
Settings
Admin/User Mode toggle button
Workflow/Taskstream Switch
Account
Let’s have a quick look at each of them.
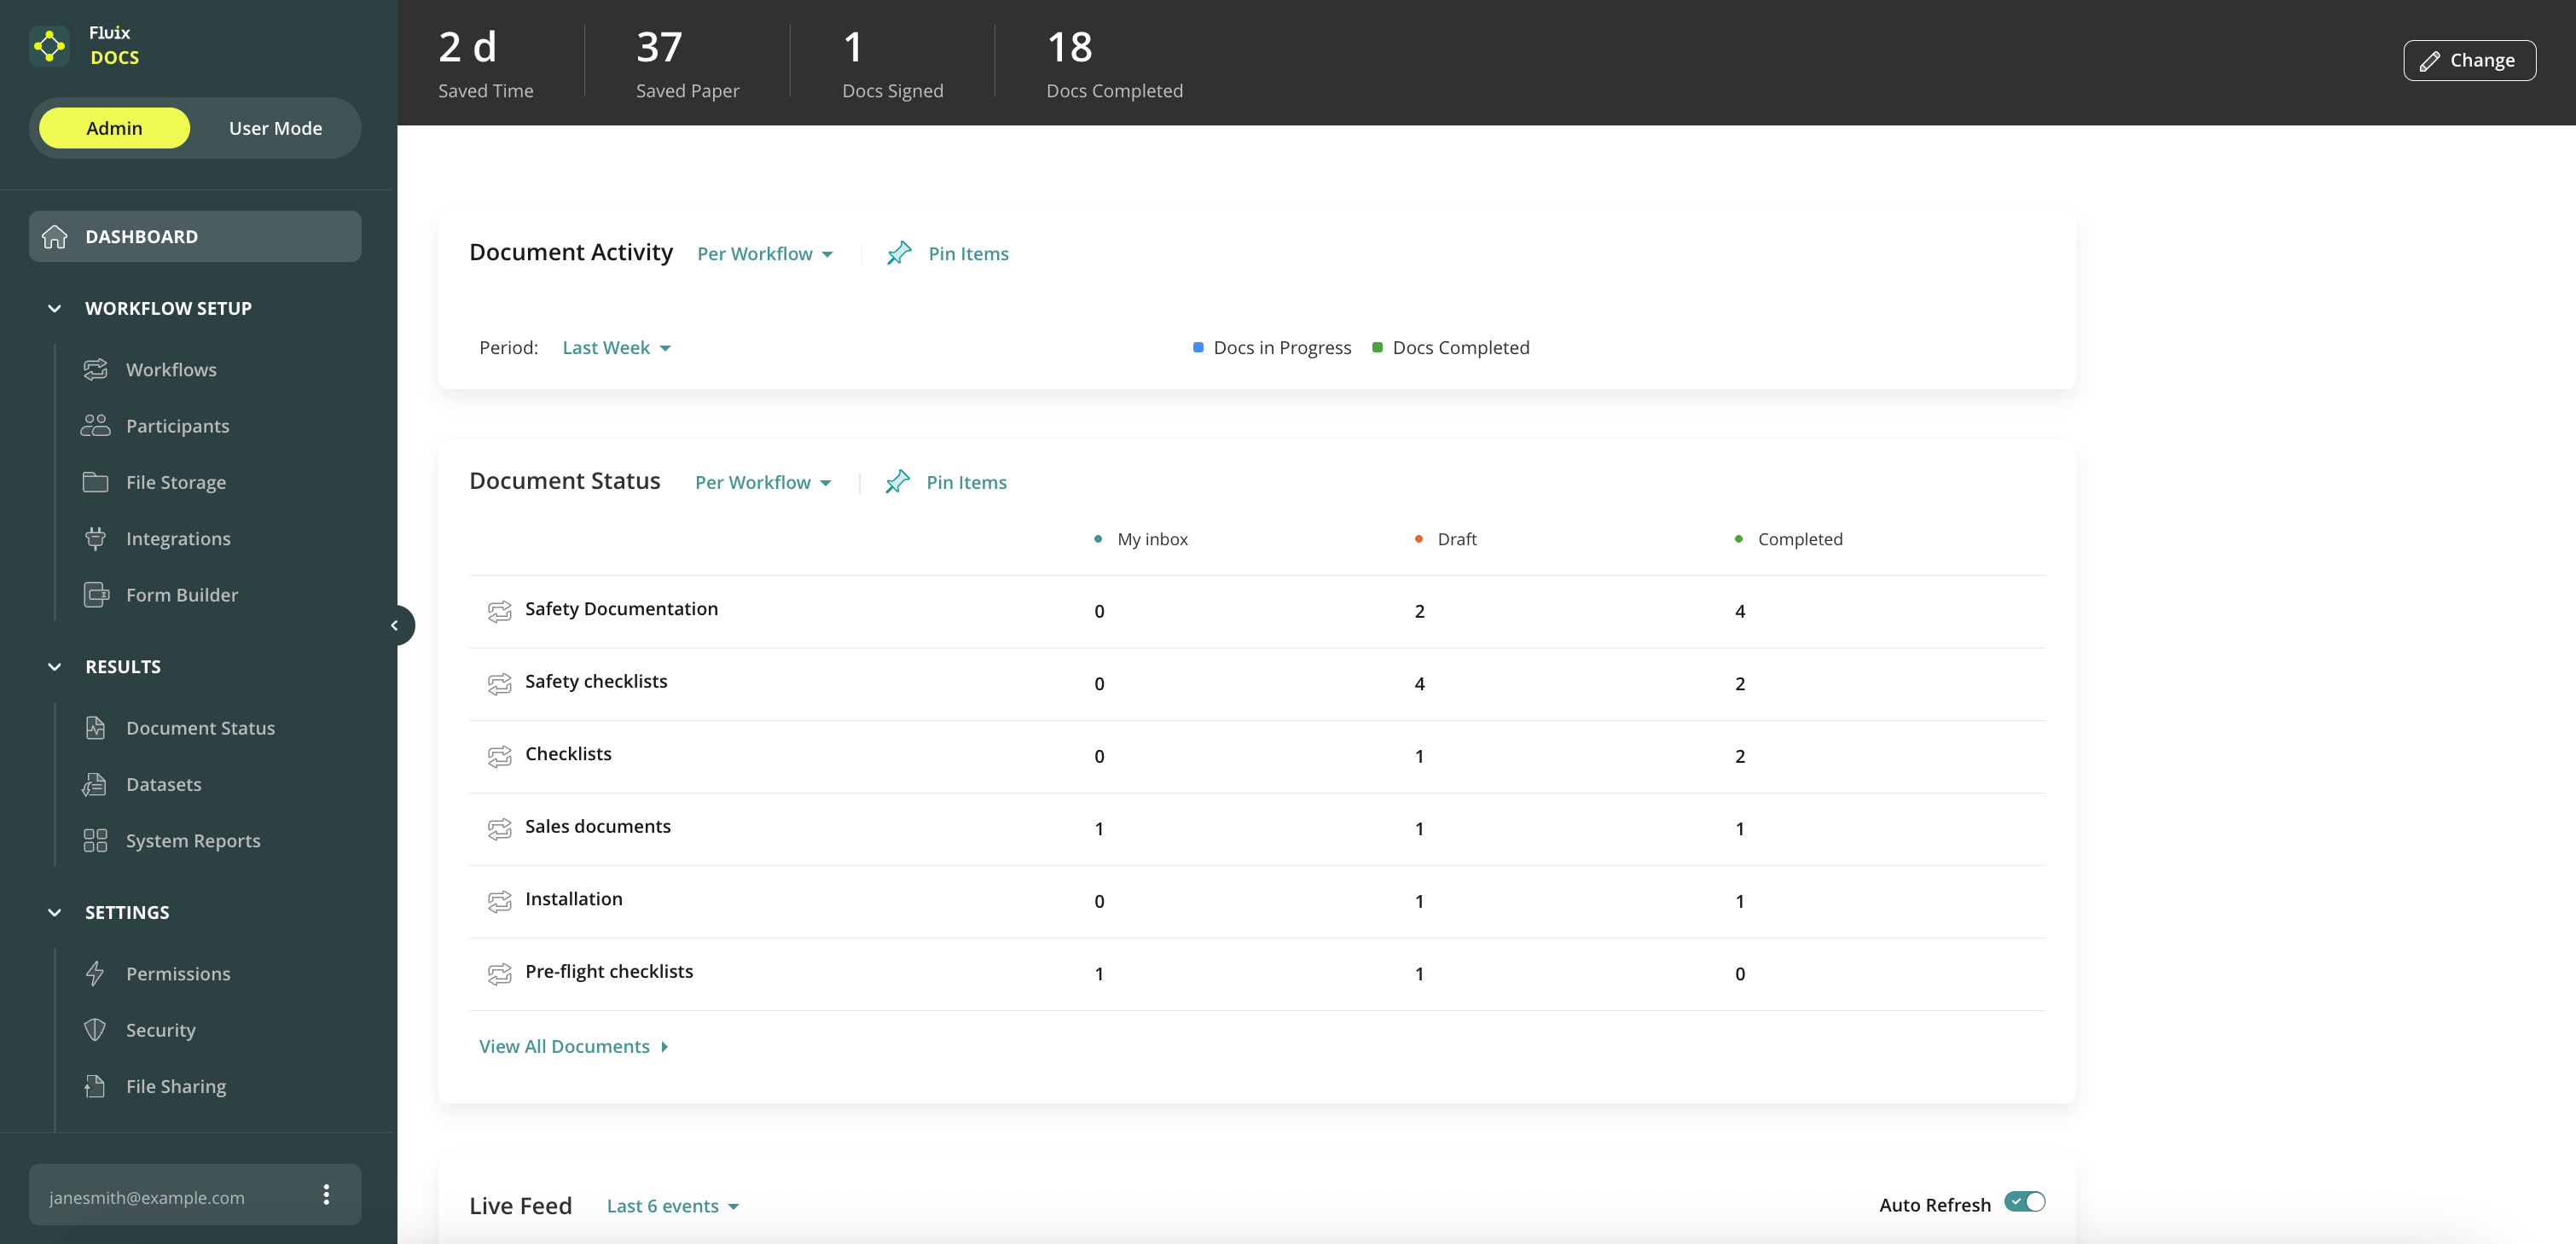
Dashboard
From here, you can get a snapshot of company activities such as the last documents your team worked on, alerts and news, the live feed of events within your account, a report on the versions of iOS and Fluix apps your users are using, and even more widgets and reports:
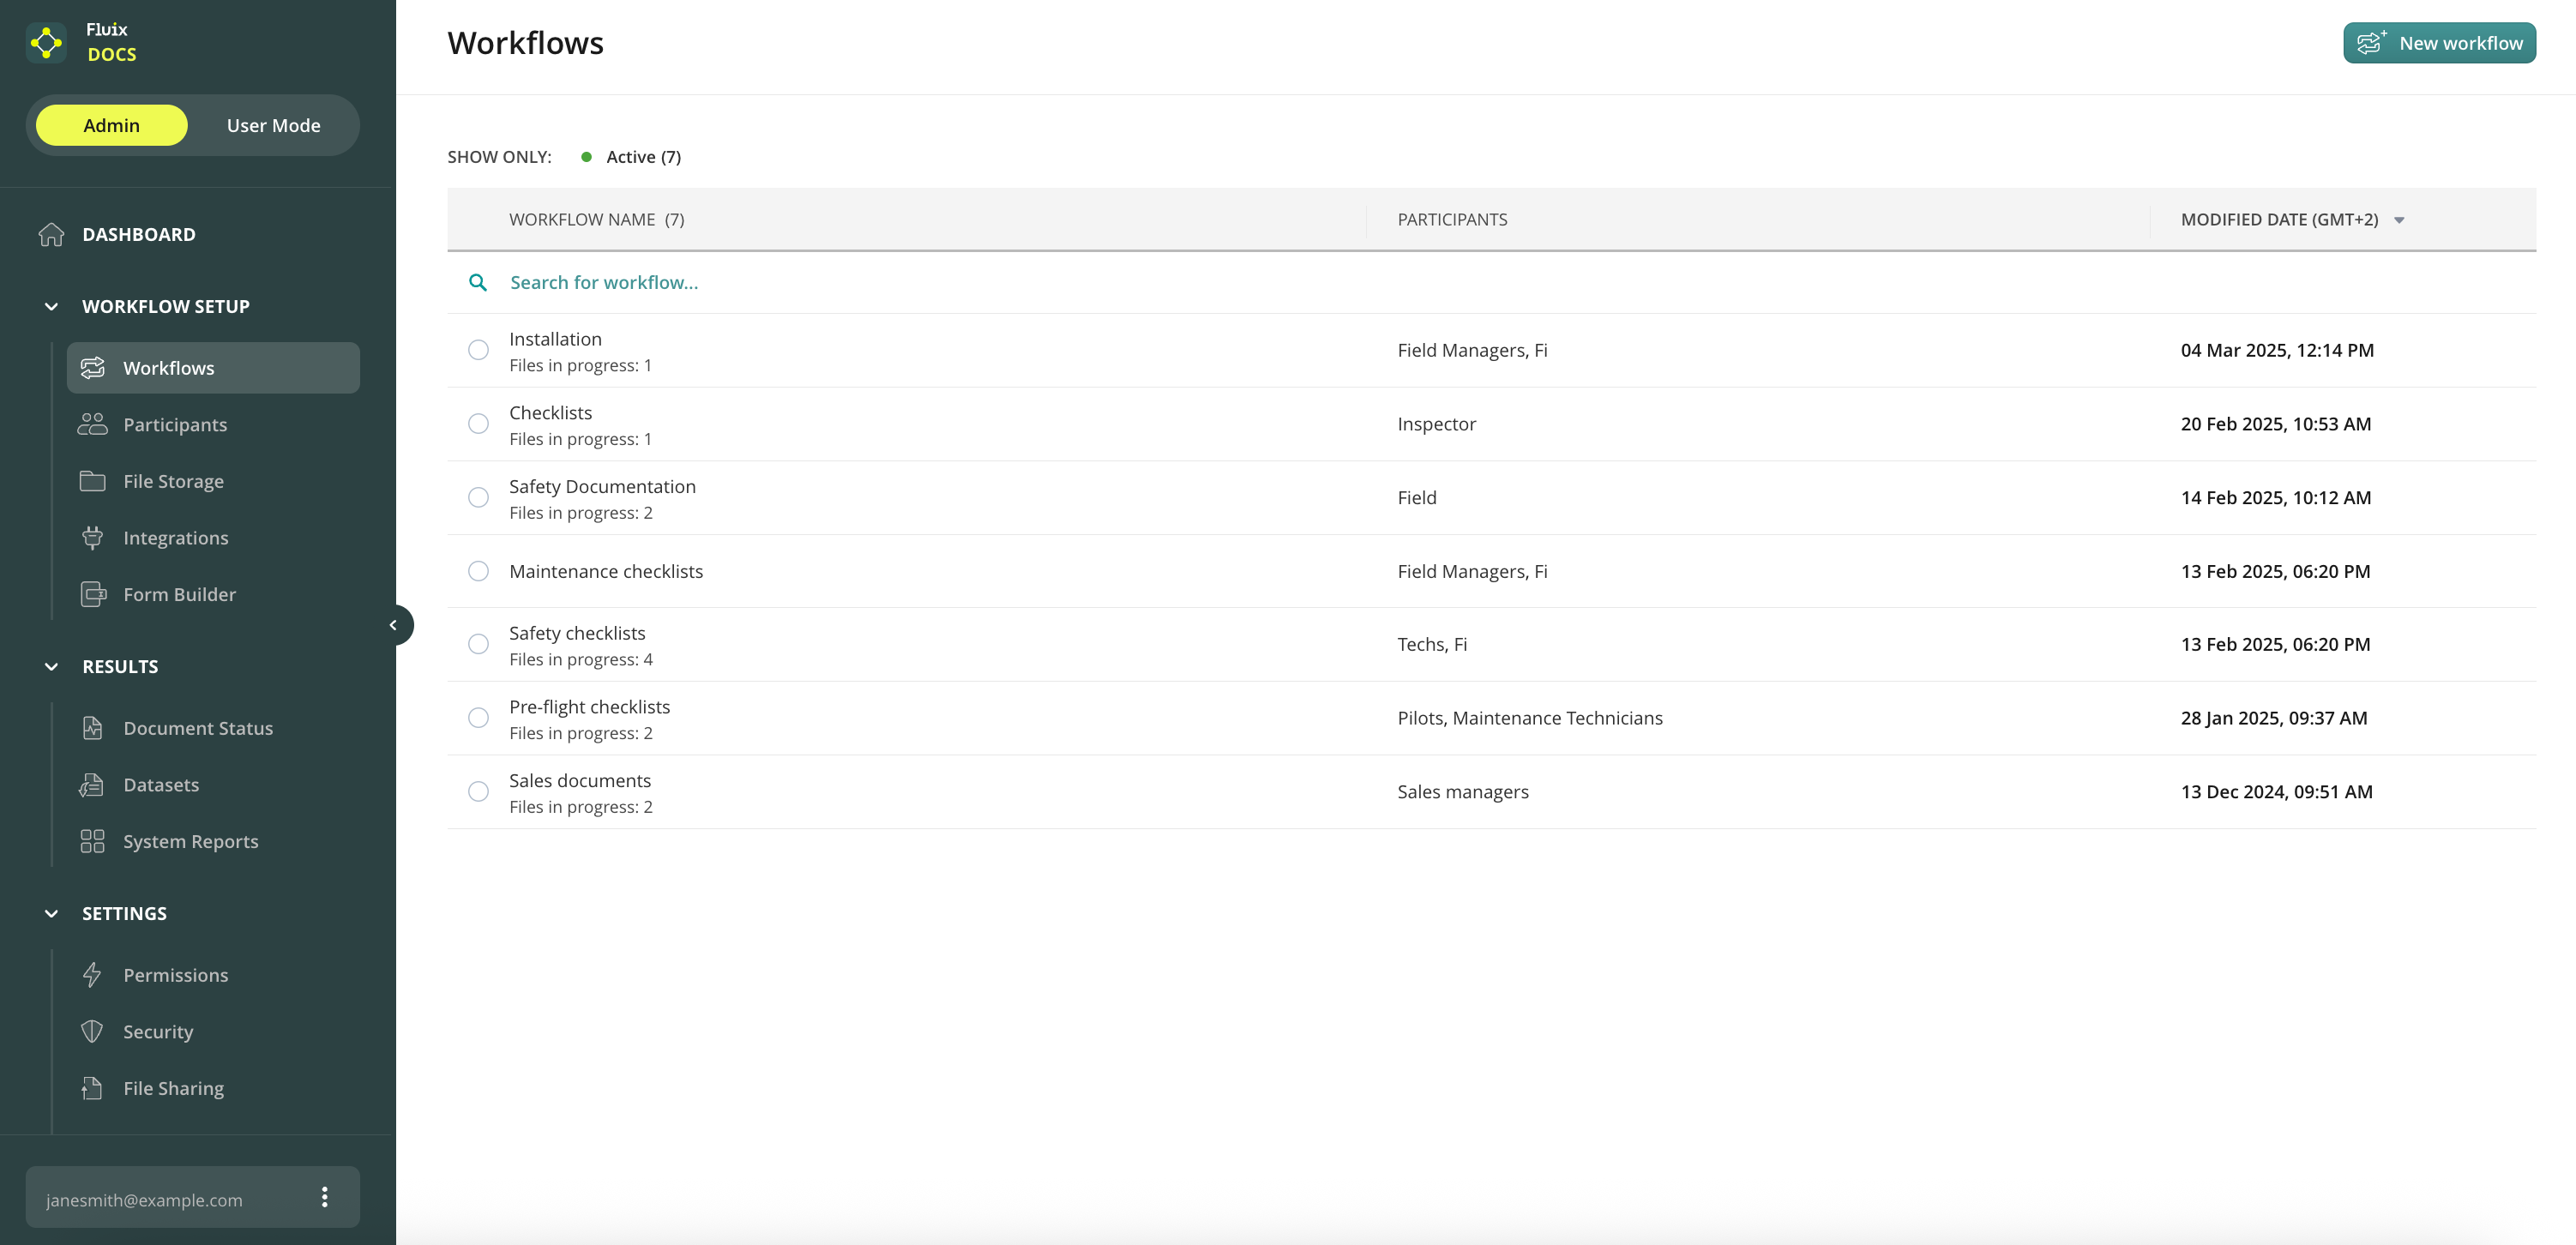
Workflow Setup
This is the main section you will work with. From here, you can access:
Workflows — the section where you set up flows for your company documents.
Participants consist of users and groups.
Users — manage the list of team members in your Fluix account here.
Groups — you can organize users into Groups and use them as participants in the workflow.
File Storage — built-in cloud storage, which you can use for your company documents.
Integrations — here you can connect your company storage to Fluix, and then use it in workflows.
Form Builder — in this tab, you can recreate your paper-based documents – contacts, checklists, agreements, etc. – as fillable forms and use them for automated data collection.
Results
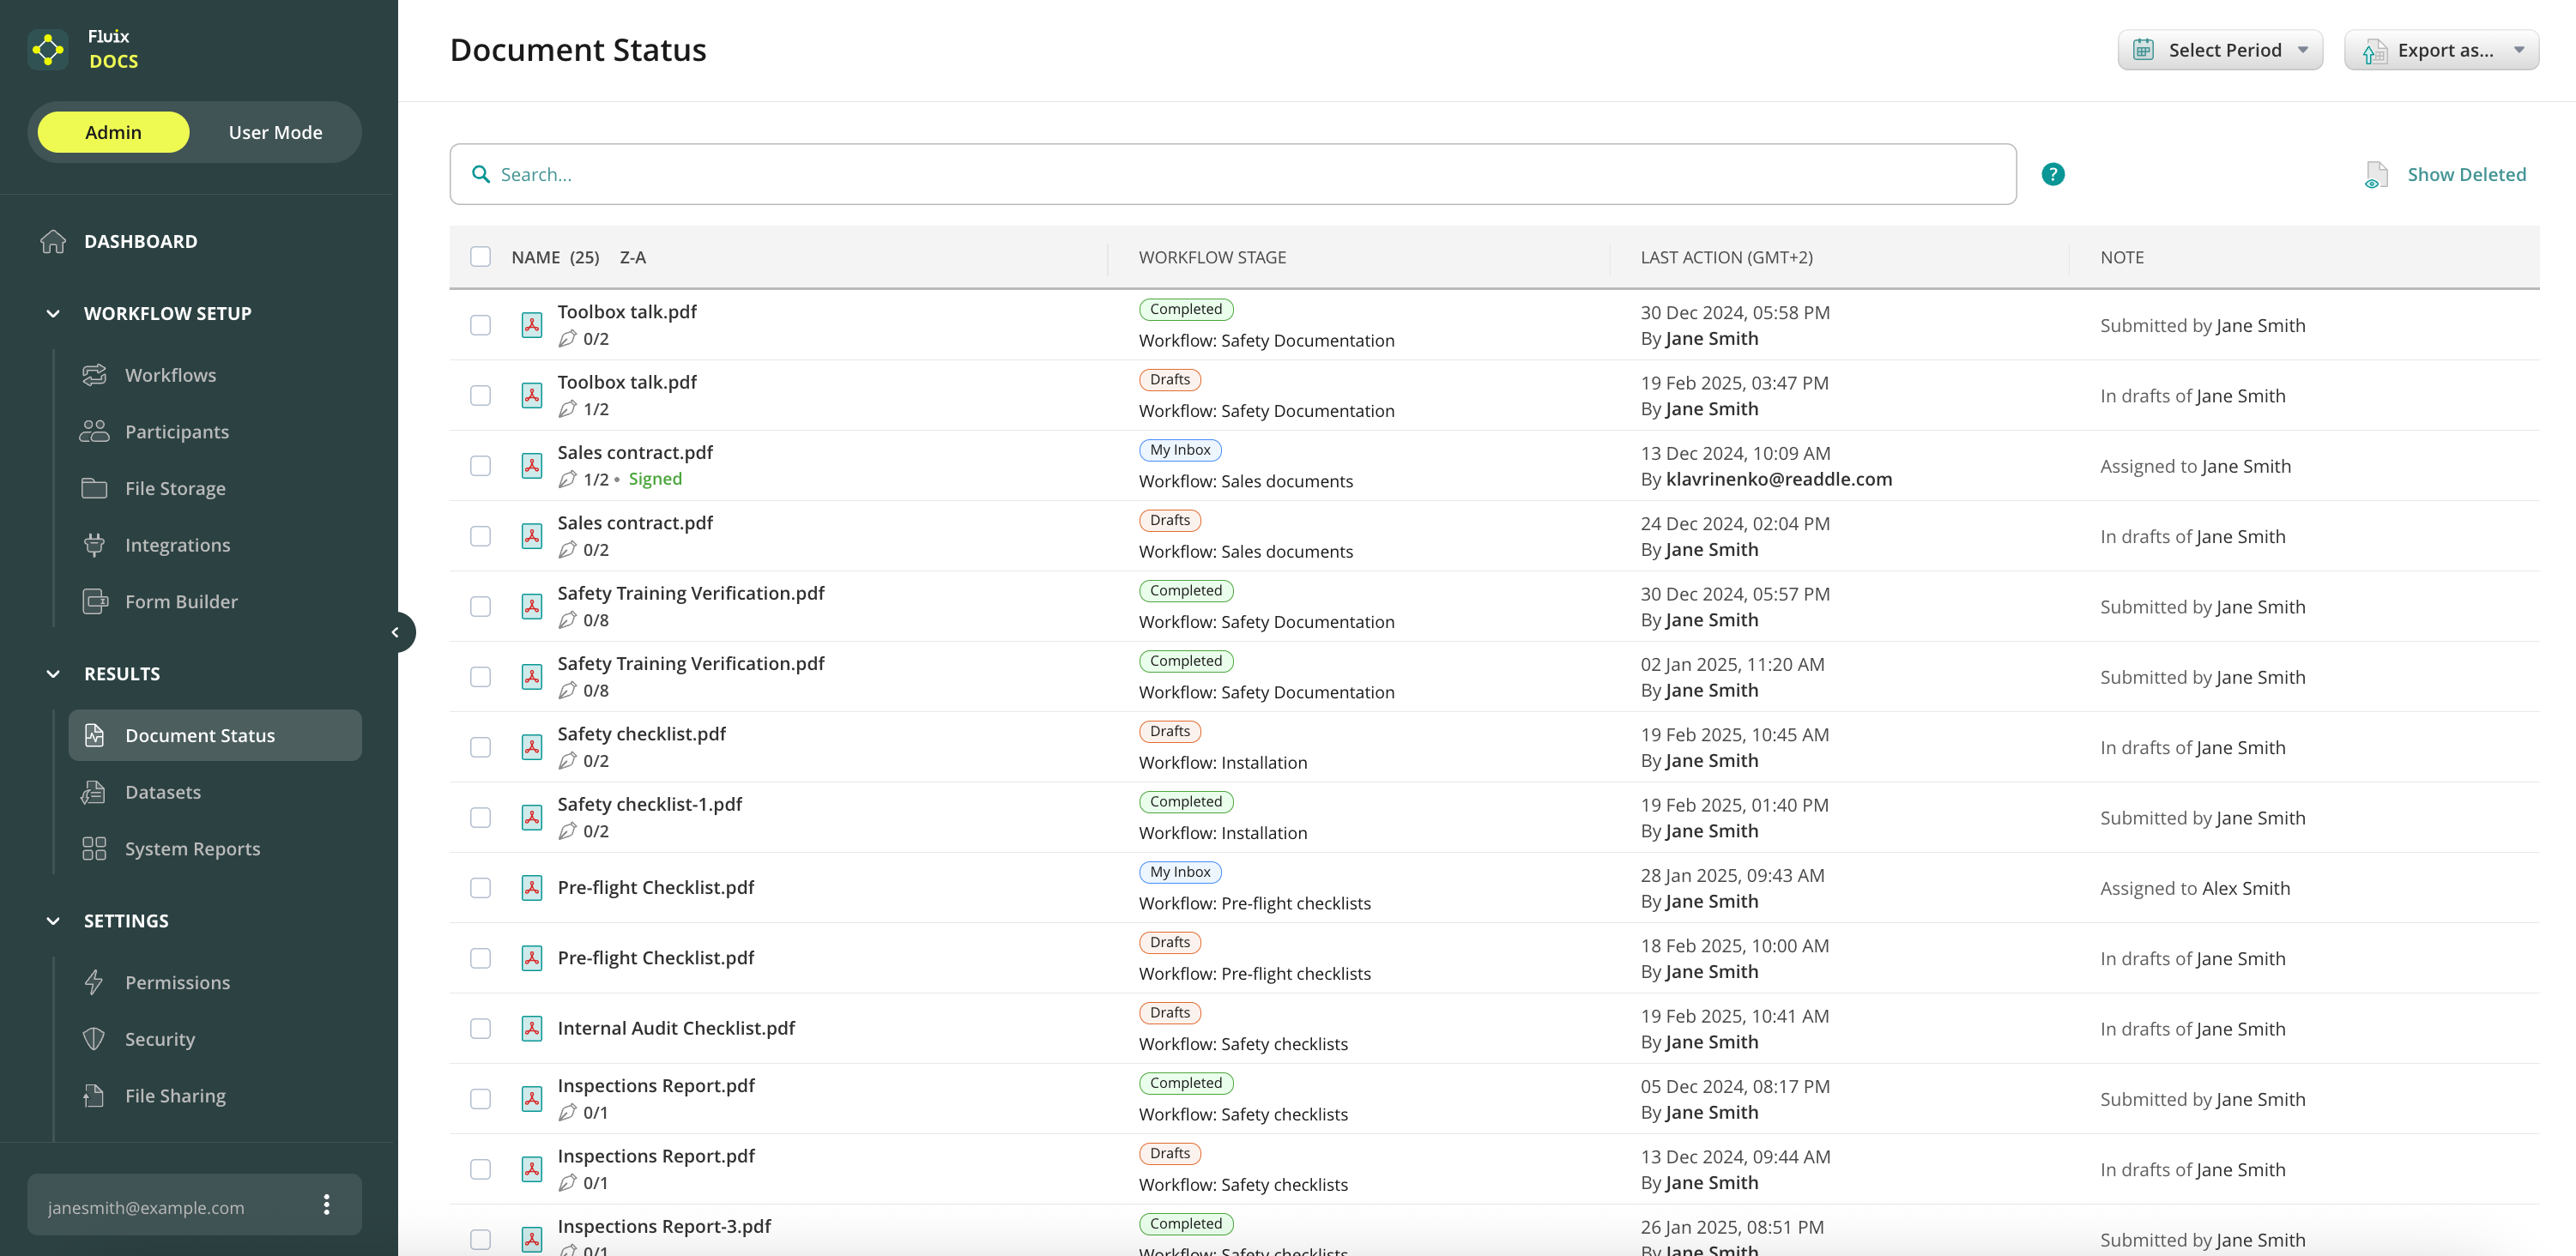
In this section, you can create several types of reports:
Document Status — provides information about the current status of all workflow documents on which actions are performed.
Datasets — collect and analyze data> from the documents that your users completed.
Pushed to Device — a tool to push a document or a message to your users.
Bulk Signing — a tool to send multiple documents as a package to collect eSignatures from a list of people (enabled by request).
System Reports — manage the devices, check user activity, and track the document flow within each workflow.
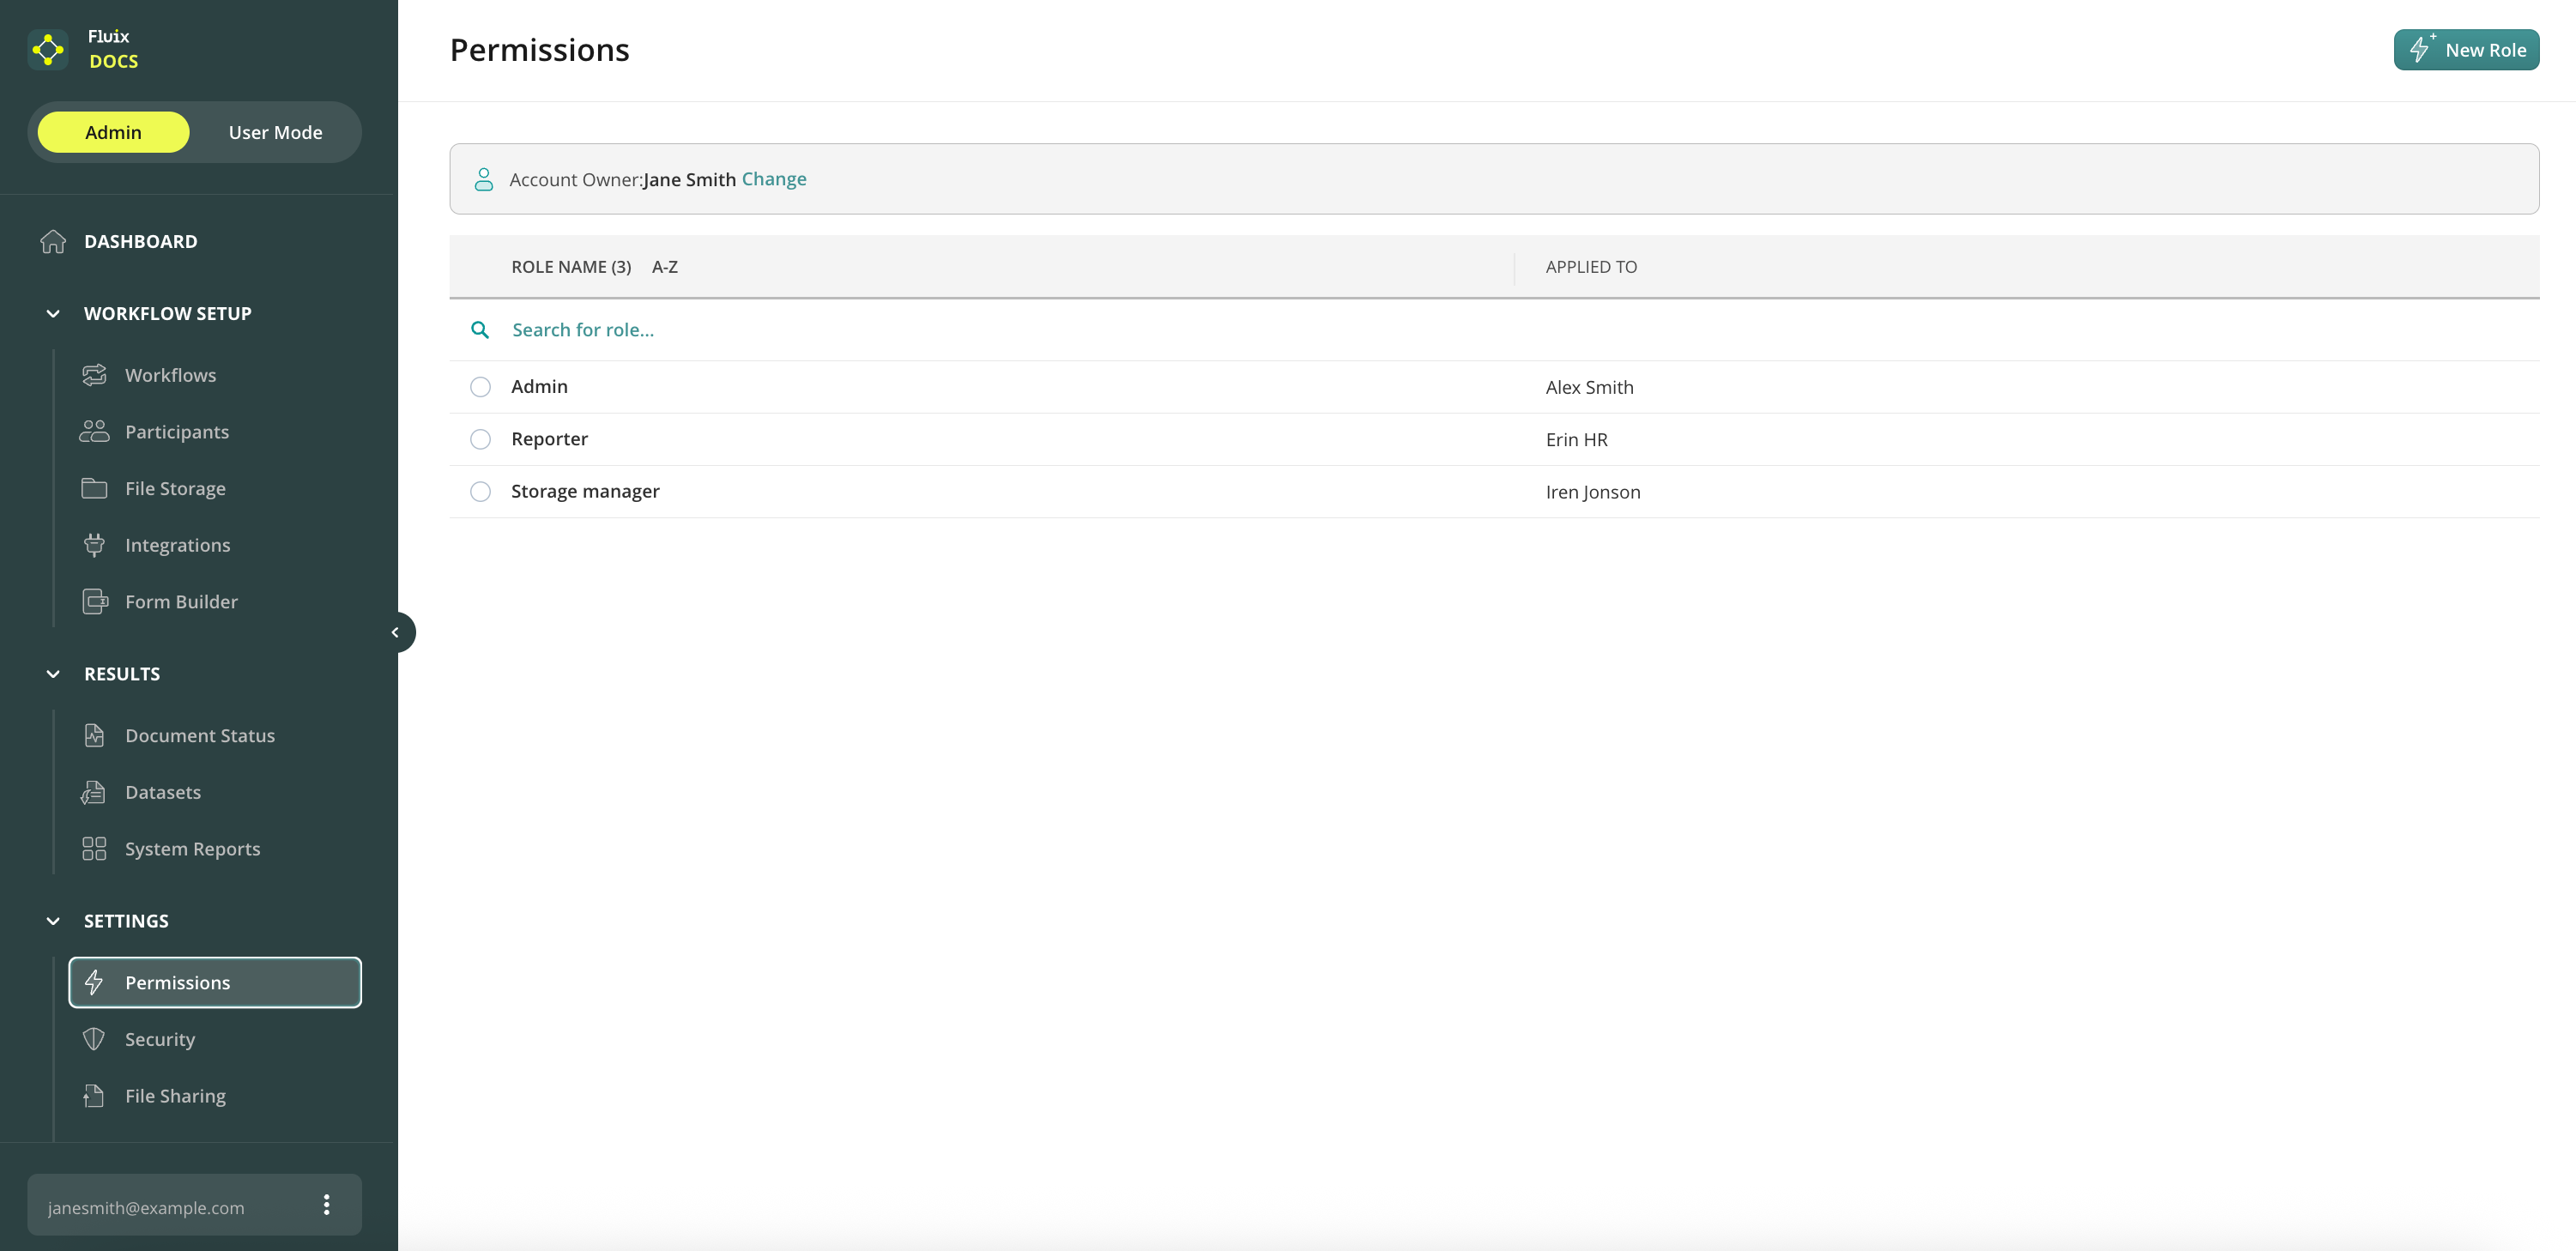
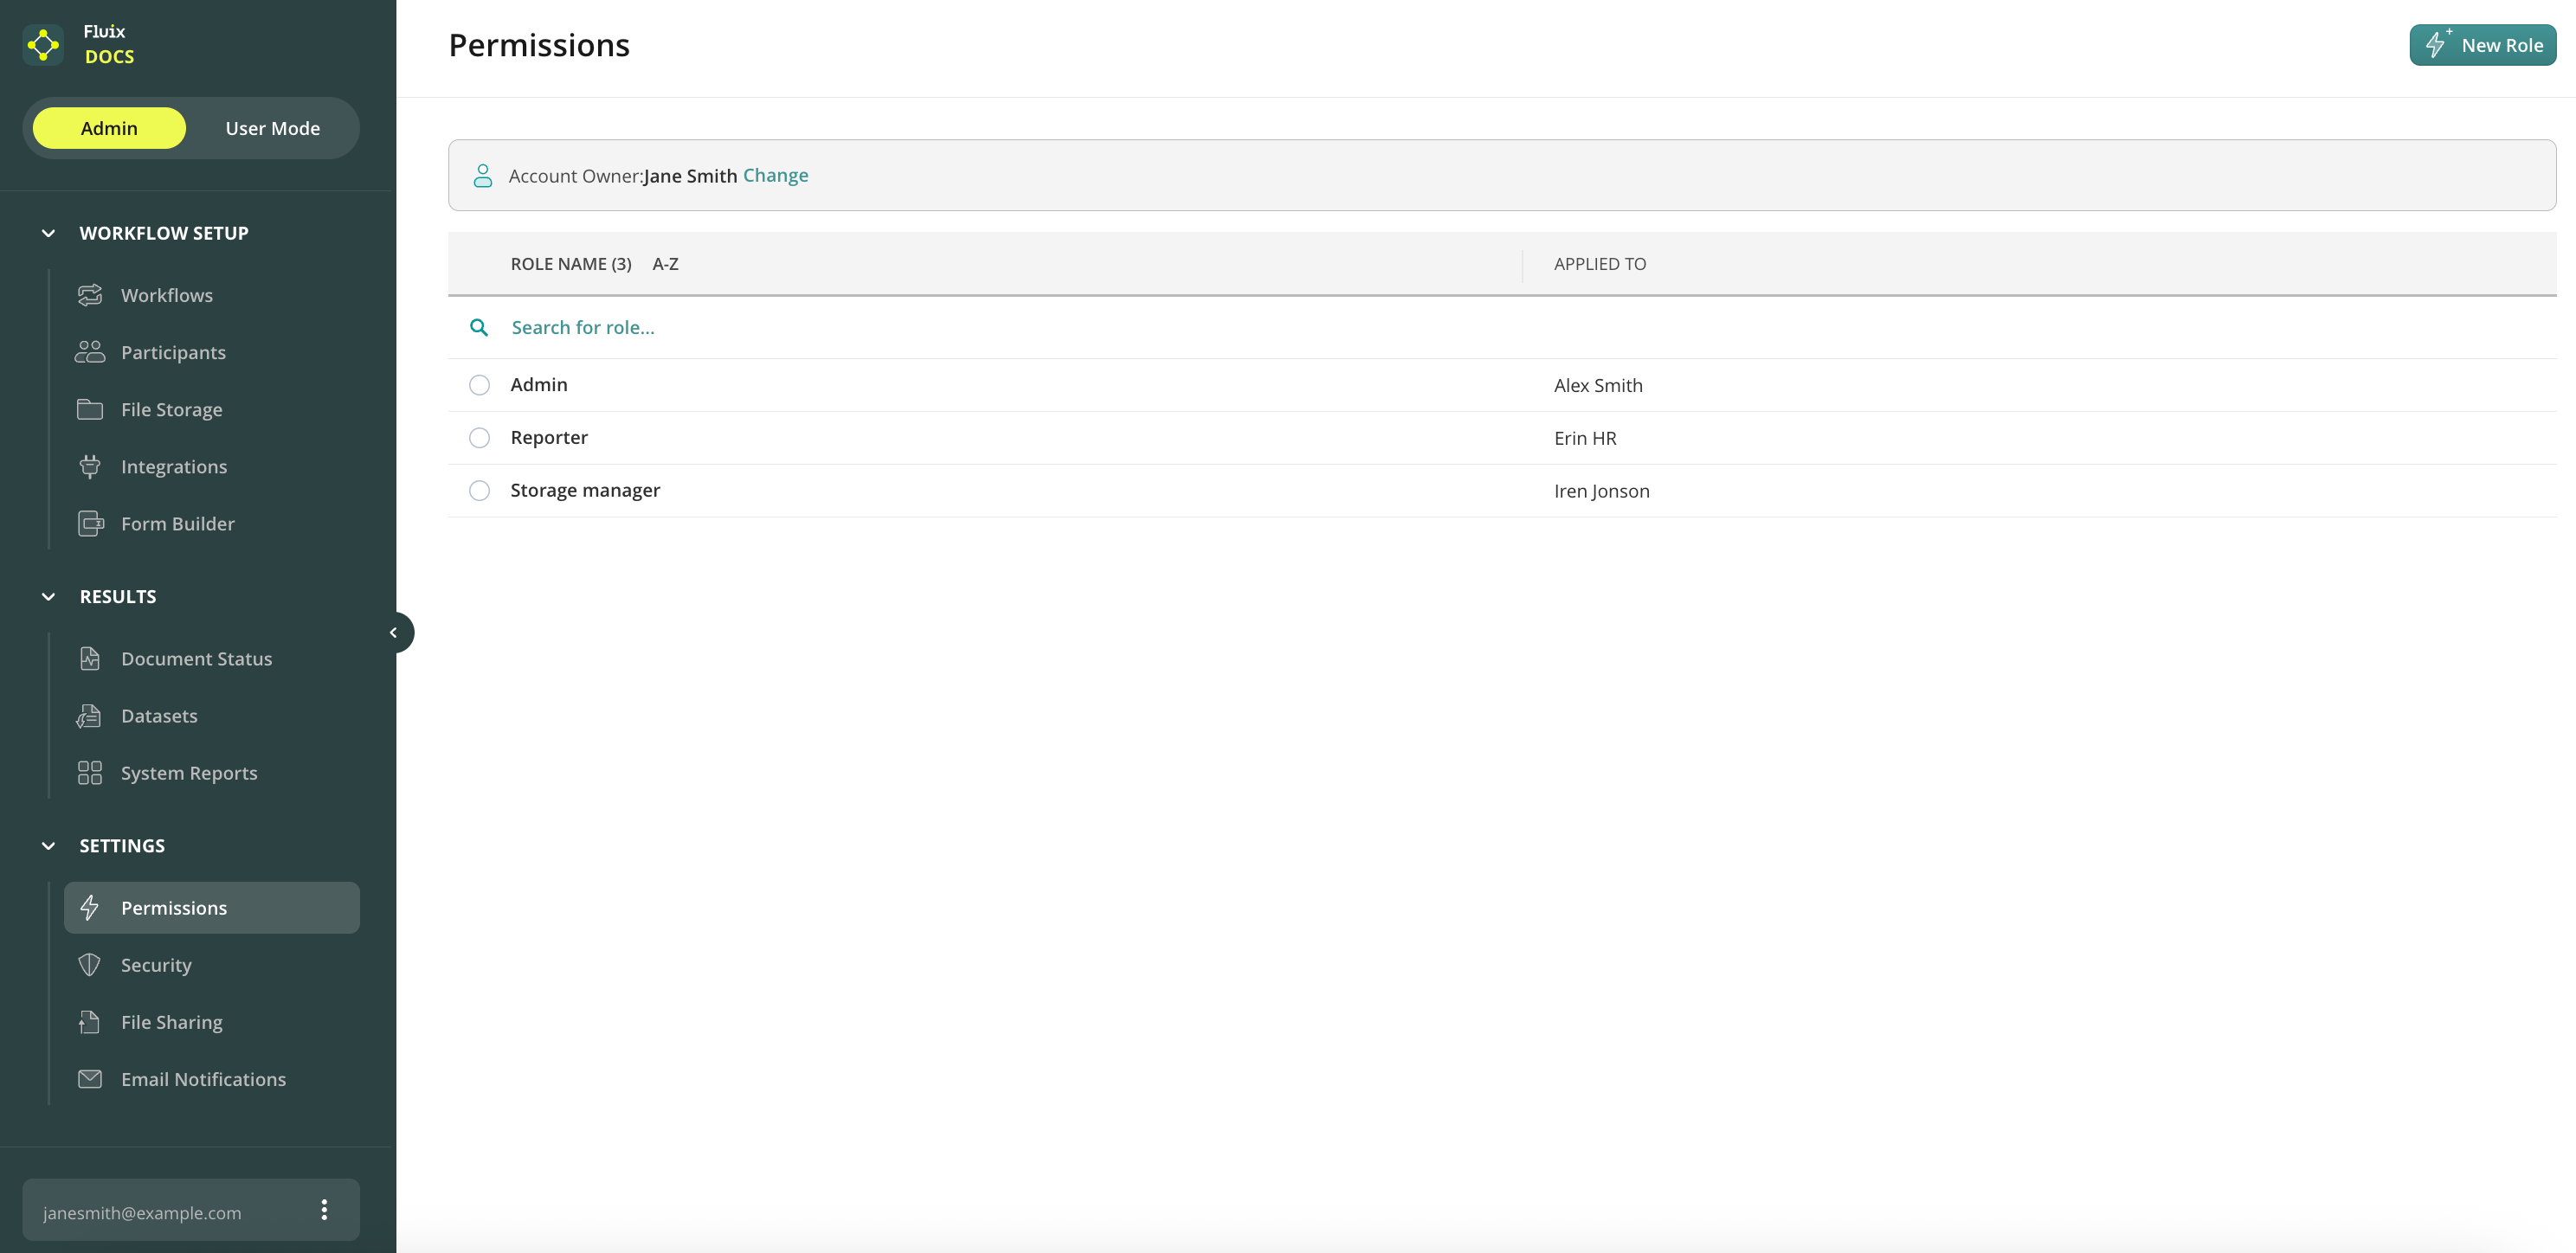
Settings
From this section, you can access:
Permissions — this allows you to give your team members specific rights to access and manage the Fluix Admin Portal.
Security and File Sharing Settings: This setting helps you configure the security and sharing options on the Admin Portal and devices.
Email Notifications — here you can decide which automatic email notifications to send to your Fluix account Owner, Admins, and Users.
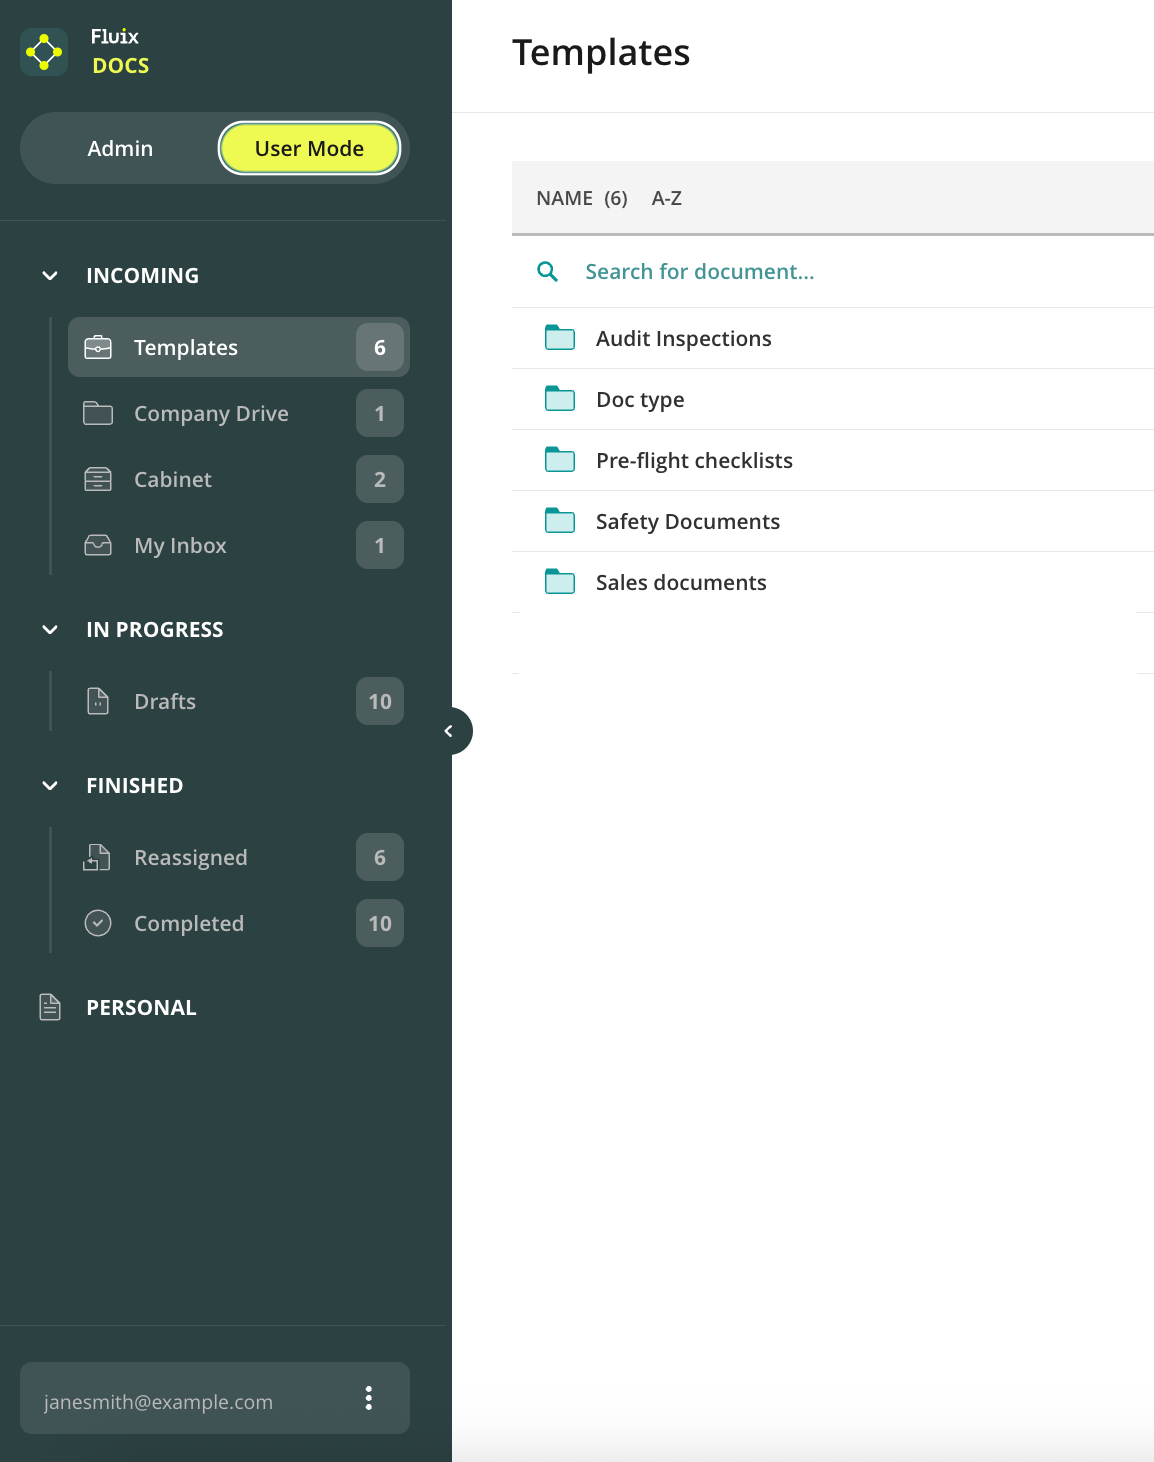
User Mode
This is the section where you can access and work with documents as an end user in the Web User App. To access the documents on the device, download the Fluix Docs App for iOS from the App Store.
Account
Contains the list of Fluix accounts where you are registered, Billing, and Help sections, along with the Contact support button.
Billing
Here you can set up your account’s billing details and track payments for your Fluix subscription.
Help
In the Help section, you can find all types of information on account setup, the user app guide, learning resources, educational videos, the FAQ, the glossary, or reach out to the Fluix Support Team.
Feel free to contact us at support@fluix.io if you have any questions or comments.
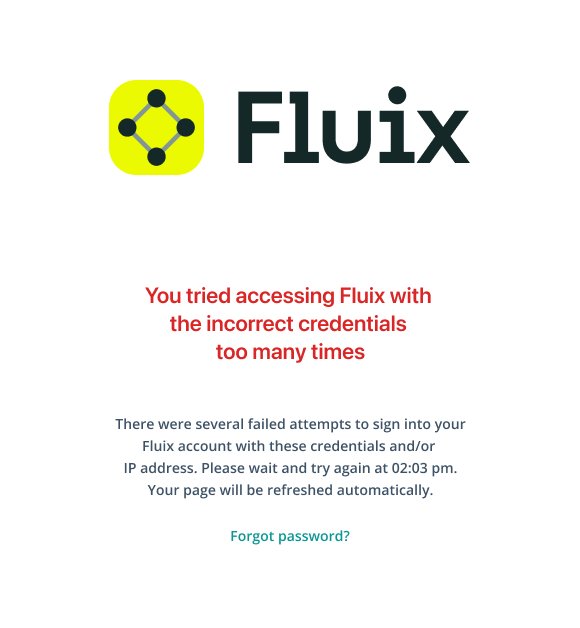
If you can’t log into your Fluix account, you can reset your password by clicking on the Forgot password link on the login screen.
If a user can’t log into his account, the password can be reset by a user in the same way above, or being a Fluix Admin, you can reset such User’s password from the Admin Portal. To do so, proceed to Workflow Setup -> Participants -> Users, and follow the steps below:
Step 1. Click on the User who can’t log in and you will be taken to the User’s page. There, click on the Reset Password button.
Step 2.Once you see the message “The password got successfully reset,” an email request is sent to the email address asking to change the password immediately.
Alternatively, the user can reset the password from the device or web app by tapping on the Forgot password link on the login screen.
Note: Upon three attempts to log in with incorrect credentials, the system is blocked for 1 minute for security reasons. Upon each further failed attempt, the time of delay increases.
Was it helpful? Feel free to contact us at support@fluix.io if you have any questions or comments.
If you’re looking for a software solution that can automate manual paper-centric processes and drive efficiency across your entire business, you’re on the right track.
With Fluix, you can easily streamline the flow of digital documents between your field teams, office managers, and customers. You don’t need to be tech-savvy or spend hours of time learning the basics and training your colleagues – you and your team can get started using Fluix right away, and you’ll always be supported by our world-class customer service team.
Fluix consists of two parts: the Admin Portal and the user app on iOS devices or web.
Right now, we’re in the Admin Portal – the heart of Fluix – where you can configure any kind of workflow, manage app users, organizefile structure and storage and define file-sharing settings.
You’ll also be able to track documents your field teams work on, analyze data collected in the field, and perform many other time and cost-saving tasks.
The starting point is the Workflow Setup section. Check our Workflows overview to learn more about workflow capabilities and how they’ll benefit your team.
Was this article helpful?
Thanks for your feedback!
Oops, something went wrong. Please, try again later.
Thank you!
What details or examples would have made this article more helpful for you? We appreciate your insights!
Sign Up to Our Product Newsletter
The latest updates from our Product team, straight to your inbox