Actions

PDF Builder

In Fluix you can create your own fillable PDF forms and use them in any workflow.

Watch the video about Fluix PDF Builder, or follow the steps below to create your first form.

How to create a PDF Form

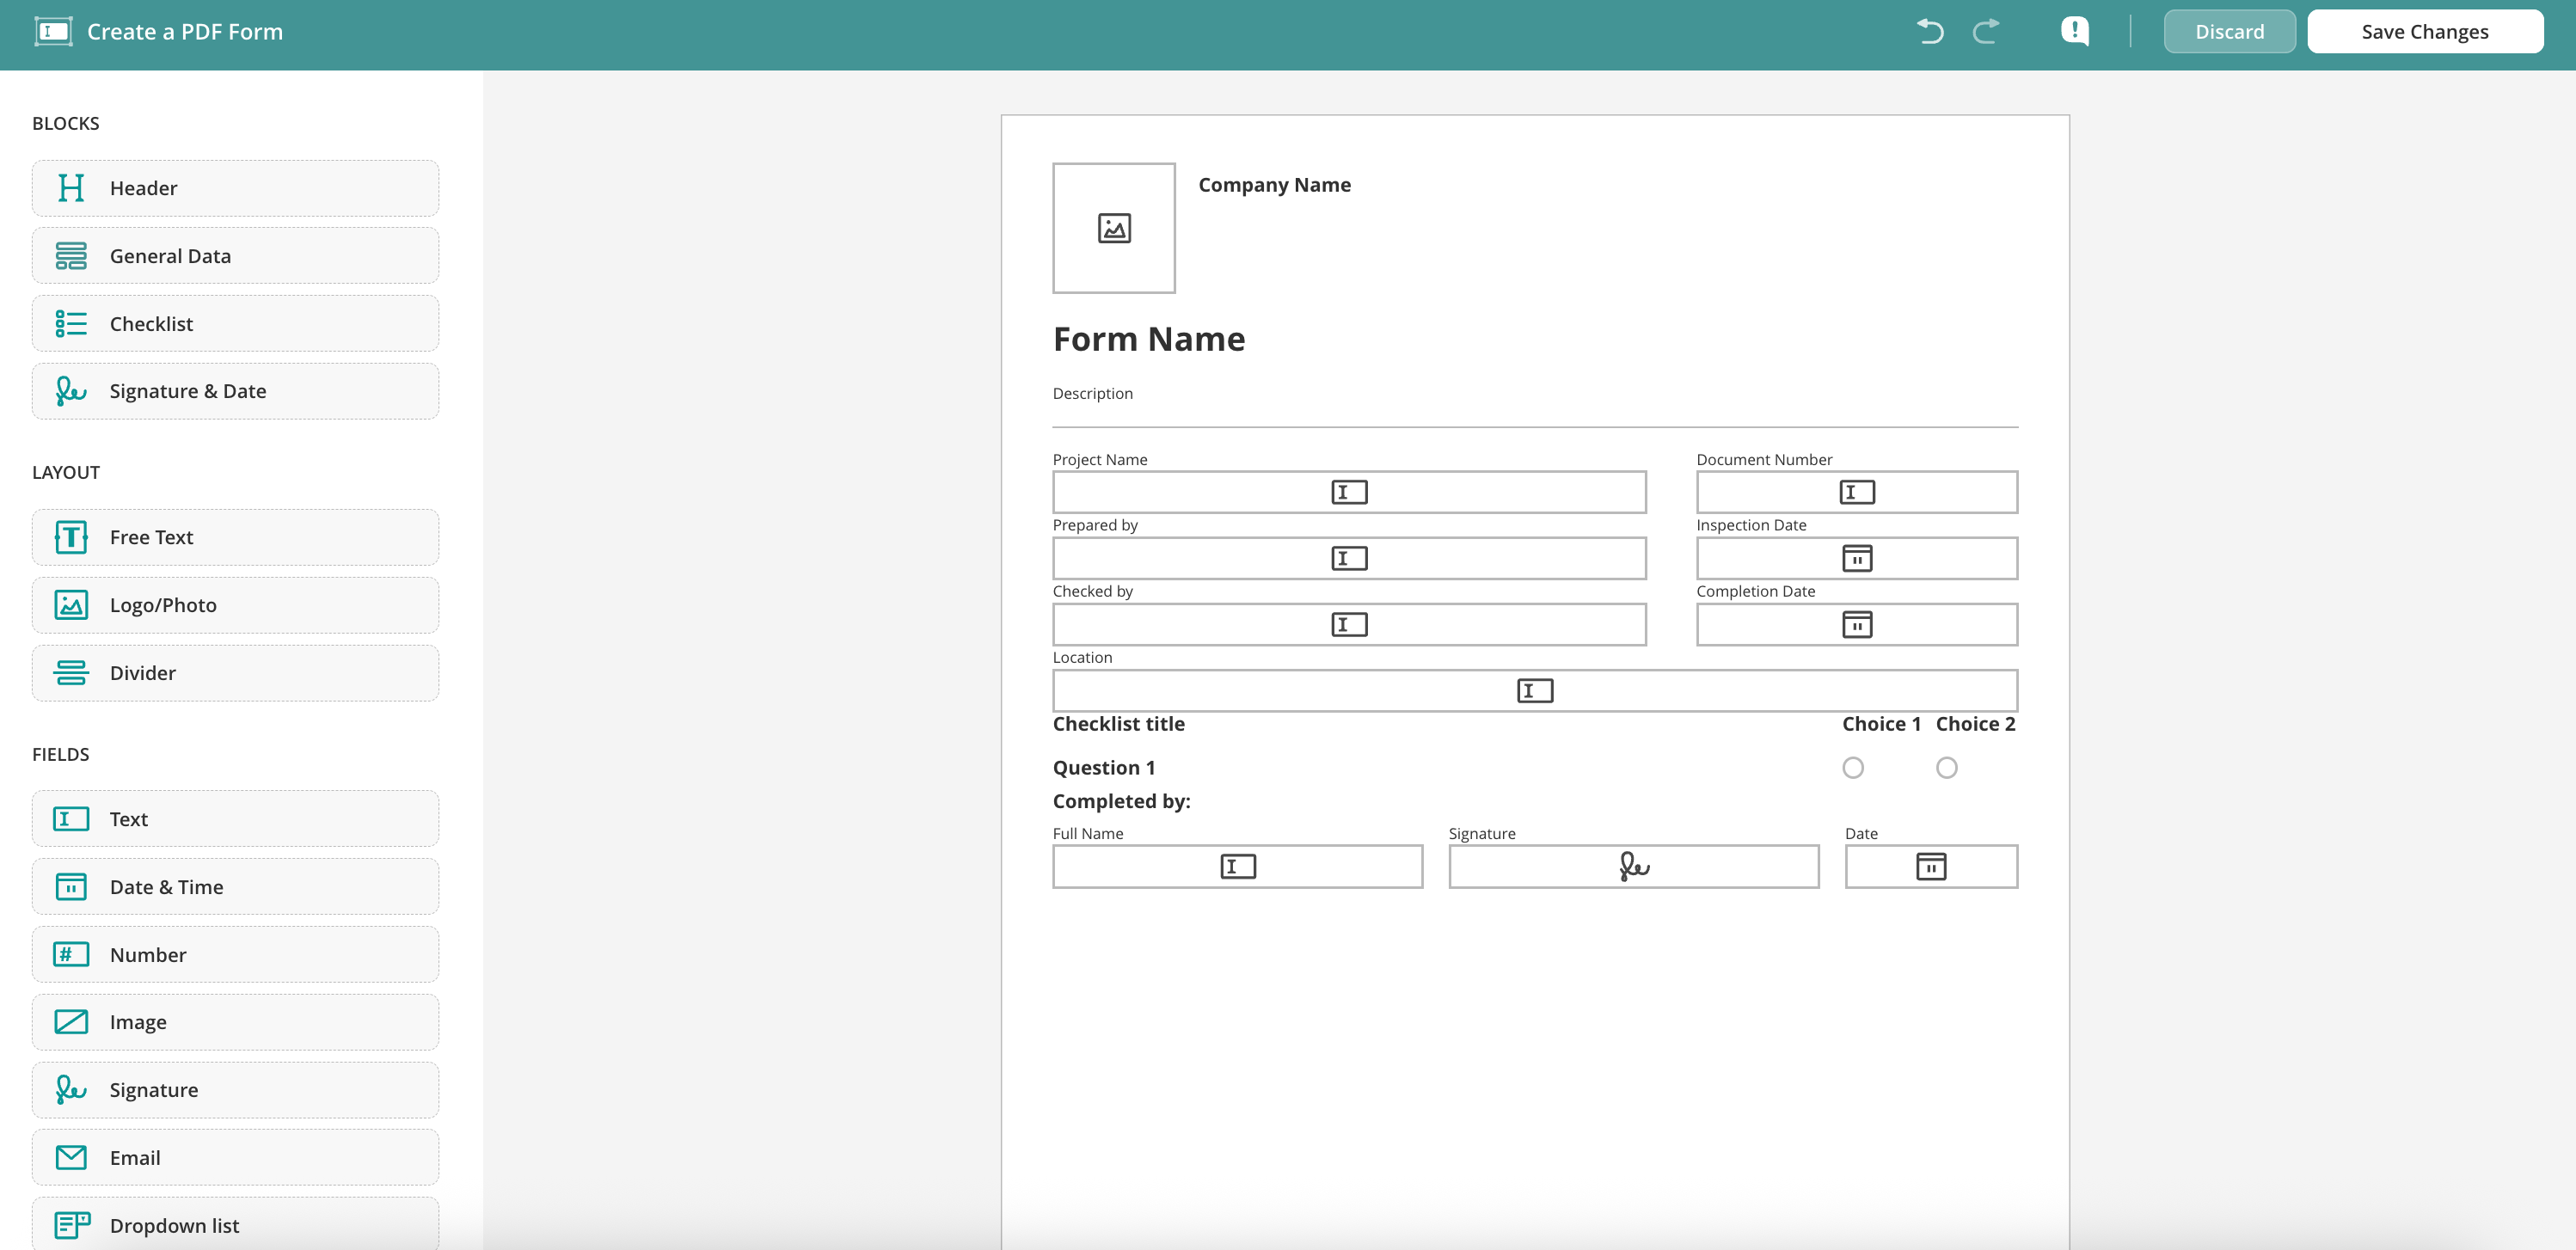
To create a form, please follow to the Actions menu on the Admin Portal and select Create PDF Form:

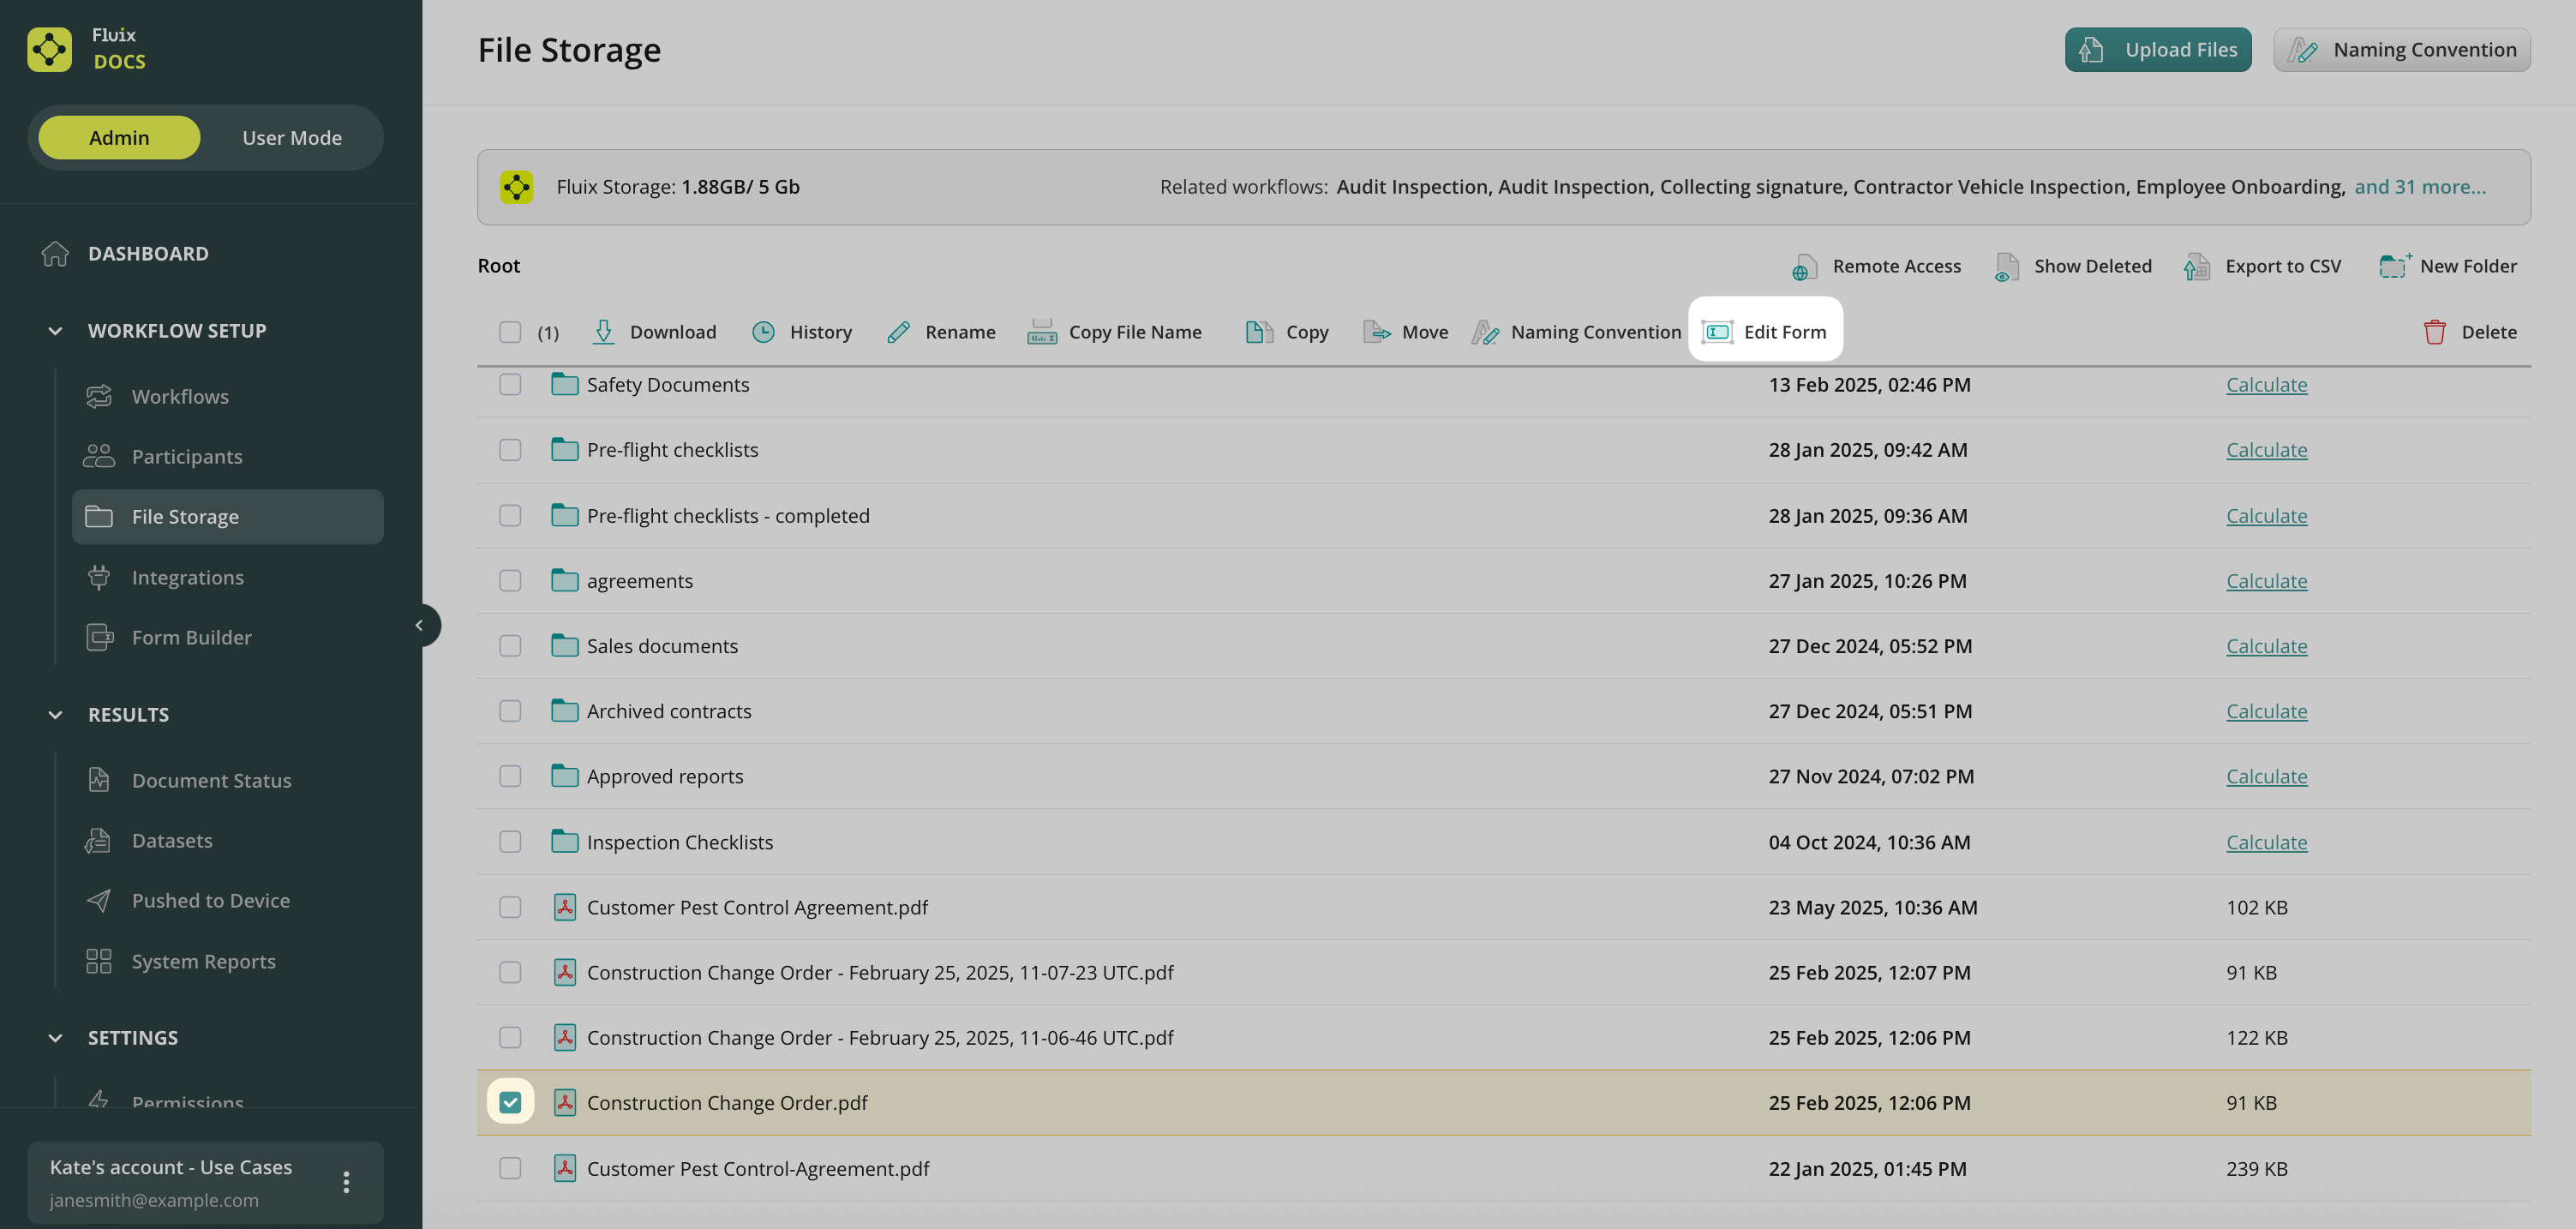
In the opened window, you may select whether you would like to create a new form or edit the existing form.

Once you are there, you will see a blank page and menu on the right:

To add a field, click on it in the menu.

To move a field, click and drag it to the right place on the page.

To delete a field, as well as check or change field properties, click on that field:
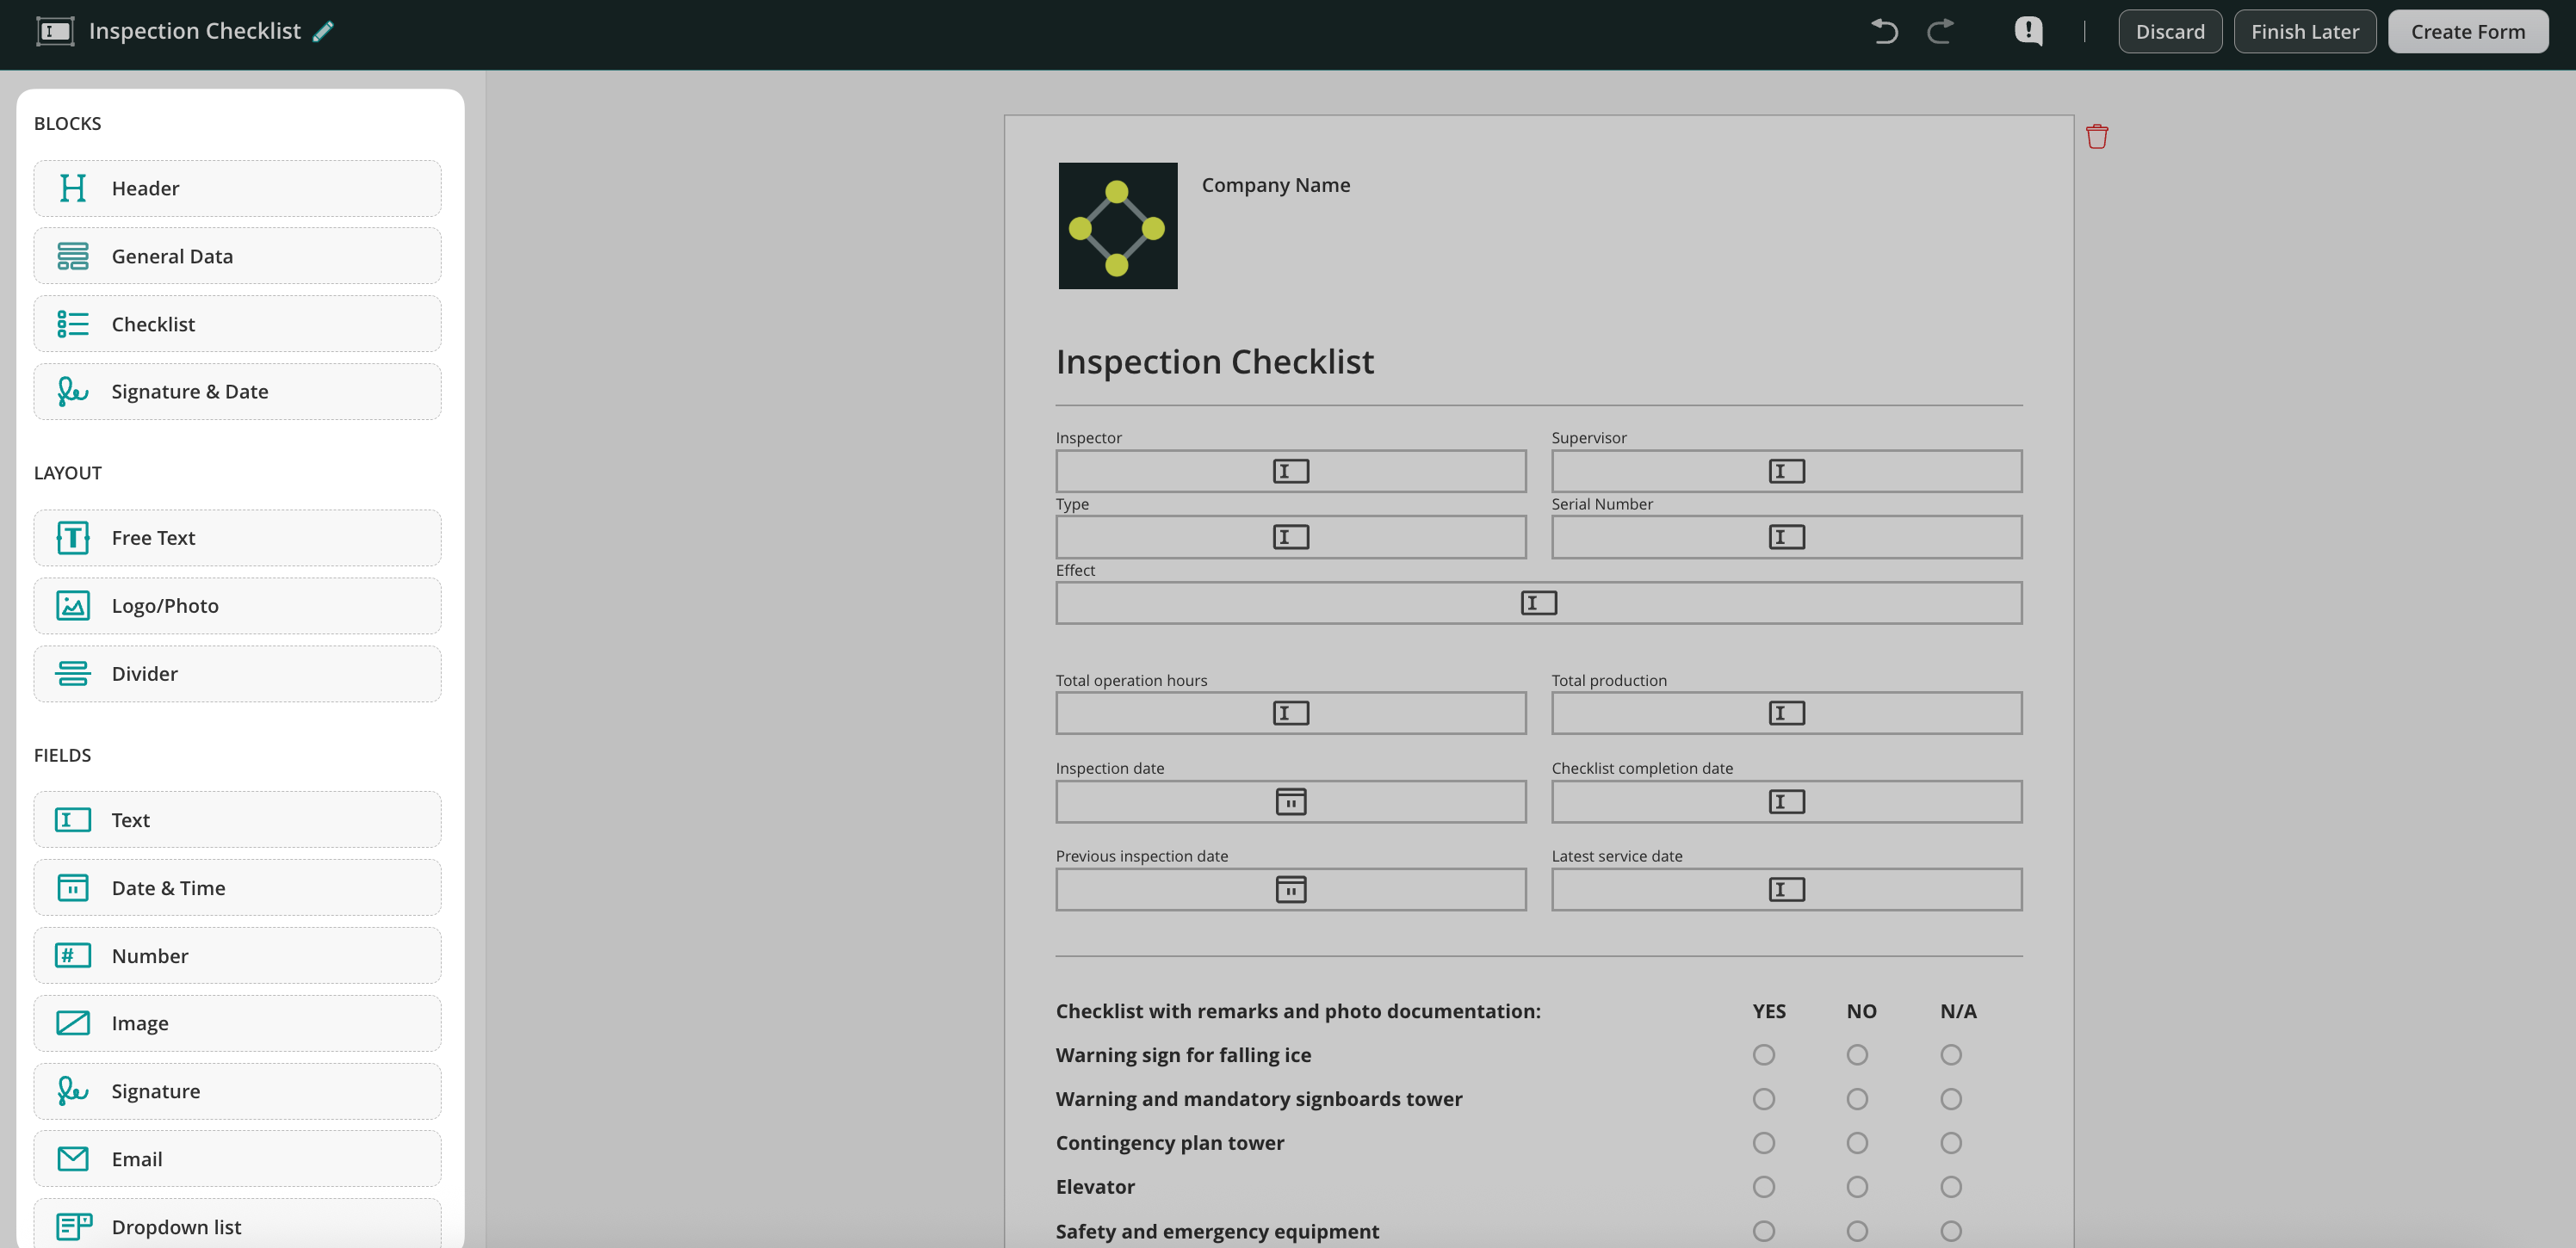
To add a page, scroll to the bottom on the page and click Add page:
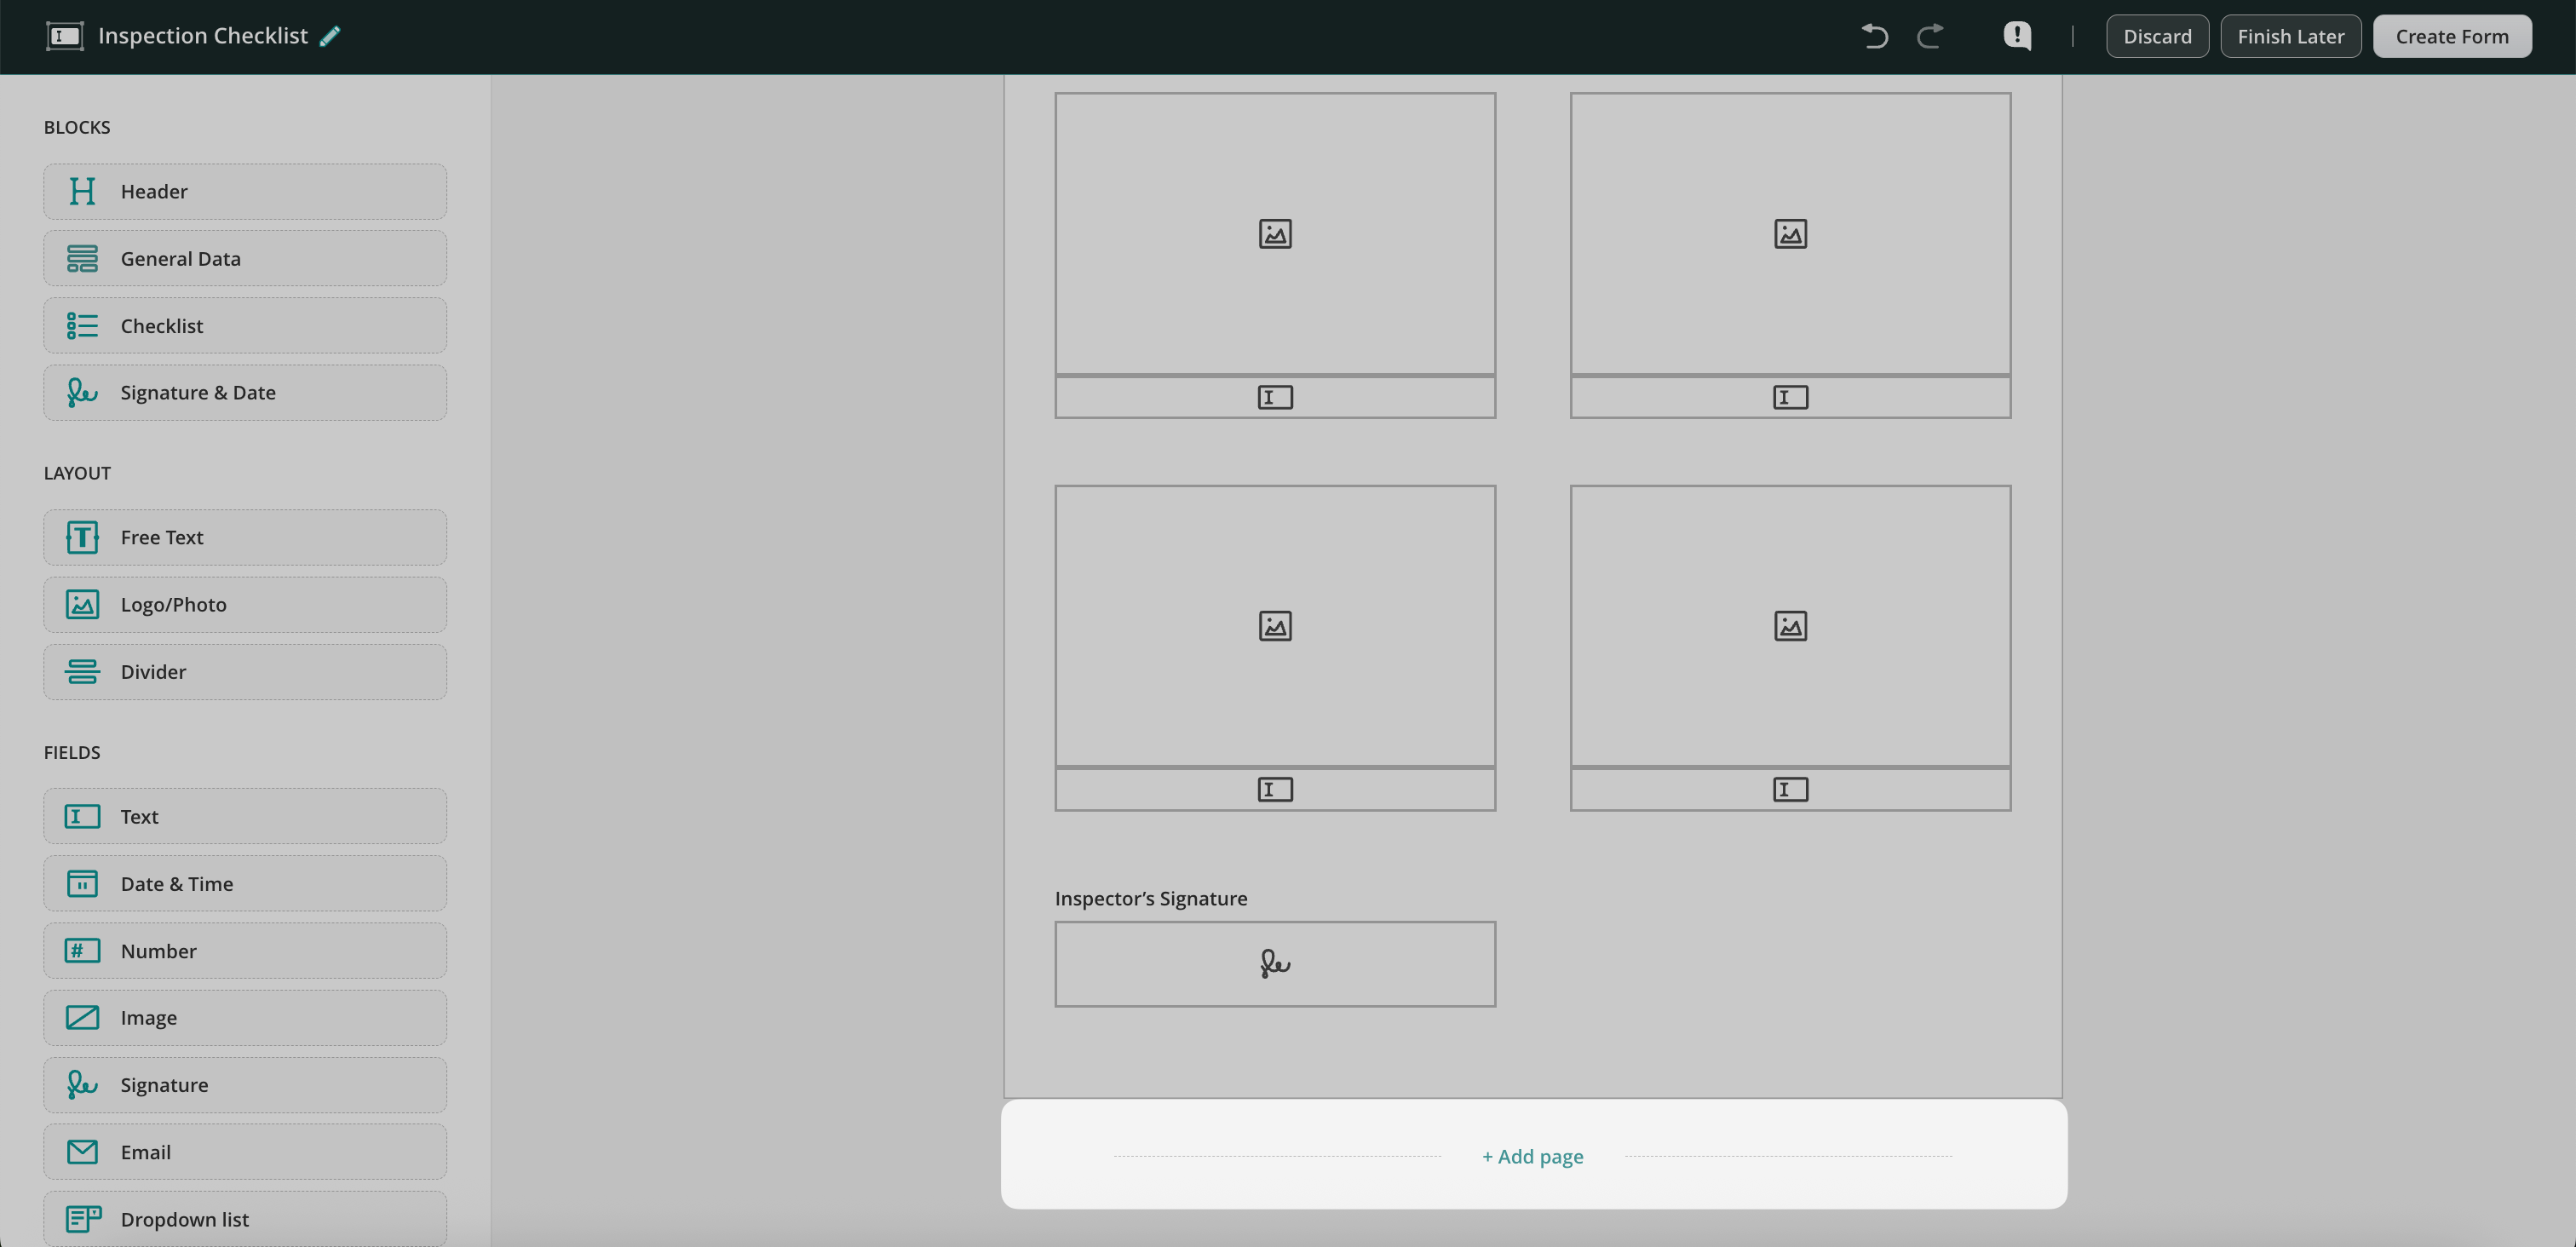
To delete a page, click on the trashcan on top of the page:

To discard changes, press Discard in the upper right corner.

To save the form, press Save Changes and select one of the options: Upload to Fluix Storage or Download to your computer.

How to add fields to the existing form

Besides creating forms from scratch, you can also add text and signature fields to already existing PDF forms. To do that, drag and drop your form to PDF Builder and choose Signature or Text field in the menu on the right. Then move the field in the right place and save changes.

Was it helpful? Feel free to contact us at support@fluix.io if you have any questions or comments.

Was this article helpful?
Thanks for your feedback!
Oops, something went wrong. Please, try again later.
We're sorry about that, please contact our support for help.
1 out of 1 found this helpful

File Naming Convention

File naming convention helps you add automatic file naming to the documents that your team works with on their mobile devices. This tool will save you a lot of time compared to typing a document name each time it is submitted.

Here’s how to add file naming convention in Fluix:

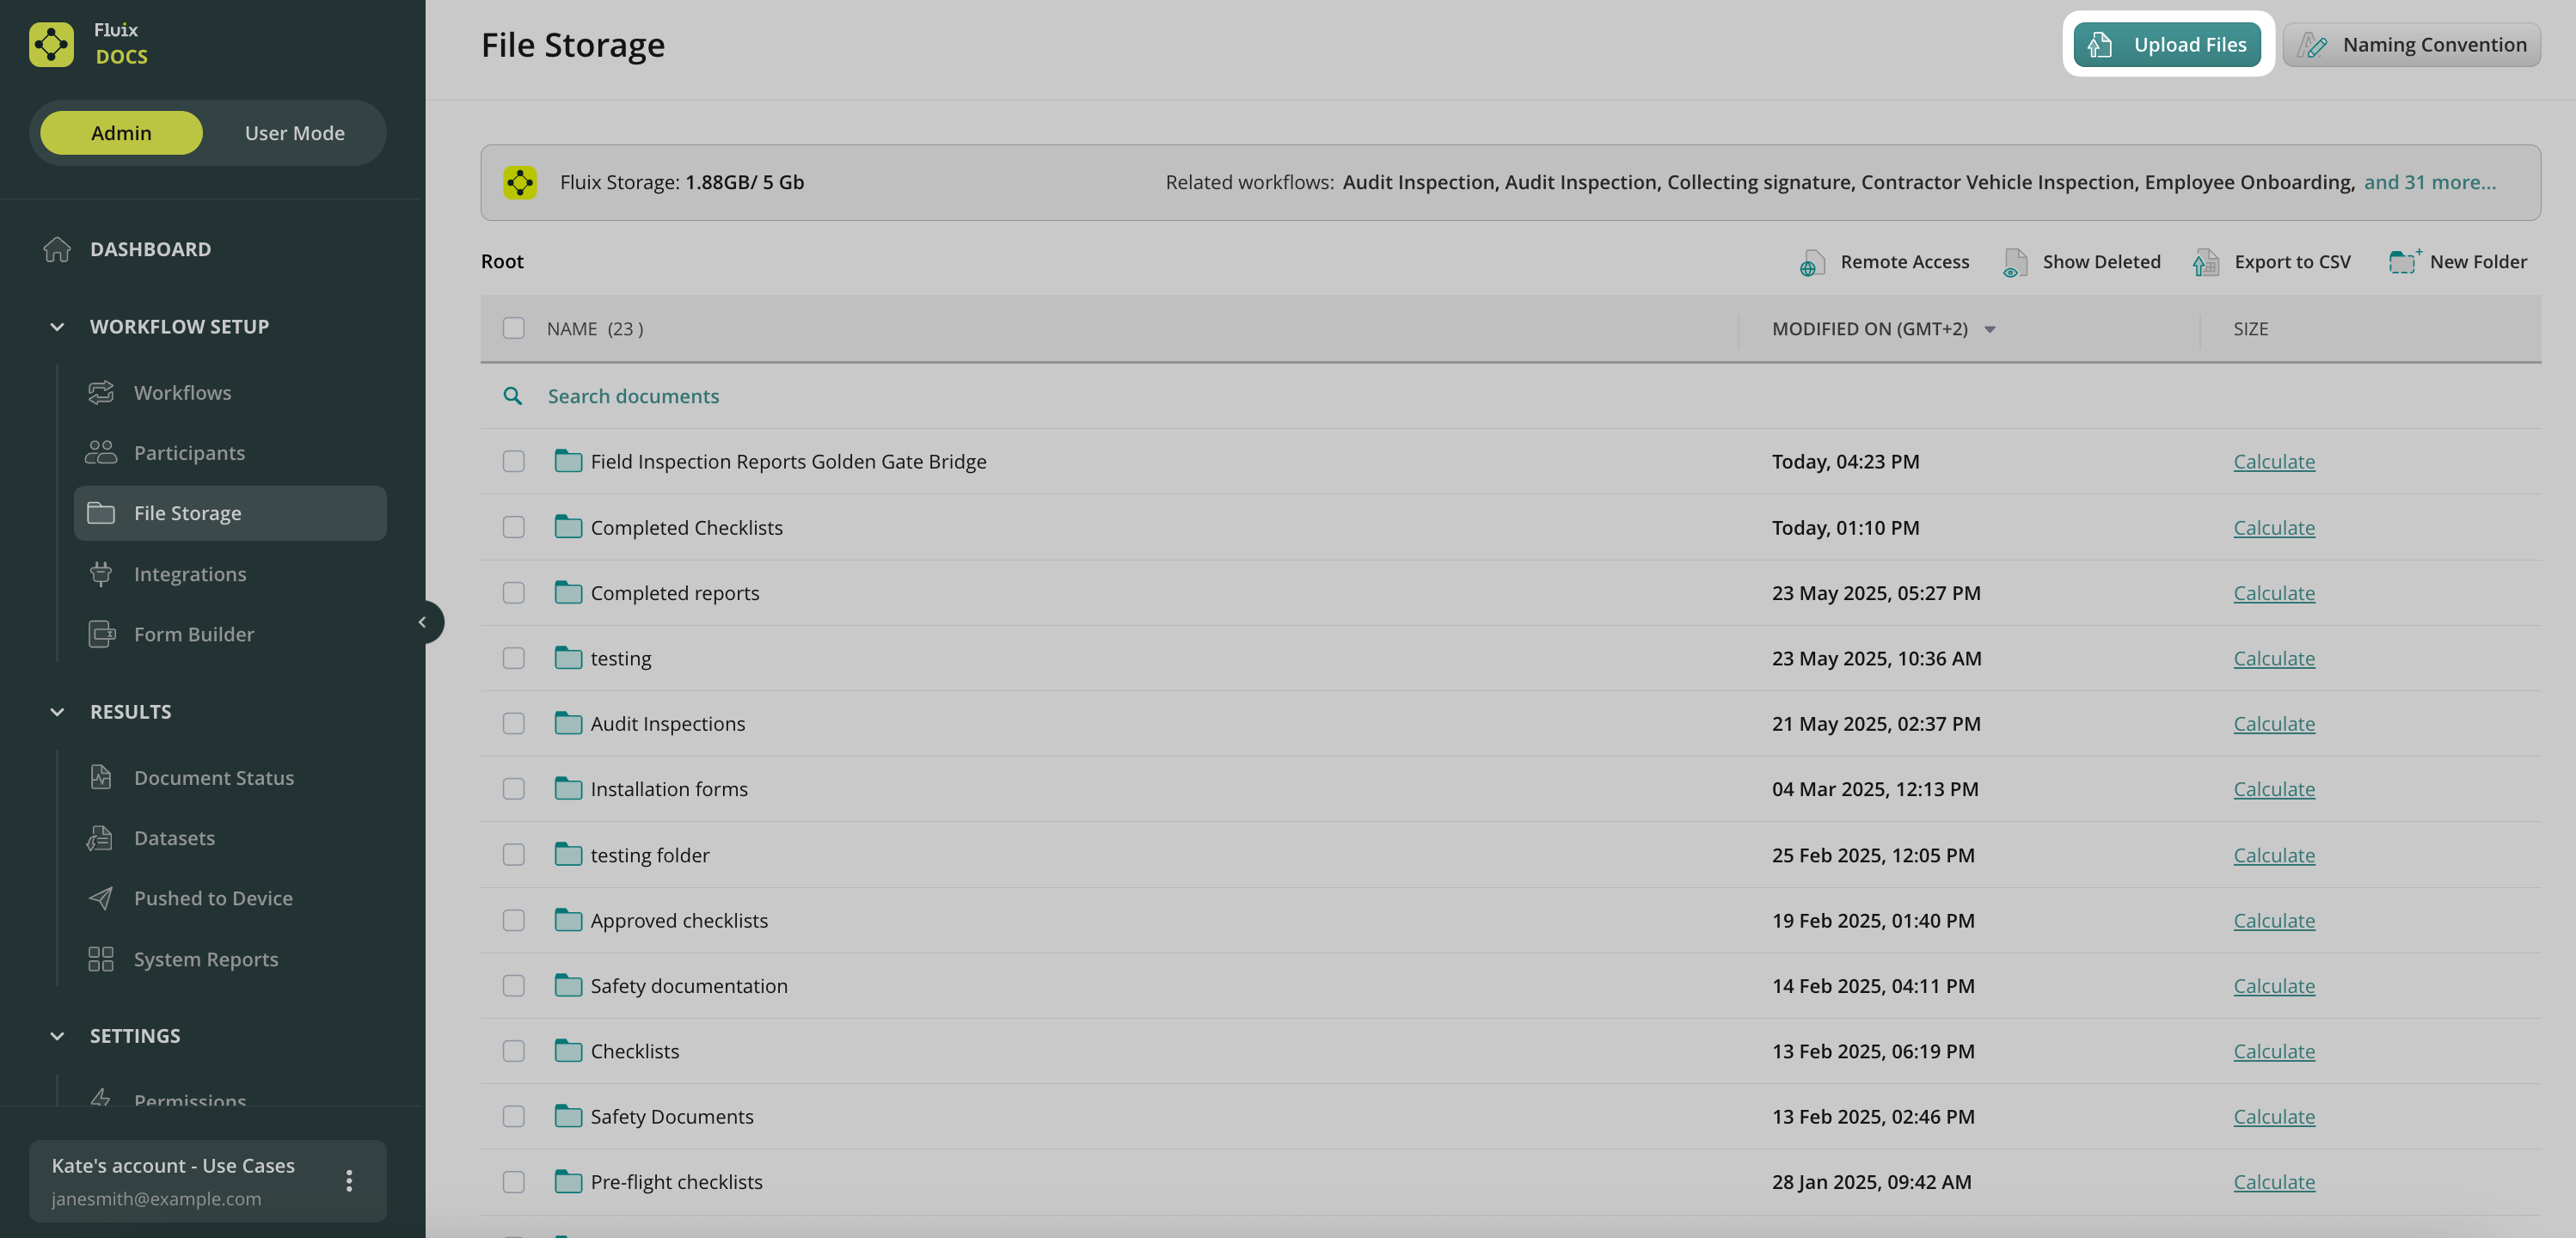
1. Follow to the Configurations section – Fluix Storage of Admin Portal and click on Naming Convention in the upper right corner.

2. Upload a PDF form that you want to add a naming convention to.

3. Once the file is uploaded, you will see all the fields from the form available to create a naming convention. Select the ones you want to use in the file name:

4. You can also add system variables, such as Base File Name (the initial name of the template that will be used on devices), User Name, Email, Date, and Time when the document was submitted by a user.

5. When done, click Save Changes and choose to either save the document in the Fluix Storage or download it locally to your computer:

6. Upload the document to a folder that is used as a source in a workflow.

Now your field workers will use this document as a template form on their devices. Each time they fill out fields that are used in the naming convention, the document name will change automatically. If a user tries to manually rename the document before submit, he will get an error message saying You’re not allowed to rename this file due to company policy, please contact your Fluix admin for more details if needed.

Was it helpful? Feel free to contact us at support@fluix.io if you have any questions or comments.

Was this article helpful?
Thanks for your feedback!
Oops, something went wrong. Please, try again later.
We're sorry about that, please contact our support for help.
0 out of 1 found this helpful

Sign Up to Our Product Newsletter

The latest updates from our Product team, straight
to your inbox