Participants are the users you add to your Fluix Admin Portal and organize them into groups. The first step in Fluix setup is adding users and then assigning them to the groups for further participation in workflows. This way, the users will have assigned tasks to fill out forms, review and approve each other’s work, and submit the completed work through the process. Users and Groups are managed in the Admin Tab -> Process Setup -> Participants section. Then, fill out the form with the new user’s info.
How to Add Users
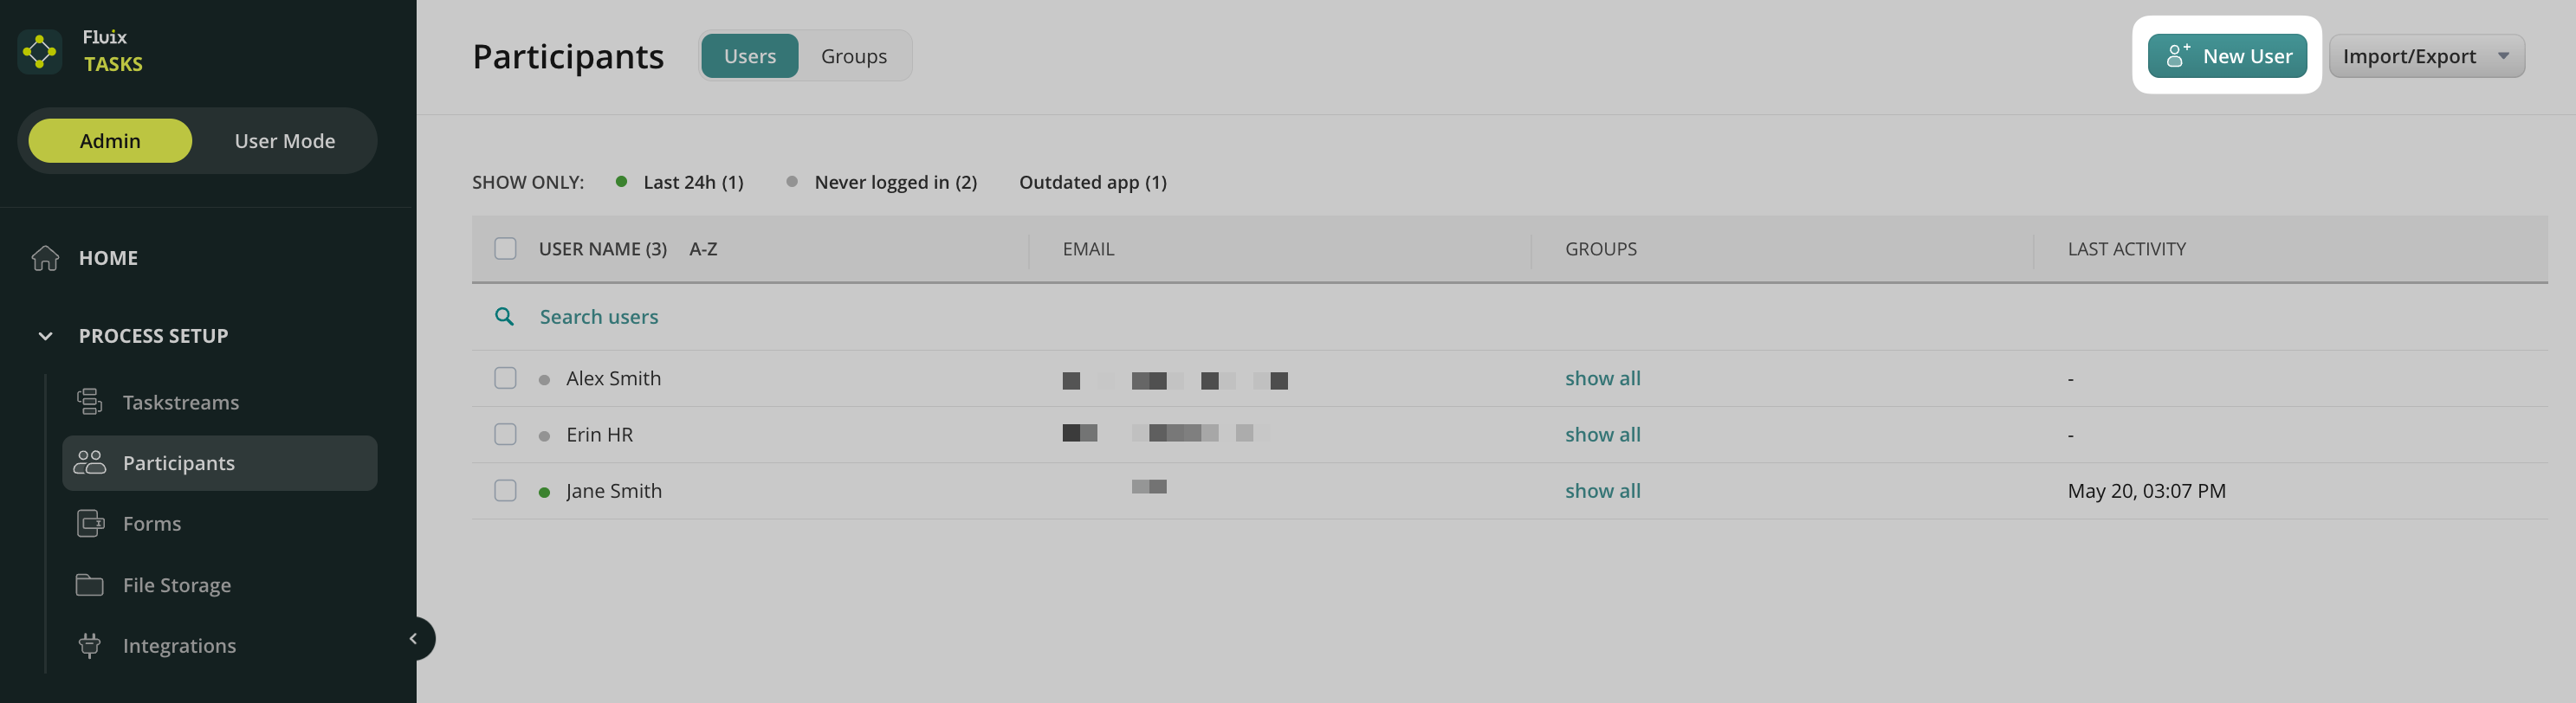
You can add a user by clicking on the New User button:
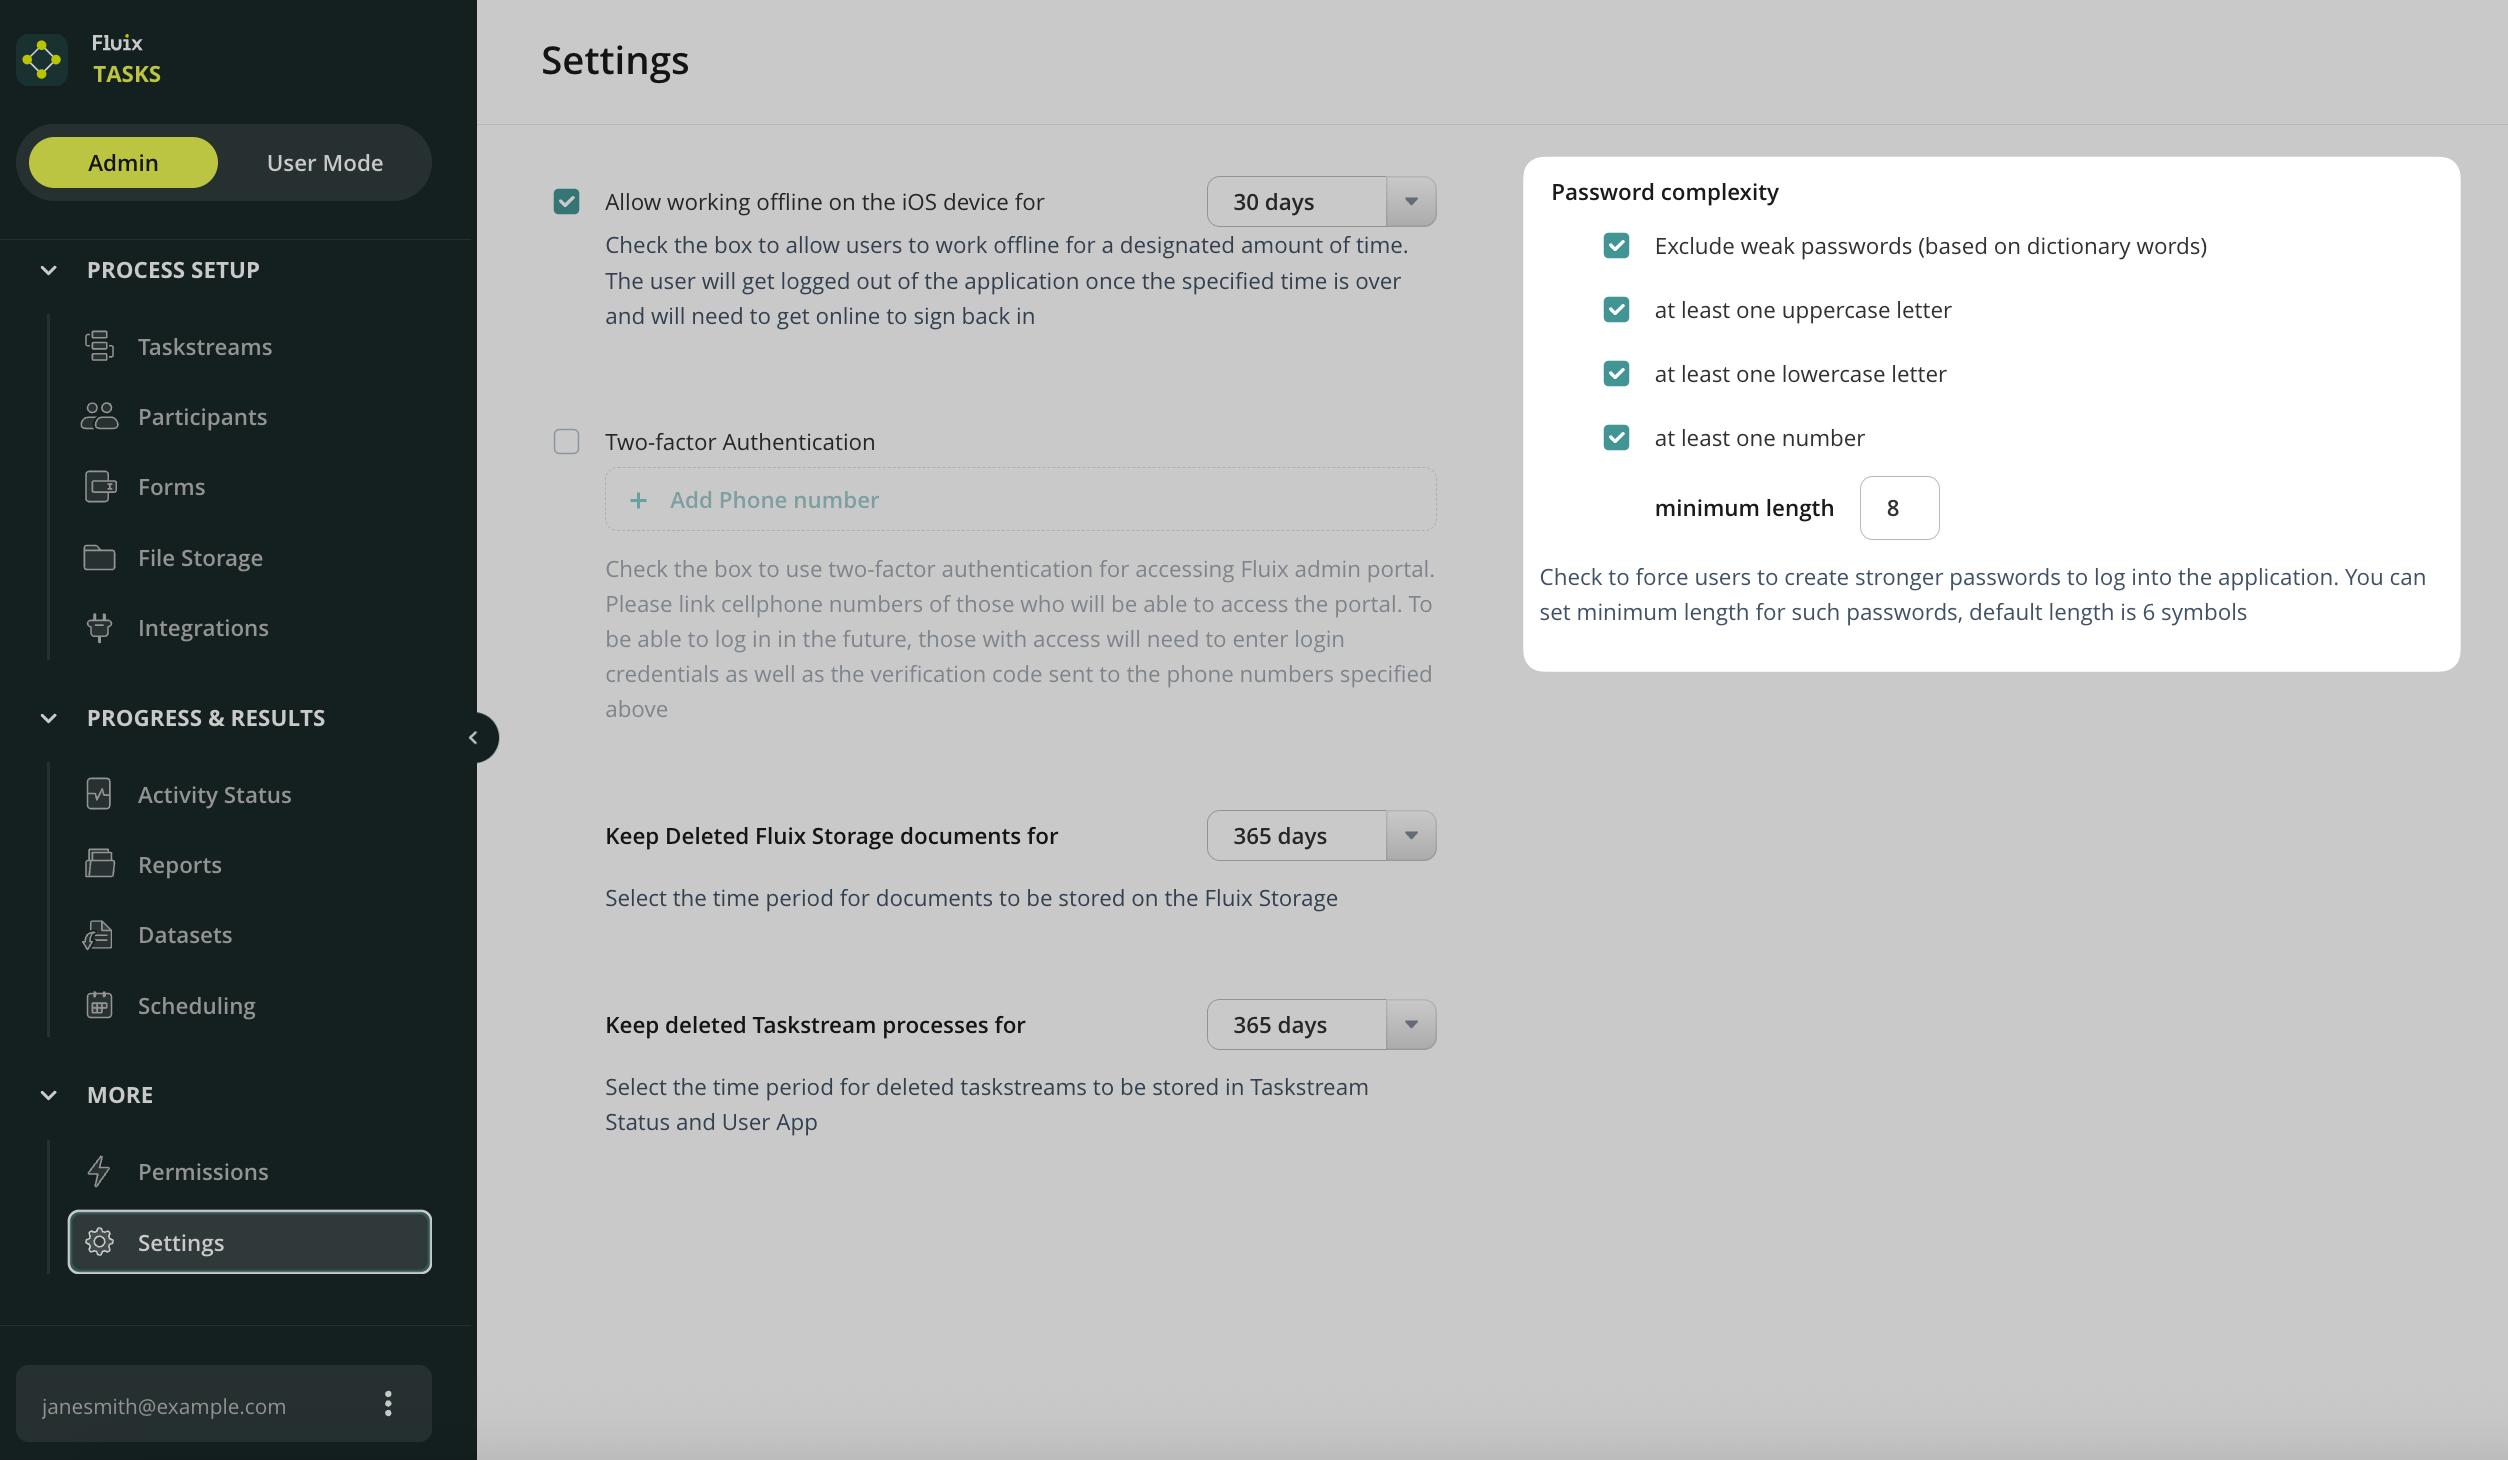
Please note that you can define the complexity of the users’ passwords. This option is available in the Admin tab -> More -> Settings tab.
If a user participates in a couple of accounts, then they will use one password for all accounts.
Invitation Email
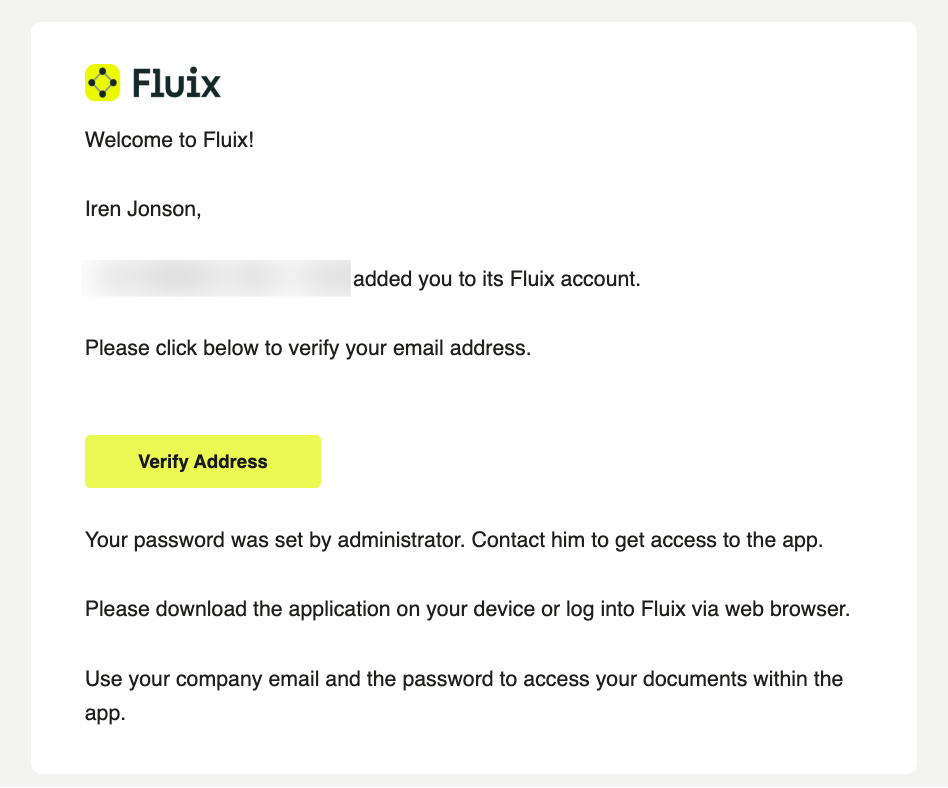
Once added to the Fluix account, a user will receive an email invitation to access Fluix via iPad, iPhone, and web application.
In case the added user didn’t receive the invitation email, you will receive an automatic email notification saying that the system didn’t accept the email address. Please double-check the address, and if that doesn’t help, email us at support@fluix.io for assistance.
Resend Invite
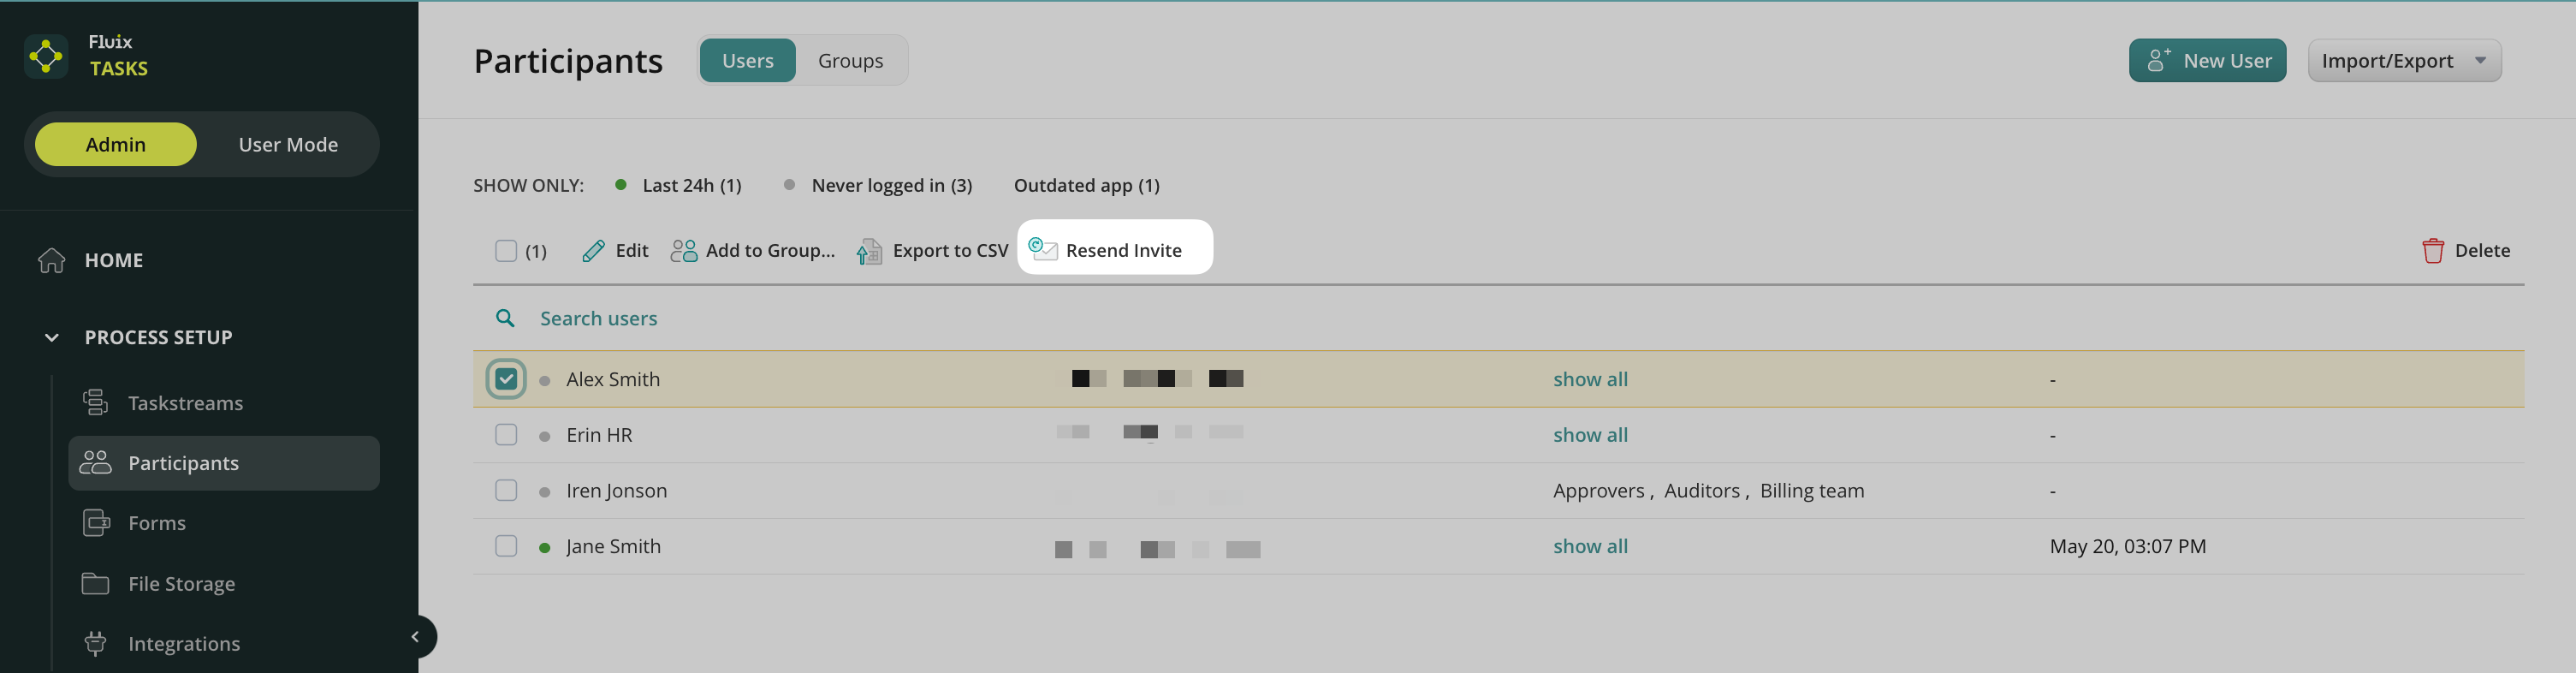
If you need to resend the invite to a user who has never logged into his account, you can do so from the Users section. Check the user to whom you would like to resend the invite and click on the Resend Invite button:
The invitation to access Fluix will be sent again to the selected user who hasn’t logged into the application yet.
Learn how to add Users in bulk in the next article or contact us at support@fluix.io if you have any questions or comments.
Was this article helpful?
Thanks for your feedback!
Oops, something went wrong. Please, try again later.
Thank you!
What details or examples would have made this article more helpful for you? We appreciate your insights!
To save time on adding users to Fluix one by one, we recommend doing it by uploading a CSV file.
Here’s a detailed guide:
1. Collect users’ names and last names, email addresses, and groups they have to belong to (optional).
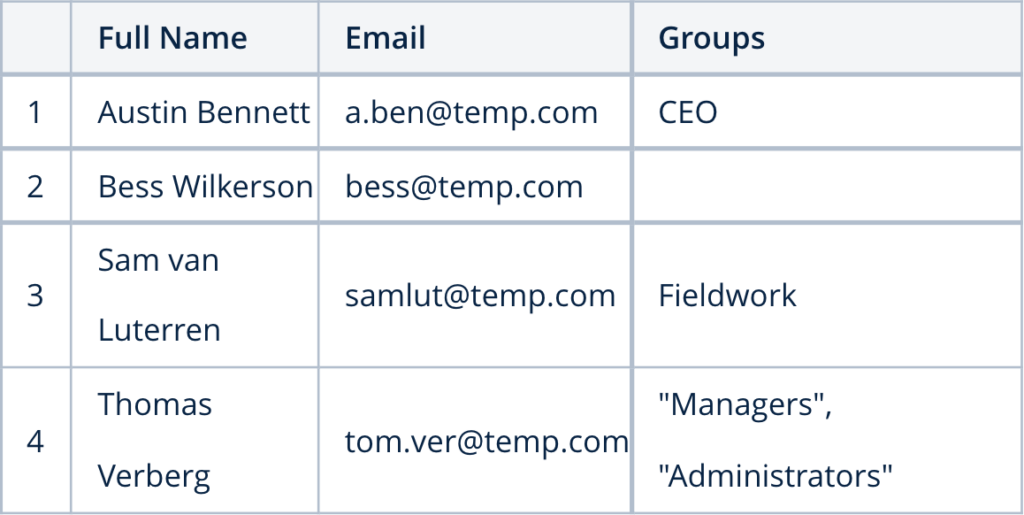
2. Open a Google Spreadsheet (or any other tool that can export this file in a CSV format) and create 2 columns: Full Name and Email. If you would like to assign users to groups automatically, add a third column – Groups (optional). Fill out the document with users’ information.
3. Download the file in CSV format (in Spreadsheets via File -> Download As – CSV)
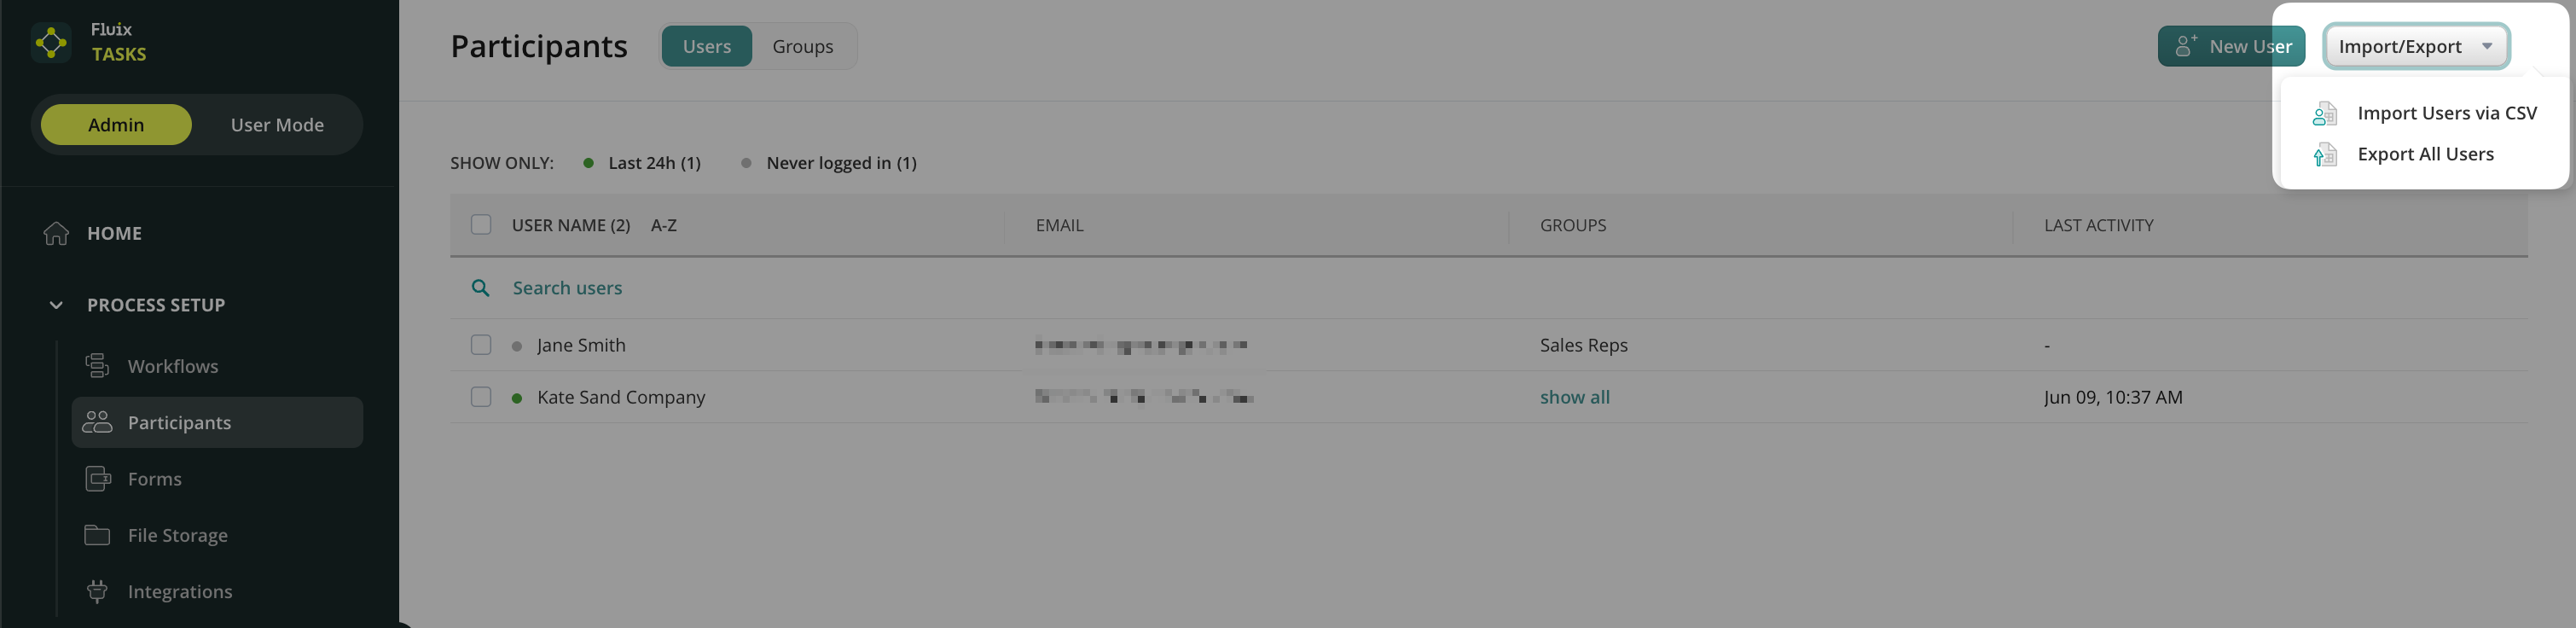
4. In Fluix admin portal go to the Admin Tab -> Process Setup -> Participants section. Import/Export dropdown -> Import Users via CSV button:
5. In the right sidebar, upload the CSV document by clicking onBrowse CSV File.
6. Once the CSV file is uploaded, you will see a list of users from the document, select the ones you want to add or click on Import all.
Learn more about User Details in the next article or contact us at support@fluix.io if you have any questions or comments.
Was this article helpful?
Thanks for your feedback!
Oops, something went wrong. Please, try again later.
Thank you!
What details or examples would have made this article more helpful for you? We appreciate your insights!
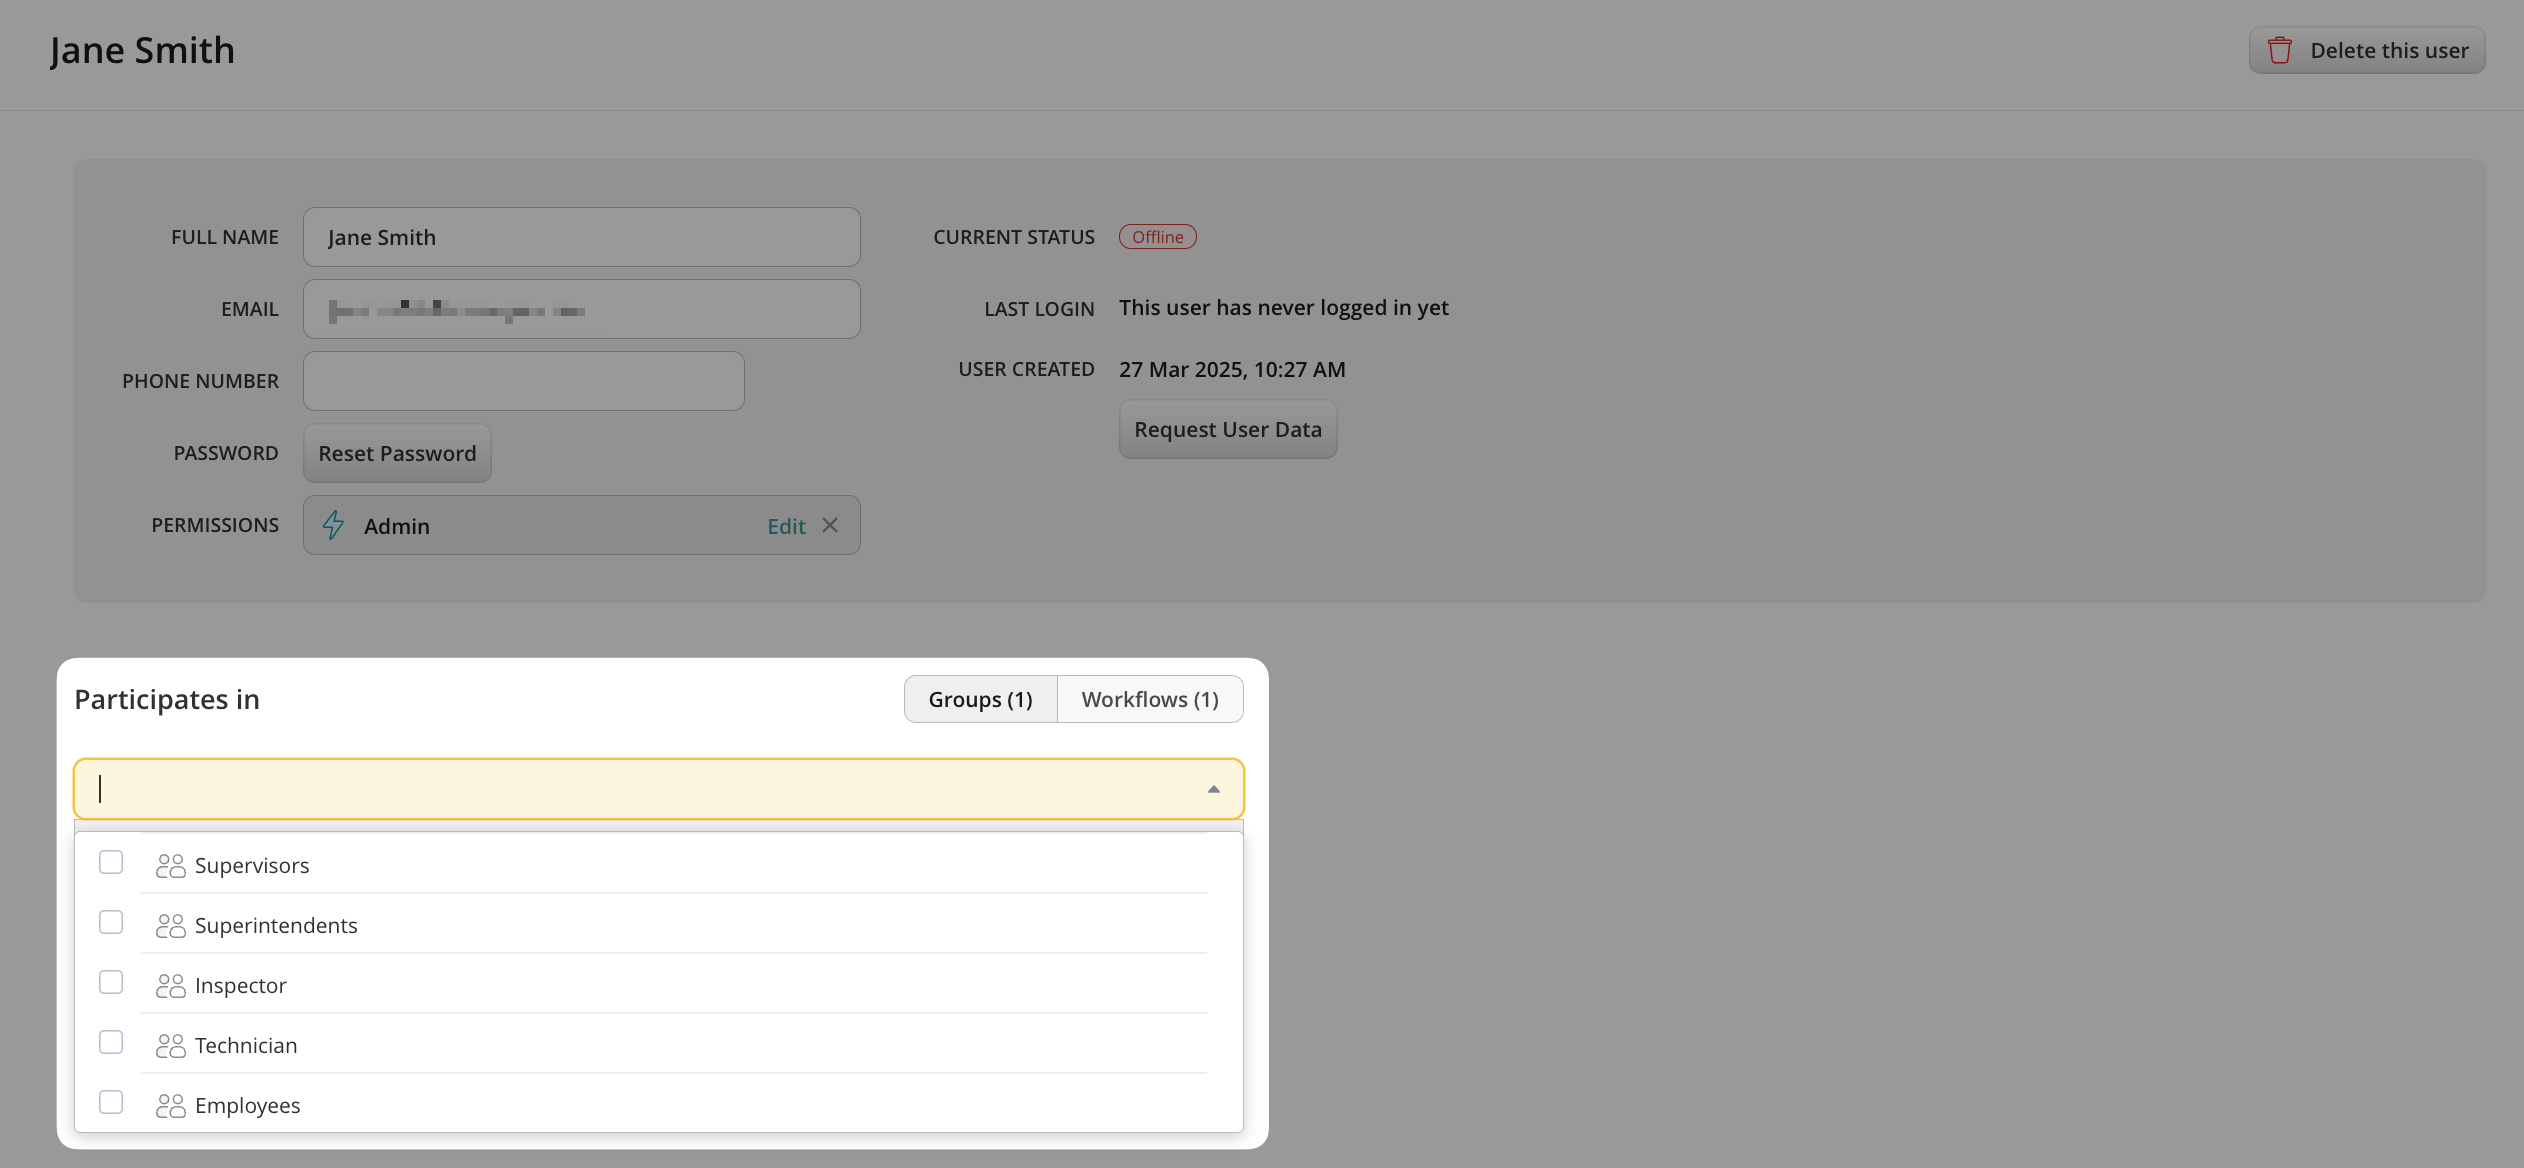
In the Admin Tab -> Process Setup -> Participants -> Users section, click on the user’s name to open his/her user details. In this section, you can view and edit all user details such as name, email address, phone number, Groups and Workflows a user belongs to, and other details:
User Password
From here, you can change a user’s password manually by using the Reset Password button to send an email request to a user asking to change their password.
Groups
Here, you can assign a user to a group or groups of users who participate in a workflow.
Workflows
Once you add a user to any group, he/she will automatically access the documents within the workflows that the respective group participates in. The workflows the user participates in are listed here.
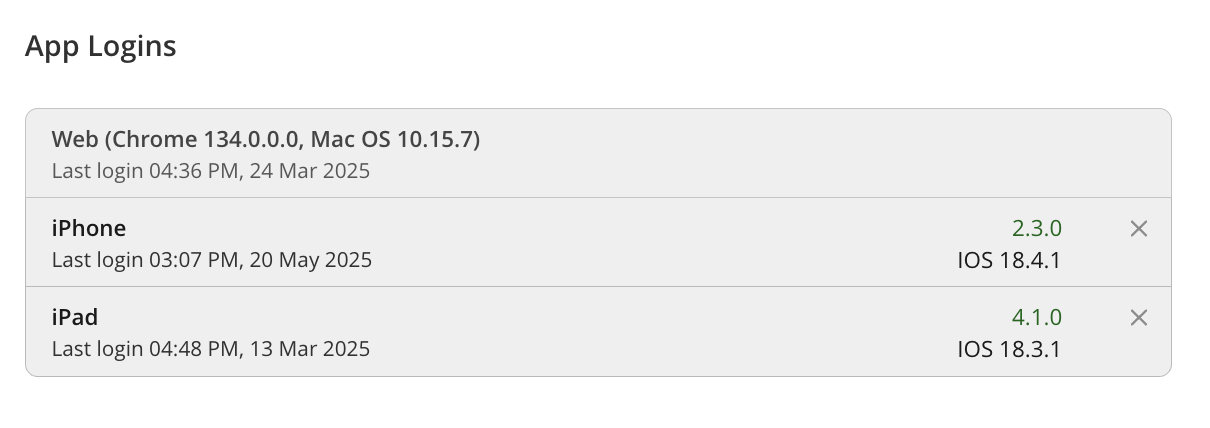
App Logins
This section shows the list of devices a user used to log into Fluix and the app version on each device. If there’s a need to log out the user from a specific device, click on the cross sign next to the device name.
By default, a user can be logged into 3 devices. Once the number is exceeded, the user is logged out of the first device. To limit or increase the number of devices, please contact your Customer Success Manager or support@fluix.io.
Request User Data
This is an option to email the user the details of his/her activity.
Contact us at support@fluix.io if you have any questions or comments.
Was this article helpful?
Thanks for your feedback!
Oops, something went wrong. Please, try again later.
Thank you!
What details or examples would have made this article more helpful for you? We appreciate your insights!
You can delete users in Fluix that no longer need to have access to the platform. To delete a user, please proceed to Admin Tab -> Process Setup -> Participantssectionand follow the steps below:
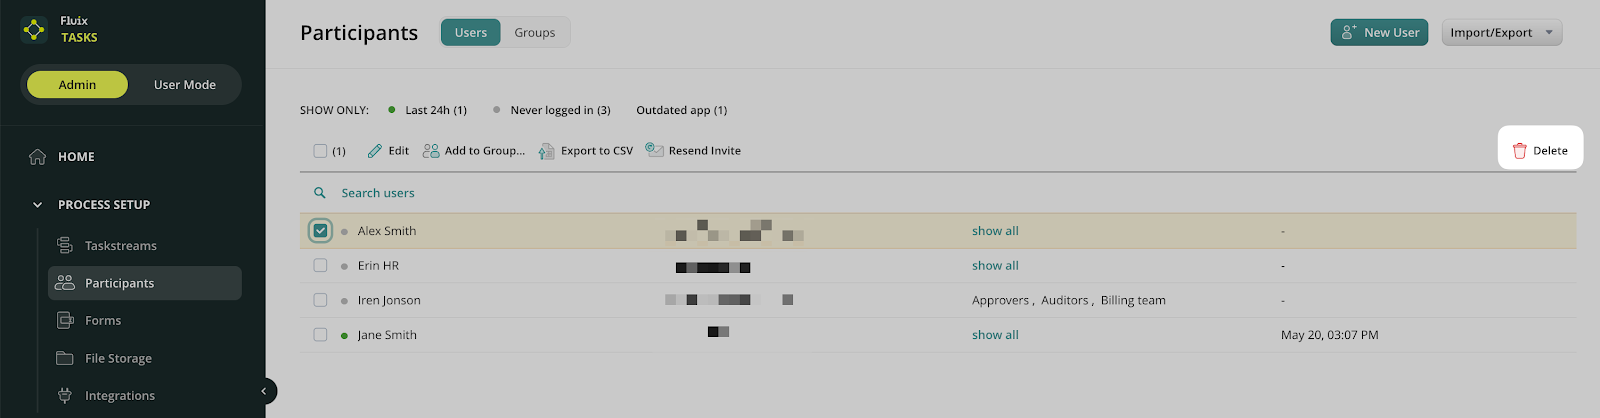
1. Select a User or multiple Users you want to delete by checking the box next to the User’s name.
2. Click on the Delete button in the right corner of the screen. Confirm the selection and the user’s account will be removed.
Please note that there are a couple of instances where a user deletion cannot be completed until certain modifications are made:
The user participates in the workflows, and deletion might affect the whole setup and logic of the task.
The user has administrative rights.
IMPORTANT: According to the GDPR requirements, the data on the deleted user is stored for 30 days. So, if you delete a user by mistake, you can recover him/her within the next 30 days. To do so, contact the Fluix Support Team at support@fluix.io to recover his setup.
Was this article helpful?
Thanks for your feedback!
Oops, something went wrong. Please, try again later.
Thank you!
What details or examples would have made this article more helpful for you? We appreciate your insights!
To export the list of all or selected Fluix users, please go to the Admin Tab -> Process Setup -> Participantssection and follow the steps for each option below:
Option 1. To export the list of all the Users, click on the Import/Export button in the top right corner of your screen and select Export All Users from the drop-down menu:
Option 2. To export the list of selected users, select them by checking a box next to the User’s name and then click the Export to CSV button. The list of selected Users will be downloaded as a CSV file to your computer.
Feel free to contact us at support@fluix.io if you have any questions or comments.
Was this article helpful?
Thanks for your feedback!
Oops, something went wrong. Please, try again later.
Thank you!
What details or examples would have made this article more helpful for you? We appreciate your insights!
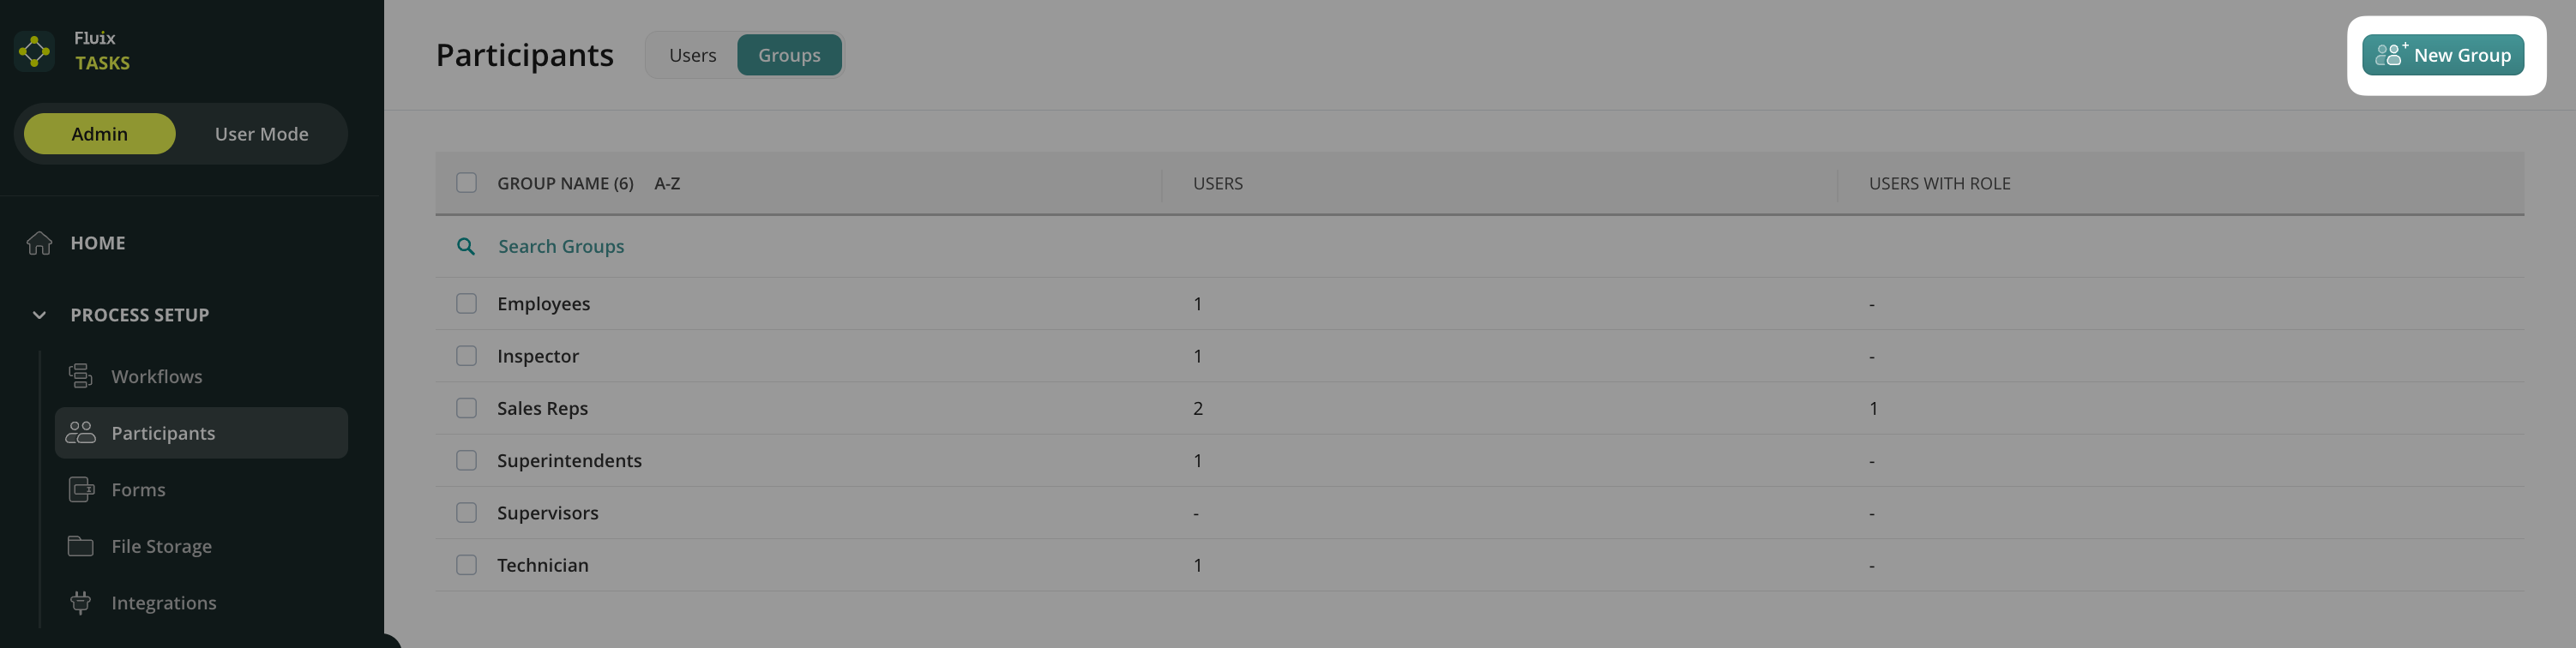
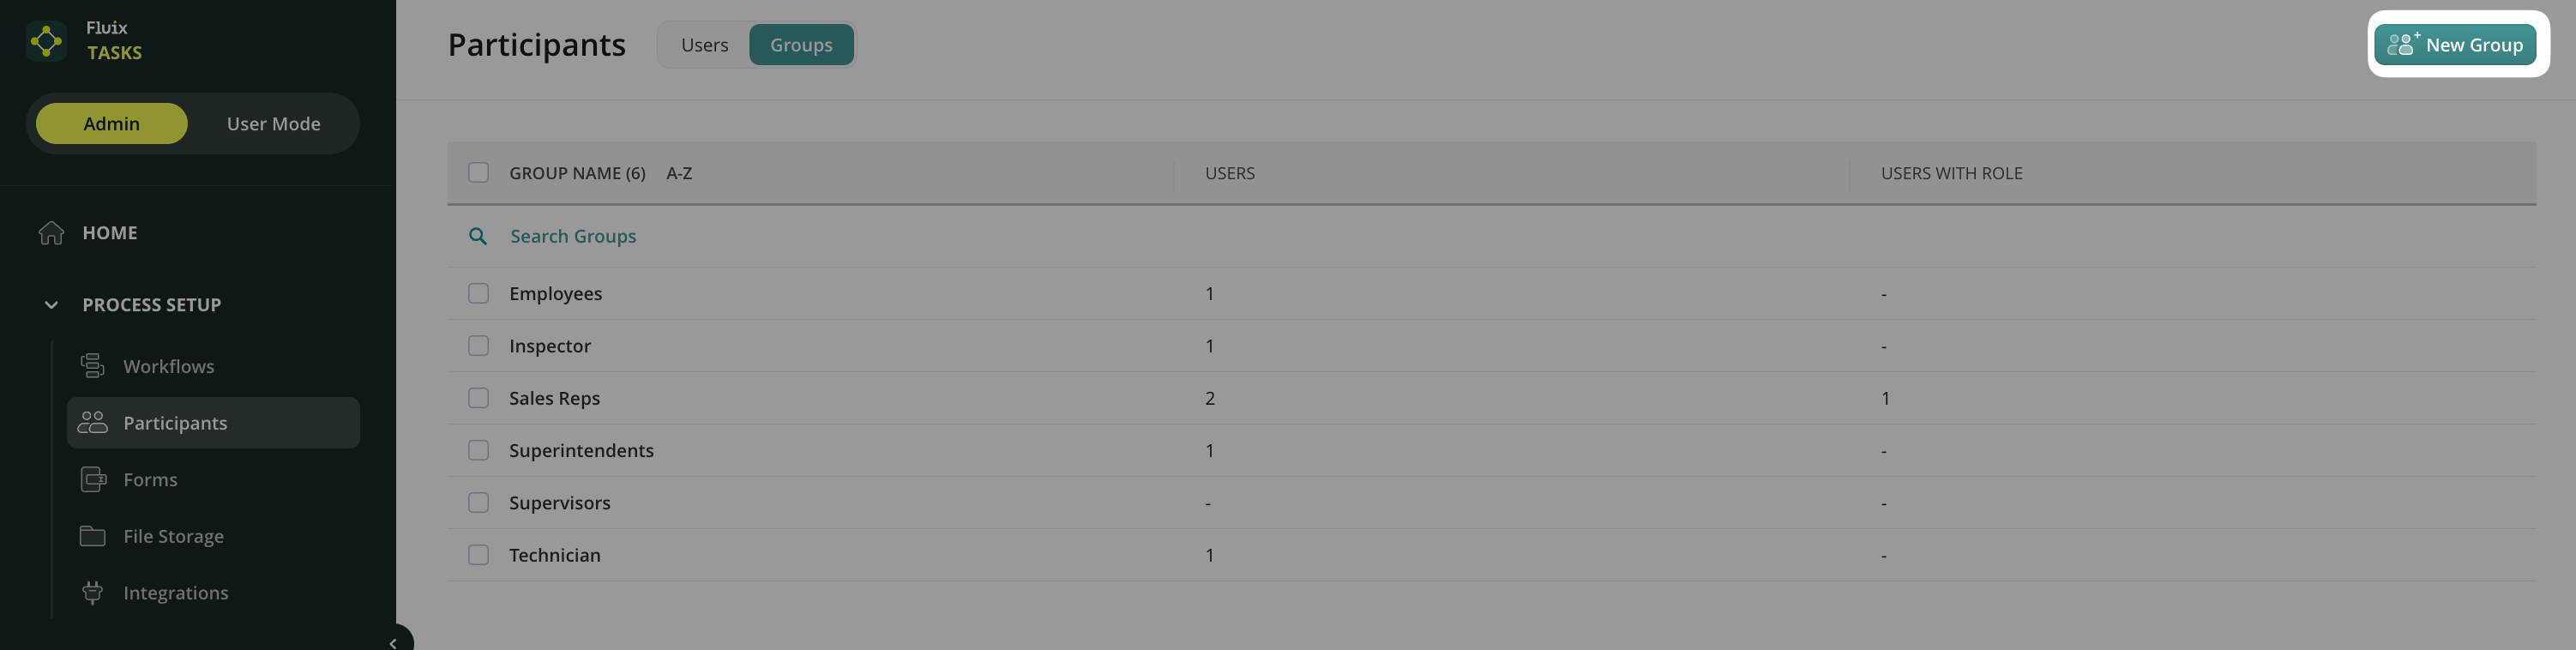
In workflows, participants are assigned to groups of users. To create a new group in workflows, navigate to the Admin Tab -> Process Setup -> Participants section, switch to the Groups tab, and click New Group. In the appeared sidebar, name the group and add the users who’ll be its members:
How to Add Users to Groups in Workflows
You can add users to Groups in four ways:
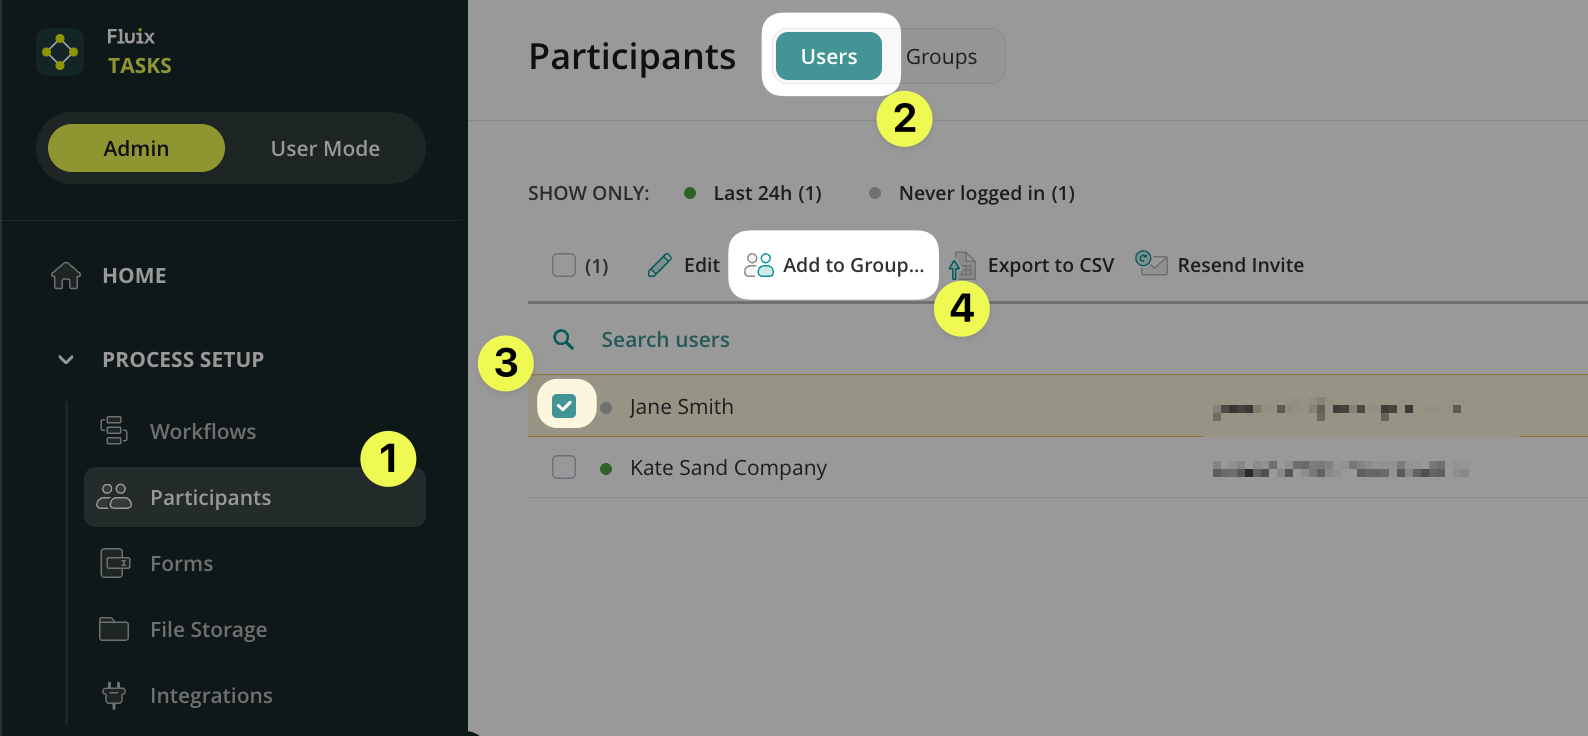
1. From the Admin Tab -> Process Setup -> Participants -> Users tab:
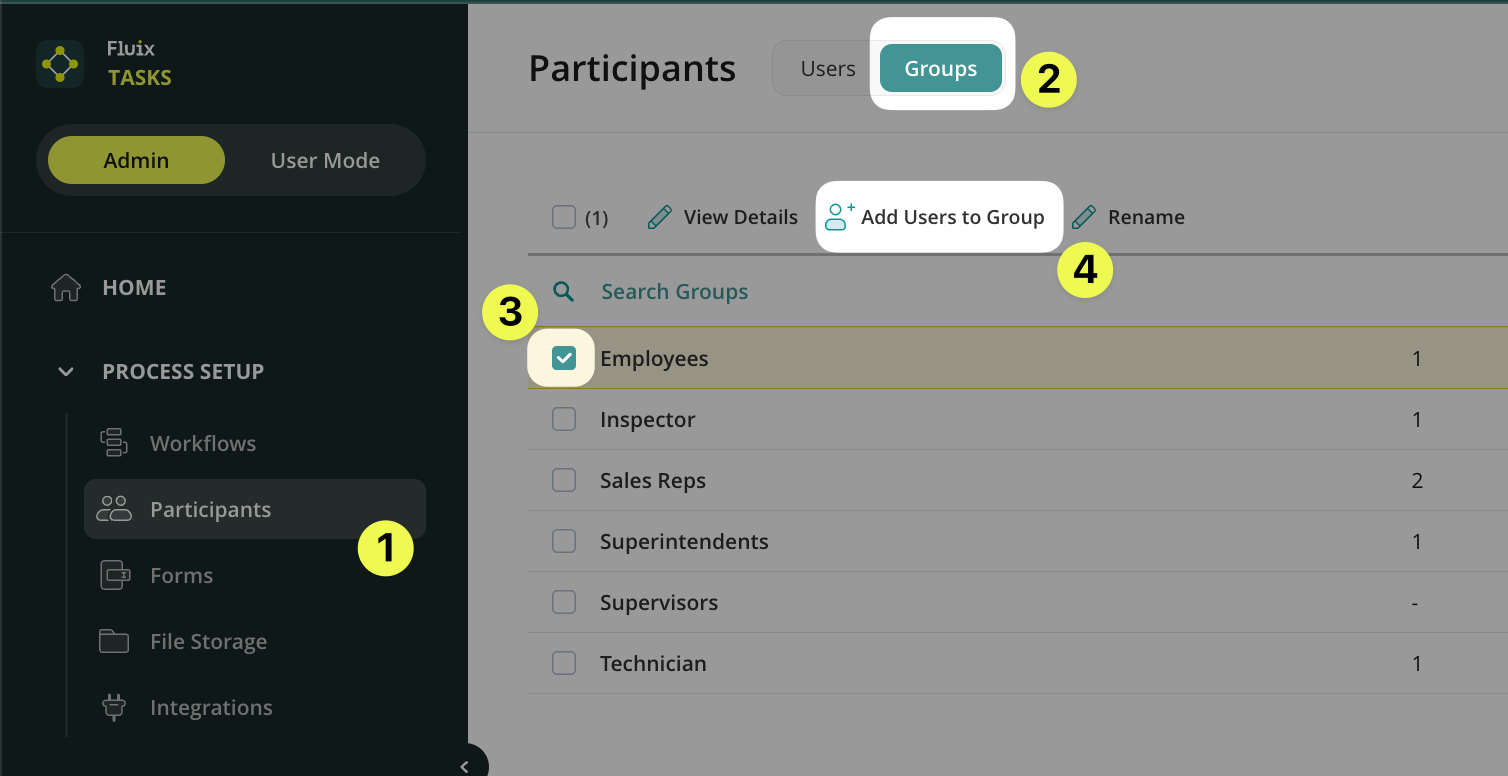
2. From the Admin Tab -> Process Setup -> Participants -> Groups tab to an existing group:
3. By adding the users to a new group that is being created. Navigate to Admin Tab -> Process Setup -> Participants section, switch to the Groups tab -> click New Group.
4. From the User Details page. Navigate to Admin Tab -> Process Setup -> Participants section -> click on user name to open User Details. In the Participates in section, click Add to Group and select the groups:
In case you use the MDM solution to manage your users’ devices, you can ease the login process for your end-users by pre-filling their email addresses on the Fluix login page. Here are the steps to proceed:
1. Add device to MDM
2. Set test user email for ‘com.fluix.mdm.userEmail’ key in MDM
3. Install Fluix via MDM
4. Run Fluix, check if the email is in the ‘username’ field
Feel free to contact us at support@fluix.io if you have any questions or comments.
Was this article helpful?
Thanks for your feedback!
Oops, something went wrong. Please, try again later.
Thank you!
What details or examples would have made this article more helpful for you? We appreciate your insights!
Sign Up to Our Product Newsletter
The latest updates from our Product team, straight to your inbox