
An inspection schedule is a structured plan that defines when, how often, and by whom inspections will be conducted across equipment, facilities, and field operations.
For ops and safety teams, a consistent inspection schedule is the foundation of any inspection management programme. It’s what turns reactive maintenance into systematic oversight. Without one, hazards get missed, maintenance costs climb, and compliance gaps go unnoticed until regulators show up.
In this guide, I’ll cover what an inspection schedule is, how to determine the right frequency for your operations, and how to build a task schedule your teams will actually follow.
Already know the basics? Try Fluix now to schedule, assign, and track inspections across every site.
Contents:
What Is an Inspection Schedule?
How Often Should You Schedule Inspections?
How to Create a Schedule of Inspections
- Step 1. Understand Your Regulatory Requirements
- Step 2. List All Your Assets
- Step 3. Prioritise by Risk
- Step 4. Set the Right Inspection Intervals
Step 5: Build Your Inspection Checklists
Step 6: Assign Responsibility
Step 7: Lock In the Dates
- Step 8: Track, Review, and Adjust
Frequently Asked Questions About Inspection Scheduling
What is an inspection schedule?
How often should inspections be scheduled?
Who is responsible for inspection scheduling?
What is the difference between an inspection schedule and an inspection checklist?
What happens if an inspection is missed?
How to Improve Inspection Scheduling with Fluix
What Is an Inspection Schedule?
An inspection schedule is a plan that tells you when your equipment, jobsite, and facility inspections will take place, and who is responsible for carrying them out.
Without one, inspections get skipped, deferred, or forgotten entirely. When that happens, the downstream consequences are predictable:
- Hazards go undetected until they cause damage
- Equipment fails faster
- Compliance gaps surface during audits
- Regulators issue fines
A structured inspection schedule prevents all of this by building regularity into the process. It removes the guesswork about what needs checking, when, and by whom, and creates a clear inspection record that it happened.
How Often Should You Schedule Inspections?
There is no single correct inspection interval that applies to every asset, site, or operation. Frequency depends on the risks you are managing and the regulations governing your industry.
The factors below typically shape how often inspections should recur:
| Factor | What It Means | Example |
|---|---|---|
| Industry regulations | Agencies like OSHA, the FDA, and the FAA set minimum inspection frequencies for specific equipment and site types. | FAA regulations (14 CFR Part 139) require airports to inspect airfields every day for debris, wildlife activity, surface damage, and lighting issues. |
| Equipment type and use | The more critical or heavily used a piece of equipment is, the more frequently it needs to be checked. | Scaffolding in construction should be inspected weekly to catch wear, damage, or loosened components. |
| Risk level | High-risk areas require more frequent and detailed inspections. | Fall protection systems should be inspected before each use — the consequences of failure are immediate and severe. |
| History of issues | Equipment or facilities with a record of problems warrant closer monitoring. | A wind turbine that has previously been cracked or damaged should be re-inspected more frequently than one with a clean history. |
| Environmental conditions | Harsh environments accelerate wear and increase failure risk. | Solar panels in desert climates need more frequent checks for dust accumulation, overheating, and surface abrasion. |
ISO 45001 encourages teams to schedule inspections based on what’s actually happening on the ground — not just what the minimum regulatory requirement demands.
Related: Related: Fieldwire alternatives for scheduling and managing inspections
How to Create a Schedule of Inspections
Missed inspections often create the conditions for accidents, shutdowns, and fines. A schedule built for your operations is the difference between inspections that happen and inspections that get deferred until something goes wrong.
Here are the eight steps to build one.
Step 1. Understand Your Regulatory Requirements
Before anything else, review the inspection regulations that apply to your industry. OSHA , the FDA, the EPA, the DOT, and sector-specific bodies all set minimum frequencies for different asset and site types.
Build a master list of every inspection you are legally required to carry out, including how often each one must occur. OSHA’s monthly fire extinguisher check is a simple example, but some industries carry dozens of mandatory inspection types, each with its own cadence.
Assign someone to review these requirements periodically. Regulations change, and a schedule built on outdated rules creates compliance risk.
Step 2. List All Your Assets
Document everything that moves, wears out, or protects your people. Any asset not on the list is a risk you are not tracking.
A spreadsheet or asset management tool works well for this. Include equipment, facilities, vehicles, safety systems, and any other item that requires periodic inspection. This list becomes the foundation of your schedule.
Step 3. Prioritise by Risk
Not every asset needs the same inspection frequency. Inspection prioritisation means deciding which assets warrant the closest attention based on two variables:
- Severity: How bad would a failure be?
- Likelihood: How probable is a failure?
Plot each asset against these two dimensions and group them into high, medium, and low priority. High-severity, high-likelihood assets go at the top of the schedule and get the shortest intervals. Lower-risk assets can be checked less frequently without exposing the operation to significant hazard.
Step 4. Set the Right Inspection Intervals
With your risk assessment complete, assign a specific inspection interval to each asset. Base this on a combination of:
- Regulatory minimums (treat these as a floor, not a target)
- Manufacturer recommendations (they know the asset’s failure modes best)
- Your risk scores from Step 3
- Any maintenance or incident history you hold
The goal is calibration, not conservatism. Inspecting every asset at maximum frequency wastes time and dilutes attention. Inspecting high-risk assets too rarely creates exposure. Find the right interval for each item.
Step 5: Build Your Inspection Checklists
Every inspection in the schedule needs a corresponding inspection checklist that makes clear exactly what must be checked during that visit.
“Checklists are good because it reminds you of something to look for and to look at, but then you become very blinkered on: is all of this OK, yes or no?”
Liam Hook, HSE Manager, Marubeni Middle East and Africa Power Limited.
That’s the risk of a poorly designed checklist. A well-built one does the opposite, it directs attention without replacing it. At minimum, each checklist should cover:
- What to look for
- What constitutes a pass or fail
- Space to document findings, photos, and any follow-up actions required
Mobile forms allow field teams to complete checklists, attach photos, and capture signatures on-site. Digitising this step removes transcription errors and ensures records are timestamped and accessible immediately after the inspection closes.
If you already have paper checklists or legacy PDFs, you don’t need to rebuild them from scratch. For example, in Fluix, you can build forms in the AI builder in under 10 seconds — dropping it straight into the Form Builder for any edits before it goes live in a workflow.
Need a starting point? Describe the inspection you’re scheduling and generate your first checklist in seconds — try AI Form Creation in Fluix
Step 6: Assign Responsibility
Decide who is responsible for each inspection type. This might be a supervisor, field operator, safety officer, or a certified external contractor — depending on the inspection and any regulatory requirements around who can legally conduct it.
Ambiguity about ownership is one of the most common reasons inspections slip. Every item on the schedule should have a named role (or named individual) attached.
Step 7: Lock In the Dates
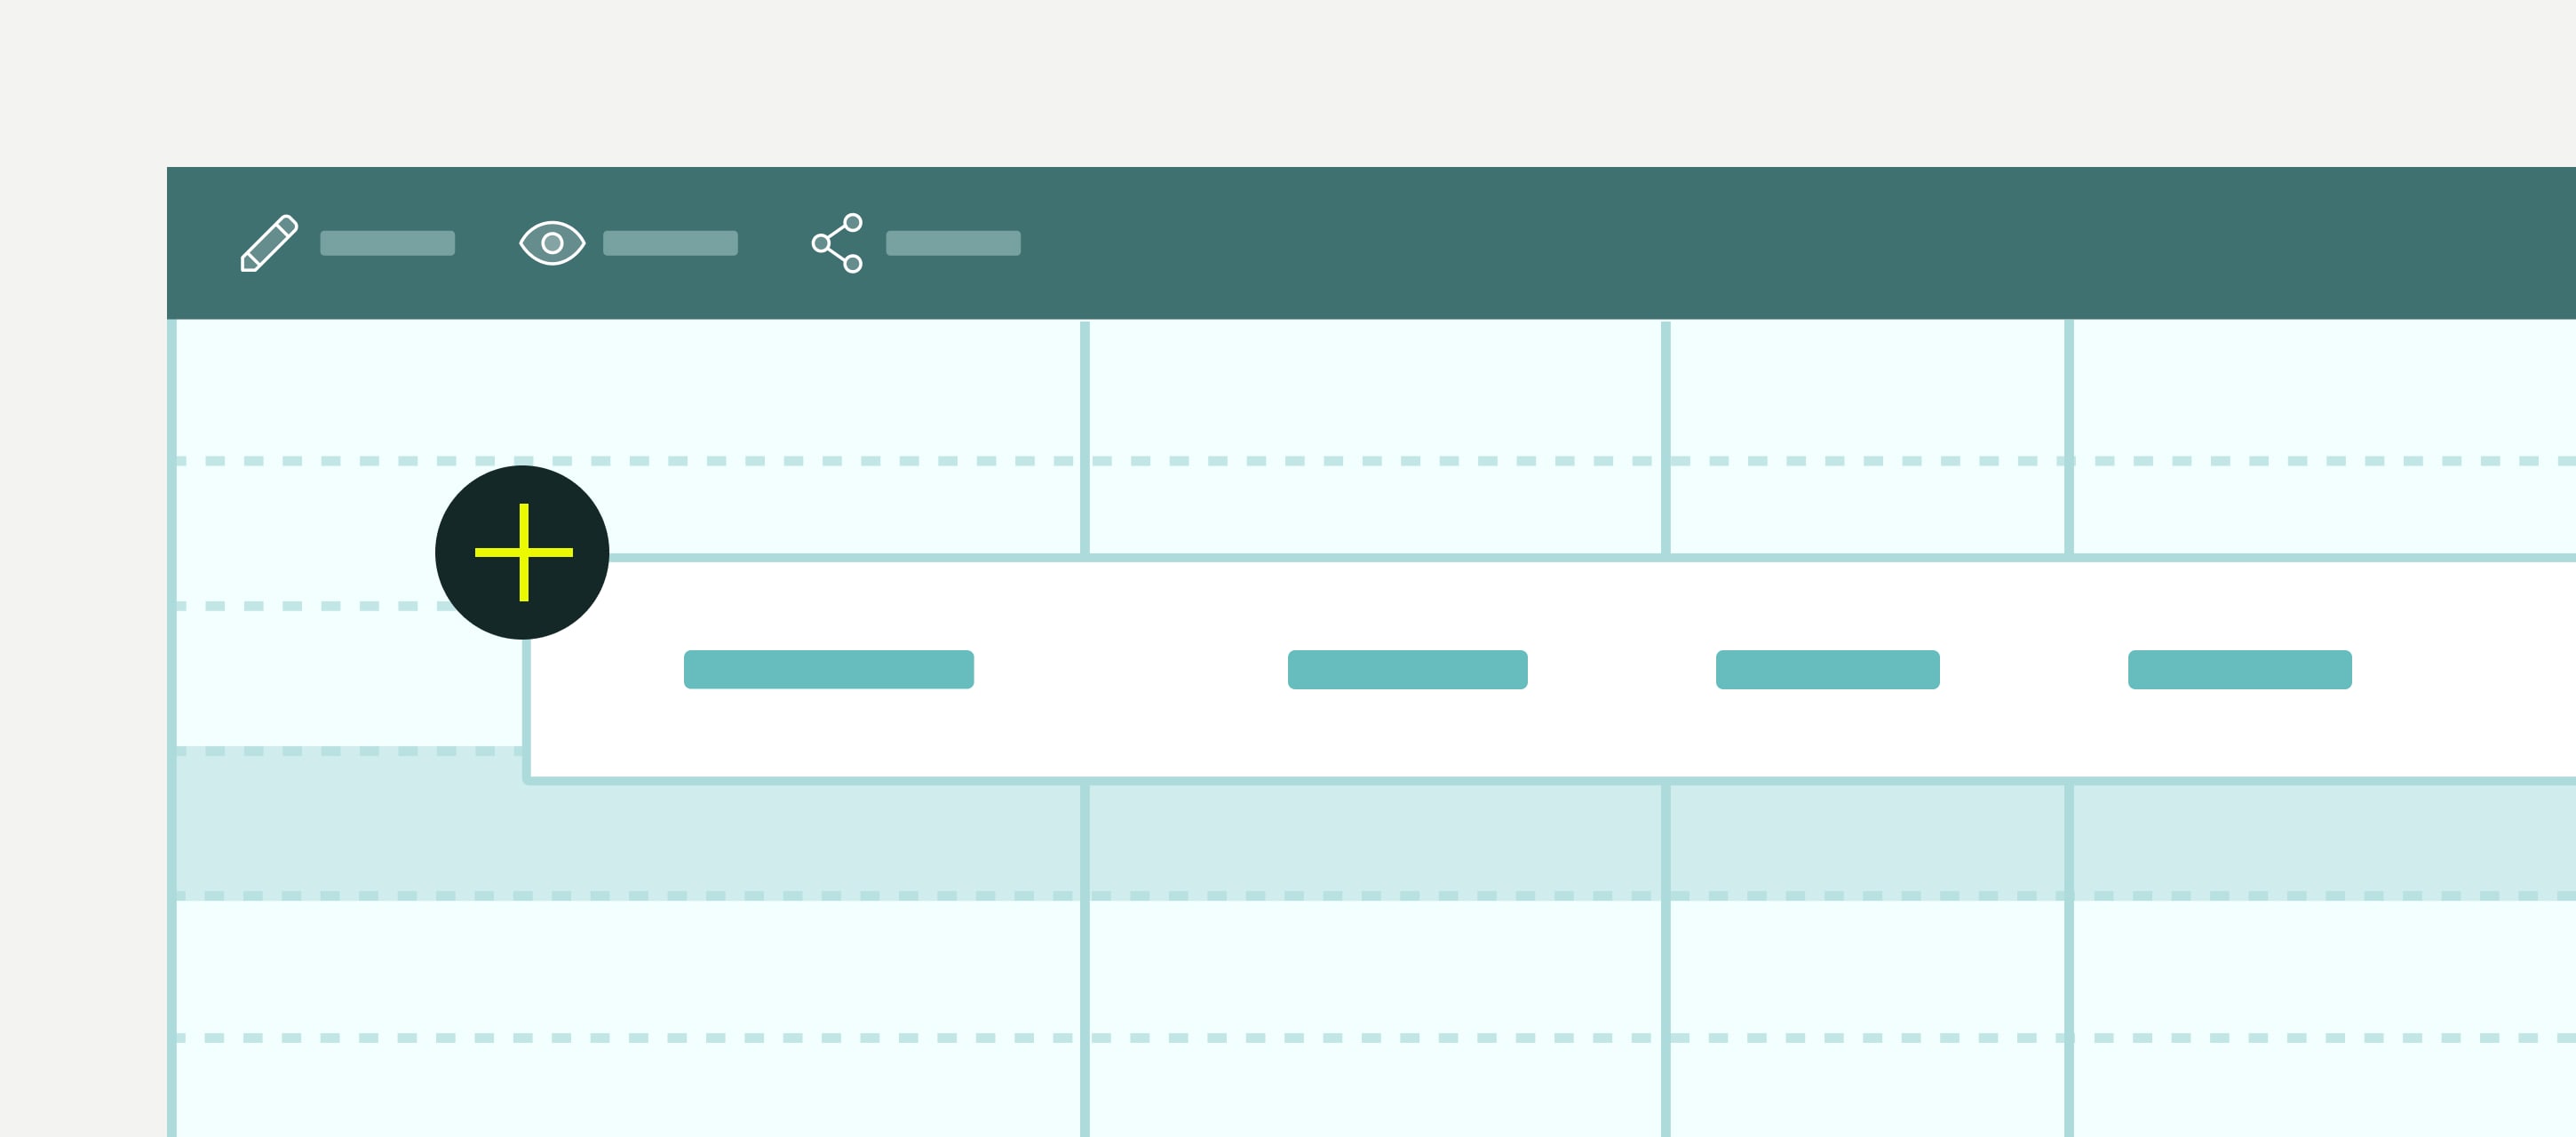
Add every scheduled inspection to a calendar that the whole team can access. Digital scheduling allows you to set recurrences, send automated reminders, and see what is coming up across multiple sites or teams in a single view.
Step 8: Track, Review, and Adjust
Keep a record of every inspection completed. You will need these for regulatory audits, and they are also your best source of pattern data — repeat findings on the same asset are a signal that the interval may be too long, or that a deeper maintenance issue needs attention.
Inspection schedules are not set-and-forget documents. Review them regularly:
- Are inspections completing on time?
- Are findings being acted on?
- Does the current frequency still reflect the actual risk level?
If something is off, revise it. A schedule that no longer reflects operational reality is one that teams stop following.
Frequently Asked Questions About Inspection Scheduling
What is an inspection schedule?
An inspection schedule is a documented plan that defines when inspections will take place, who is responsible for conducting them, and how often they recur. It covers equipment, facilities, and safety systems — ensuring nothing is missed and all findings are recorded with a clear audit trail.
How often should inspections be scheduled?
Inspection frequency depends on regulatory requirements, equipment type, risk level, and incident history. High-risk assets like fall protection systems should be inspected before every use; lower-risk equipment may need only monthly or quarterly checks. Always meet the regulatory minimum, then adjust upward based on your risk assessment.
Who is responsible for inspection scheduling?
Responsibility typically sits with a safety officer, operations manager, or site supervisor, depending on the organisation’s structure. Some inspection types require certified personnel by regulation. Inspection management software can automate the assignment process and track responsibility across teams.
What is the difference between an inspection schedule and an inspection checklist?
An inspection schedule defines when and how often inspections happen. An inspection checklist defines what is checked during each inspection. Both are required for a compliant, effective inspection programme — the schedule tells you when to inspect; the checklist tells you what to inspect.
What happens if an inspection is missed?
A missed inspection can mean an undetected hazard, a compliance violation, or an invalidated maintenance record. Depending on the asset and the regulation governing it, a single missed inspection can trigger a formal non-conformance, a fine, or in safety-critical industries, an operational shutdown. Automated reminders and scheduling software reduce the chance of a miss by removing the reliance on individual memory.
How to Improve Inspection Scheduling with Fluix
Managing inspection schedules across teams and sites is harder in practice than it looks on paper. Tracking who holds which certification, adjusting intervals when conditions change, following up on findings, and keeping regulators satisfied with a clean audit trail — the admin load adds up quickly.
Fluix is inspection management software that gives field teams a purpose-built system for scheduling, completing, and following up on inspections, replacing disconnected spreadsheets and paper-based processes with a single, connected workflow.
With Fluix you can:
- Schedule inspections in advance so your team always knows what’s due, who’s responsible, and when it needs to be done
- Automate reminders so inspections are completed on time without manual chasing
- Assign by skill, certification, or location using automated workforce scheduling that matches the right inspector to the right job
- Share findings instantly so supervisors can step in with corrective actions before issues escalate
- Maintain a full audit trail of every completed inspection, organised and accessible when regulators ask
Fluix is used by 12,000 field service teams across construction, energy, utilities, and manufacturing to manage their inspections, safety, and compliance from the field.