


If you’re filling in a PDF form from your mobile device, adding a date field is essential for keeping an accurate record of timelines.
This is easy if you’re using a PDF editor that’s designed for quick use on the go.
Here’s how to add a date field, in whatever format suits you best, with Fluix.
Fluix
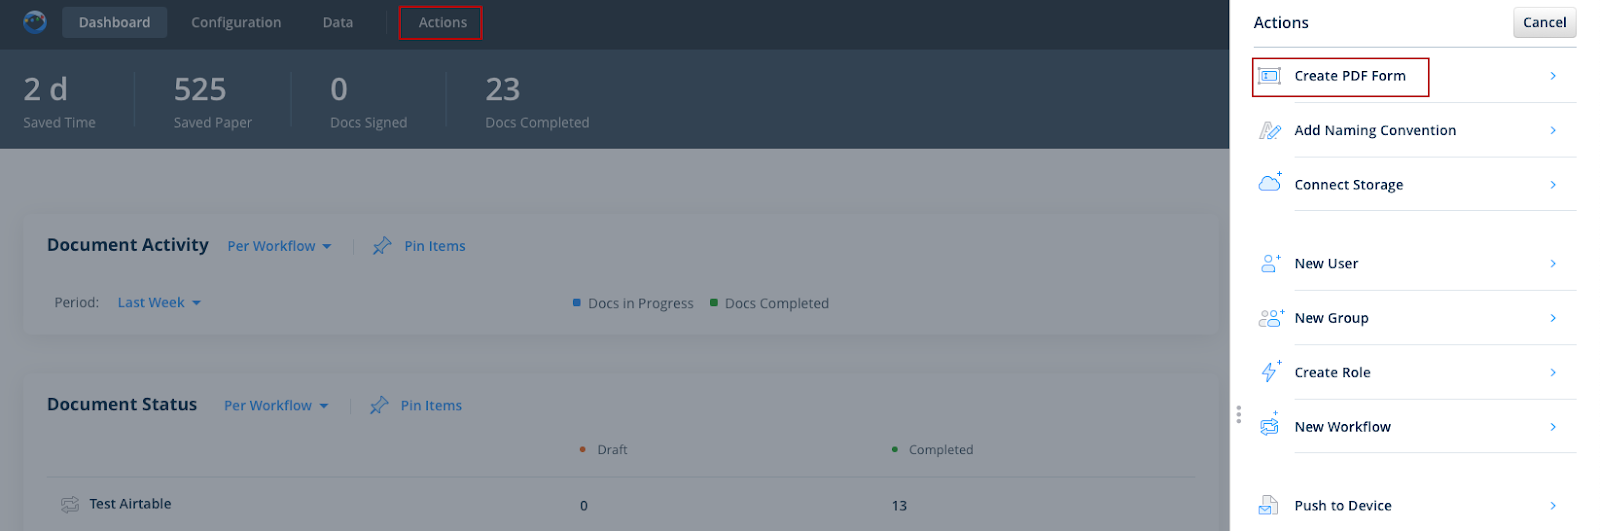
1. Go to Actions and click Create PDF Form.
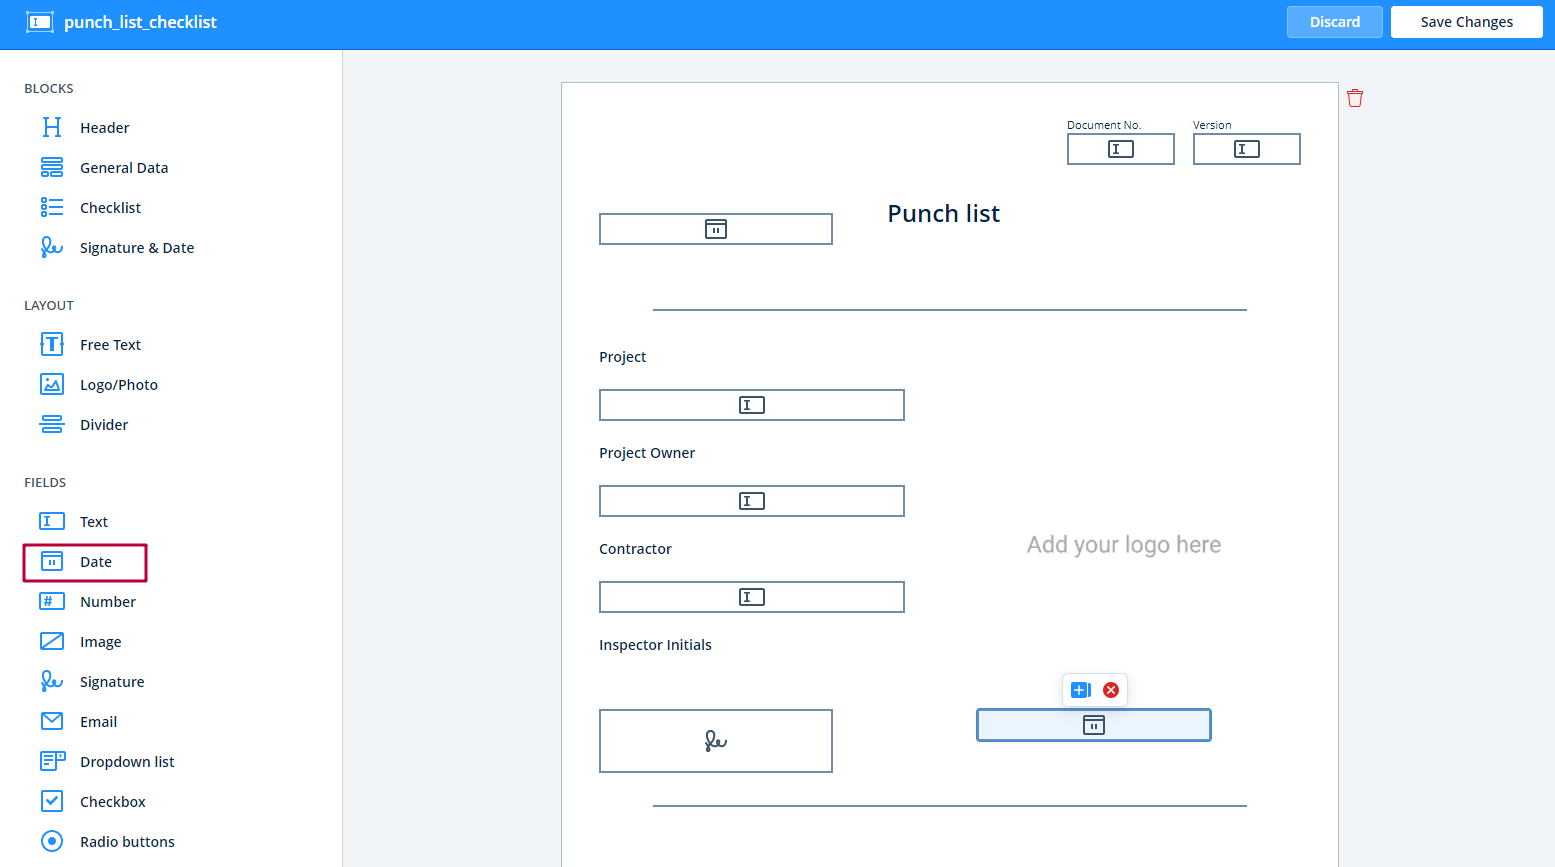
4. Save changes.
Adobe Acrobat
1. Open the necessary PDF form, choose Forms & Signatures > Prepare Form and click Add a Date Field.
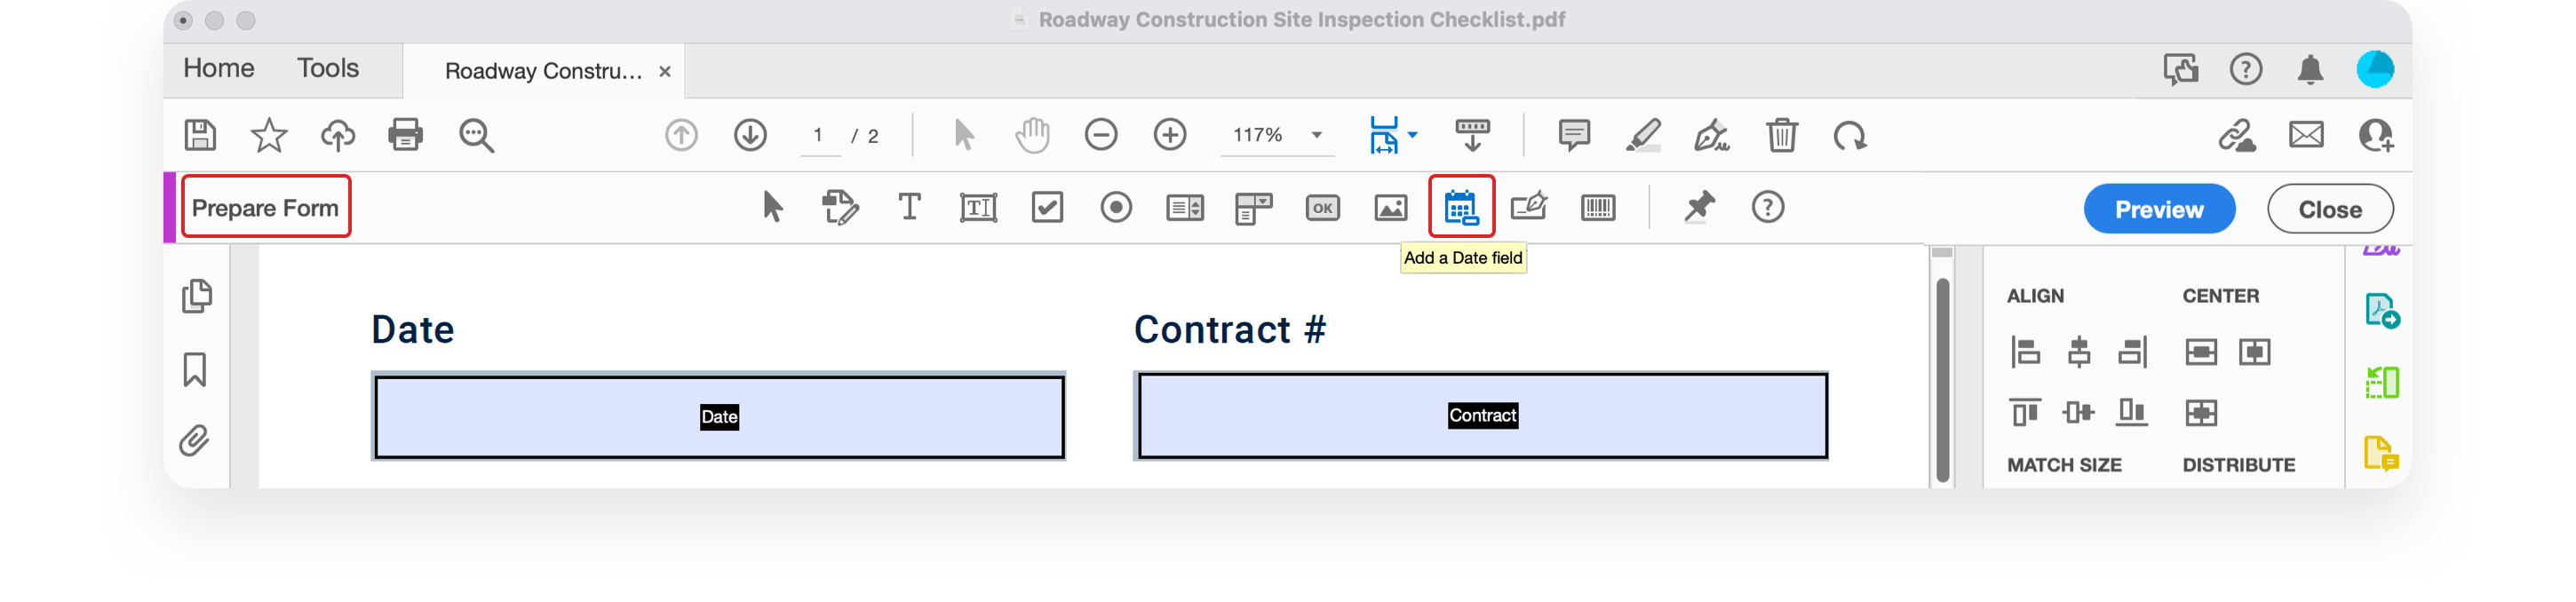
2. Drag it to the designated place in your form.
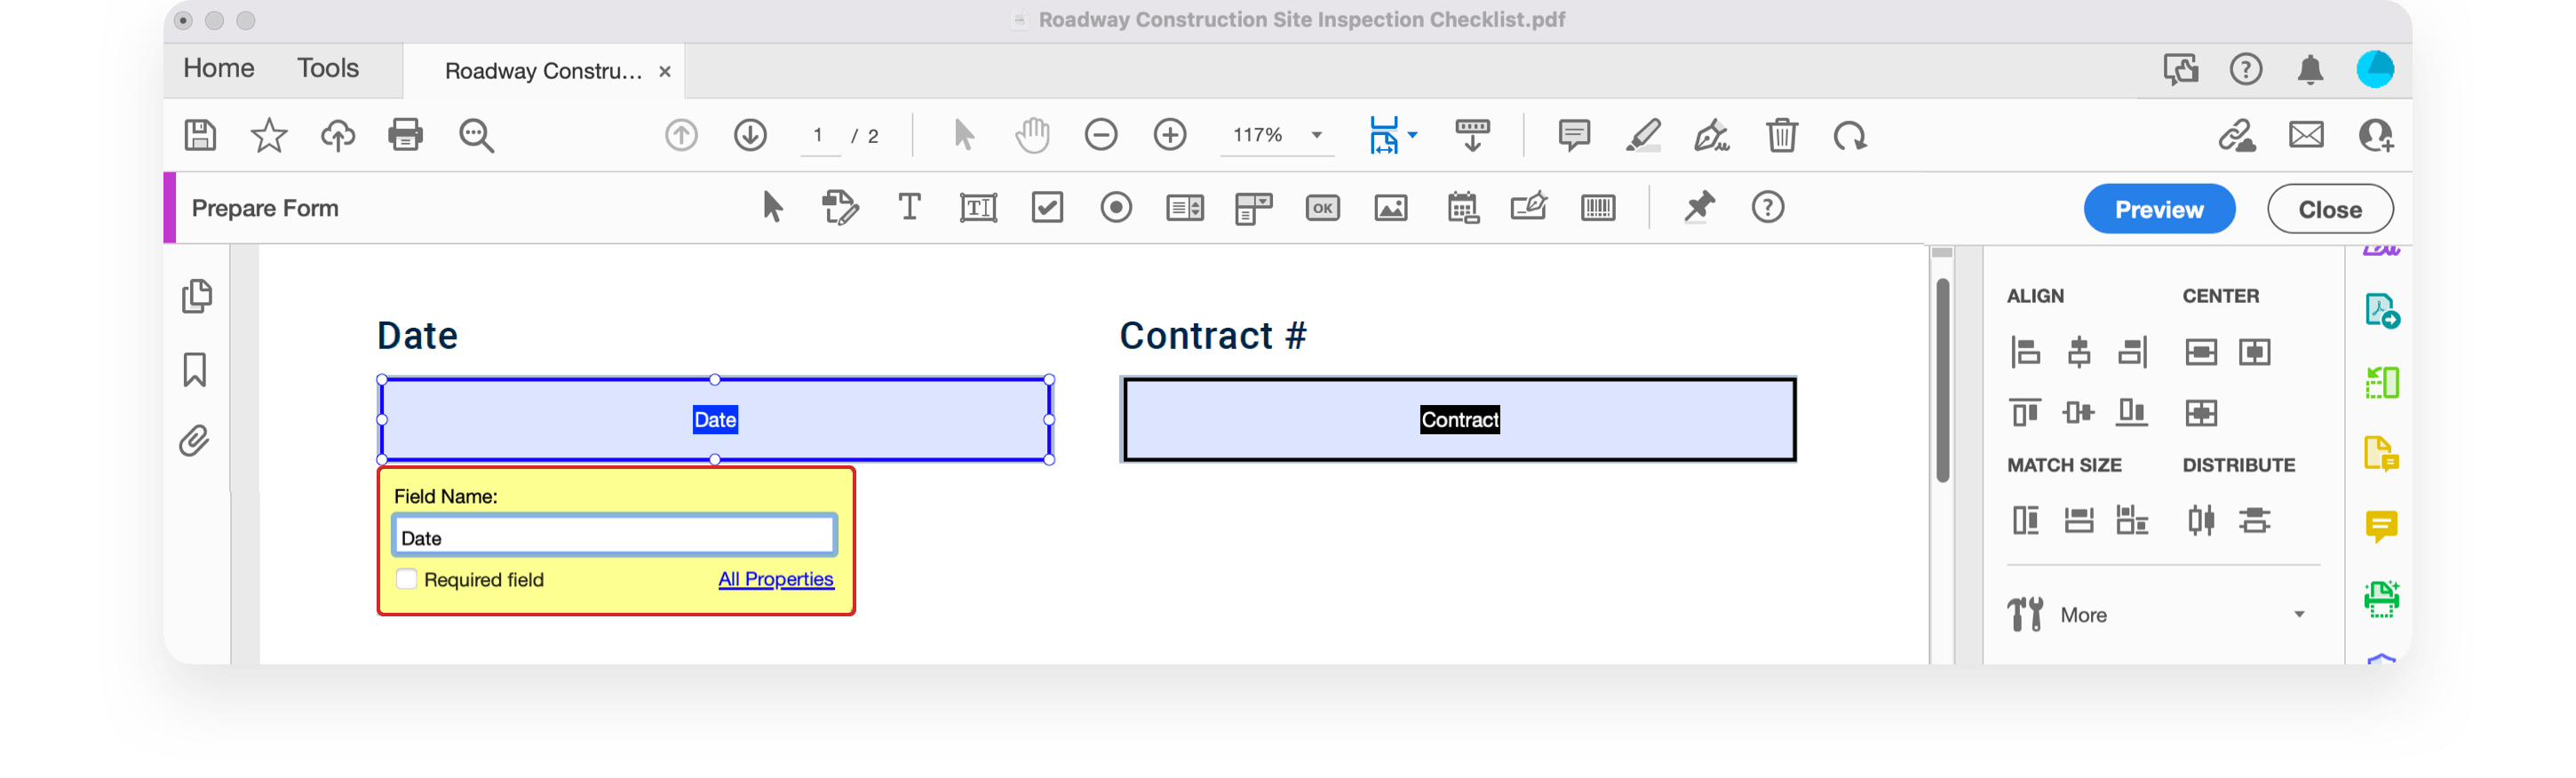
3. Double-click the field to open its Properties. Go to Format and select the date format you need.
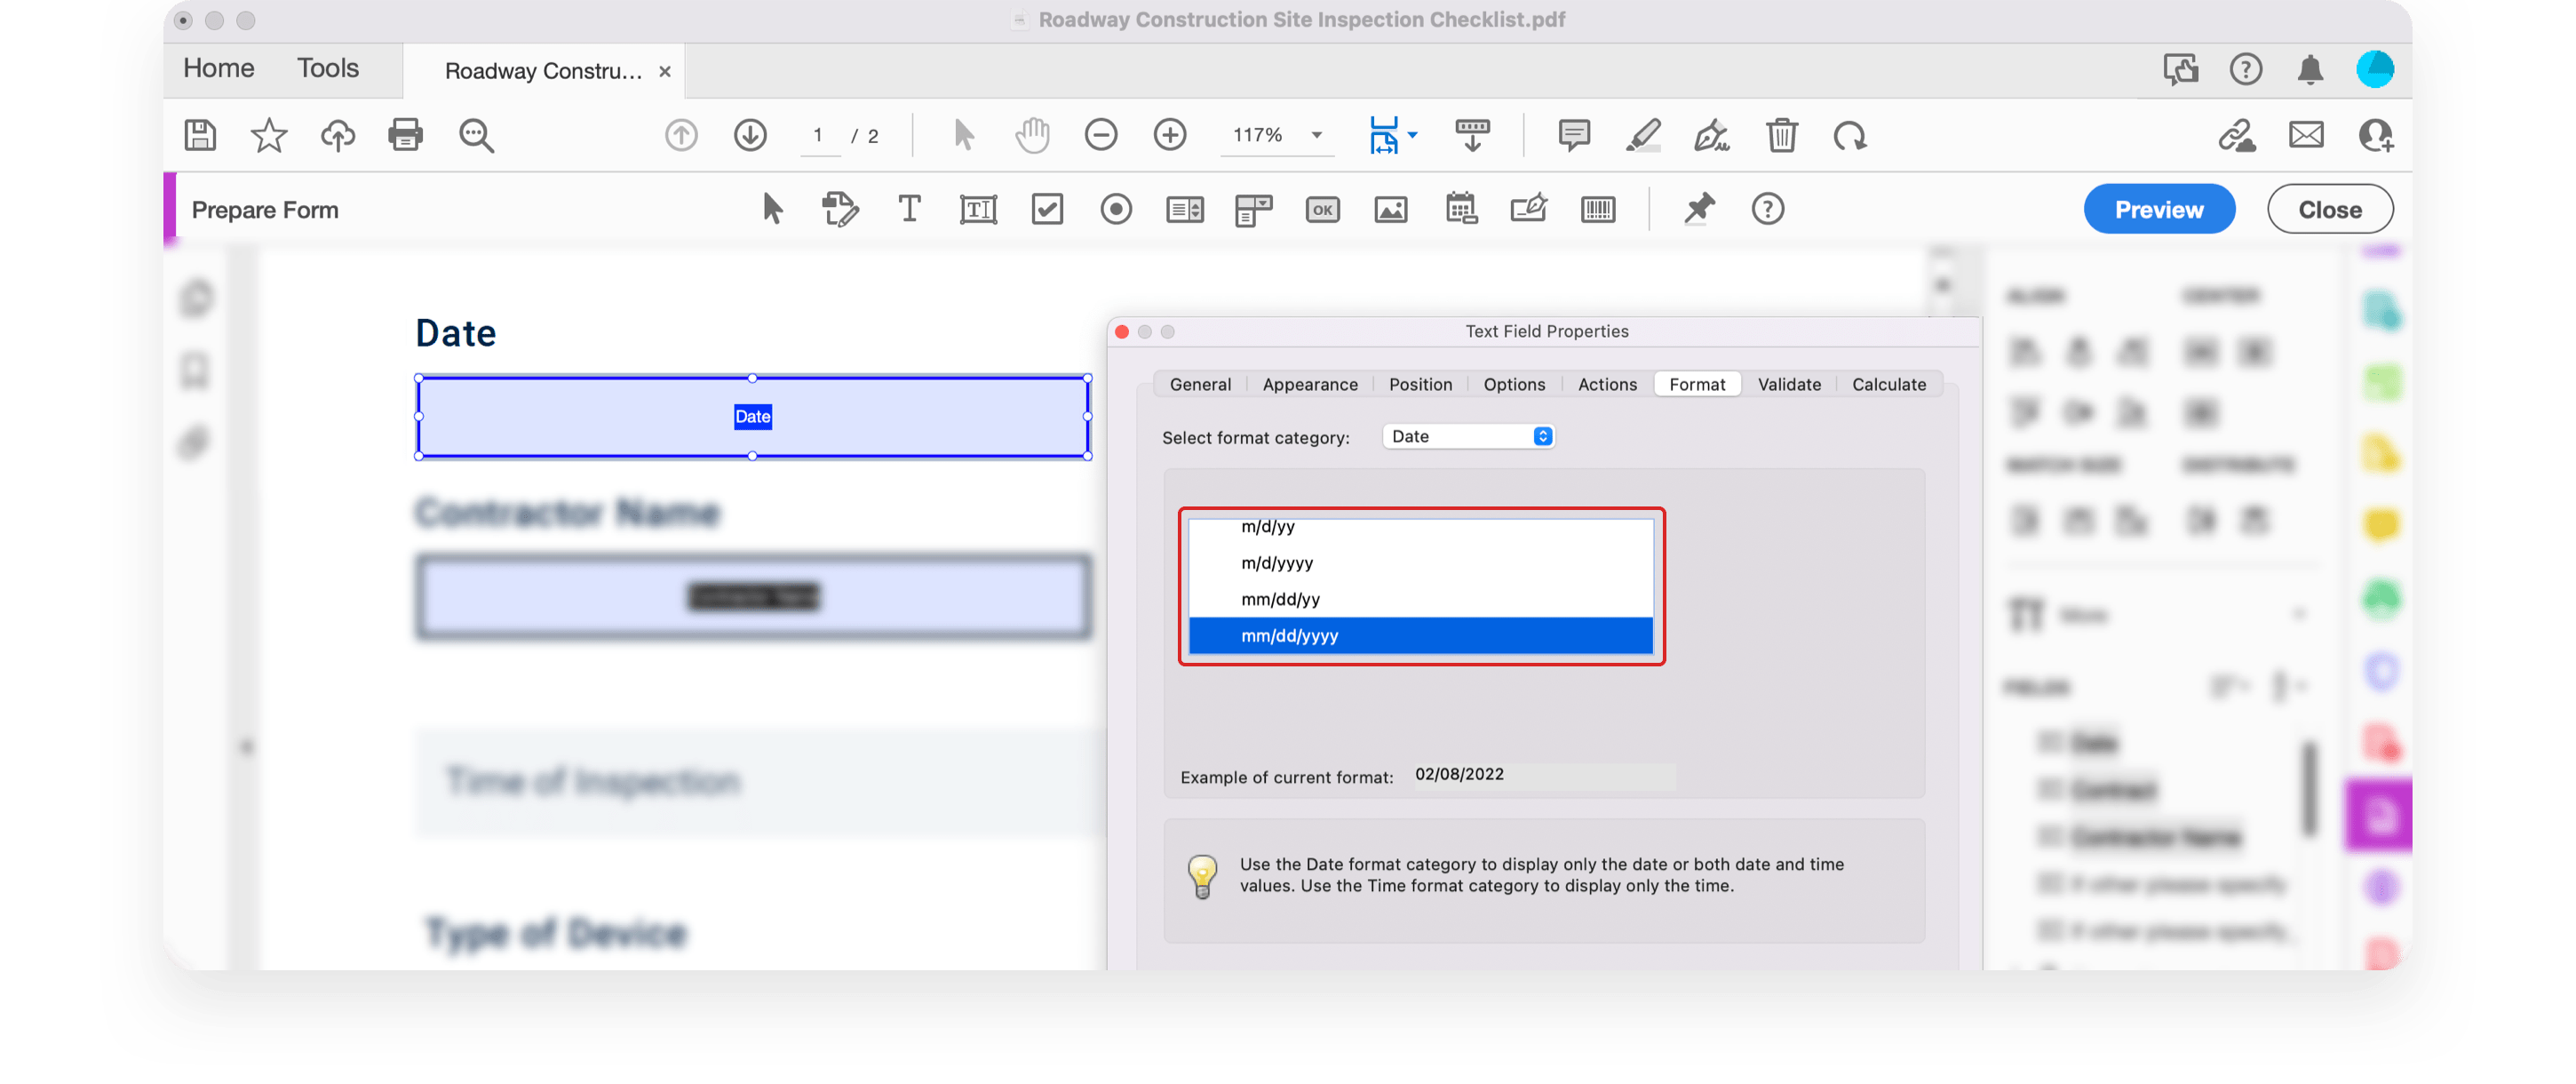
4. Save changes.
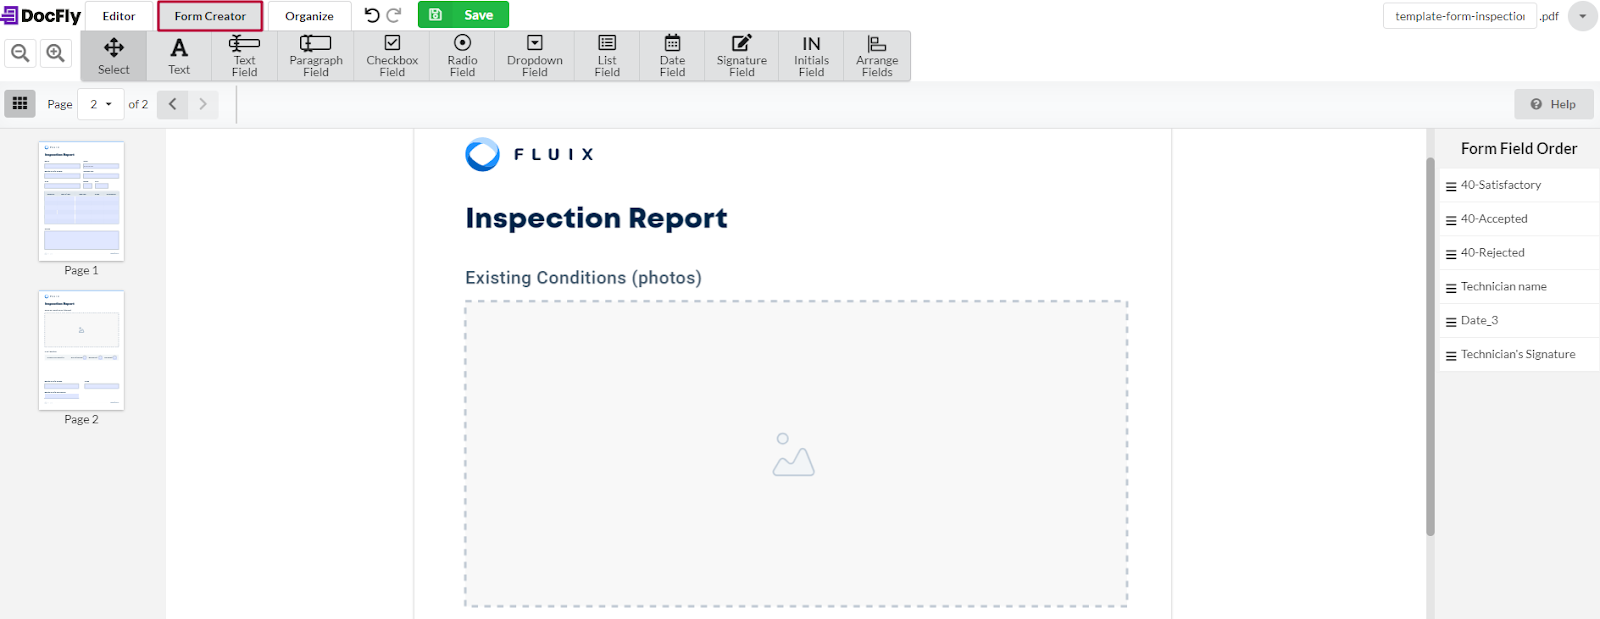
DocFly
1. Upload the form and go to Form Creator.

3. In Date Format in the toolbar on the right, select the date format in the dropdown menu.
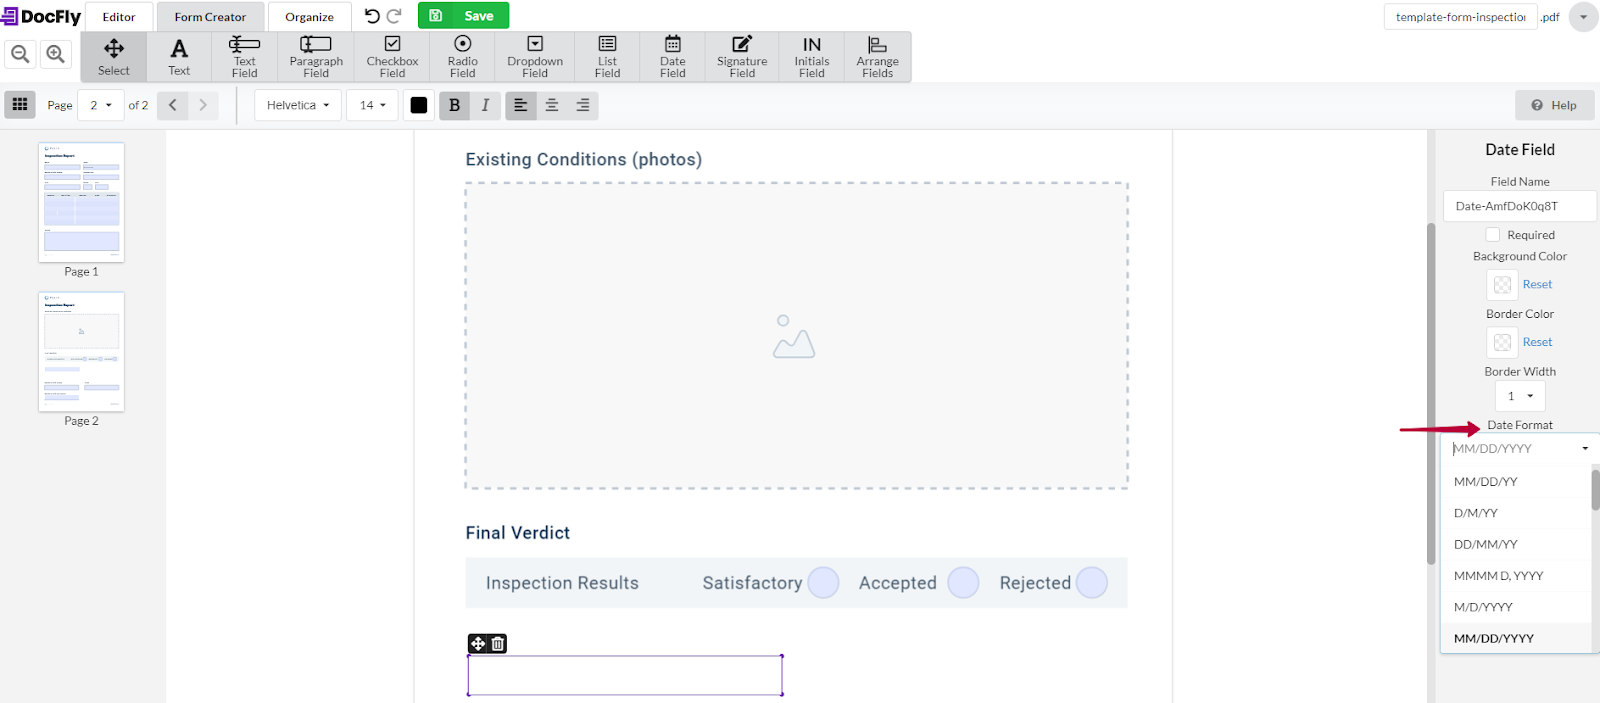
4. Save changes.
Need to Fill Out and Audit Multiple PDFs Every Day?
See how Fluix can work for you.