


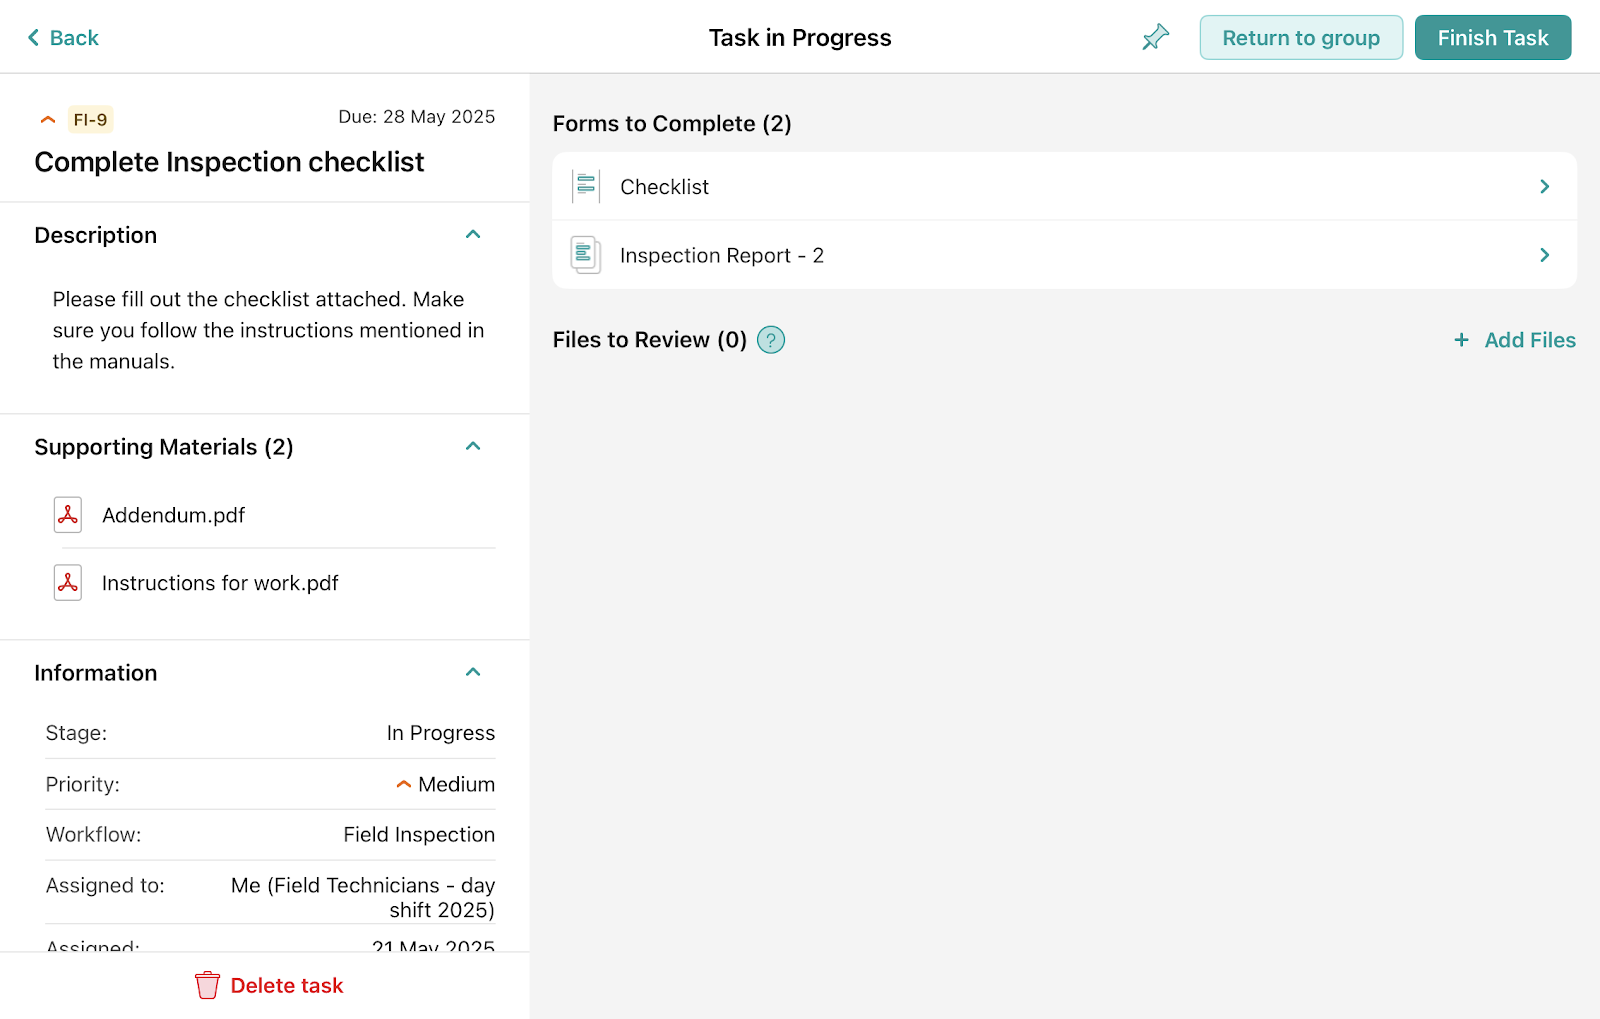
To start working on the task, tap on the line containing its basic information. In the left sidebar, you will see detailed information about the task, including its full description, the stage, priority, workflow name, and task due date.
The Start button, located in the bottom-right corner of the Home section, lets you launch tasks with a single click.
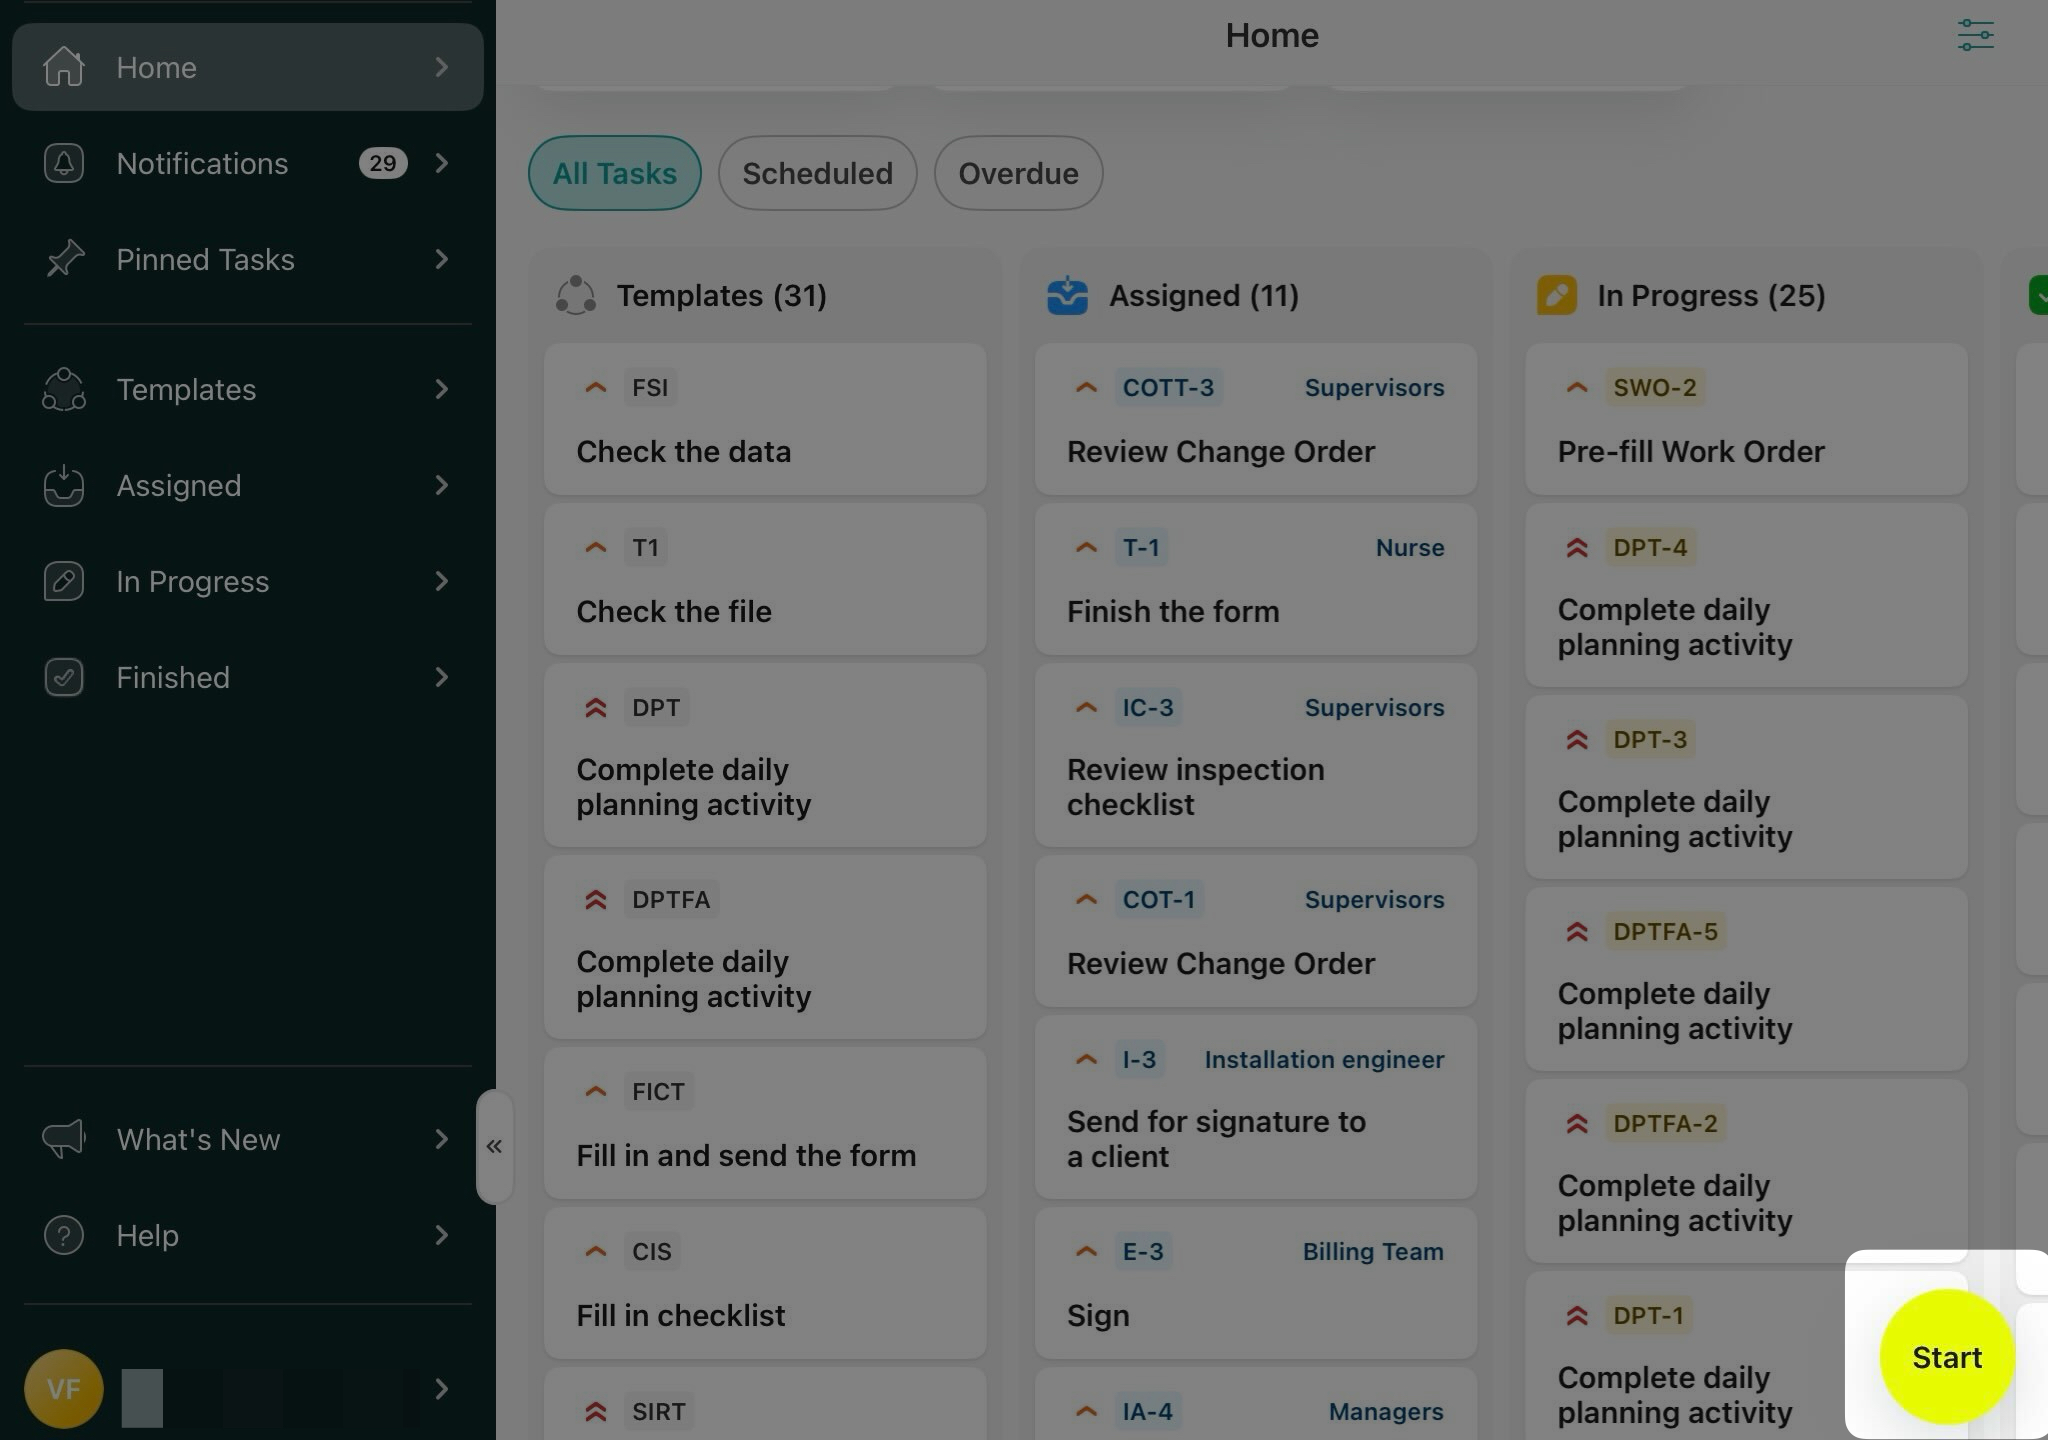
Note. The Start button only appears when there is at least one task available to begin.
A Tasks modal will open, displaying a list of tasks organized in a Kanban-style format. You can switch between Assigned and Template tasks.
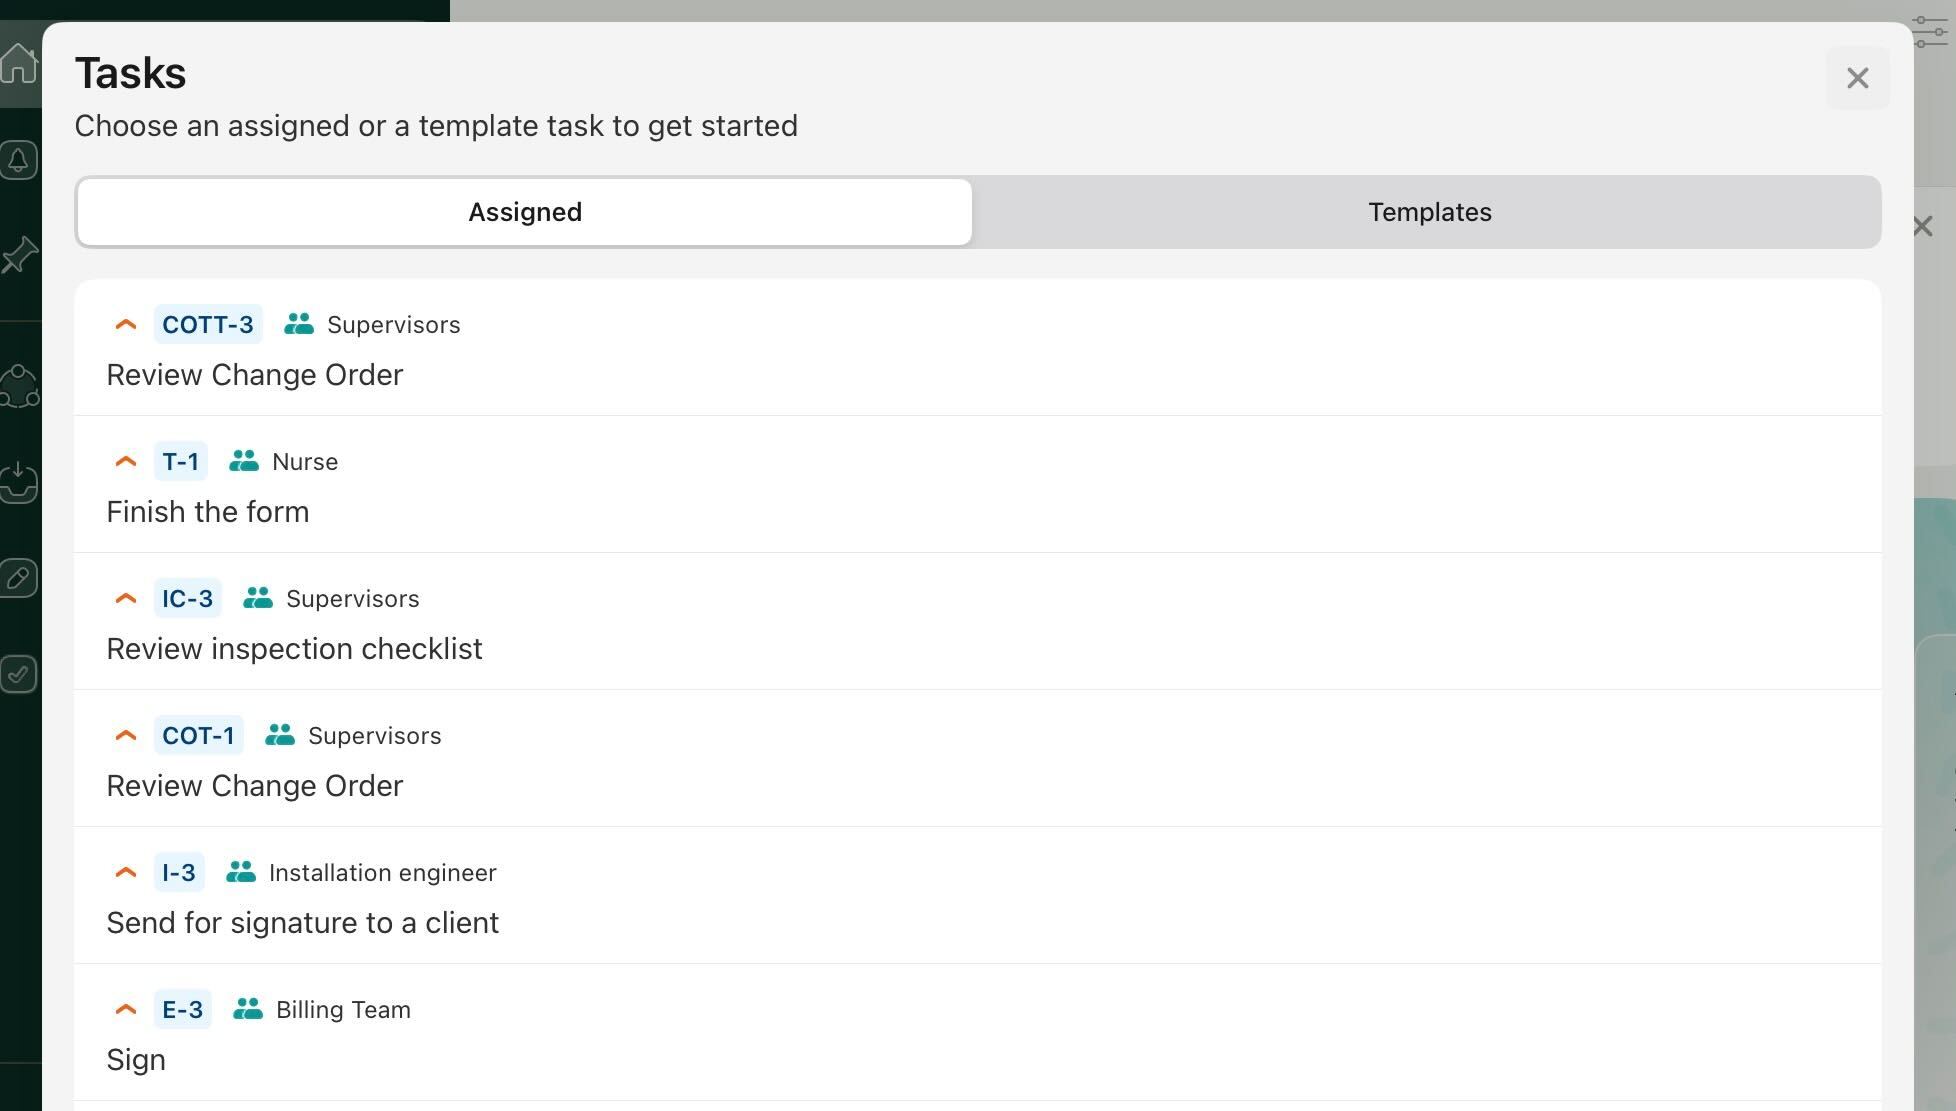
Click on a task to open it. If there are no assigned tasks, the modal opens the Template tab automatically.
Supporting materials
Supporting materials are additional files added by your Fluix admin that he thought might be helpful for you while working on the task.
Forms to Complete
Forms to Complete section will display the list of forms that your Fluix account admin has added to this task.
To start working on a task or assign it to yourself (in case the task was initially assigned to the group you are a participant in), tap the ‘Start work’ button in the top right corner.
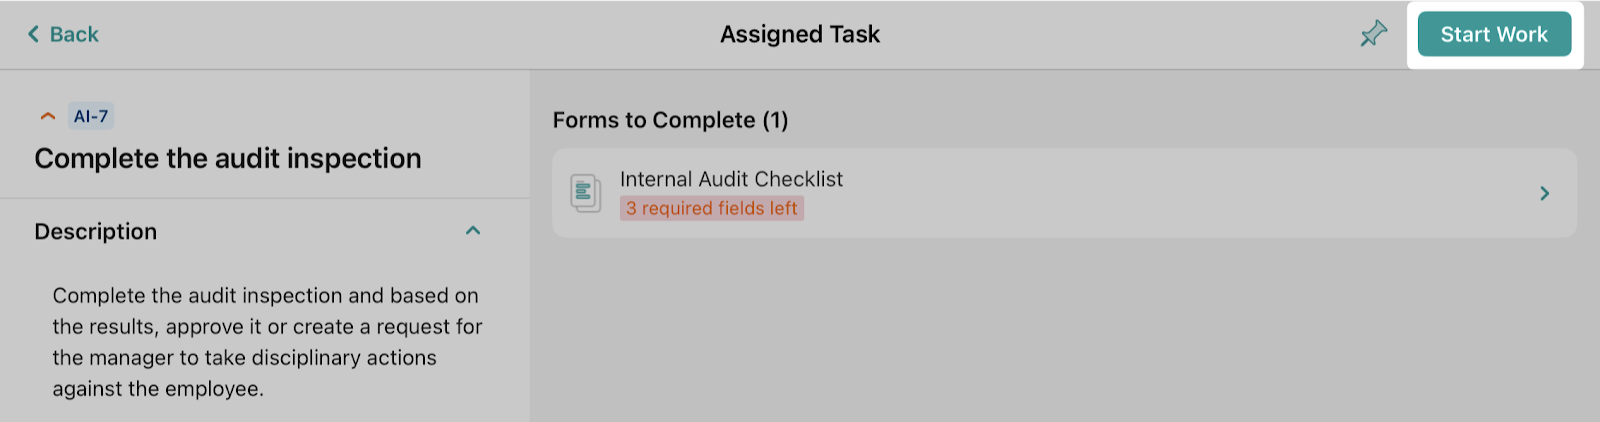
Required fields in the forms
If configured by your Fluix account admin, the form you will be working on may contain several required fields. Their exact number will be shown to you right under the name of the form you will fill out.

Note: You can submit the task after all the required fields in the form are filled out.
Interim progress of the work done in the tasks
Once you start working on a task, it will be automatically moved to the In Progress tab. It will stay in progress until you submit it via the Finish button.
Note: Any work you do in the Fluix app is saved locally, so you can leave and return anytime to finish it if you work in the Fluix iOS or Android app.
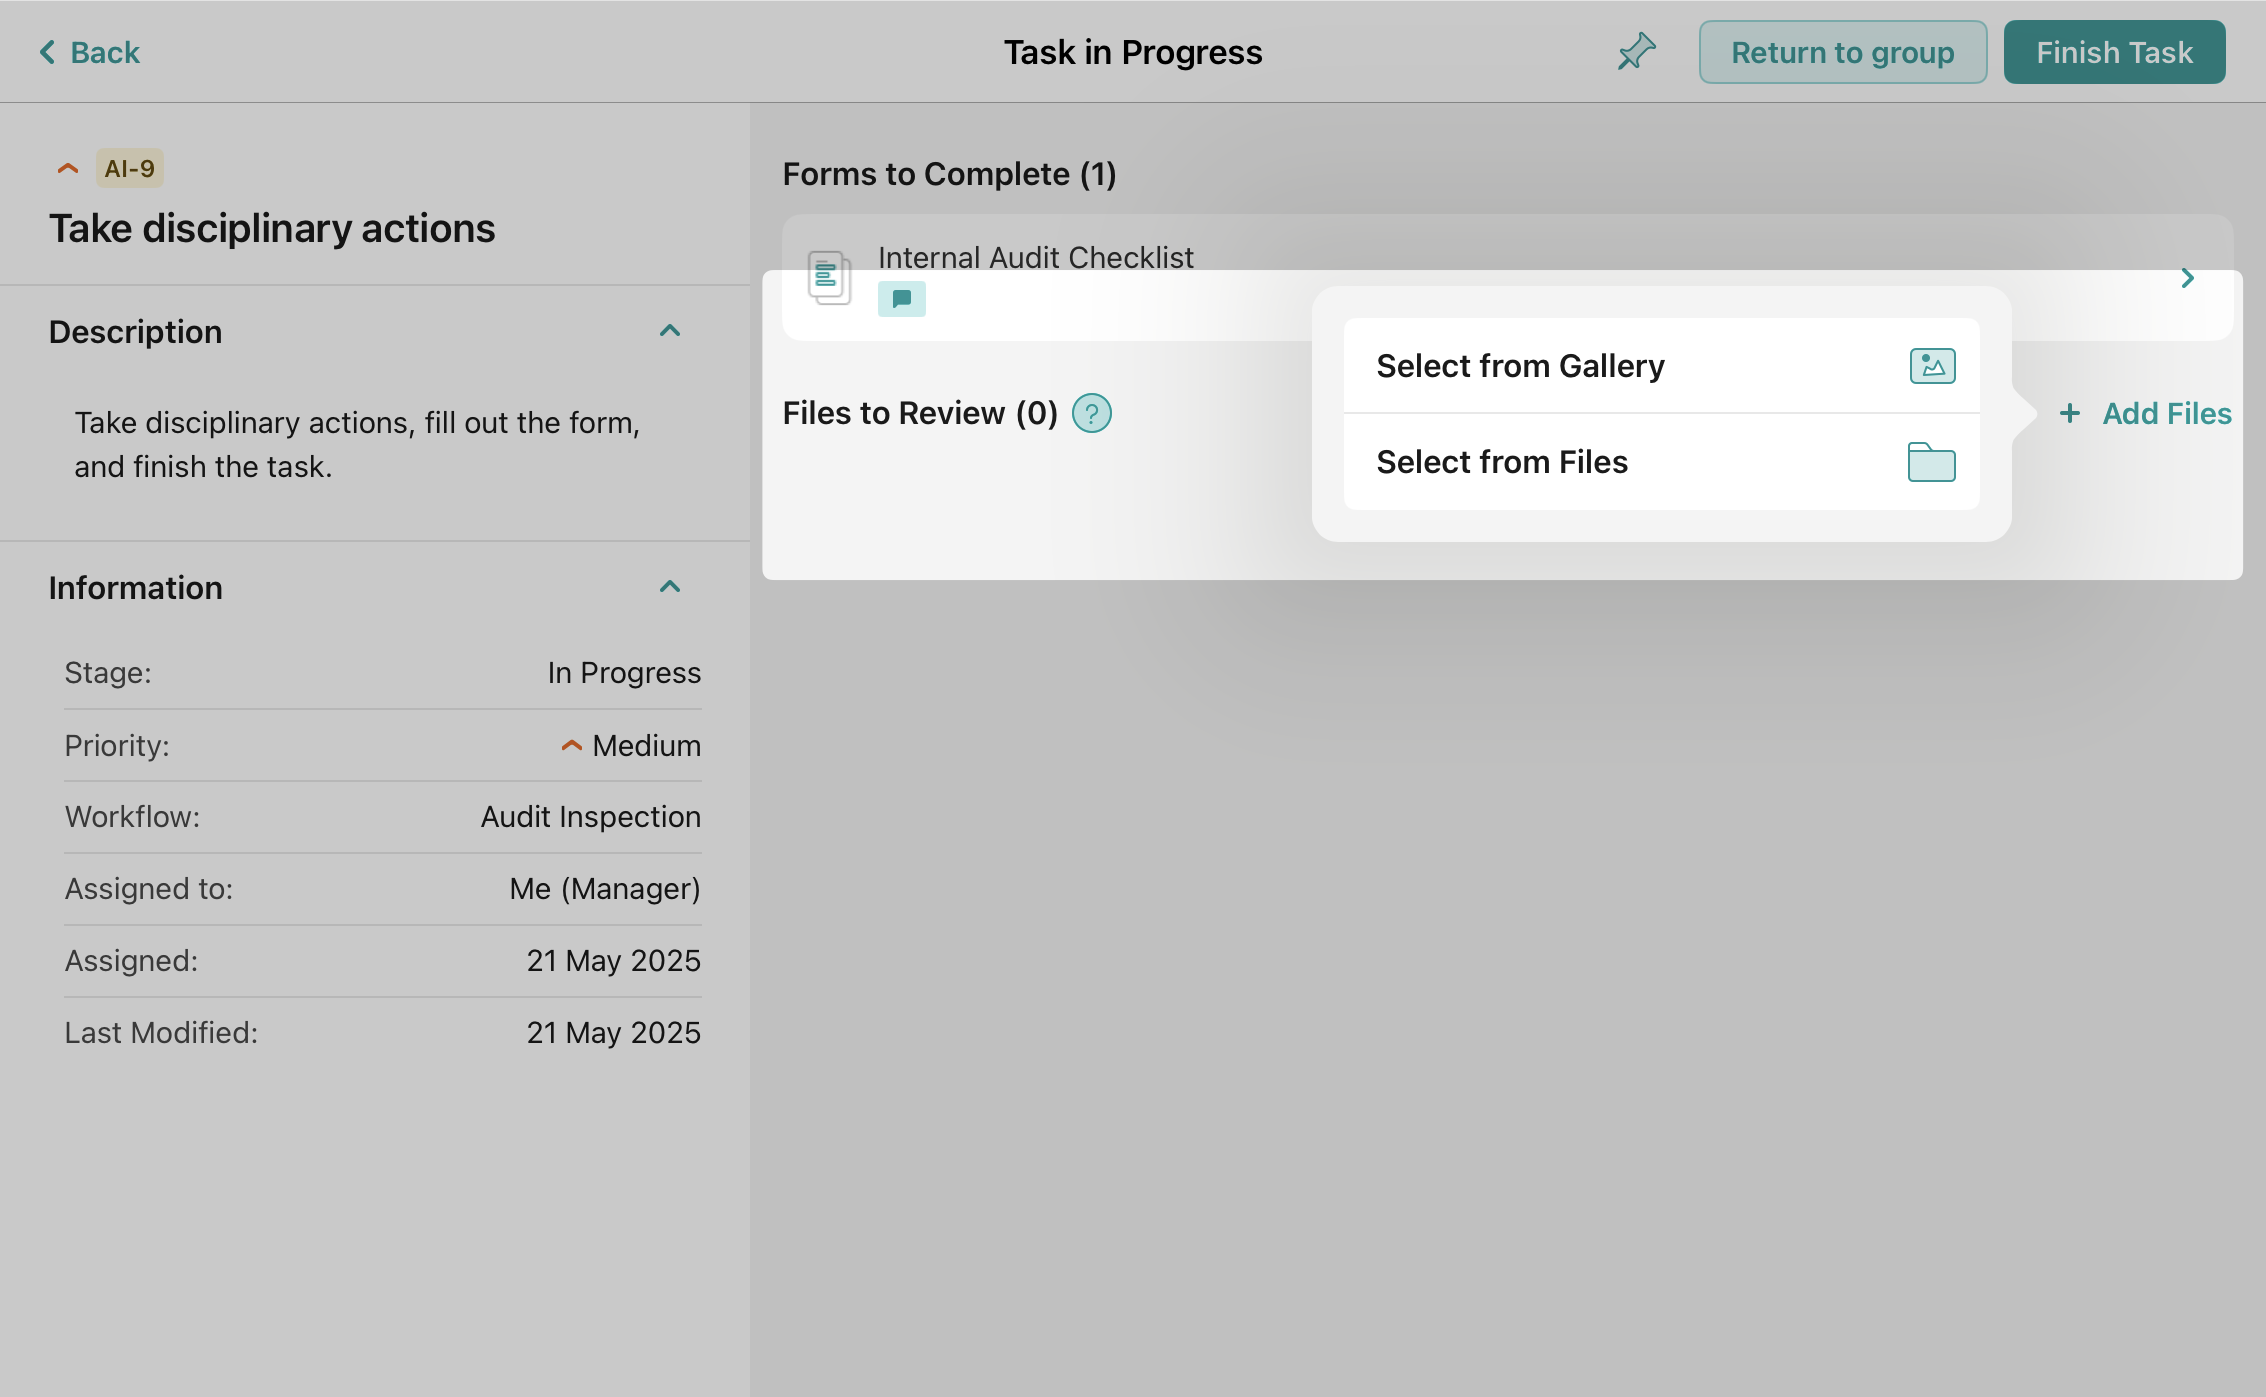
Files to Review
Files to Review section makes it easy for you to add your supporting files or images if you need to pass extra details to your colleagues who will receive the task in the next step. Learn more about this functionality in the Files to Review tutorial.
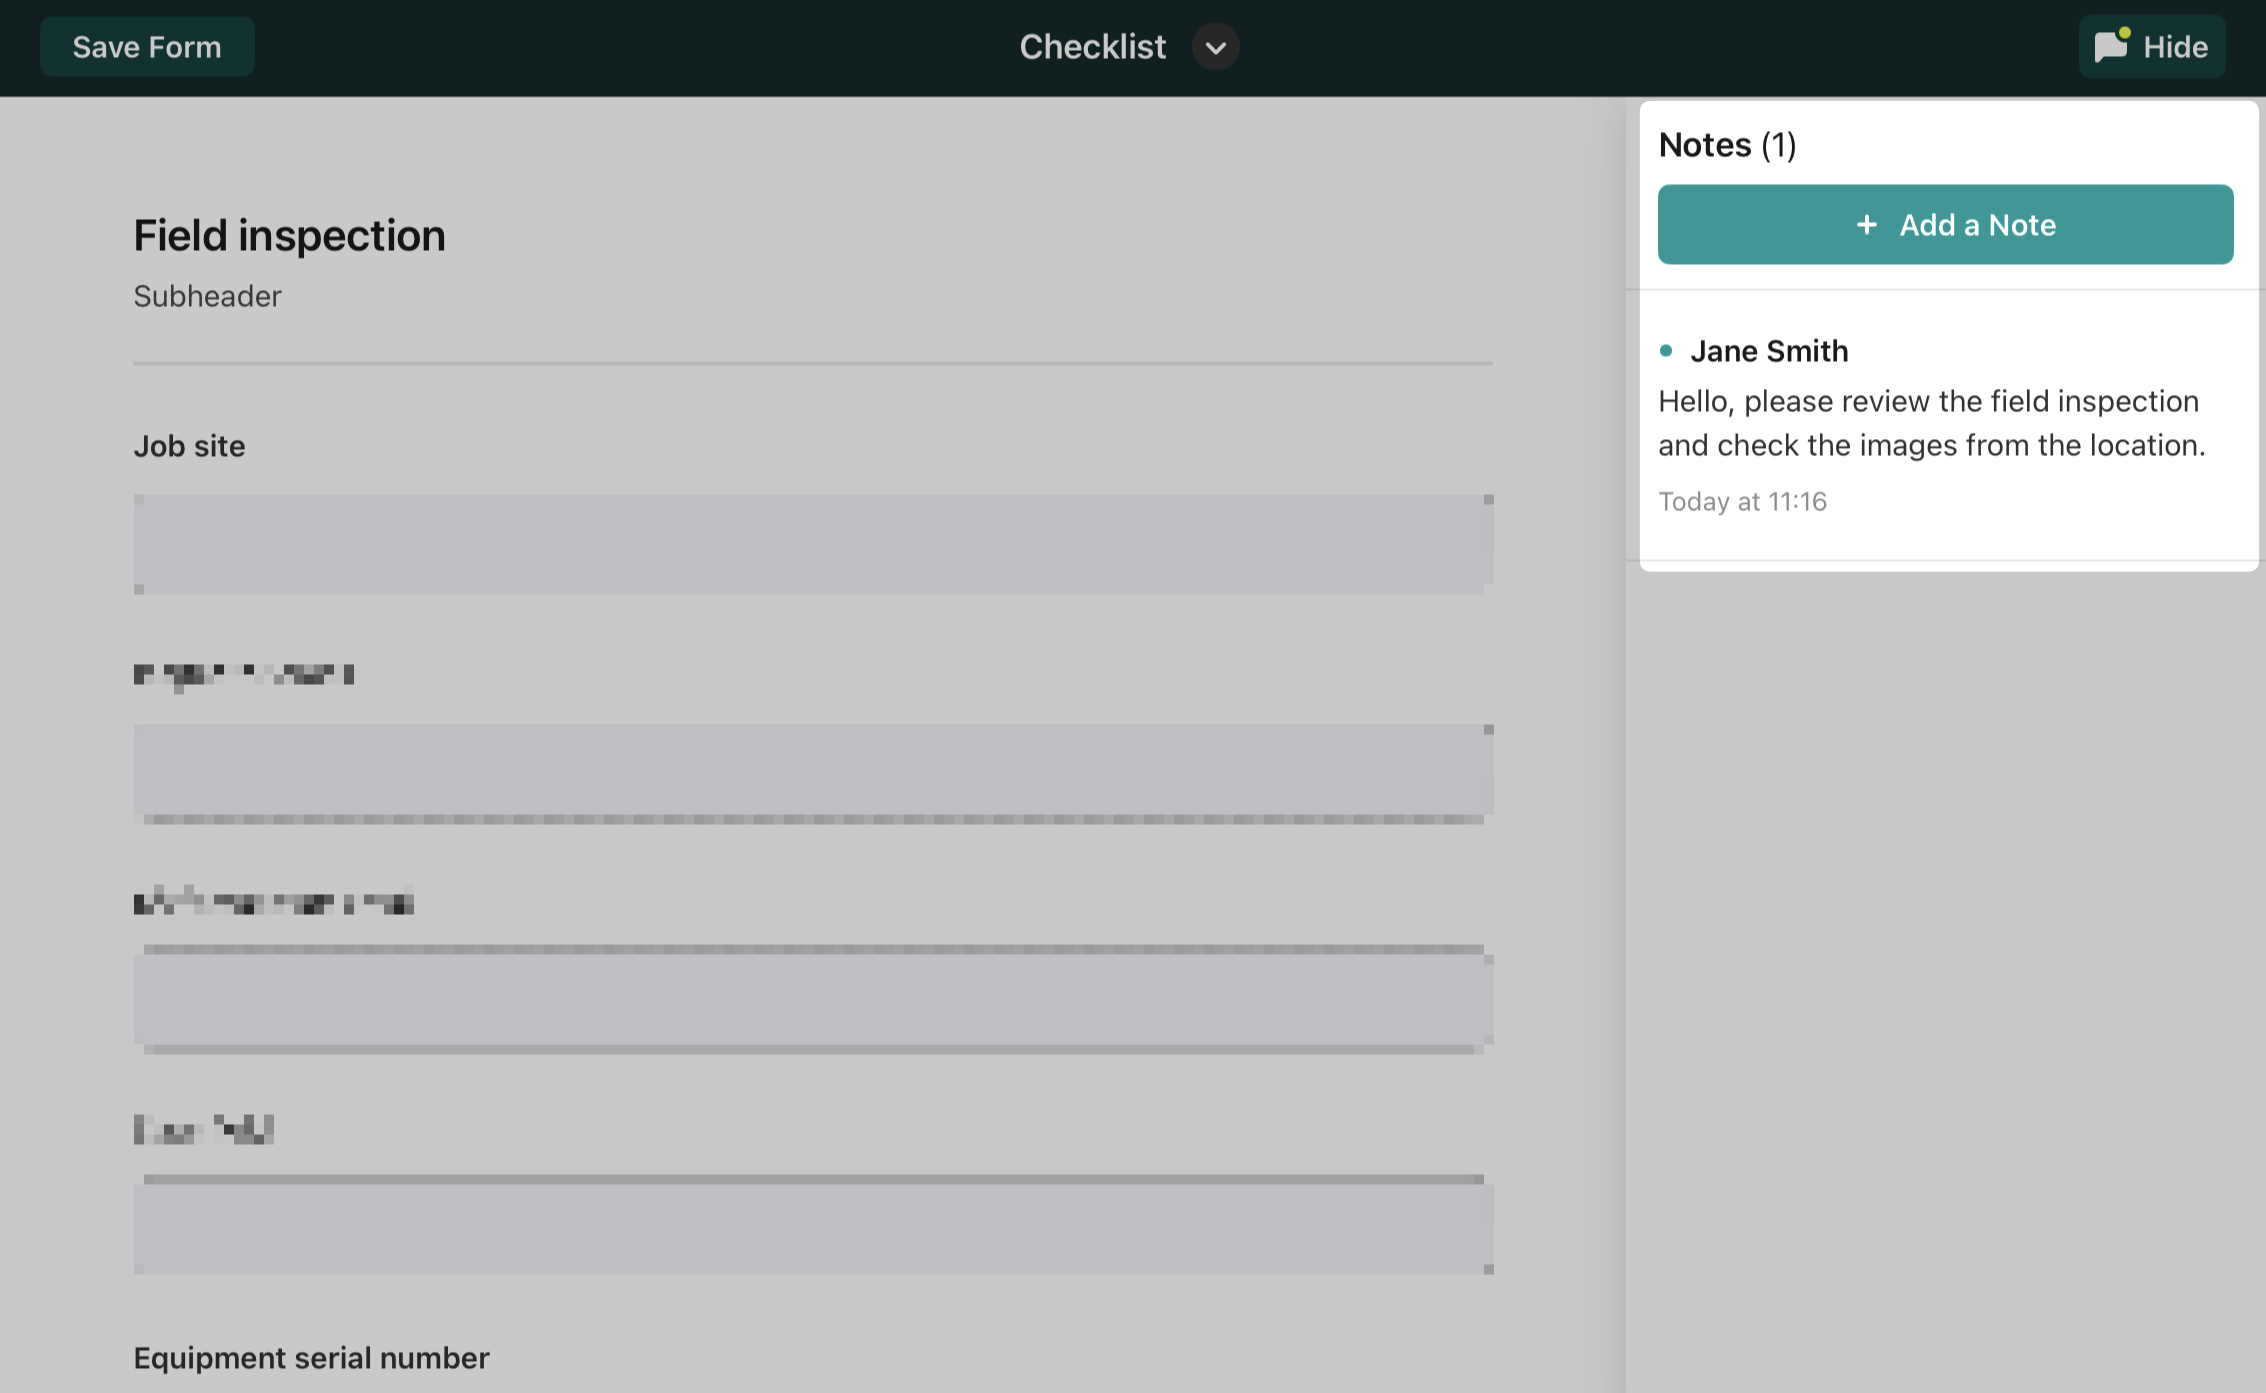
Keep your team in the loop with Notes
Use the Notes feature to communicate with your teammates about any changes or extra details needed in the document, whether you’re filling it out or reviewing it. Learn more about Notes in this tutorial: Exchanging Notes with Team Members.
If you have any questions or need further assistance, please contact us at support@fluix.io.