


In Fluix, you can easily manage the forms your field team works on in their daily workflows. In this article, we will dive into how you can:
- Add new forms to existing workflows;
- Replace forms already in use;
- Bulk edit a form used across multiple workflows.
Types of Forms You Can Utilize in Fluix
Before you start, choose the form type that best suits your needs:
- Dynamic Forms – Smart, mobile-friendly forms with logic, created in Fluix Form Builder.
- Static Web Forms – Simple fillable forms, also built in Fluix Form Builder.
- Fillable PDFs – Forms created outside Fluix (e.g., in Adobe Acrobat), with editable fields added.
If you are unsure which option to select, contact us at support@fluix.io, and our product experts will guide you through the most appropriate option based on your use case.
How to Add a Form to the Existing Workflow
Example Use Case
Provide your field managers with an extra checklist to complete during the field technician’s job review.
Important
To ensure the form is saved & stored after the user in Fluix submits it (e.g., for audits or storage):
- Add it not only to the task the user fills out
- But also to the final action step (e.g., Submit by Email, Upload to Storage)

To add an extra form to a workflow:
1. Go to Admin Portal > Workflows -> select the workflow you want to edit.
2. Click the task where the new form should be added.
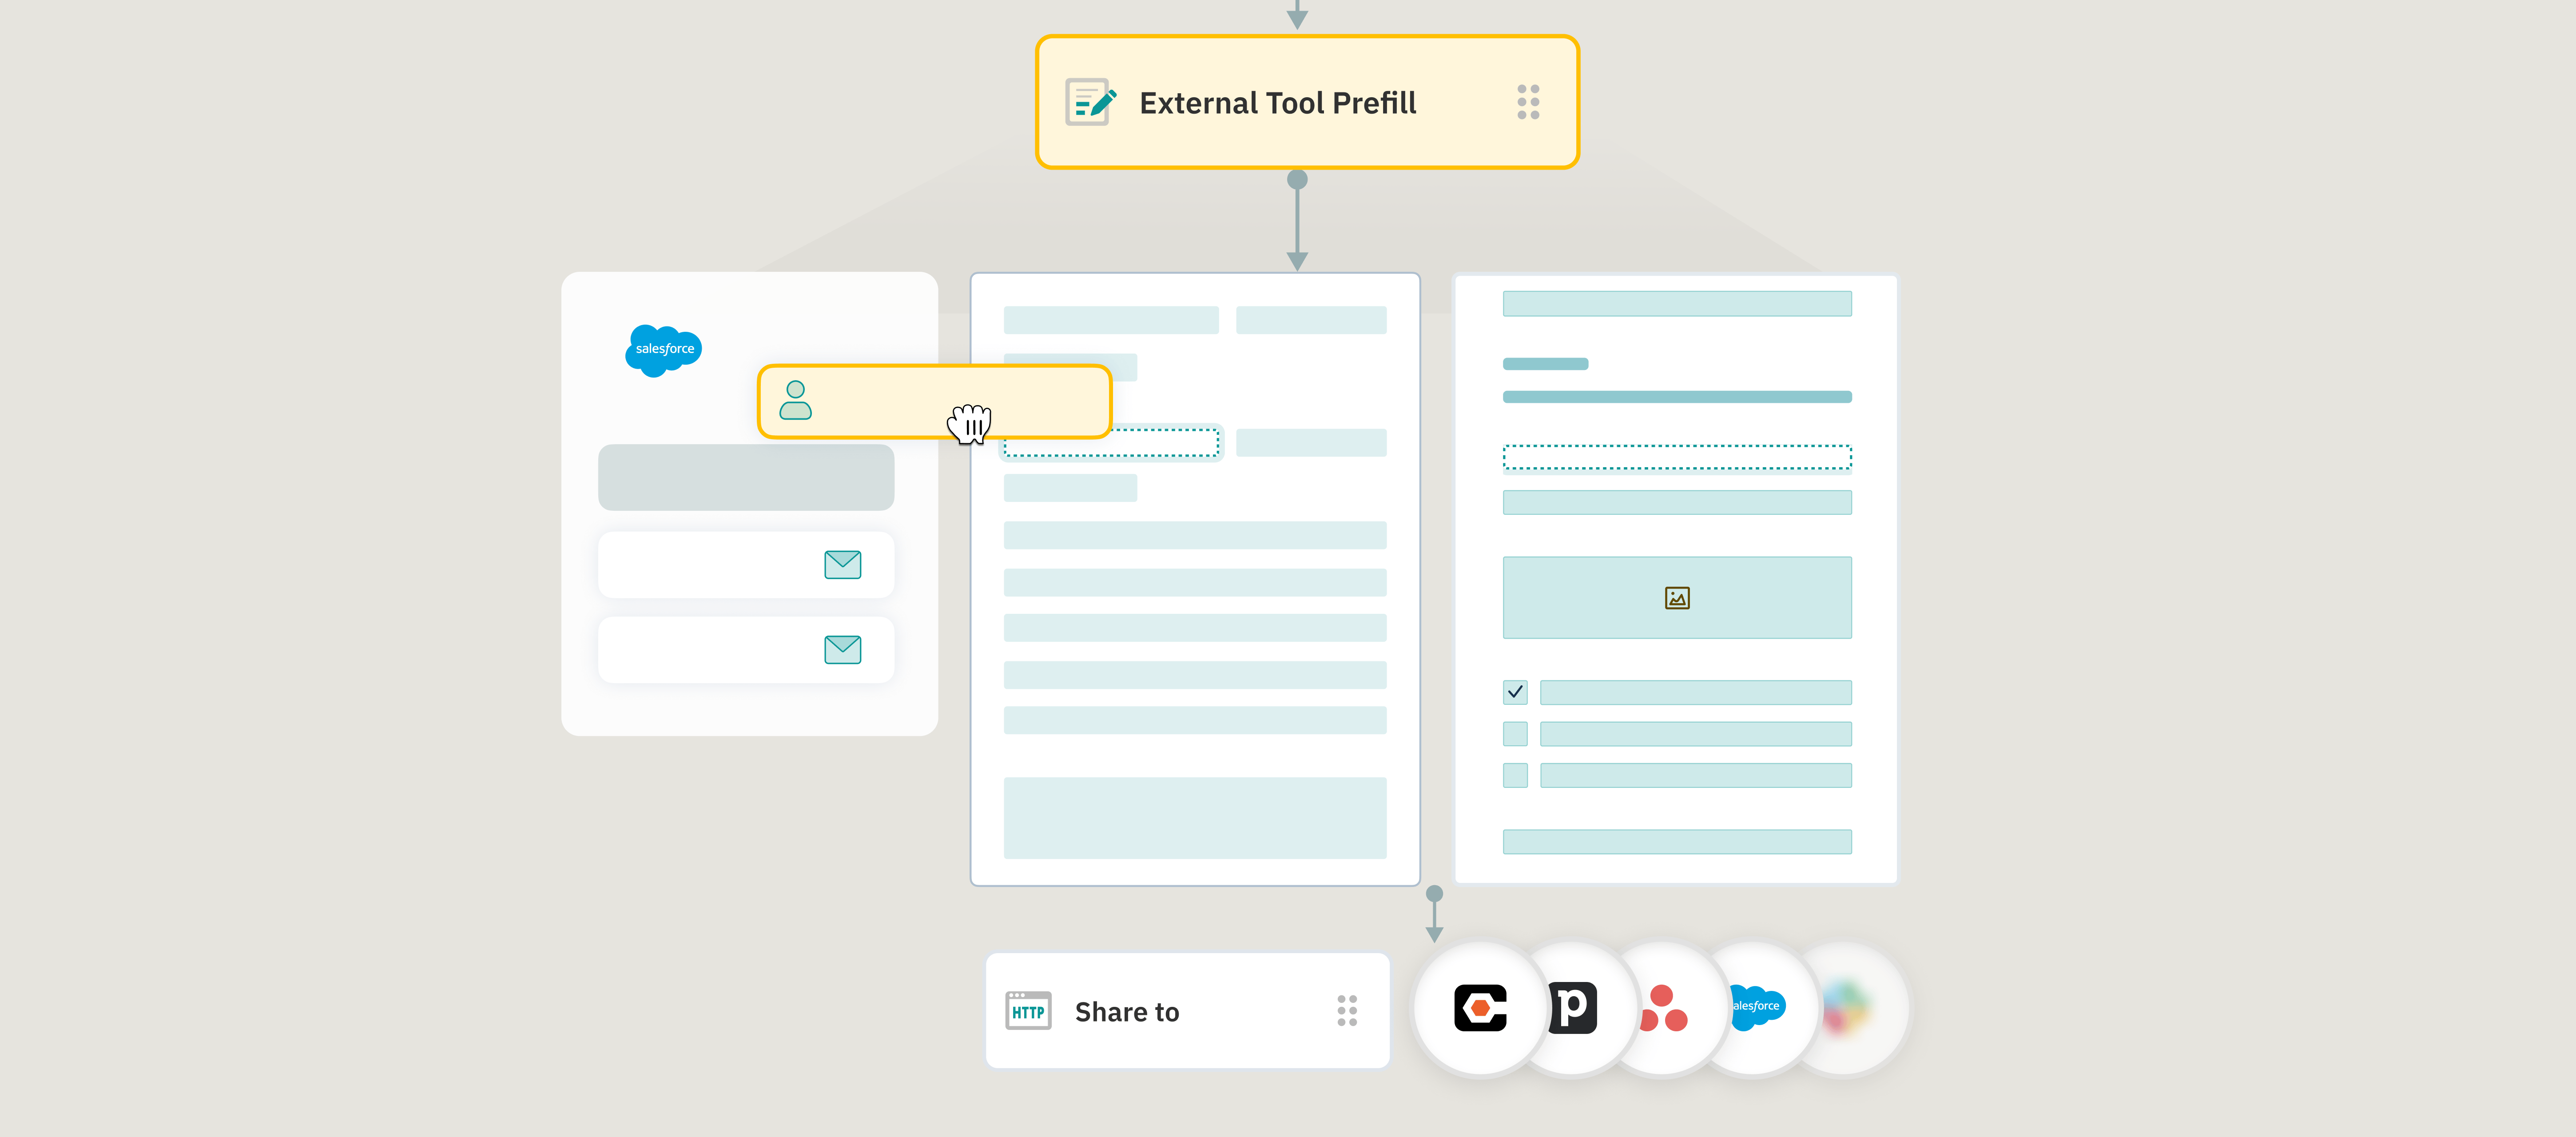
3. In the Forms & Attachments section, click + Add New Form.

4. Choose your form type (Dynamic, Static, or Fillable PDF)
How to Replace a Form in Your Workflow
You can replace a form in any existing workflow without disrupting current operations.
To replace a form:
1. Go to Admin Portal > Workflows -> open the workflow you’d like to update;
2. Open the first task in the flowchart -> in Forms & Attachments, click three dots next to the form -> select Replace:

3. Then choose:

- Choose from Forms – Pick an existing Fluix web form.
- Import Fillable PDF – Upload a form from your computer.
- Create New Form – Build one (dynamic or static) directly in the Fluix Form Builder.
4. Check Replace in all tasks and actions to apply the new form across the entire workflow in one click.

5. Click Save & Publish in the upper right corner to publish the changes to the respective workflow.
Important:
Changes only apply to newly started tasks. Any task already in progress will continue using the old form.
What to Know About Dynamic Values
If you use dynamic values in your workflow (e.g., auto-filled project names, dates, or user data), and your new form has different field names or logic, you’ll need to:
- Review affected elements like:
- User Tasks
- Prefill Tasks
- Submit Actions
- User Tasks
- Remap the dynamic values in those steps.
Fluix will display a warning prompt to guide you through the remapping process after replacing the form.

How to Bulk Edit a Form Across Multiple Workflows
If one form is used across several workflows, Fluix helps you update it everywhere in just a few clicks, saving admin time and ensuring consistency across field teams and workflows.
Here’s how you can achieve this:
1. Go to Admin Portal > Forms -> select the form you want to update;
2. Make changes in Form Builder -> click Save & Publish in the upper right corner. Fluix will prompt you to select one of the options:

- Update this form version only in Forms – Changes are saved in the form, but you’ll manually update it in each workflow.
- Update form in Forms and the workflows above – Changes are automatically applied to all workflows that use this form.
3. Select the preferred option and click Proceed.
Important:
Please note that changes only apply to newly started tasks. Any task already in progress will continue using the old form.
Reach out to us anytime at support@fluix.io and we’re here to guide you through your setup.