


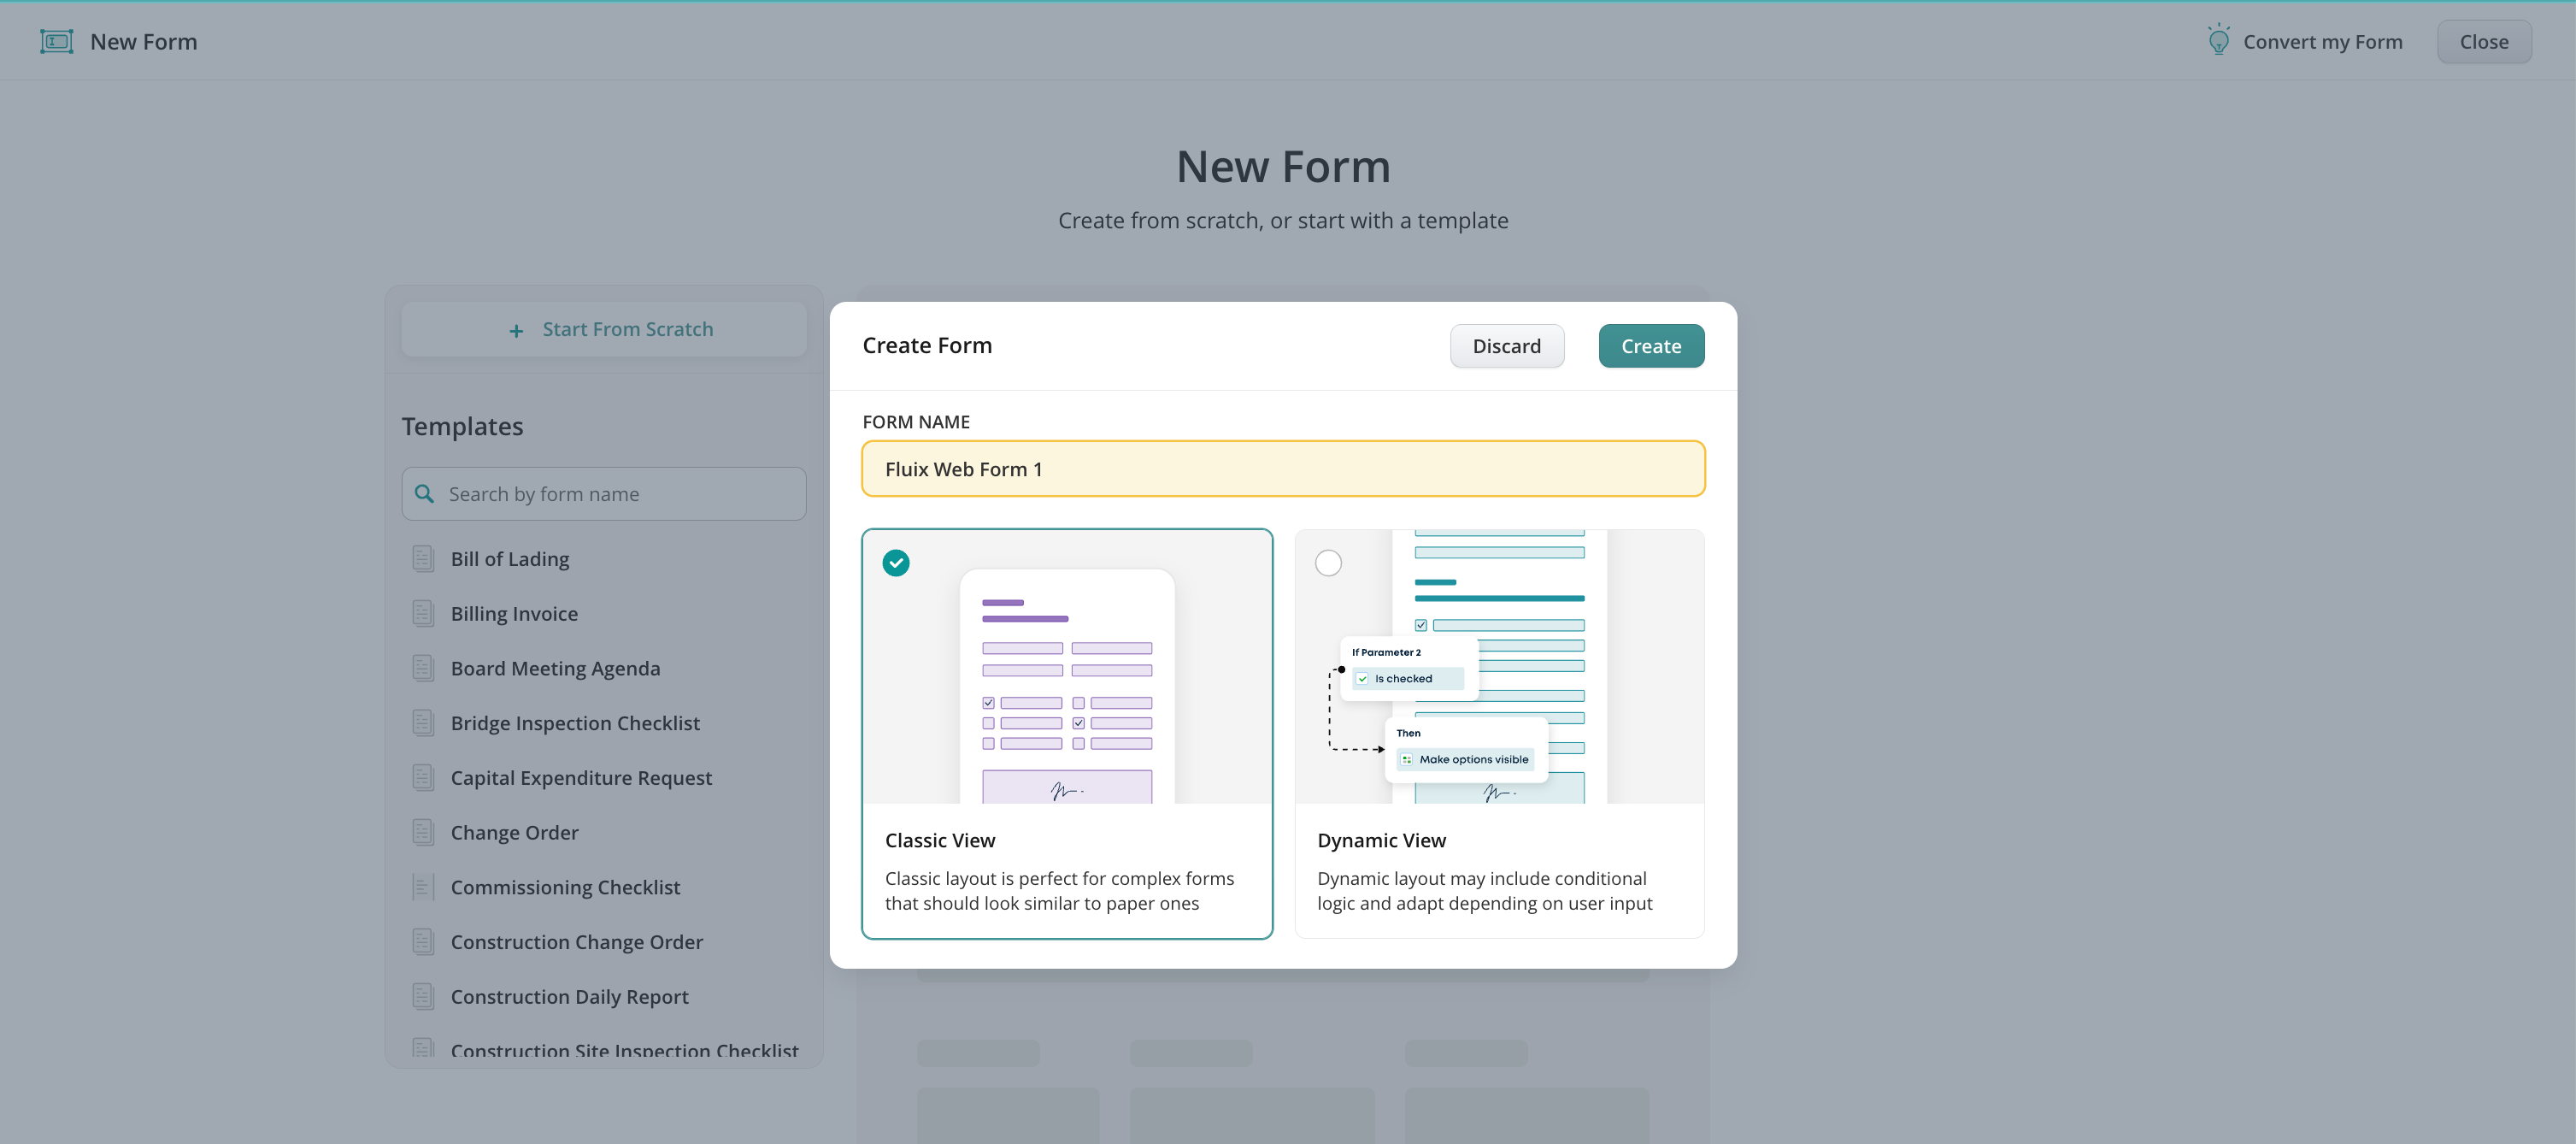
To create a form, navigate to the Admin tab -> Process Setup -> Forms, and click Create Form. On the left, click Start from Scratch, select Classic View in the opened window, and name your form.
Menu of the form elements
On the left, you will see a menu with a list of elements that can be used to create a form. Click on the element to add it.
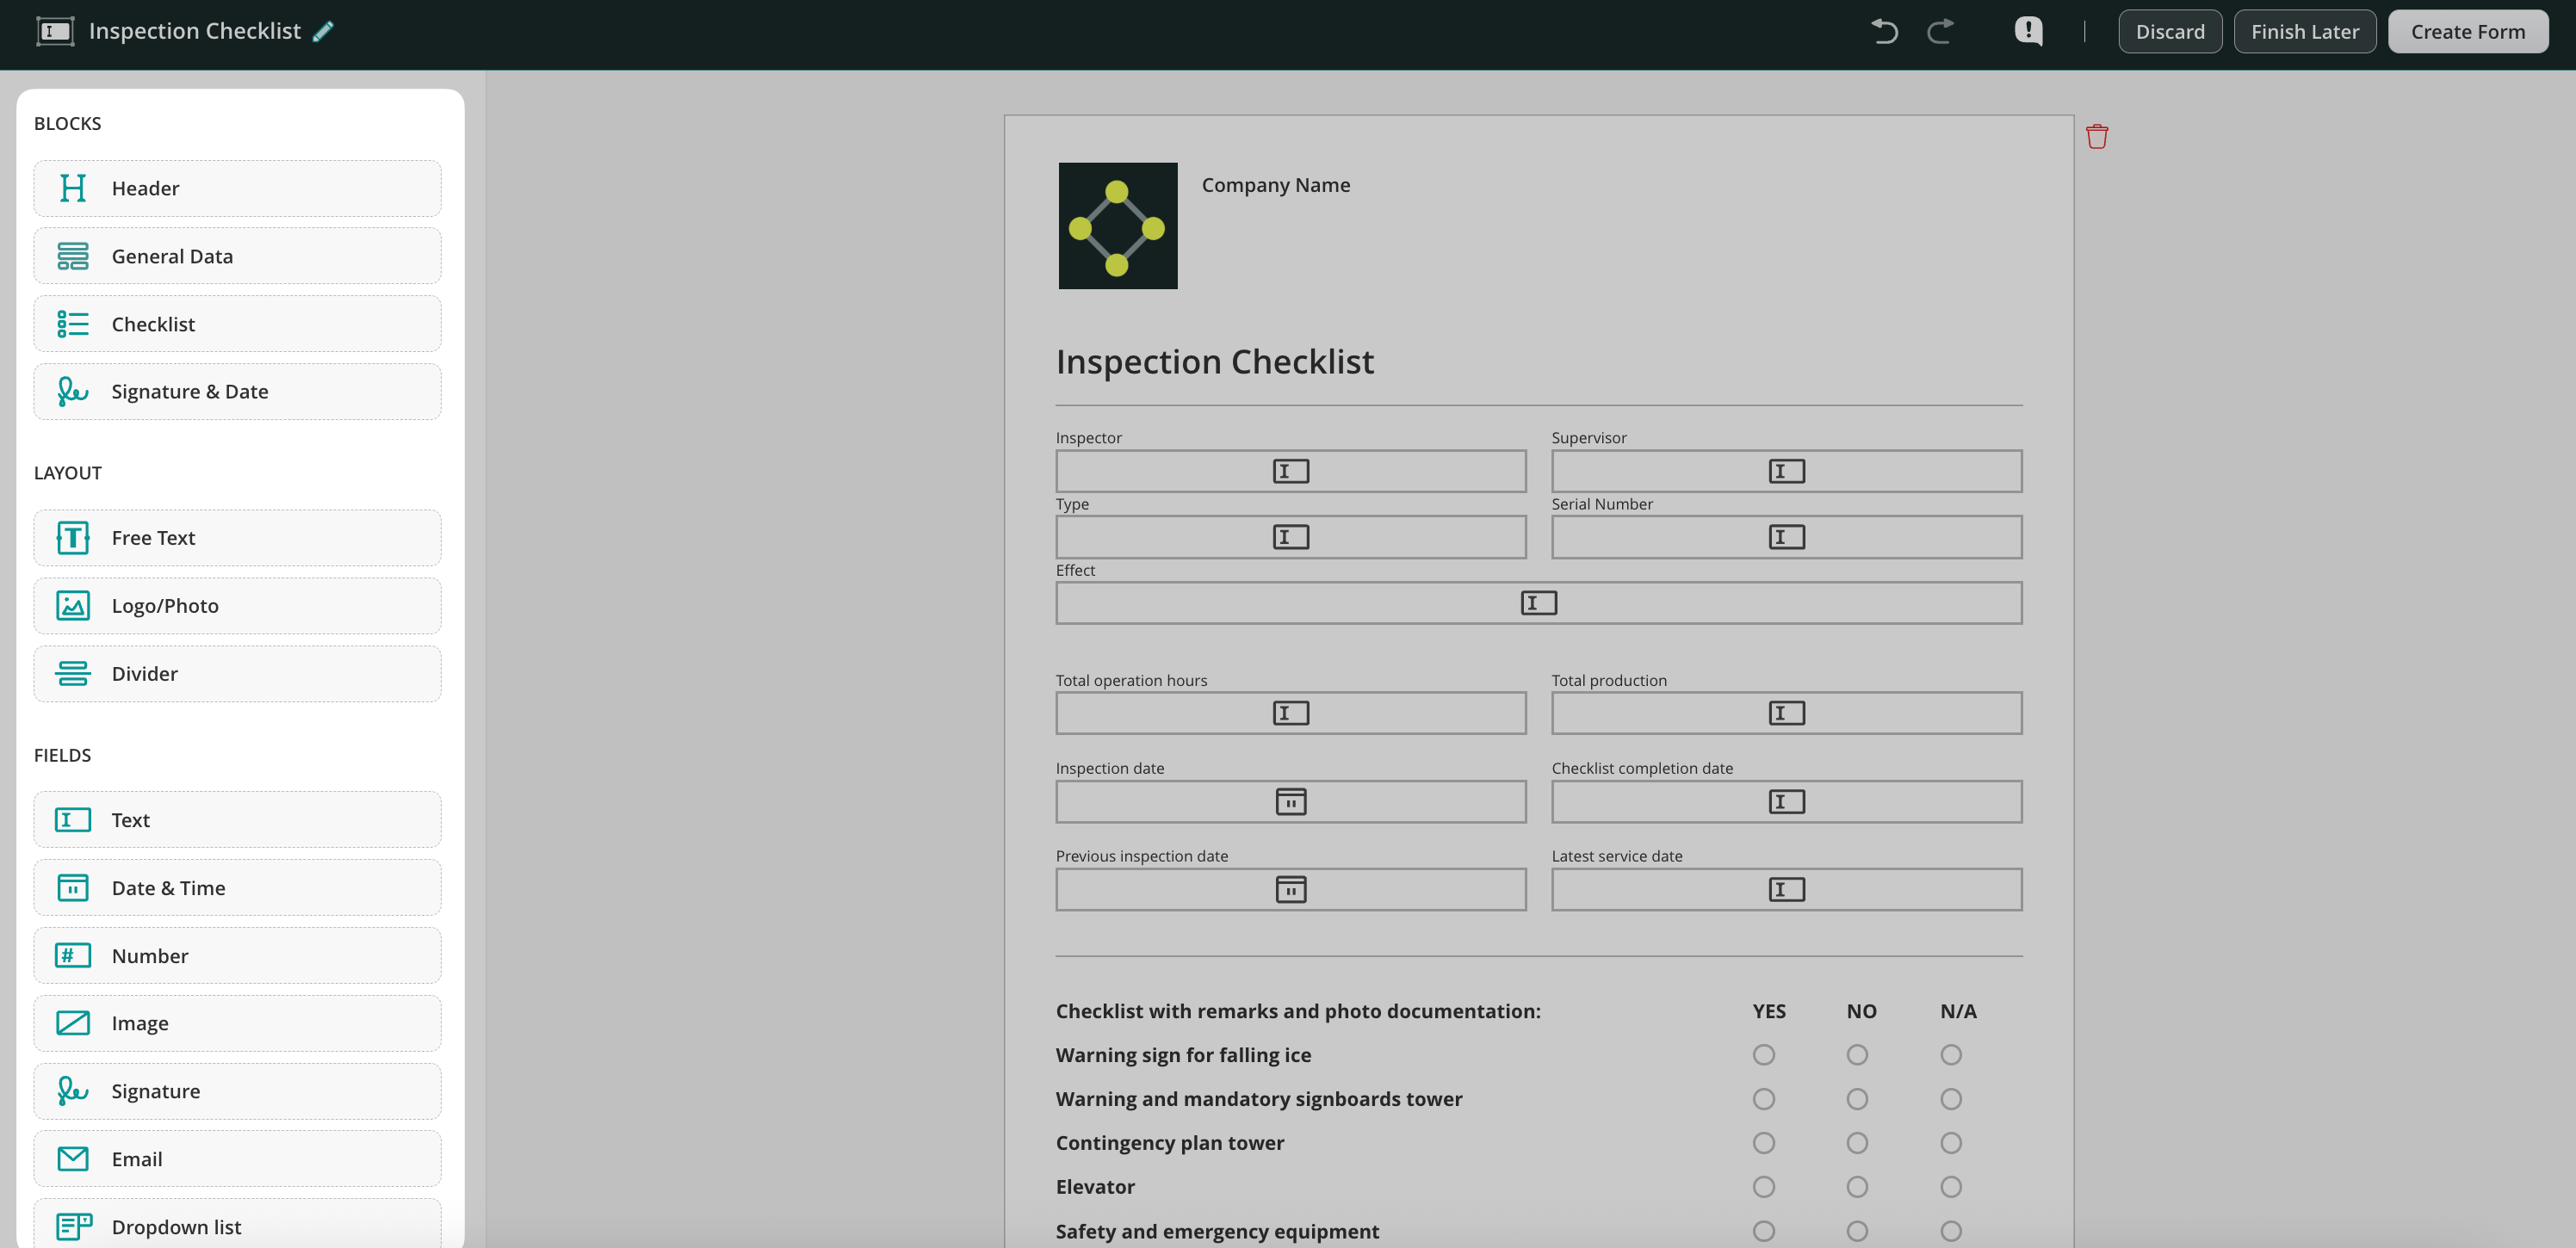
The elements are divided into three different groups:
- Blocks – use presets of the most commonly used fields combined into blocks for your convenience.
- Layout – customize your forms by adding the text, your company’s logo, and divider.
- Fields – the different types of fields to add to the forms to collect the most relevant data in the forms.
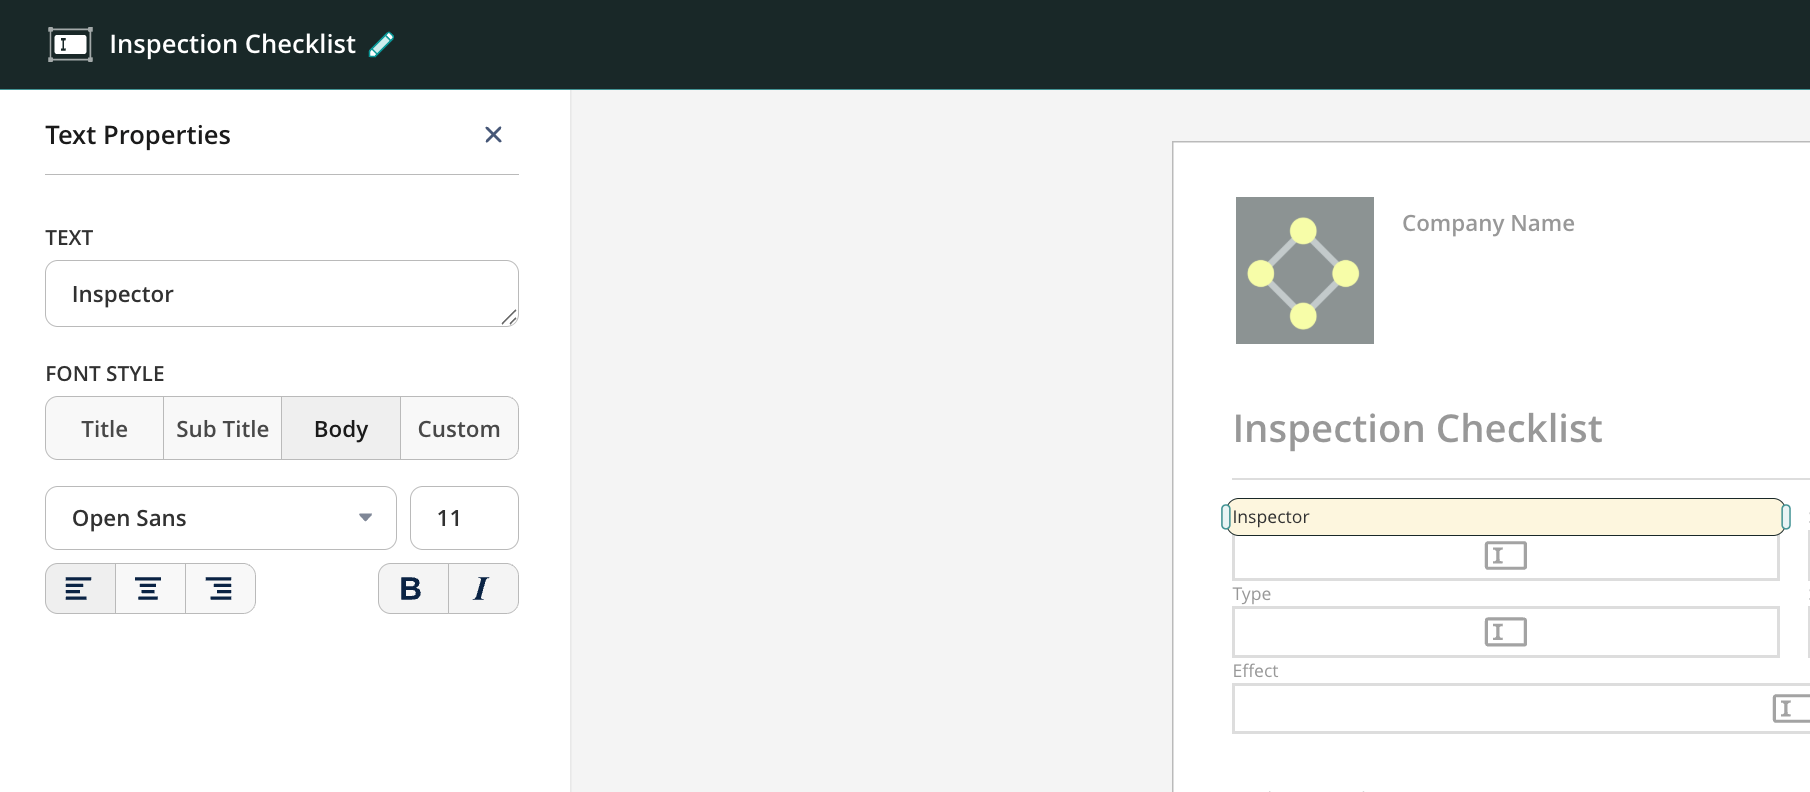
Actions that can be done with the fields
- Modify its properties by clicking on the added field on the page.
Please note: depending on the field’s type (e.g. text field, number field etc), different modifications will be suggested.
- Duplicate or delete the element by hovering it over and selecting the option.
- Select one or multiple elements by clicking on it/them, continuing to hold down to draw a selection box, and selecting the necessary element(s).
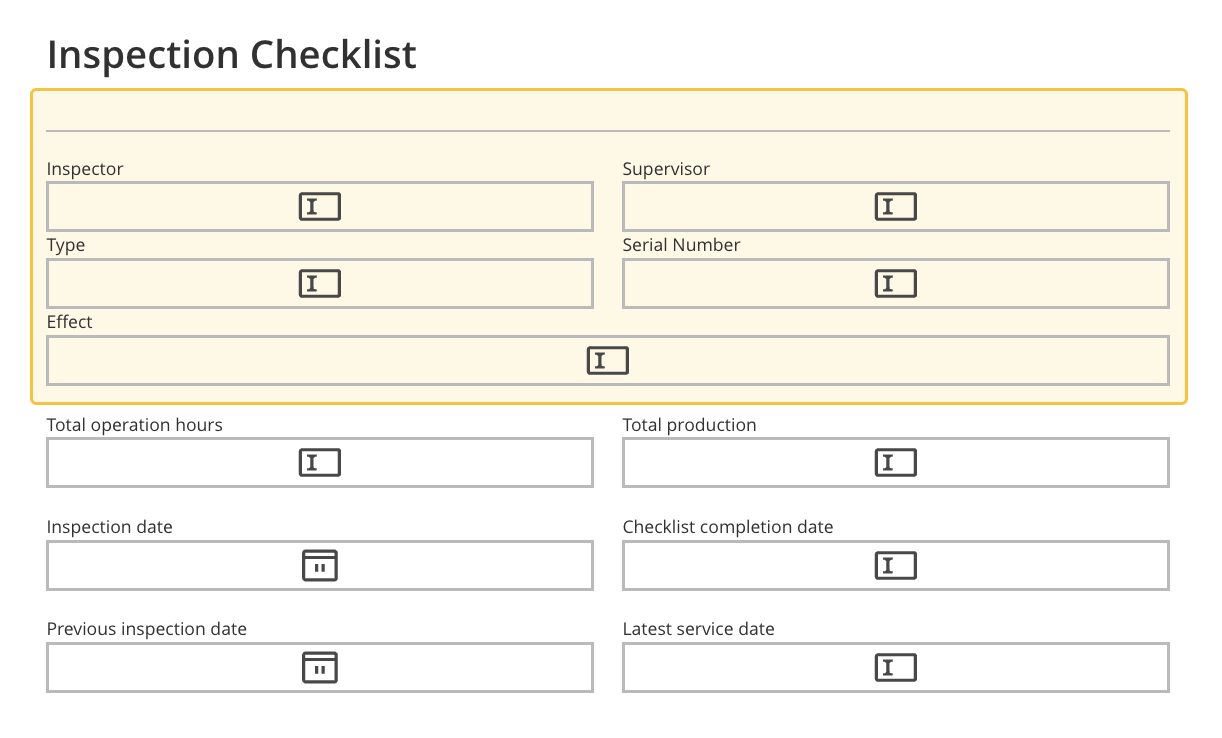
- Move one or multiple elements through the page by a simple drag-and-drop.
- Undo the action done earlier or redo it to discard the results of the last Undo action by clicking on the arrows.
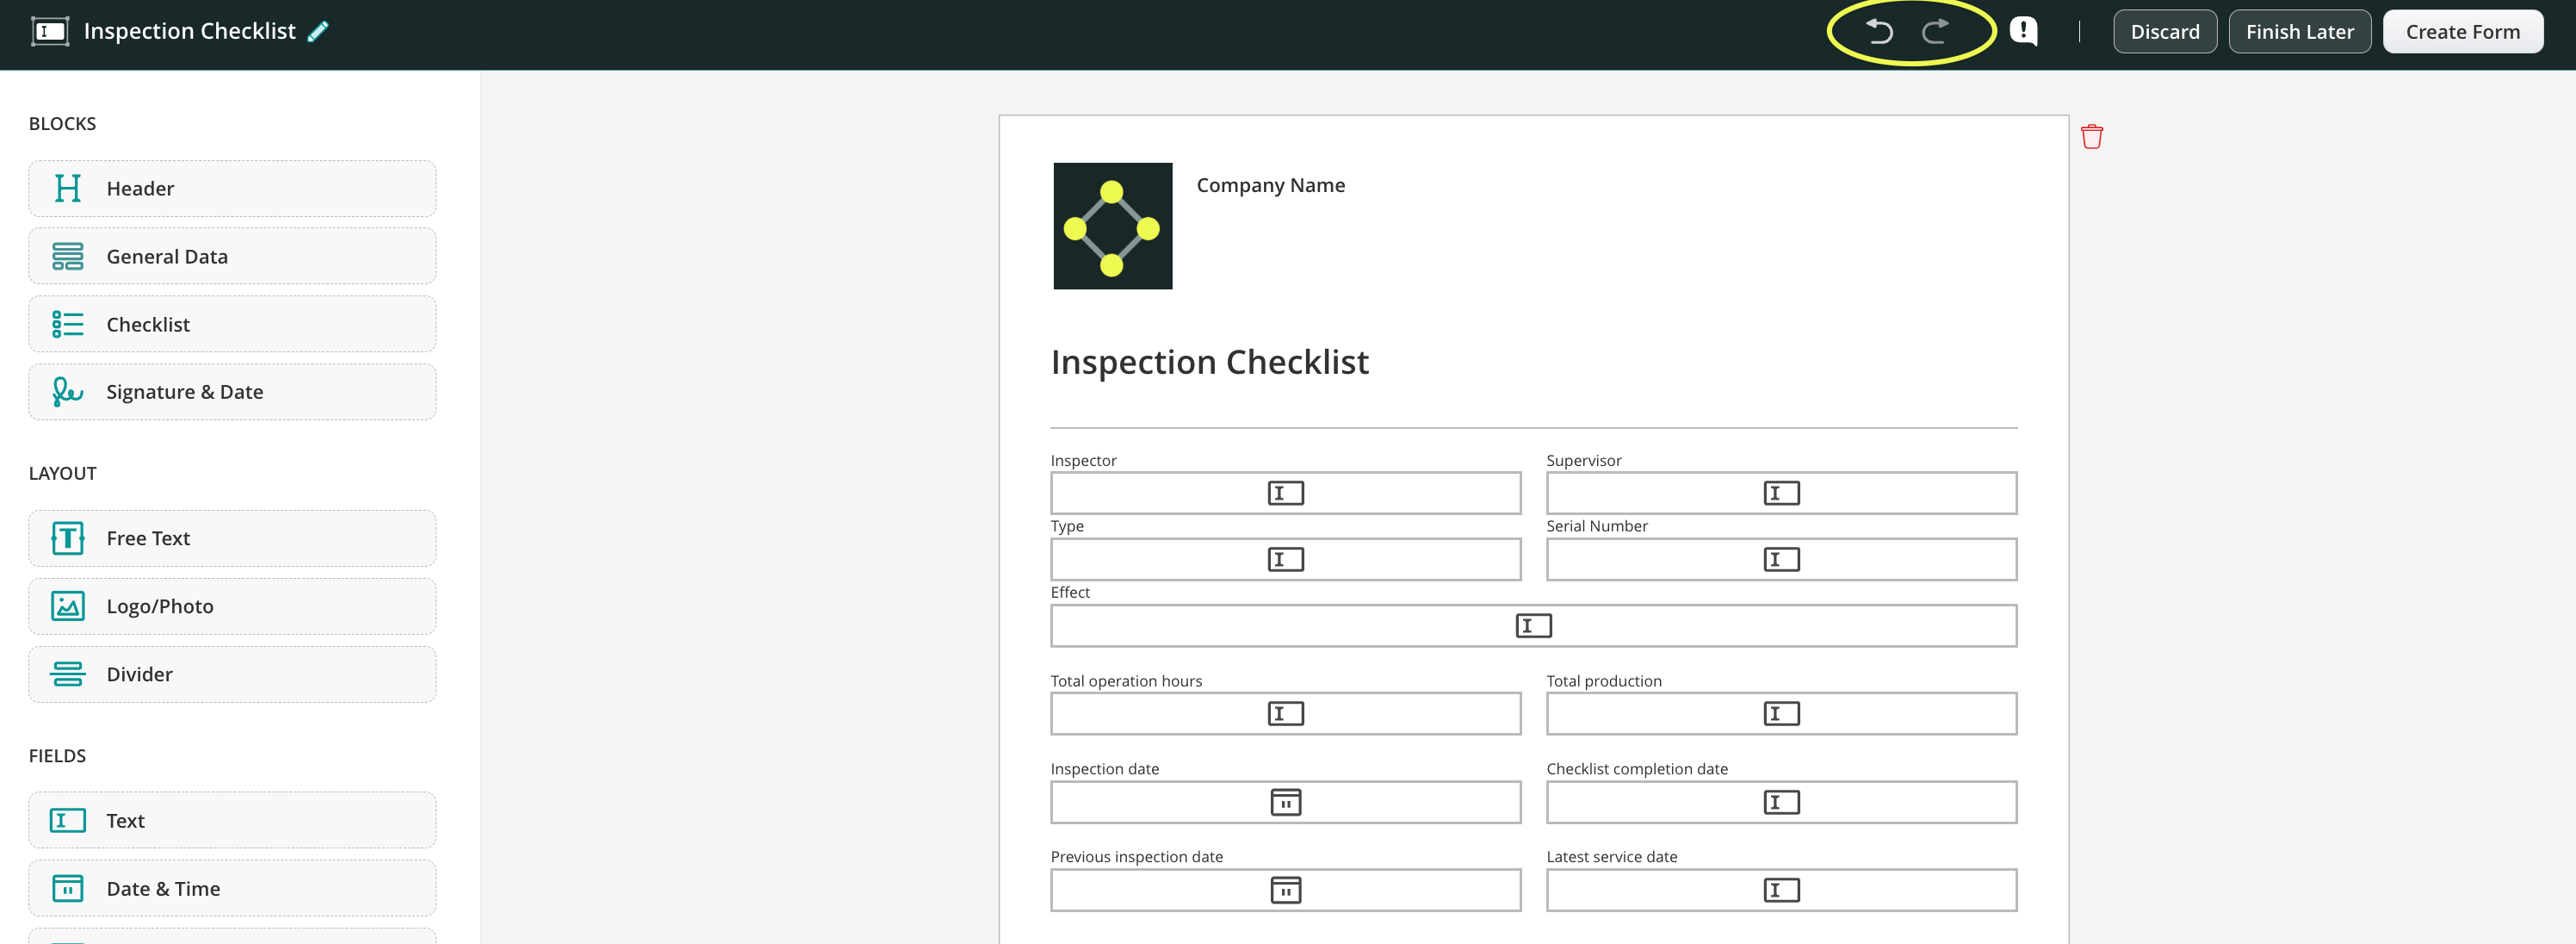
- Report a problem by clicking on the exclamation mark near the Discard button.
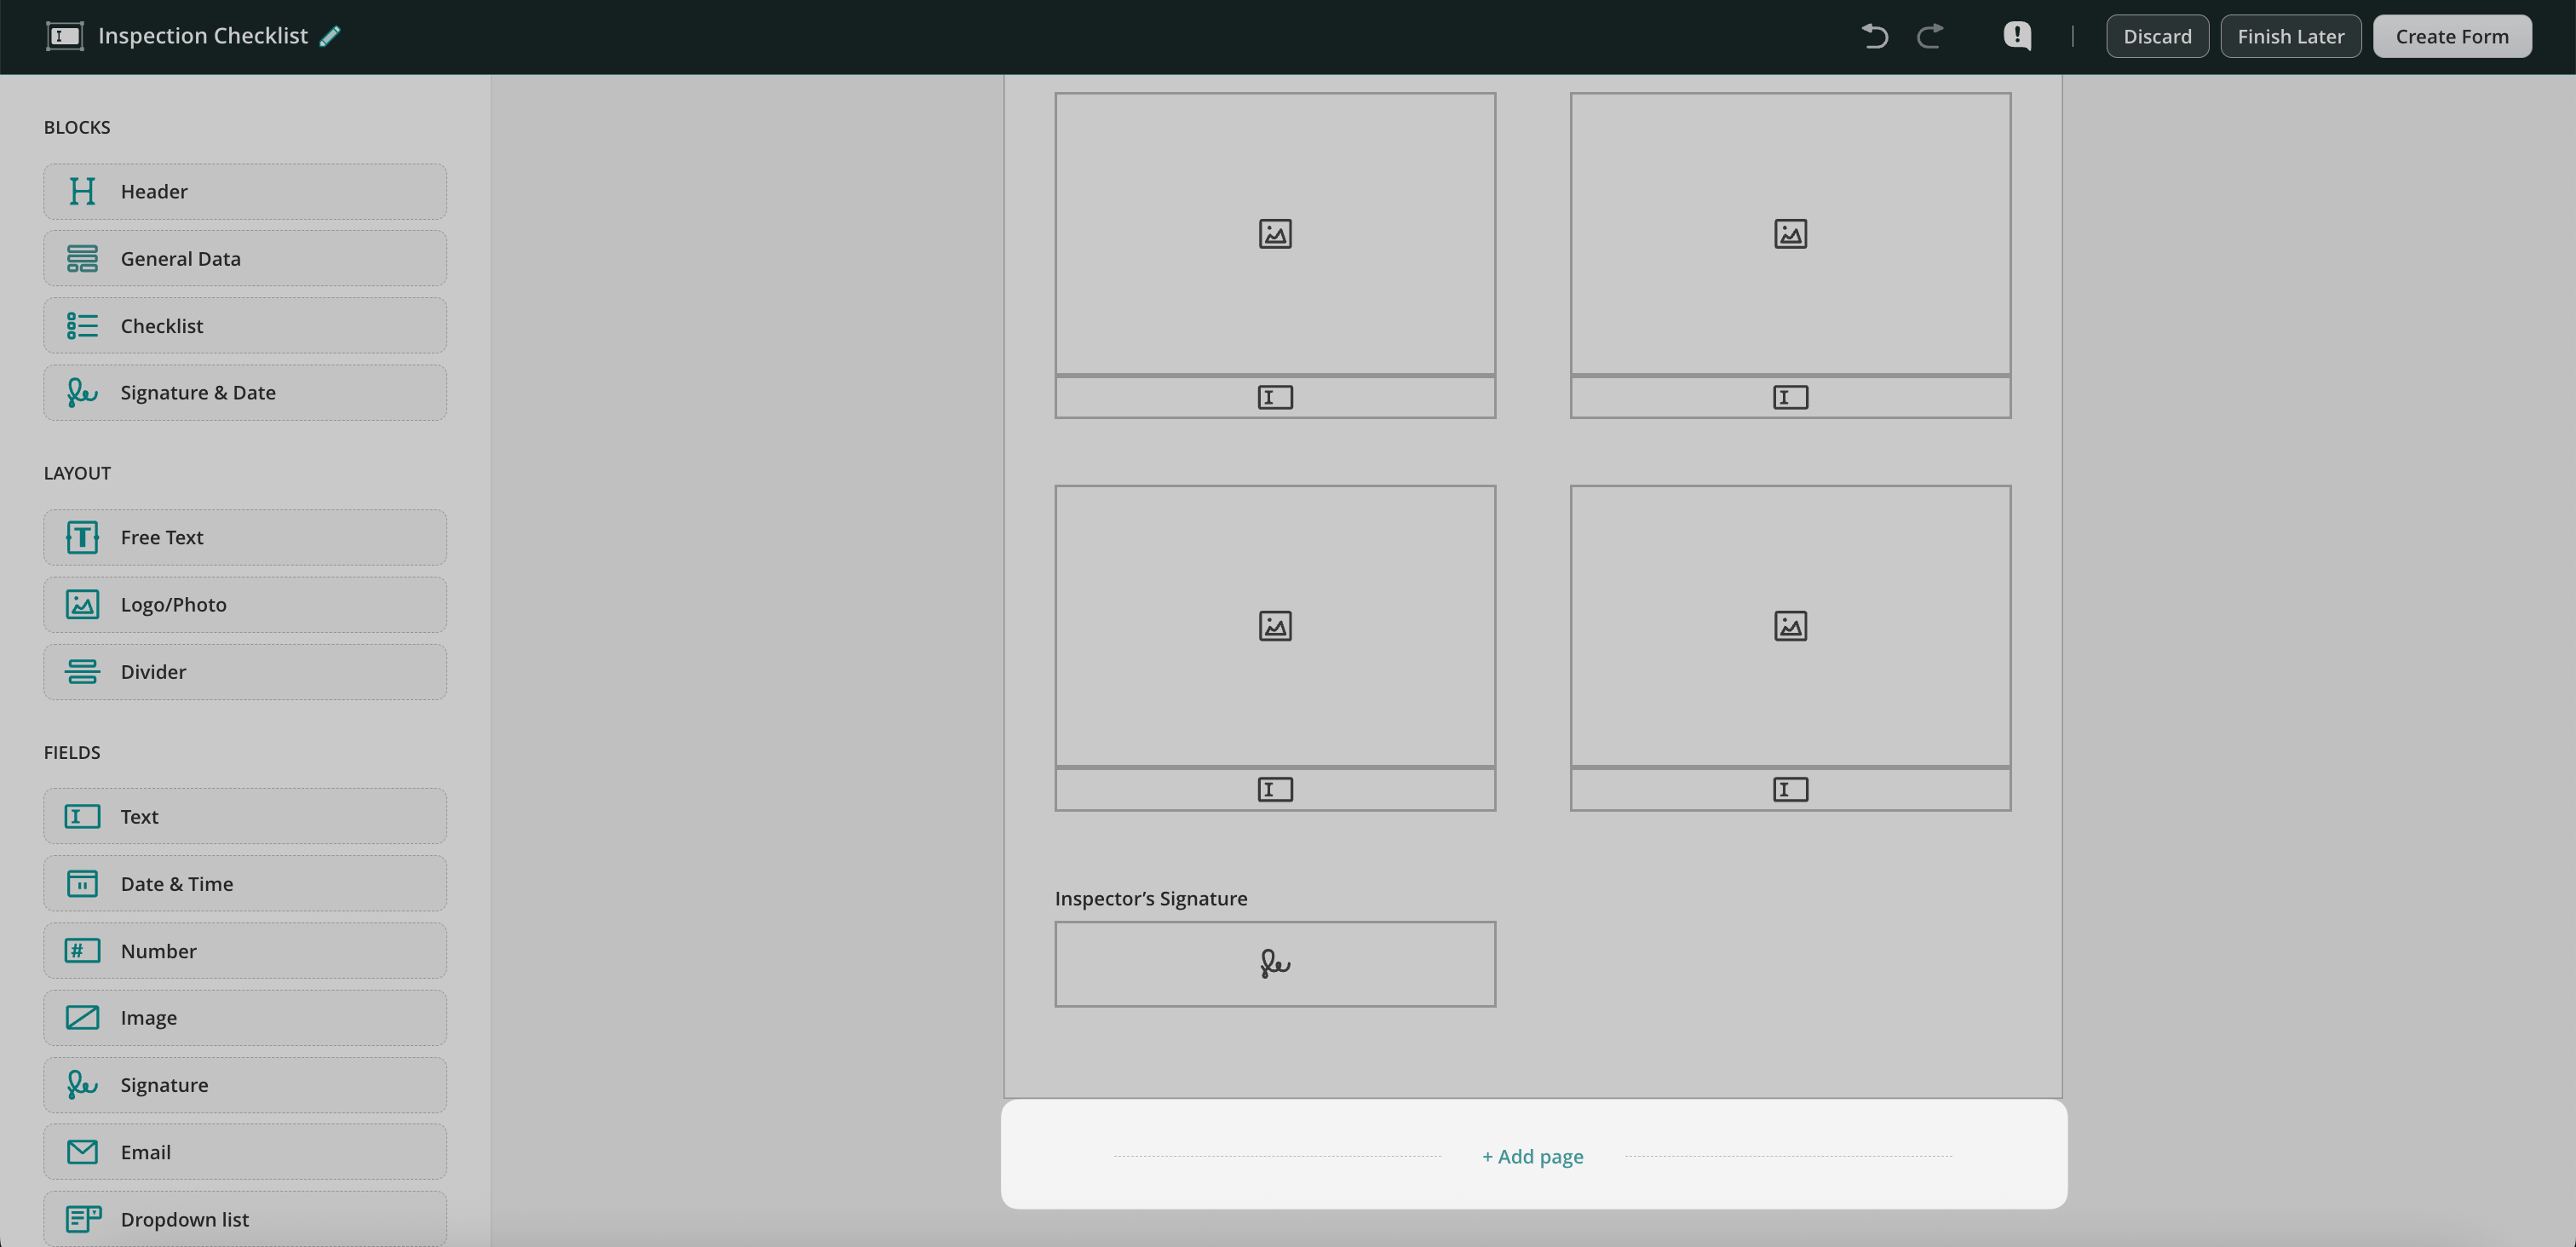
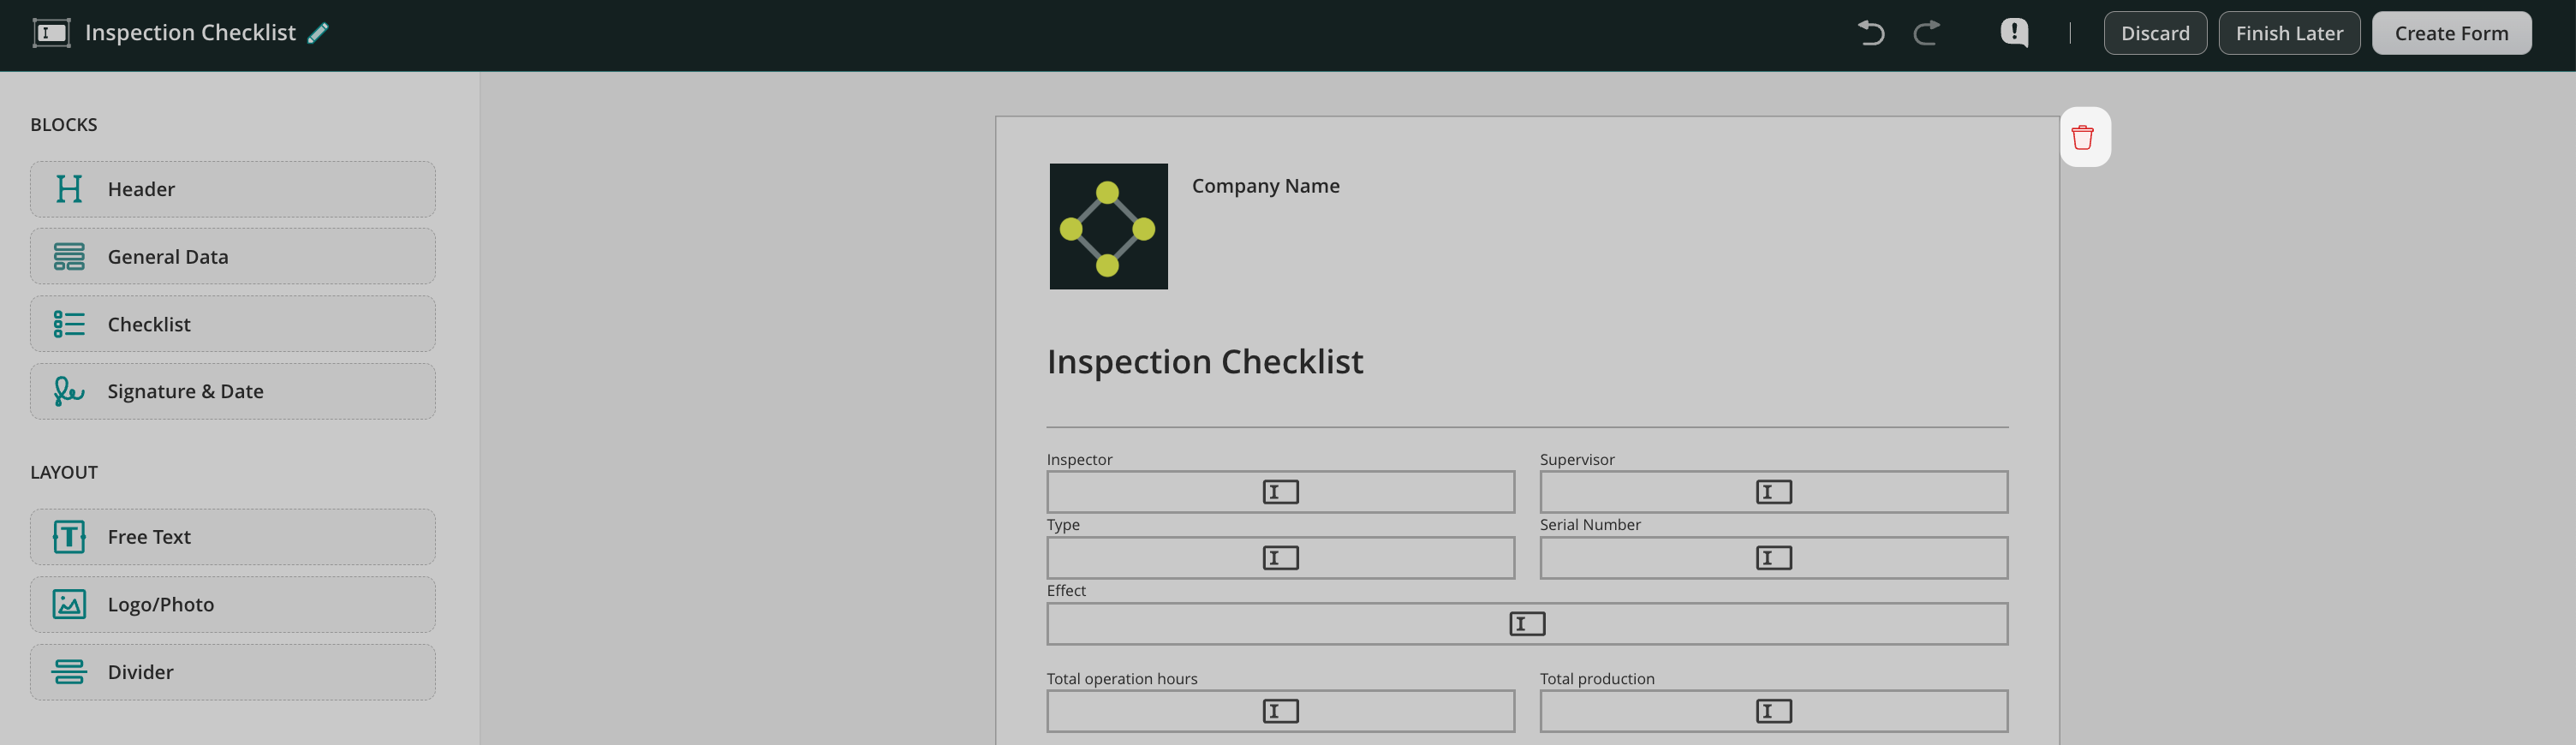
Modifying pages of the form
- To add a new page, click Add Page at the bottom of each page.
- To delete the page, click the garbage icon on the top right side of the page.
Once the form is ready, click Create Form in the upper right corner to save the form. Once done, the form will appear in the Forms section, from where you may select it while building a workflow.