


The Customization of Tab Names functionality in Fluix Docs enables admins to modify the names of document source sections for Fluix Docs app users. This helps admins align tab naming with internal terminology and improve navigation clarity for the field teams.
In this tutorial, you will learn how to configure and manage your custom tab titles.
- Navigate to the User Settings tab of the Settings section on the Admin Portal.
Note: If you don’t have access to the User Settings tab, please contact your company’s Fluix account admin to request the necessary permissions.
To allow a user to manage User Settings, the admin needs to grant the user with the permission and enable access to Settings in the Global Permissions tab.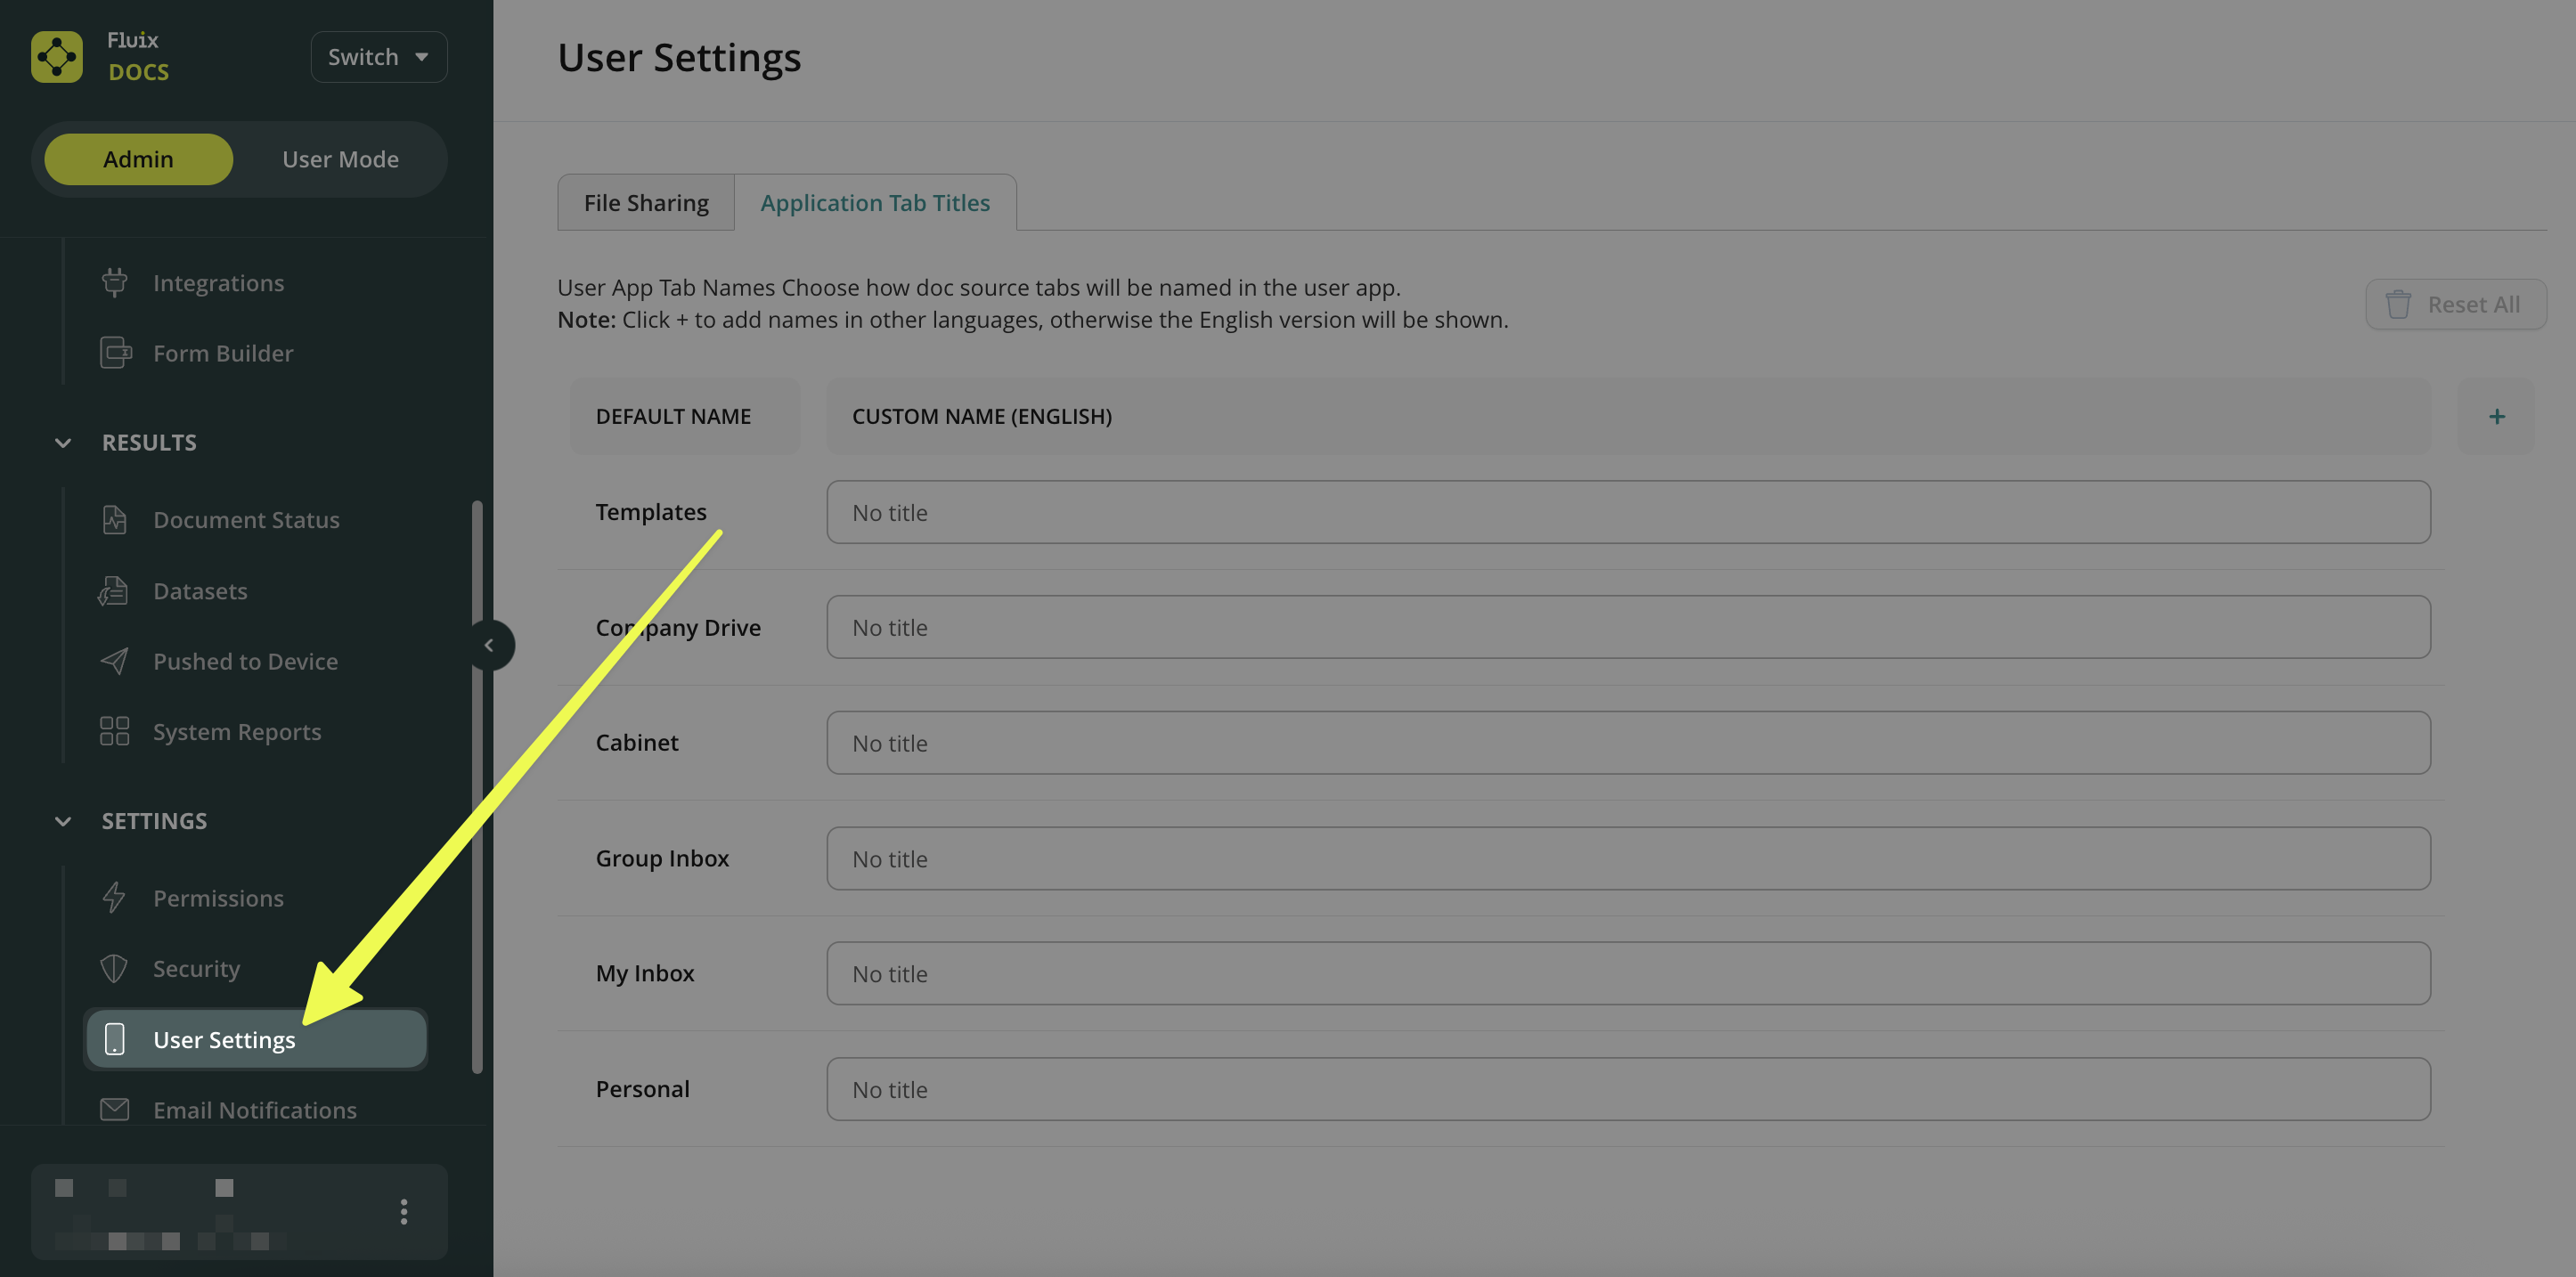
- Select the Application Tab Titles tab.
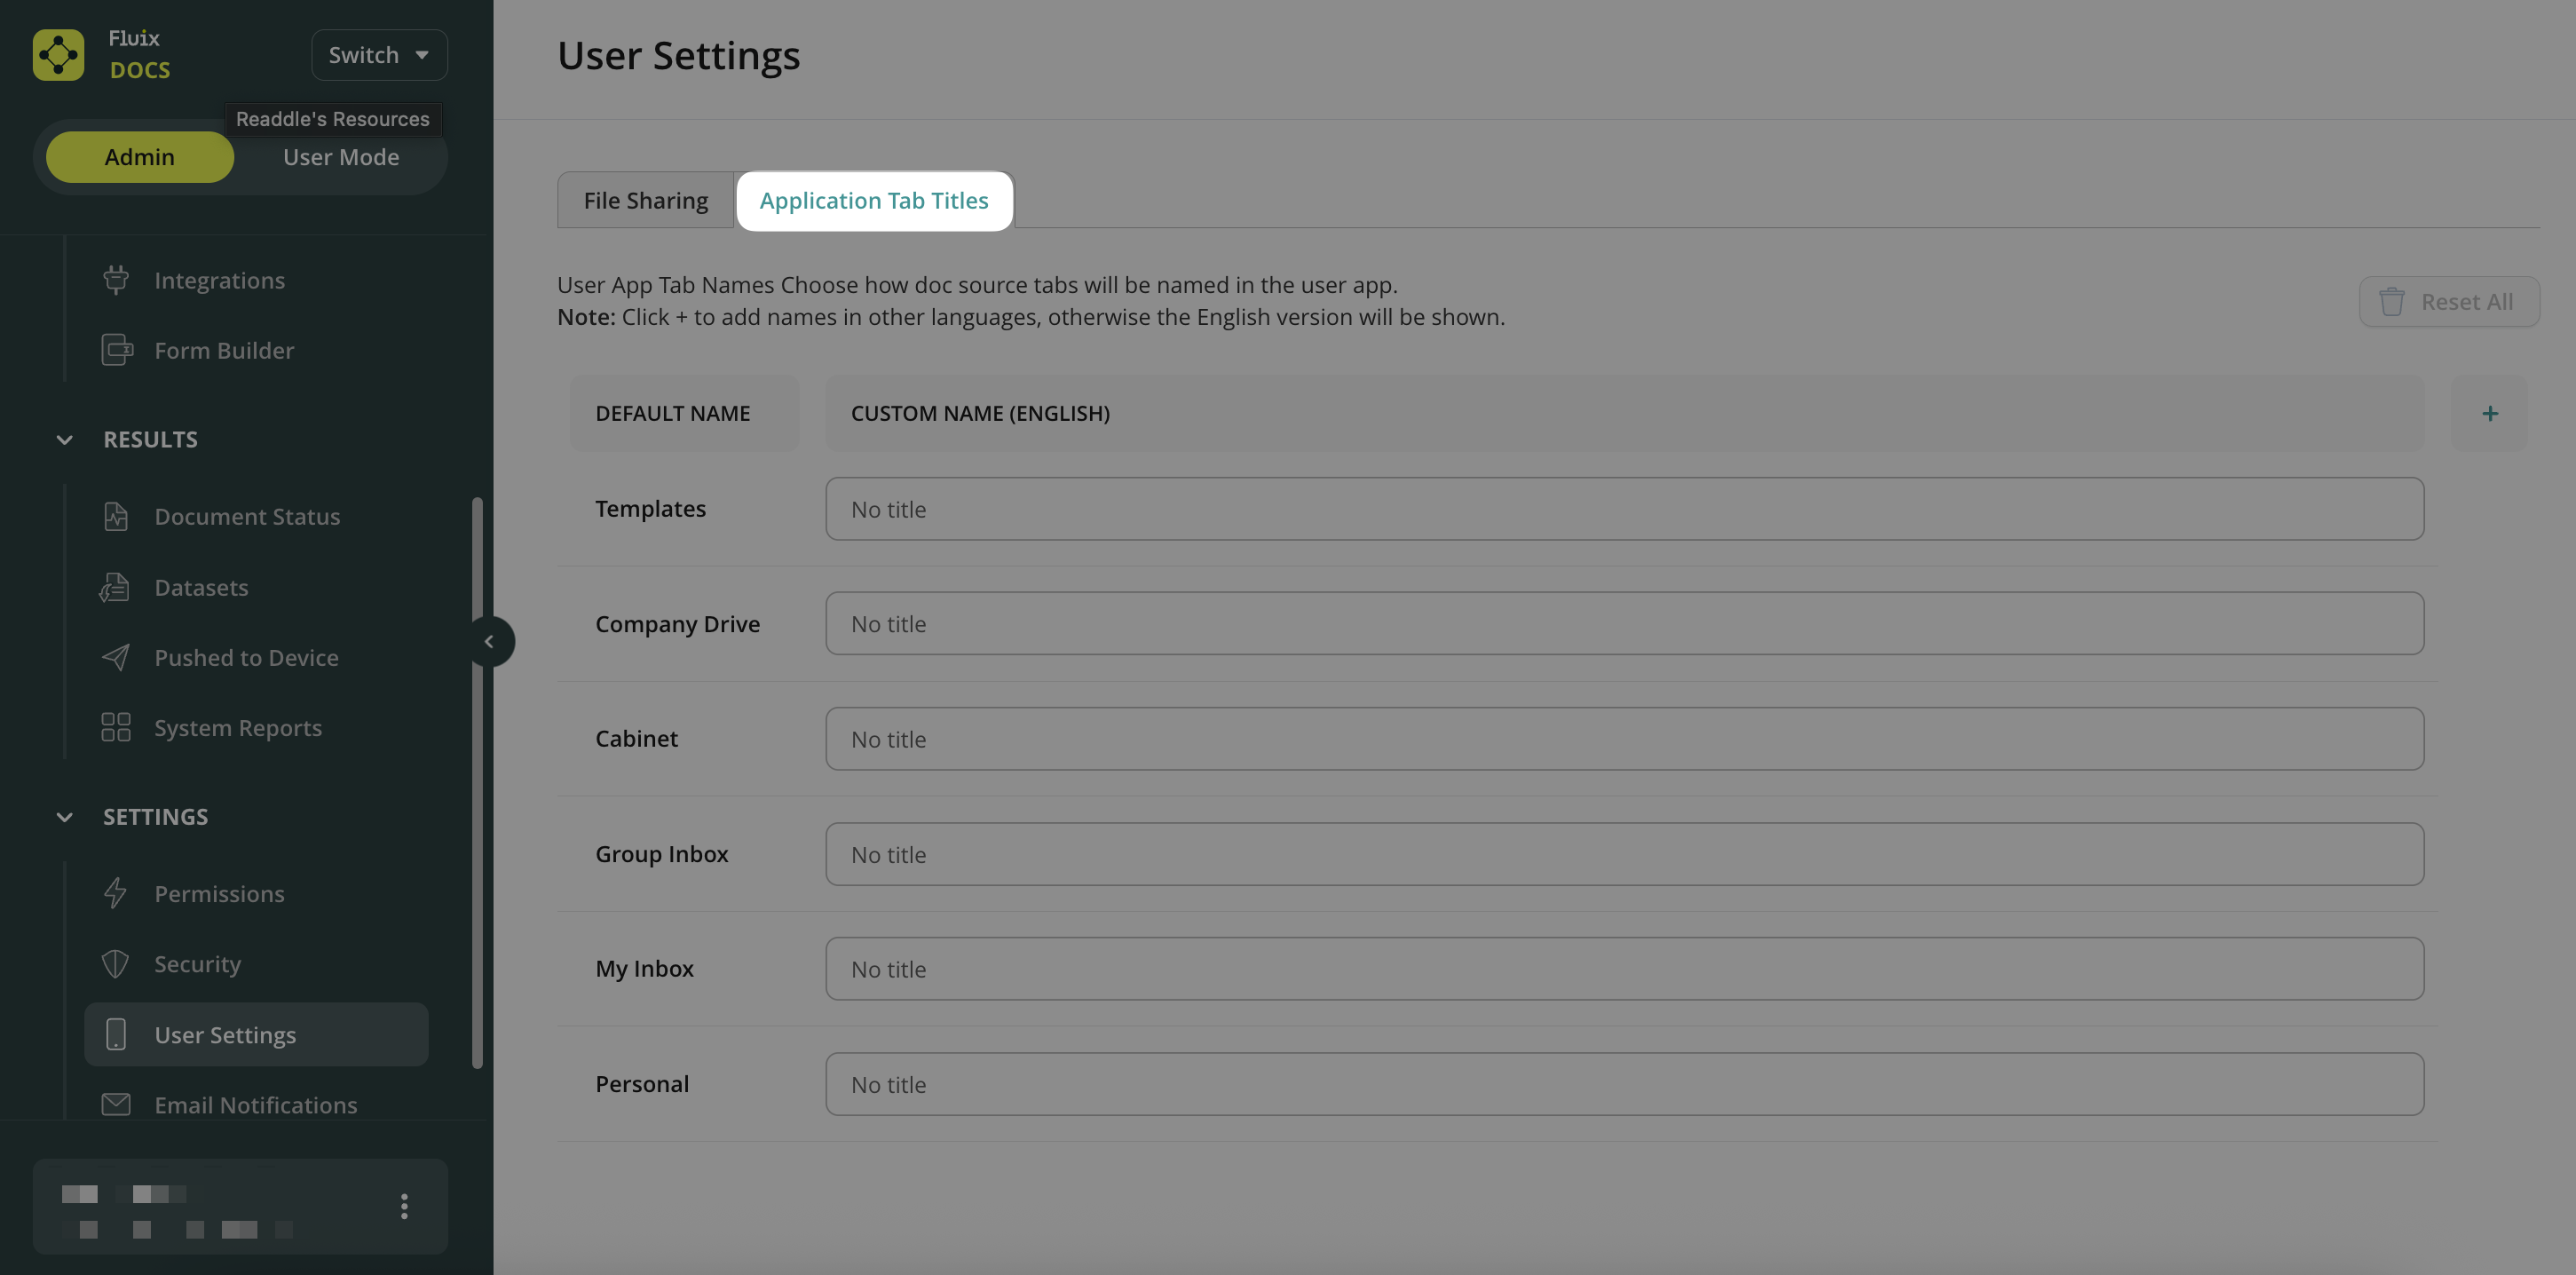
- You will see a table with two columns:
Default Name – system titles displayed in the Fluix Docs app.
Custom Name (English) – editable fields for your custom app tab names.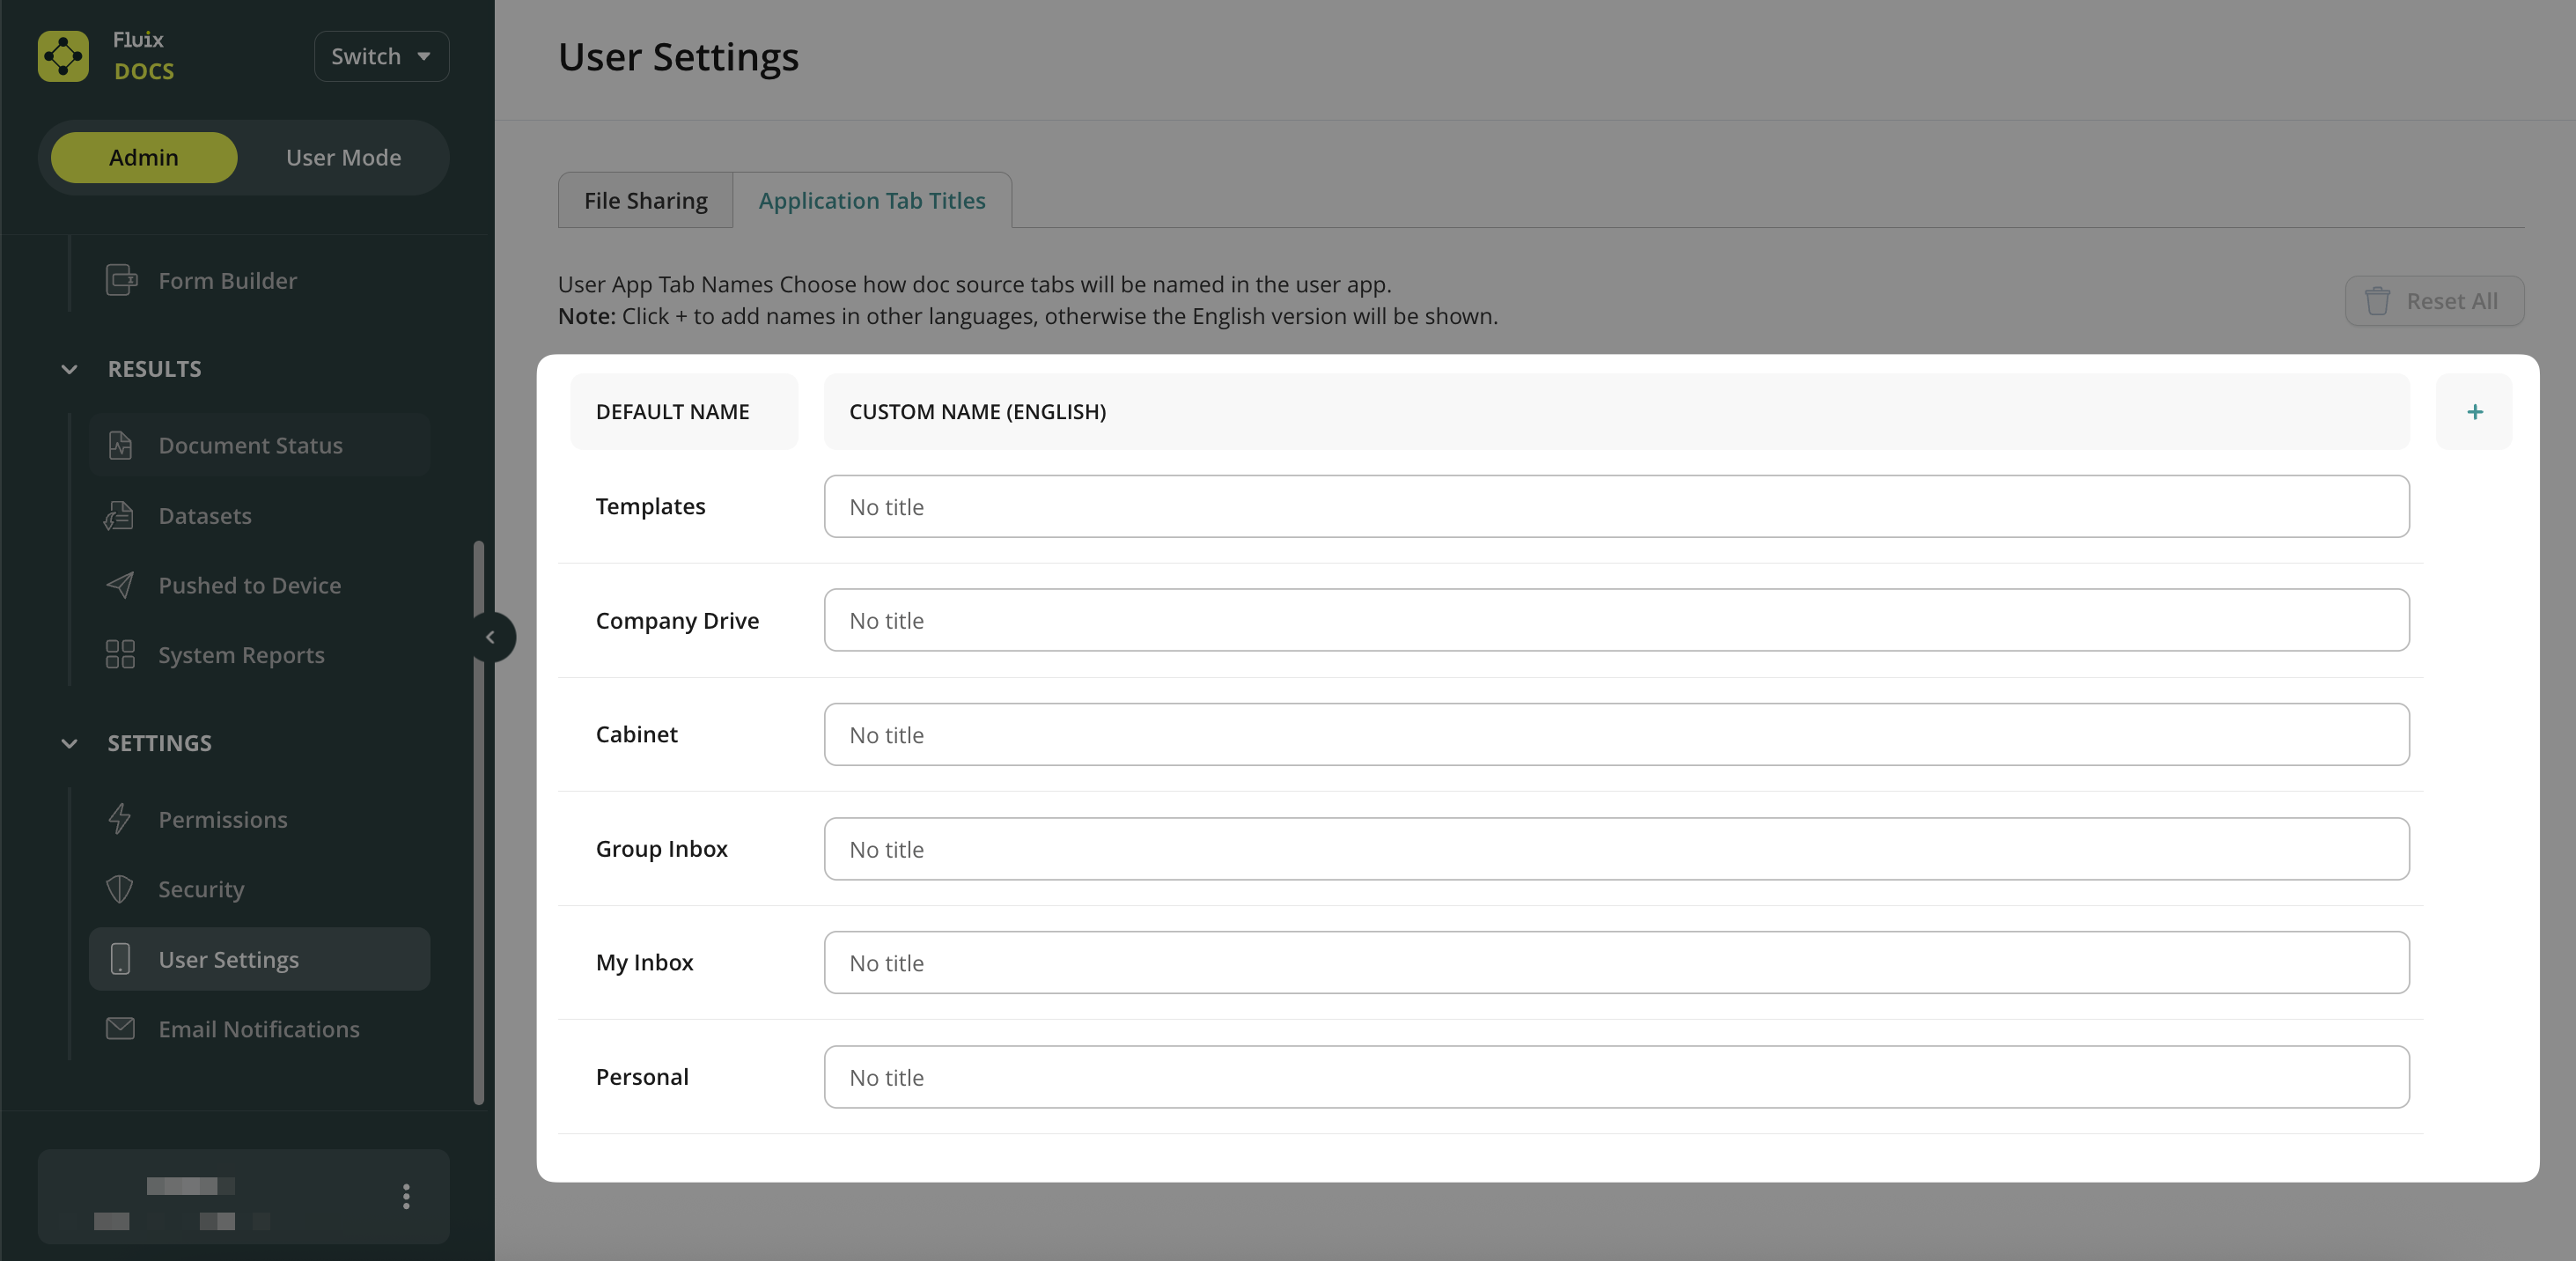
- Click on the Custom Title field and type the name you would like to display in the Fluix app for your field team.
Note: each field has a 22-character limit. - After you make any edits, click on the Save changes button.
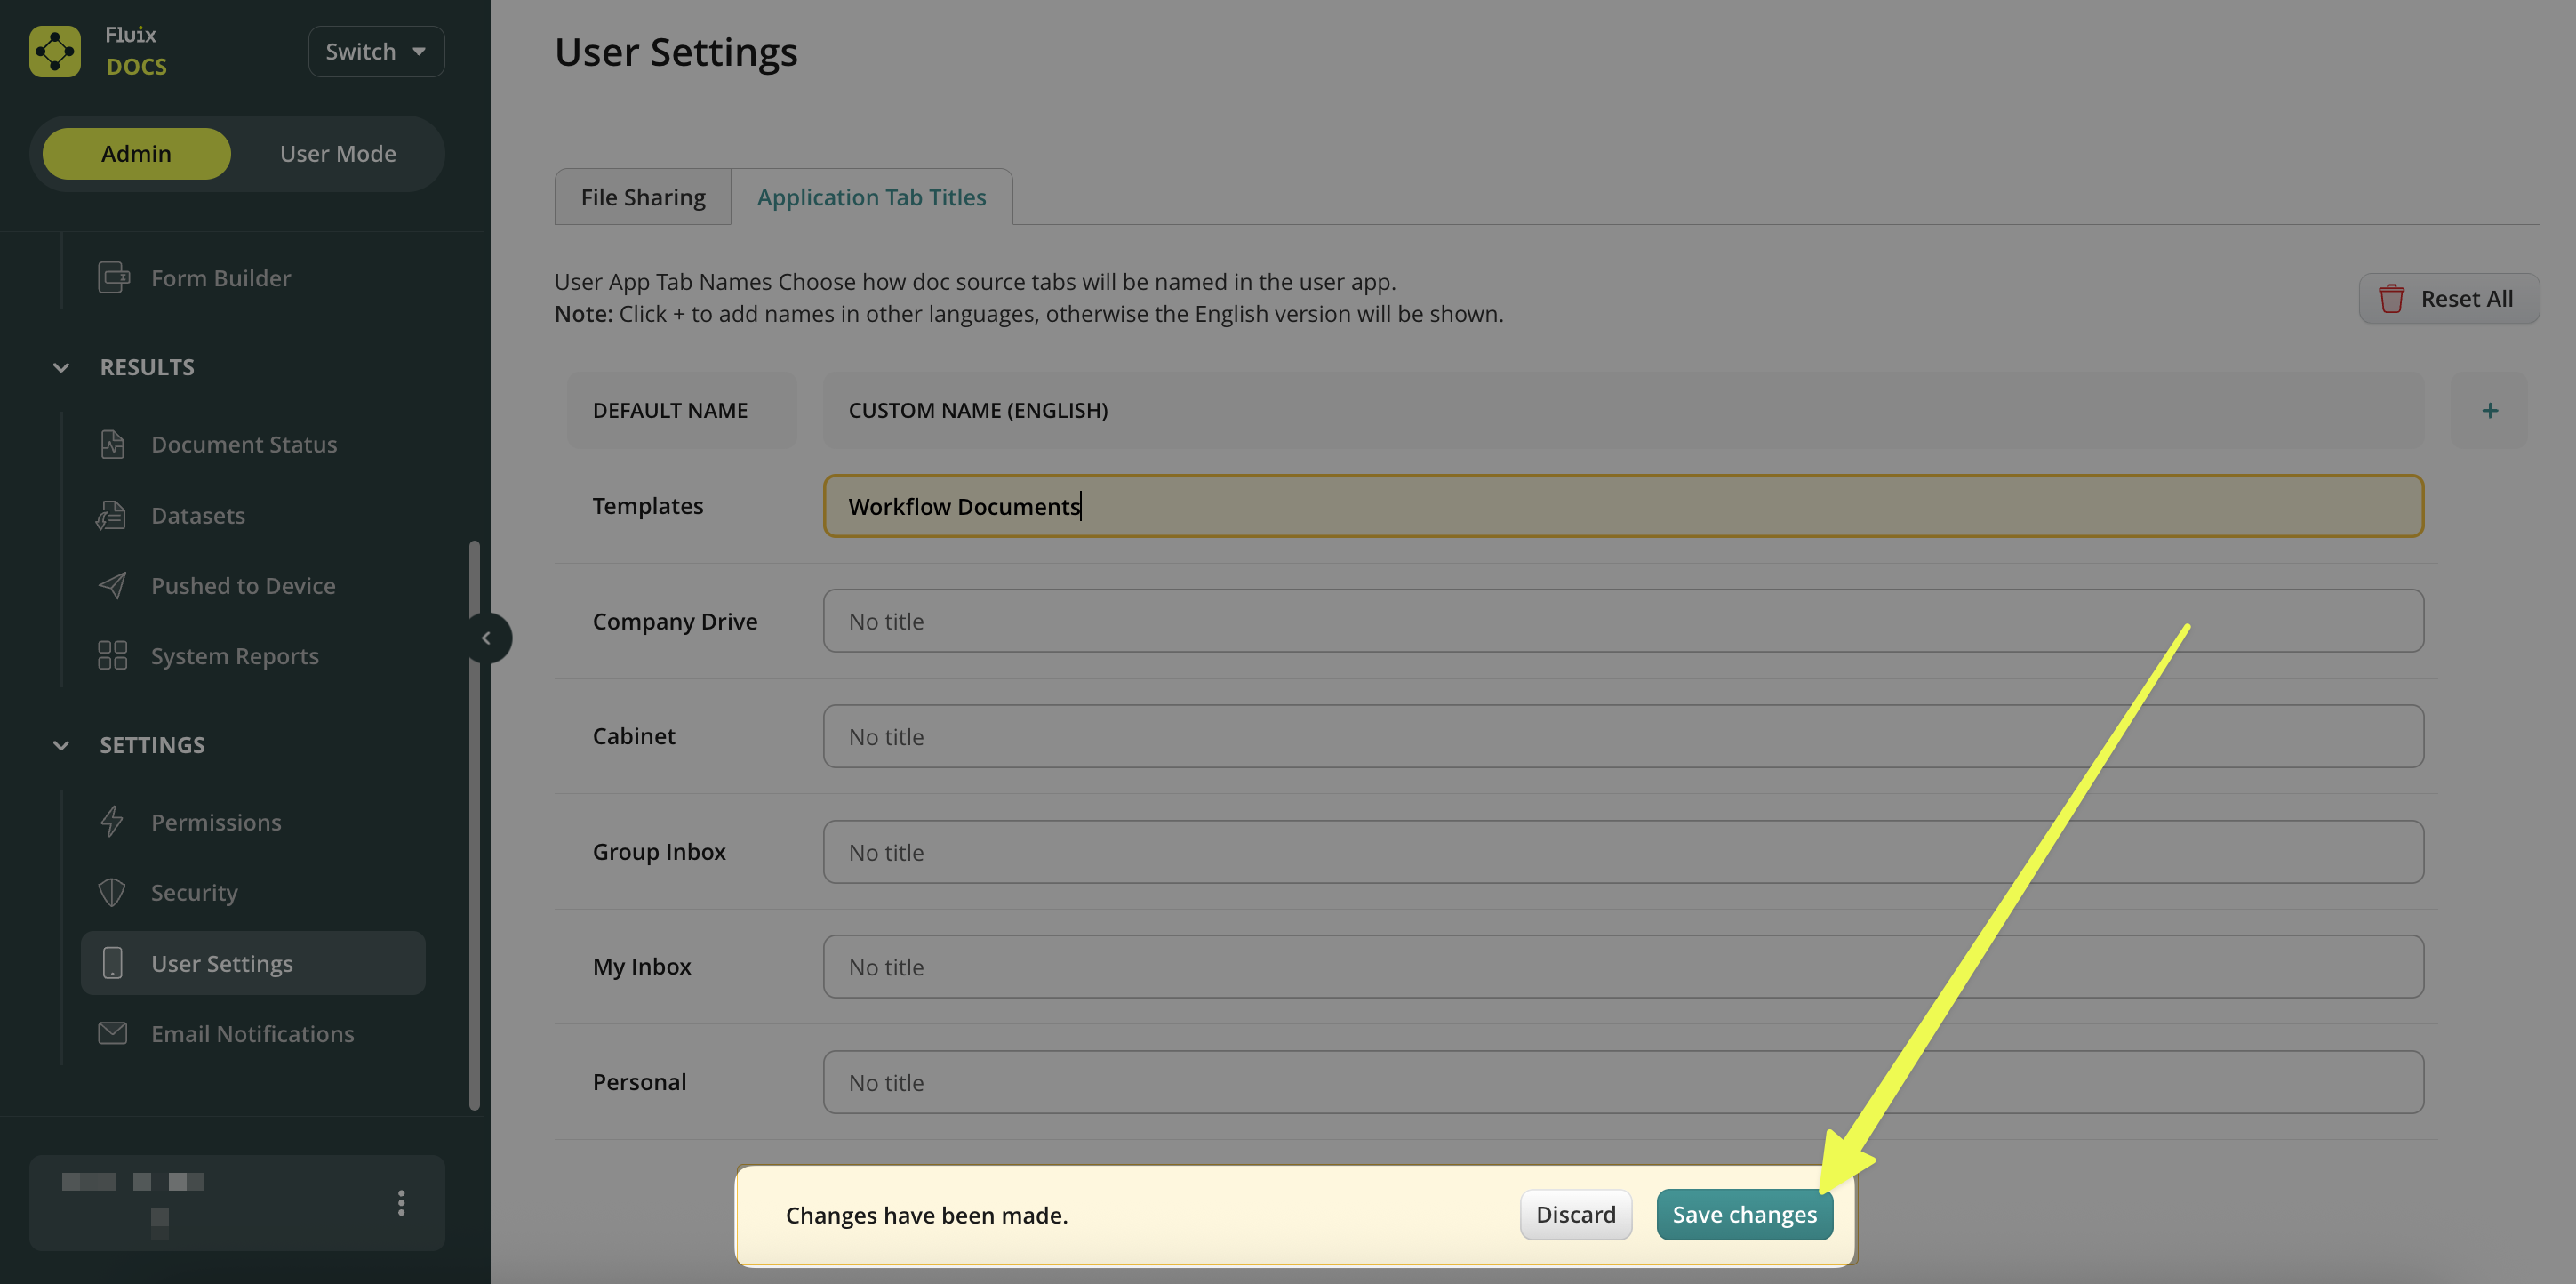
Note: Upon clicking the Save changes, the settings you configure in the Application Tab Titles will be applied globally to all the users in your company account.
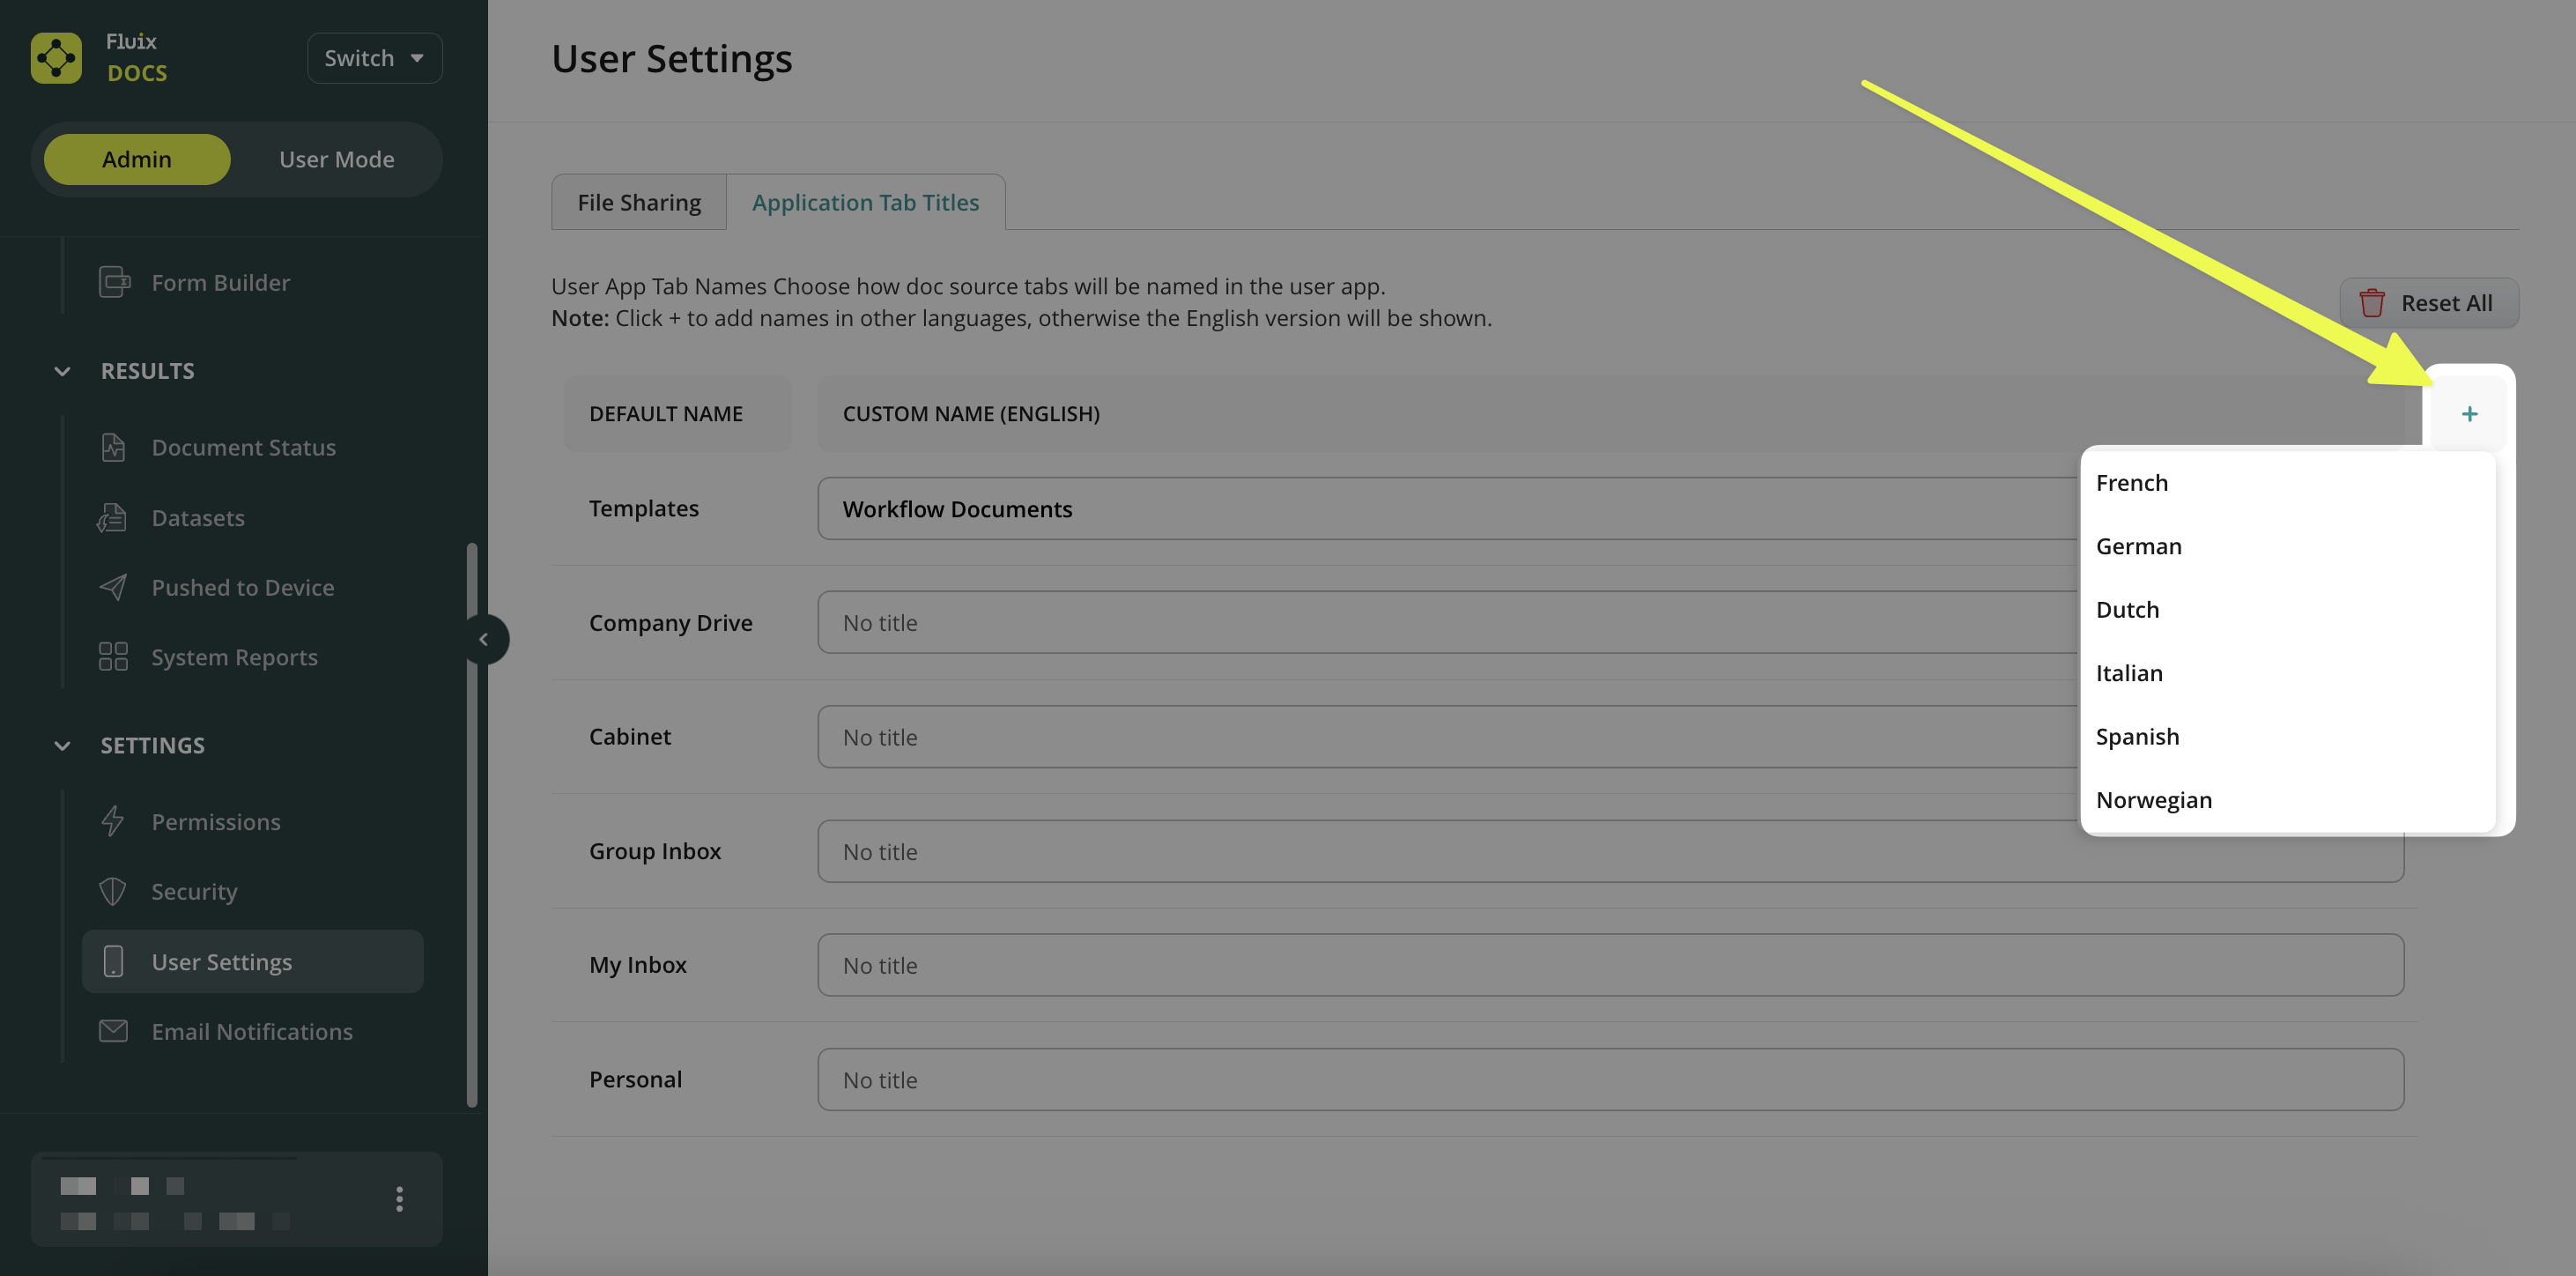
How To Add Titles in Different Languages
- To add a localized tab name, click the Plus (+) button to add another language column.
- Enter the custom titles for the selected language and click Save Changes.
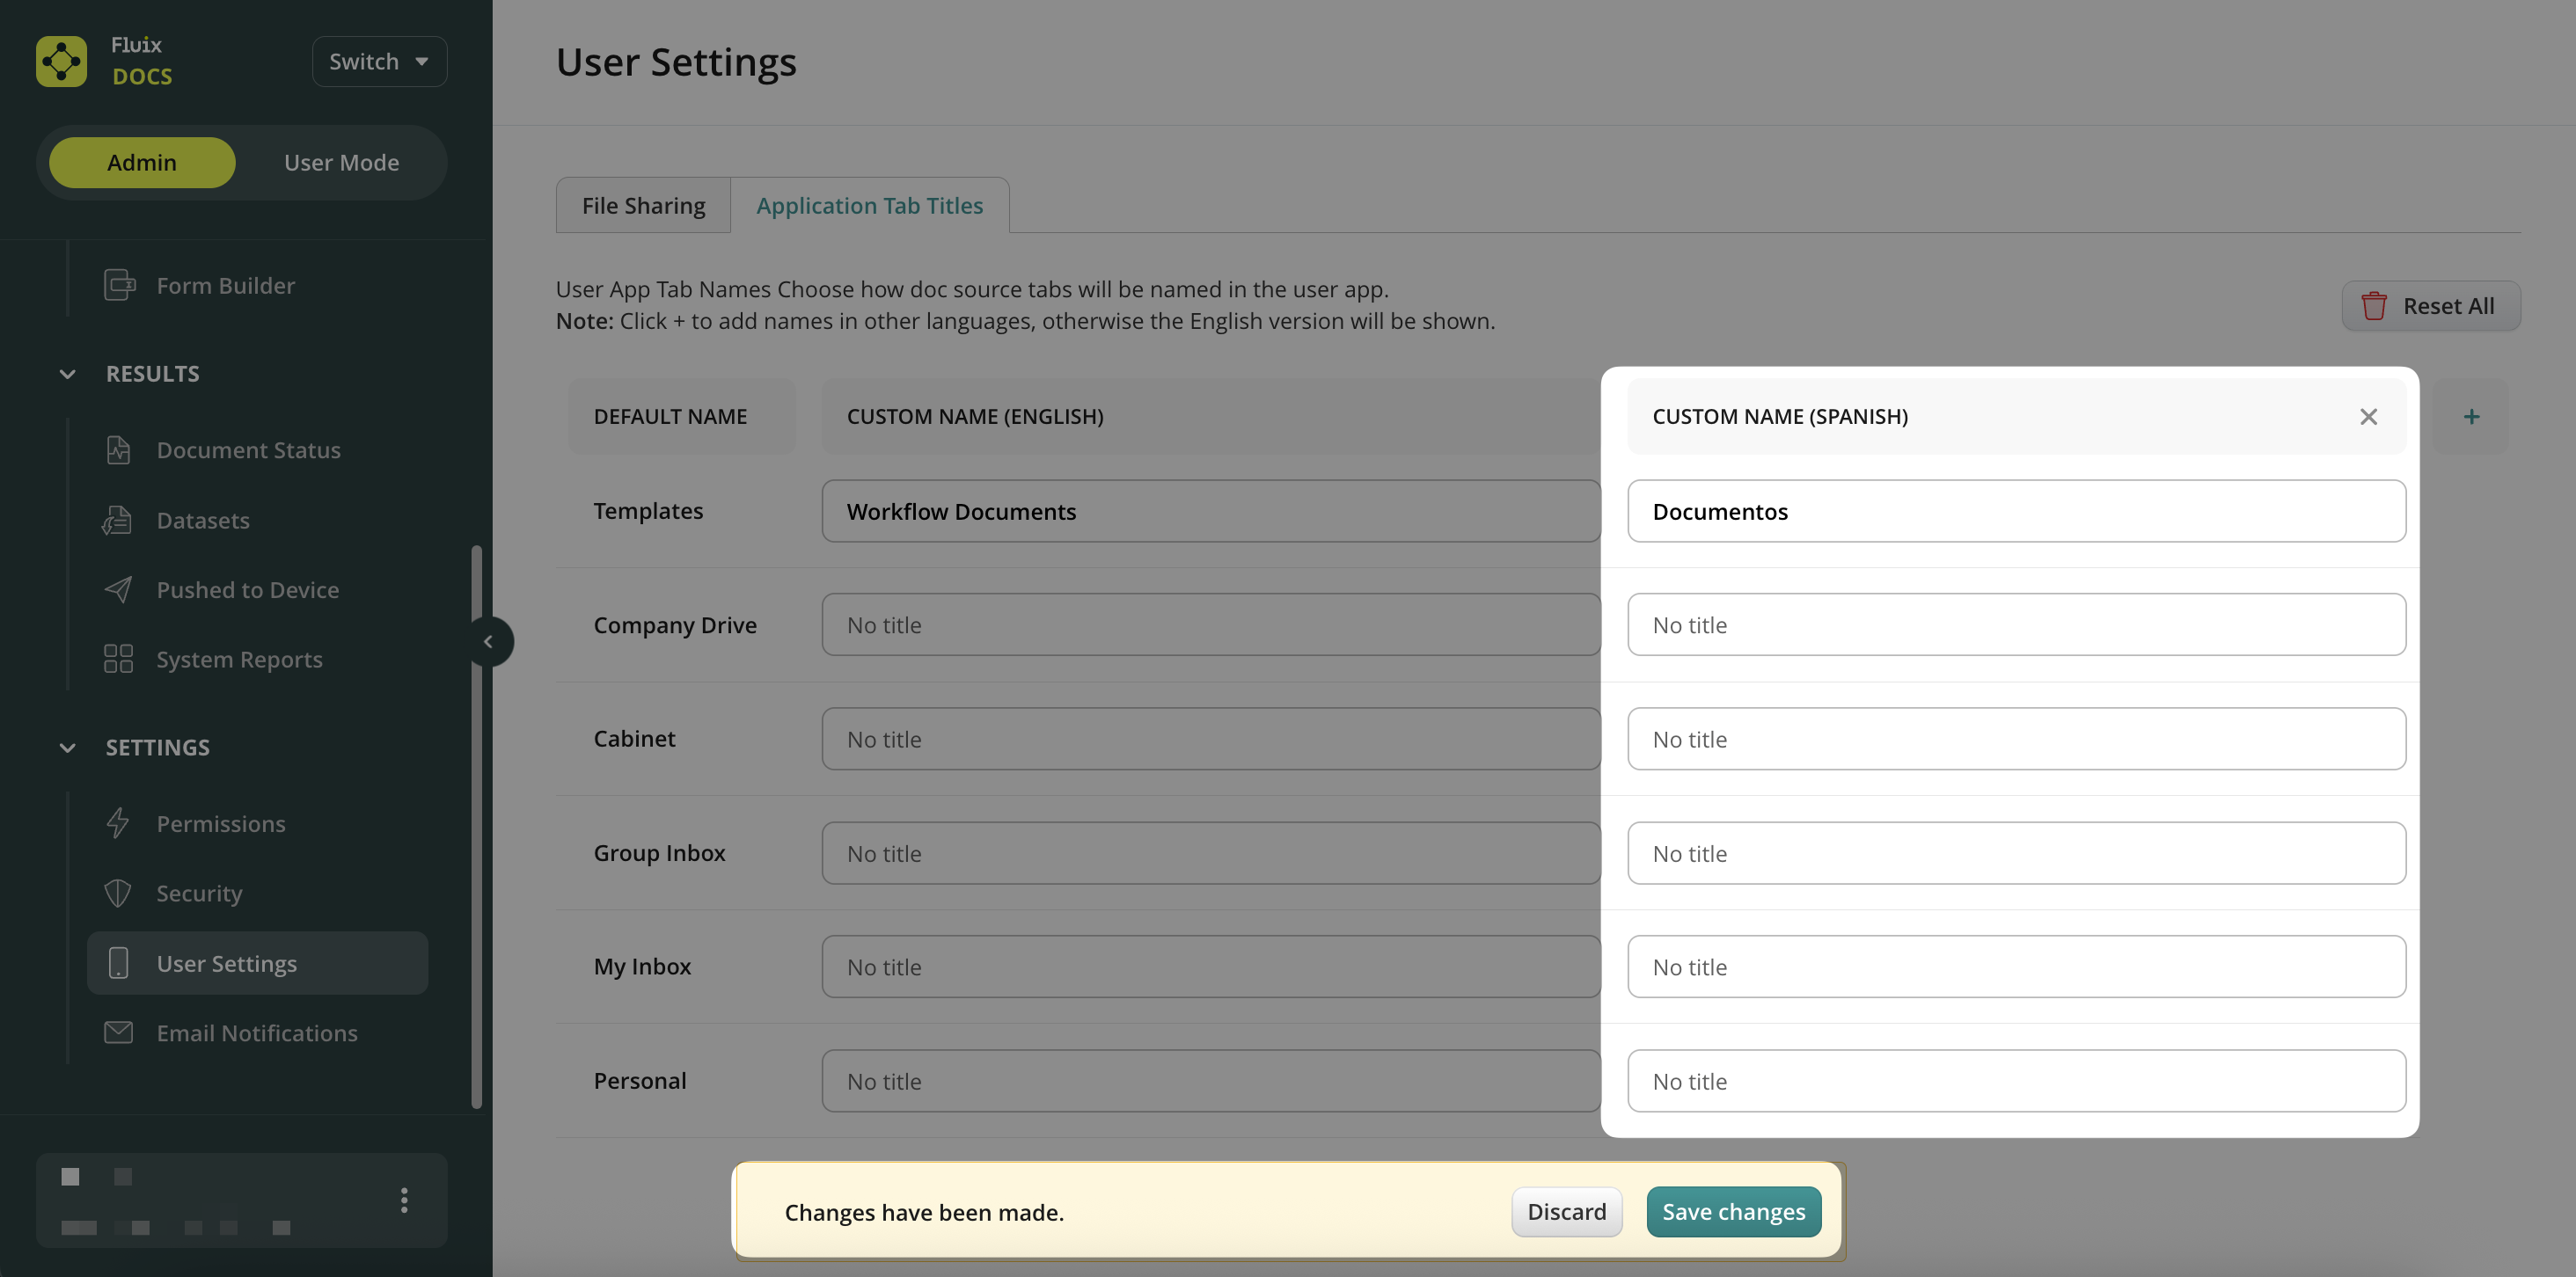
Note: Custom titles will be displayed to users according to their device’s language settings.
If you have any questions, contact our support at support@fluix.io, and we’ll be happy to help.