


You can make a copy of any existing Workflow and then modify any task or submit action if needed. To do that, follow the steps below:
Step 1. Duplicate a Workflow
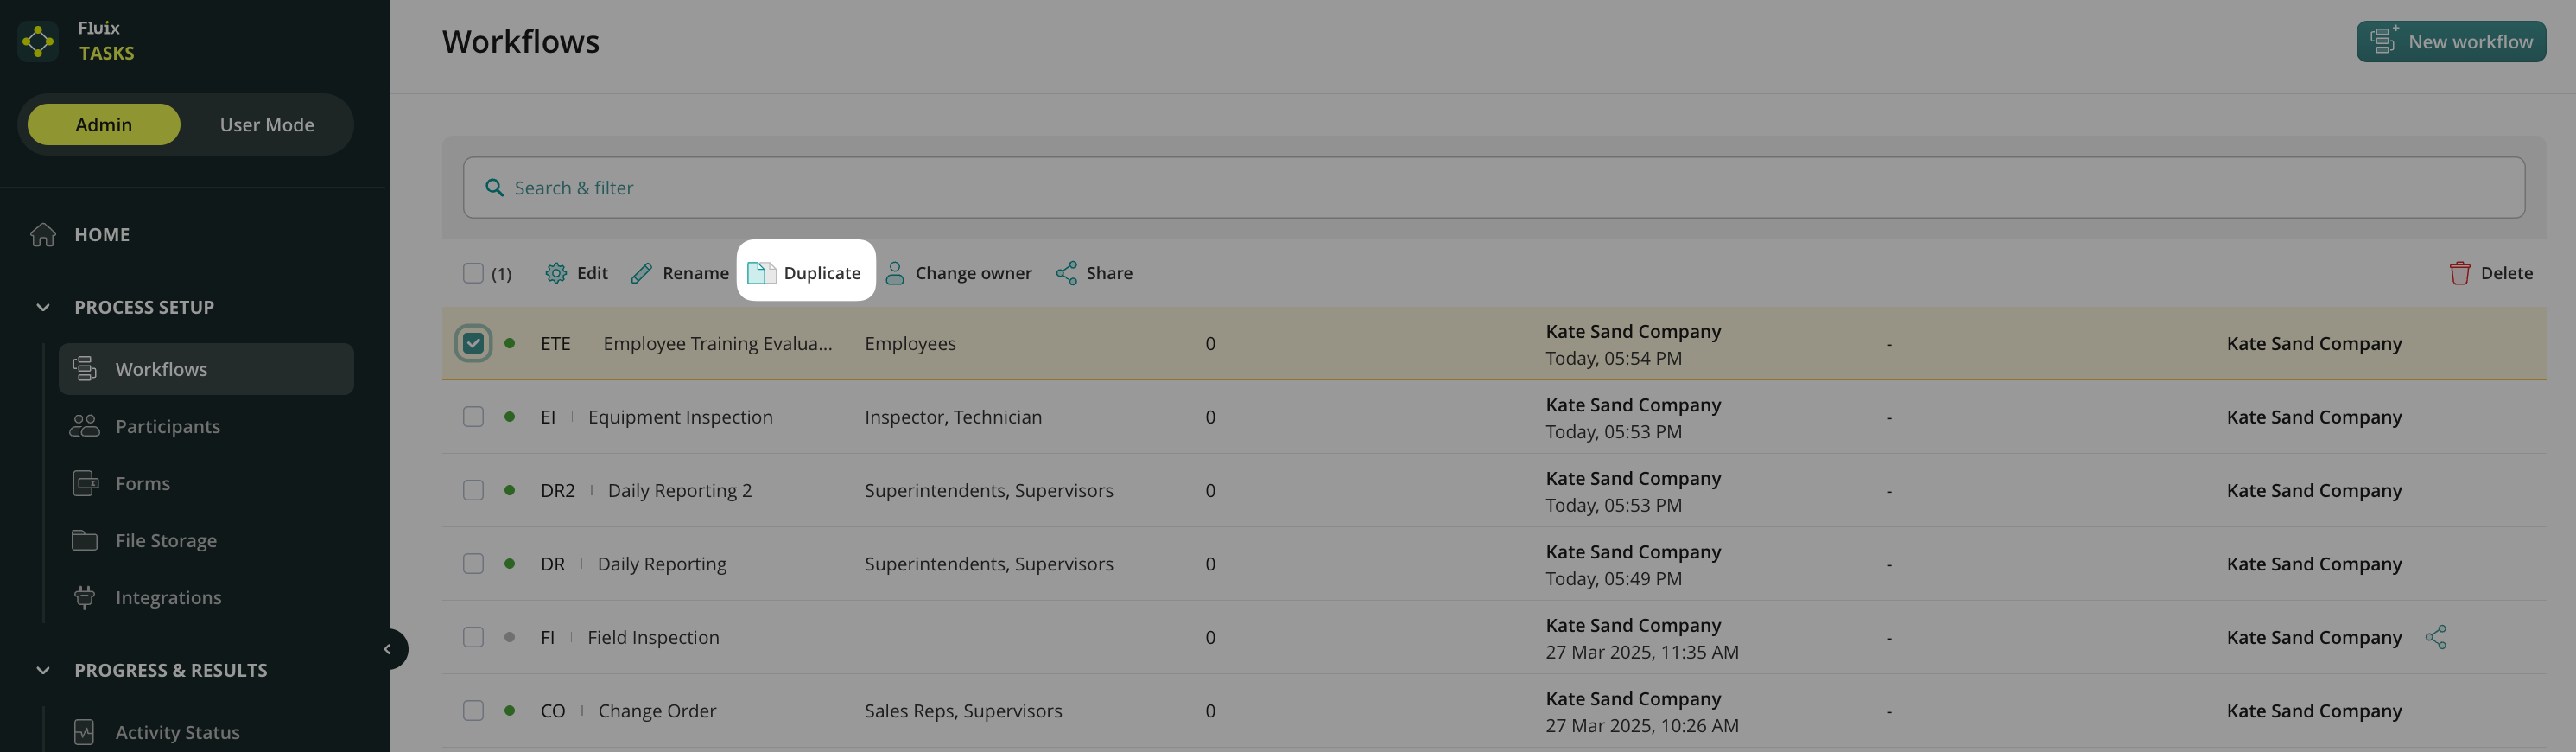
Go to Menu > Workflow section of Fluix Admin Portal, select a Workflow you want to copy, and click Duplicate:
Once a copy is created, start editing as needed. Below are the guidelines for making changes in the duplicated Workflow.
Step 2. Change Assignees
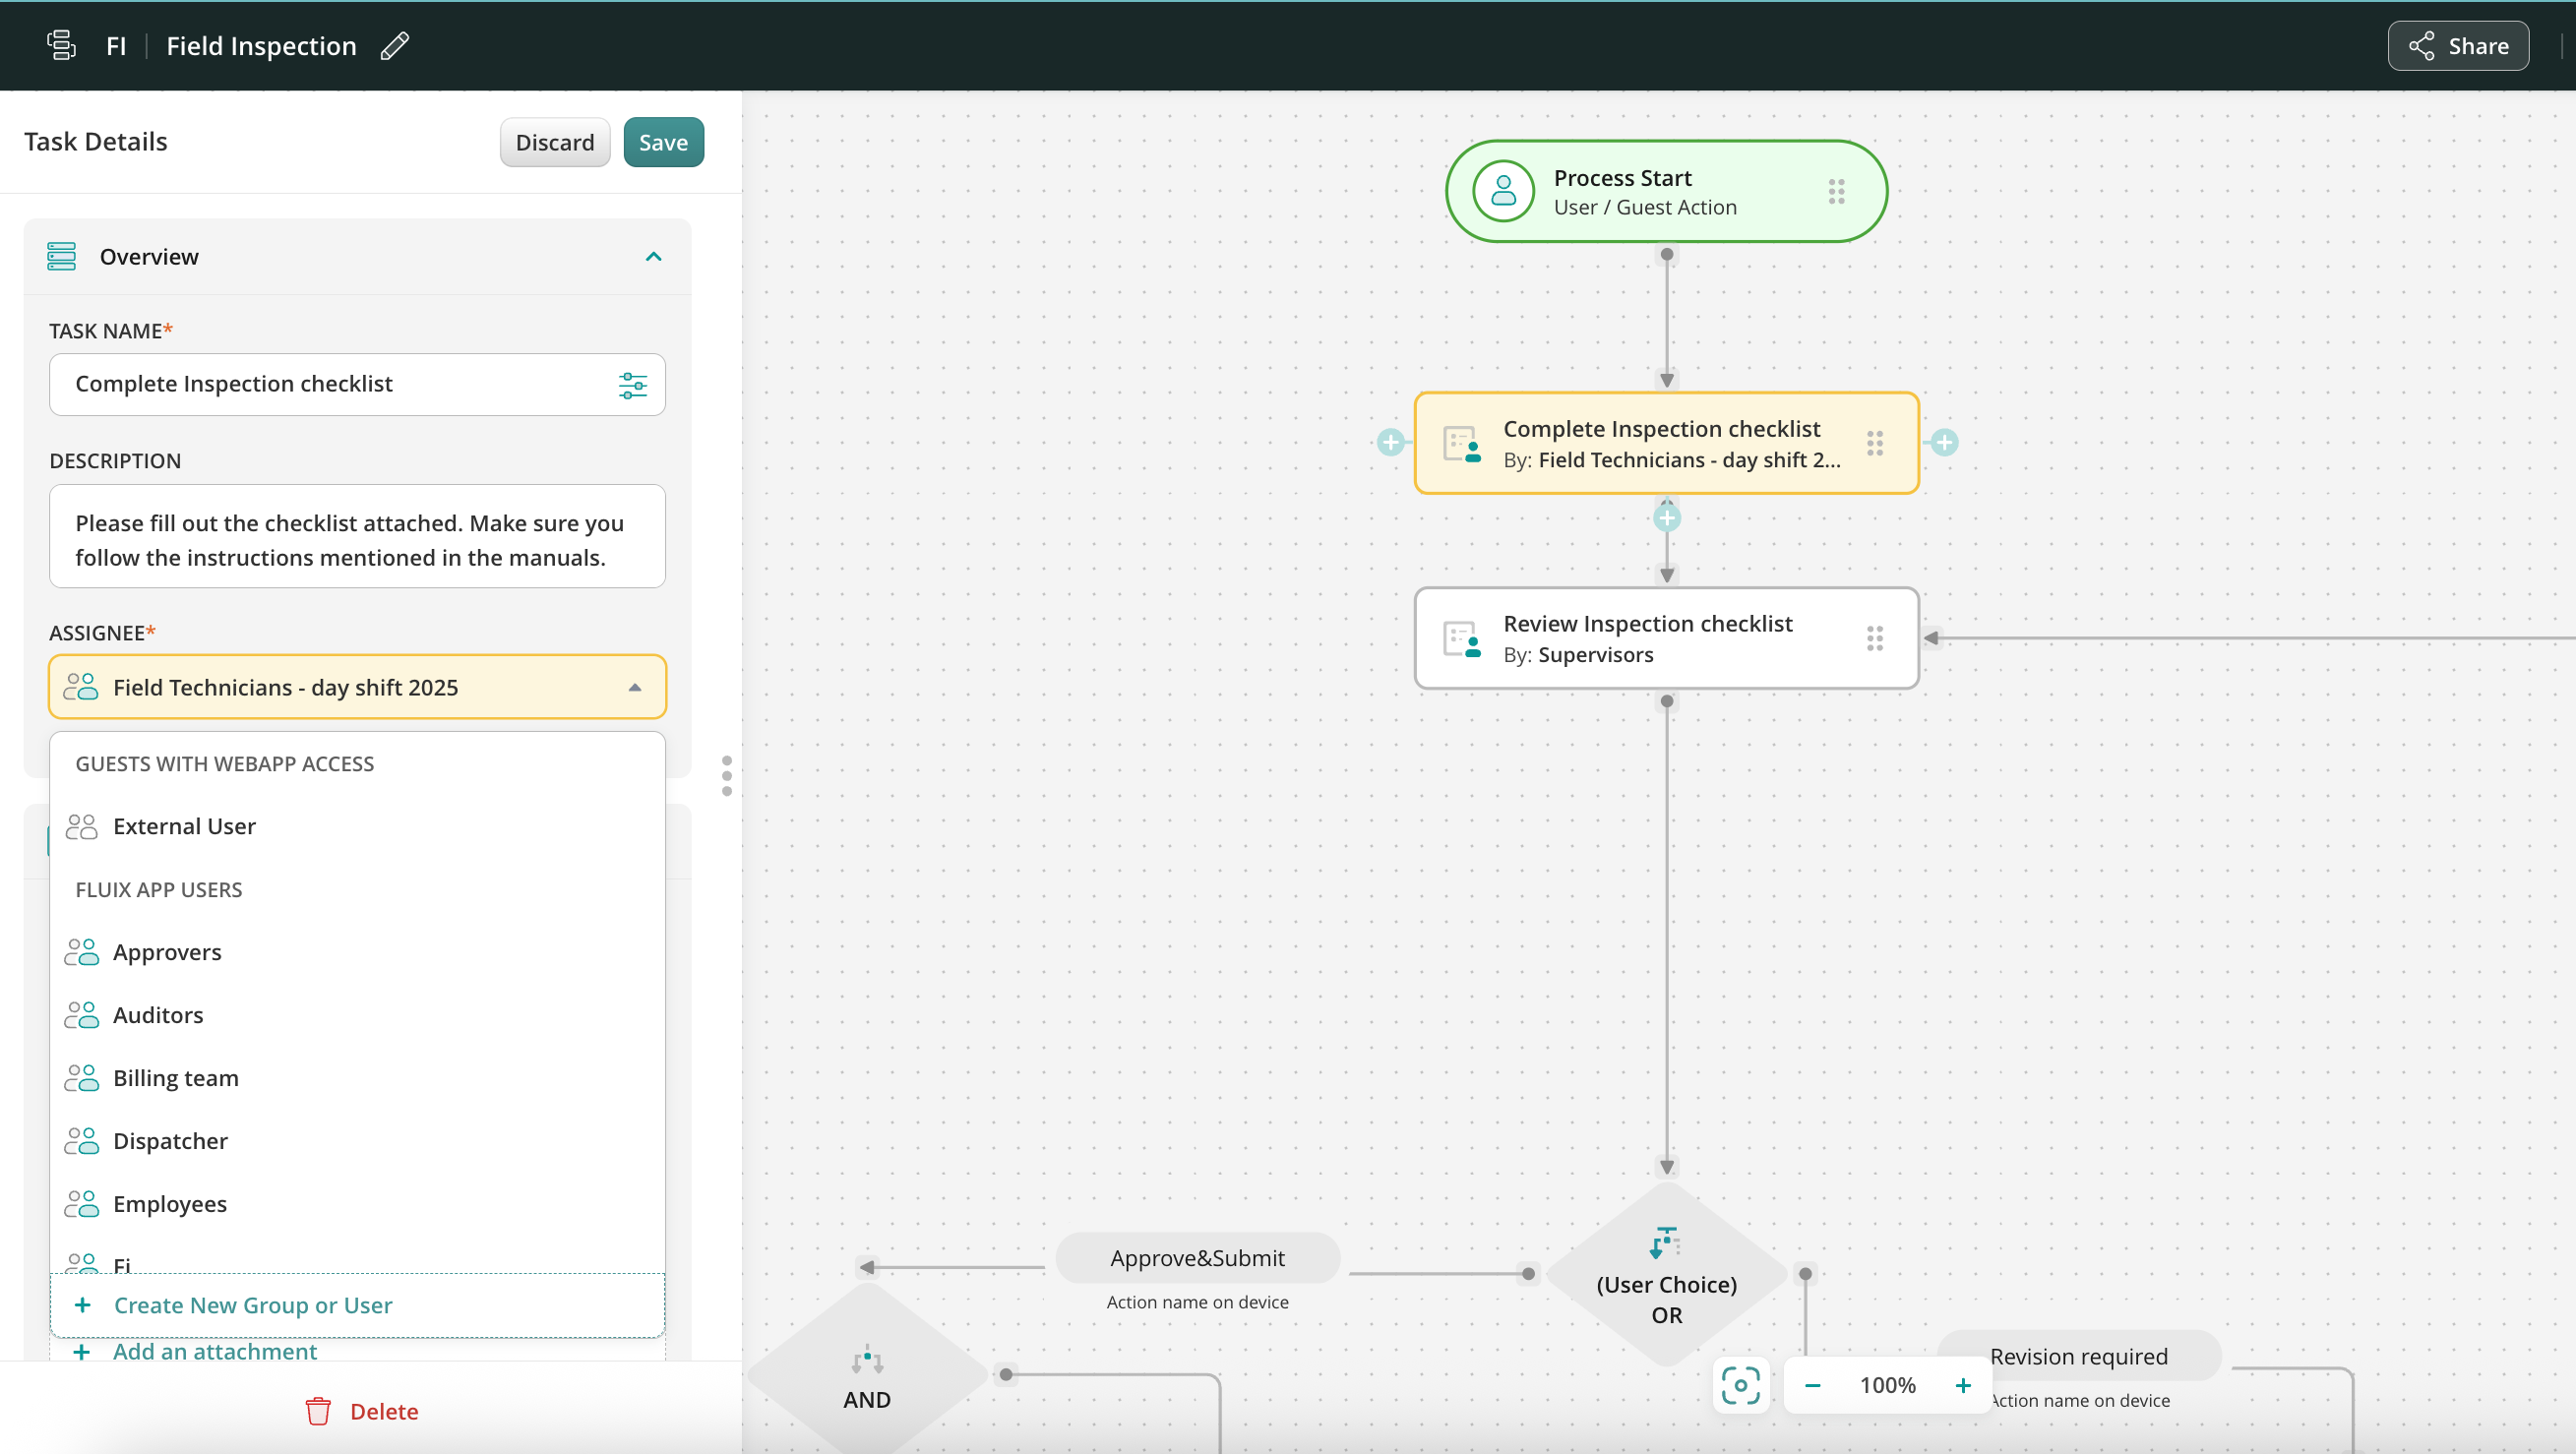
In order to change assignees, select the task and click on the cross icon next to the assignee’s name. To add a new assignee, click on Add Assignee and select a new assignee from a dropdown list:
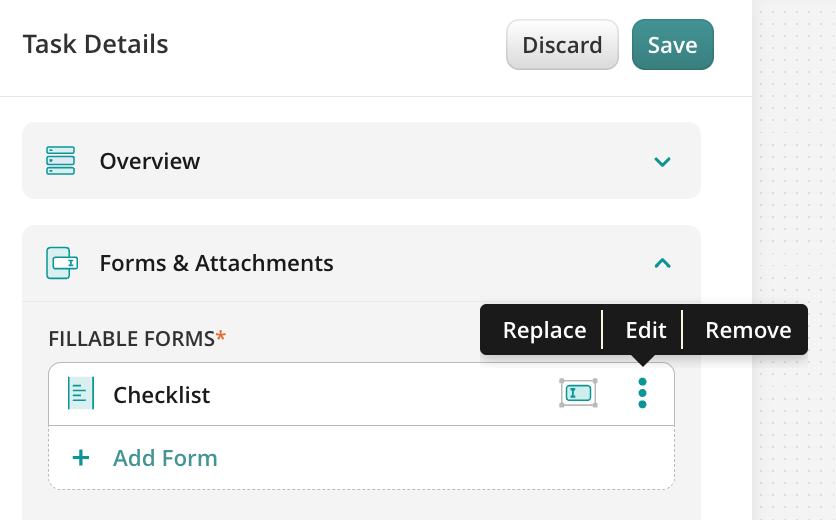
Step 3. Add or Replace Forms and Attachments
You can add new forms and attachments, or replace the current ones in the Forms tab. To replace them, click on the cross icon next to the form’s or attachment’s name. To add a new form or attachment, click on Add From or Add an attachment, select a source from where the form or the file should be taken, and the form or file itself.
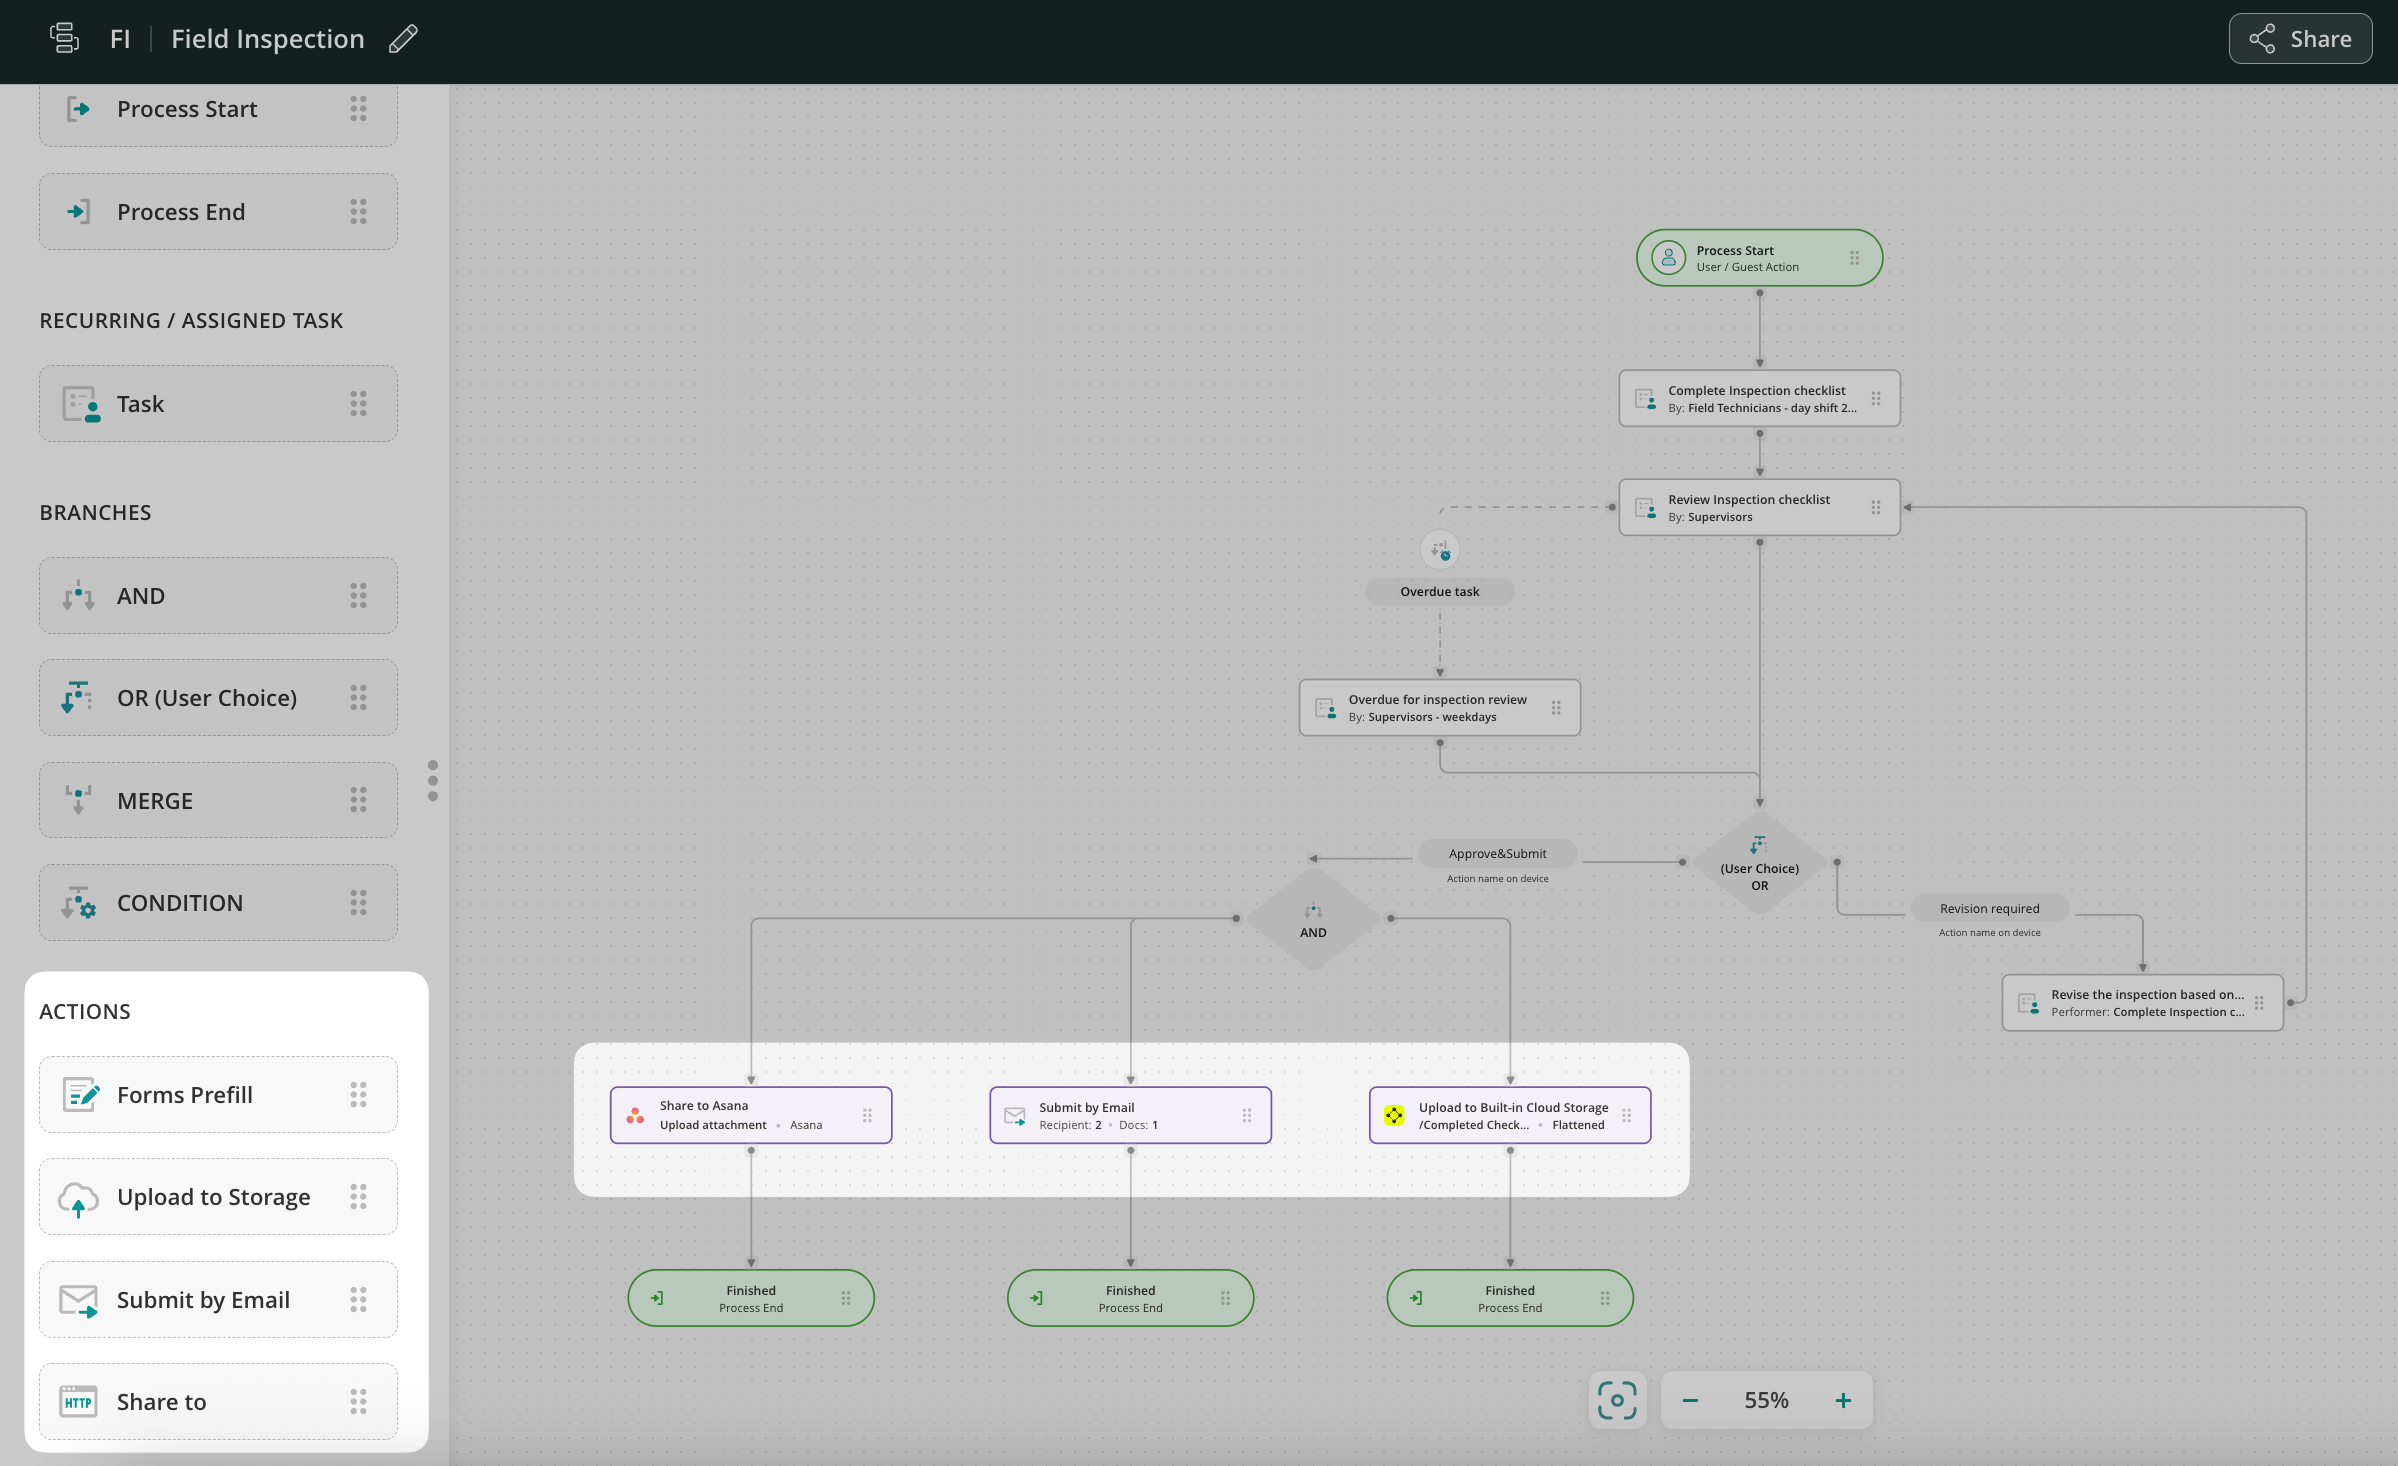
Step 4. Modify Submit Actions
For the Upload to Storage submit action, please make sure to connect new storage or a folder. For the Submit by Email action, you may change the email address or add an additional one, or change the subject or text of the email. For the Share To option, you may edit the configuration of the integration in the Request Builder.
Step 5. Rename the Workflow
Rename the Workflow by clicking the Pencil icon in the top left corner of your screen and click the Save & Publish button to activate it.
Your new Workflow is now ready for use.
In case of any questions feel free to contact us at support@fluix.io.