


We are happy to introduce the ability to create forms with AI in Fluix Tasks! Isn’t it exciting?

With this new feature, the form creation process takes only a few minutes and aims to save admin time, speeding up the process and supporting different formats (PDF, xlsx, CSV, etc)
Here is also a guide to manually creating forms in our ‘Forms’ section of the Admin Portal. But let’s dive deeper into AI form creation in Fluix!
Note: AI generates forms only in the dynamic view. To learn more about the benefits of dynamic forms, check out this tutorial.
To create the web form with AI, follow the quick instructions below:
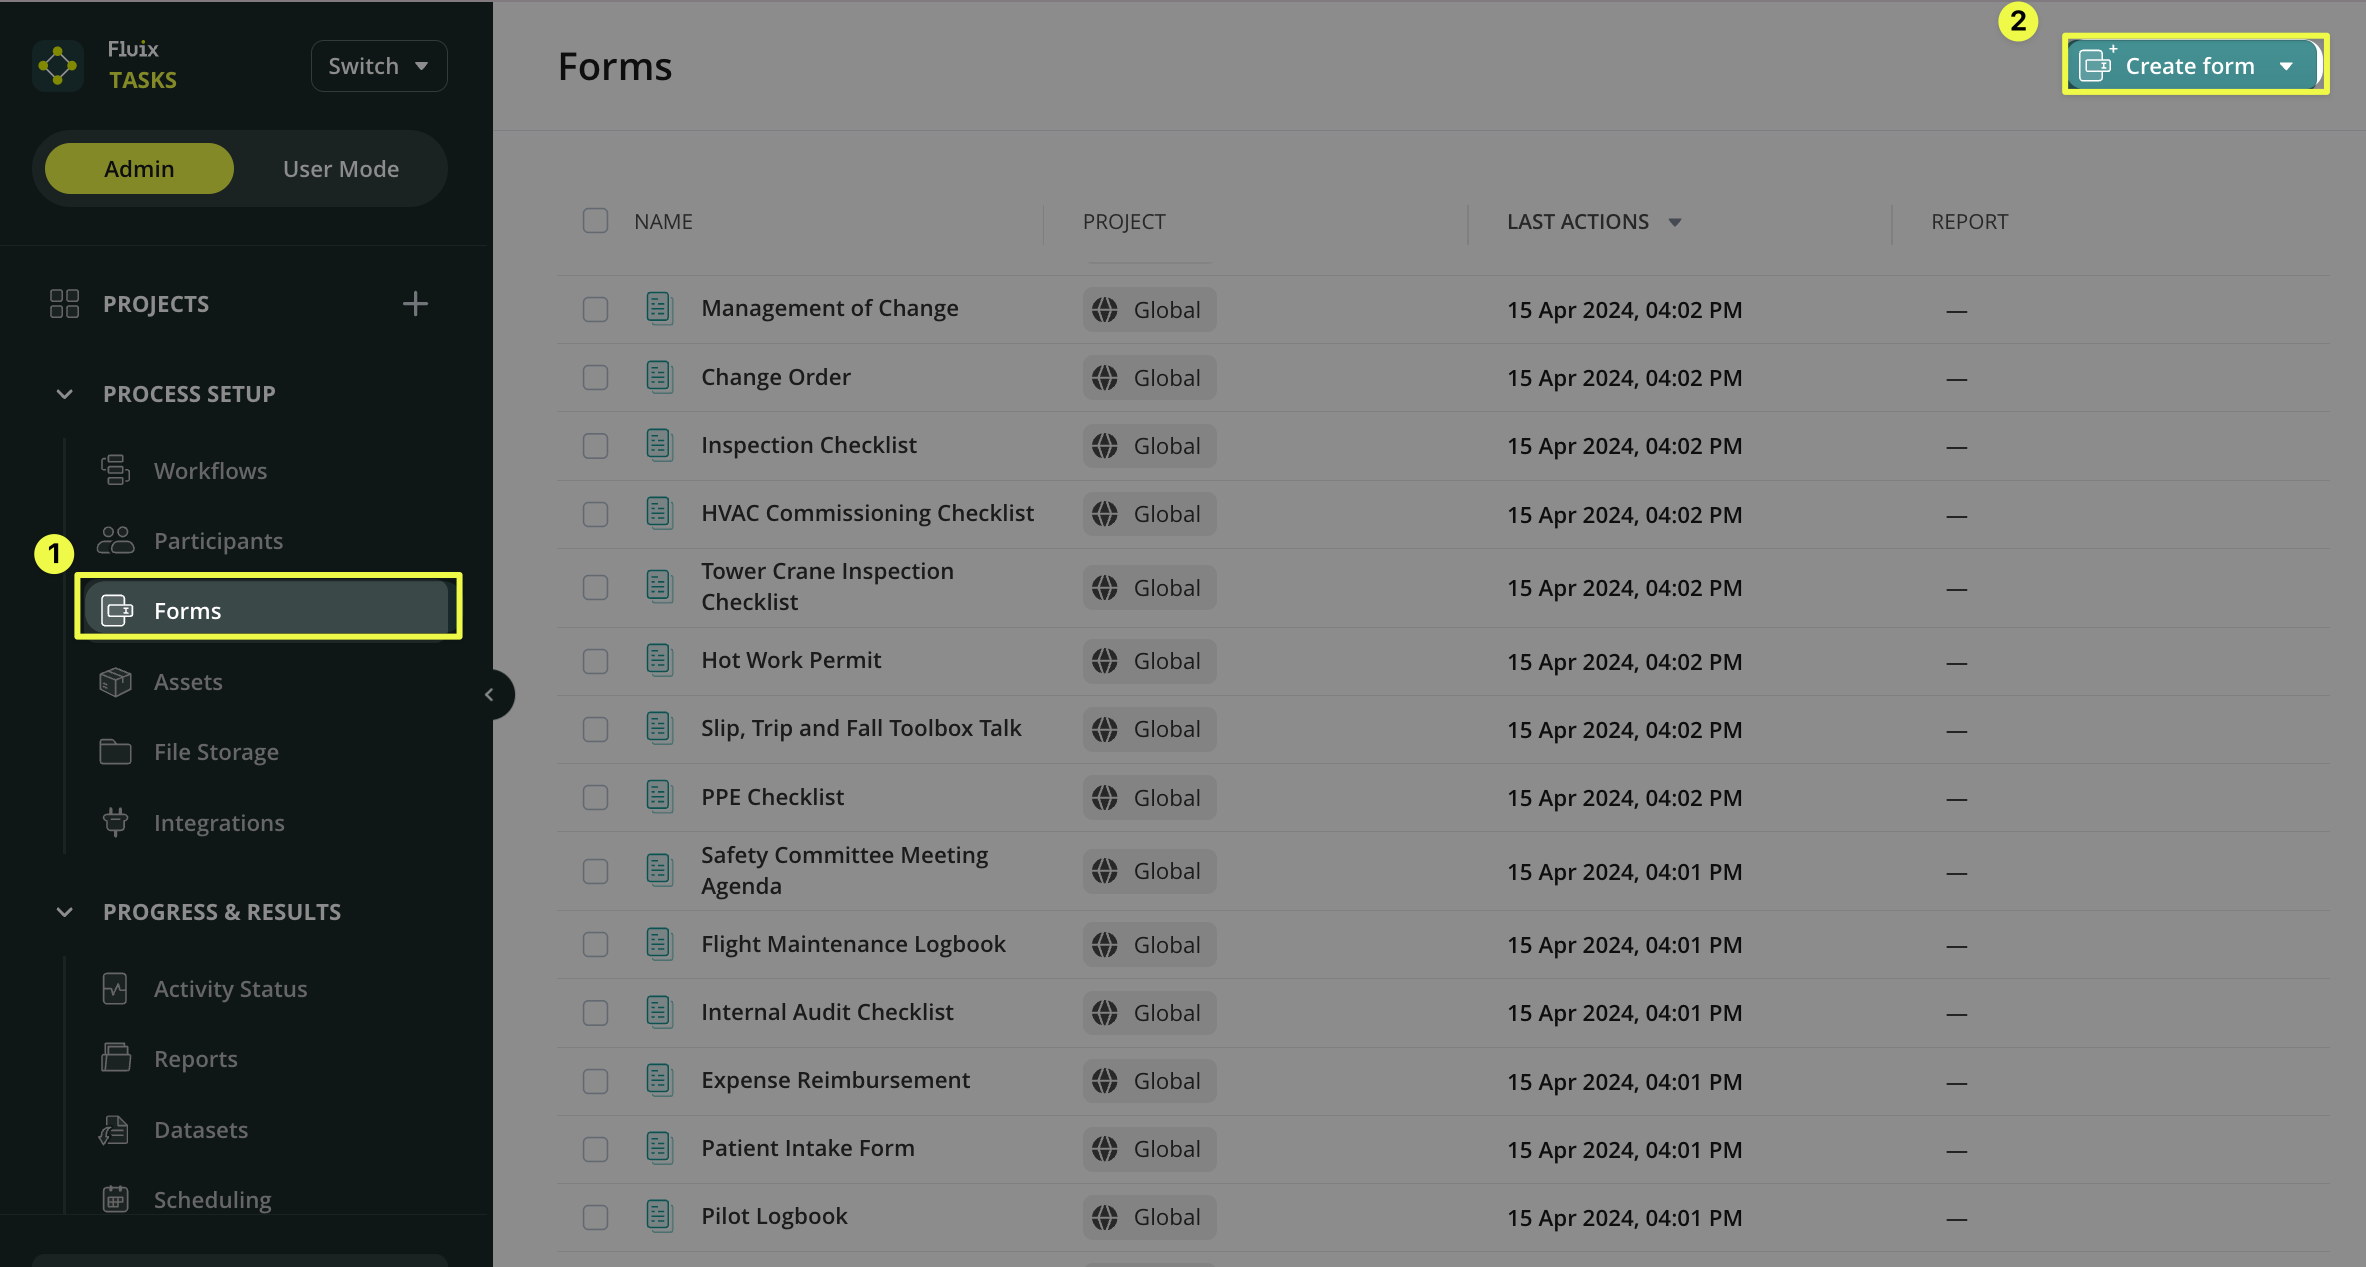
- In the Admin Panel of your account, open the ‘Forms’ section.
- Click the ‘Create Form’ button.
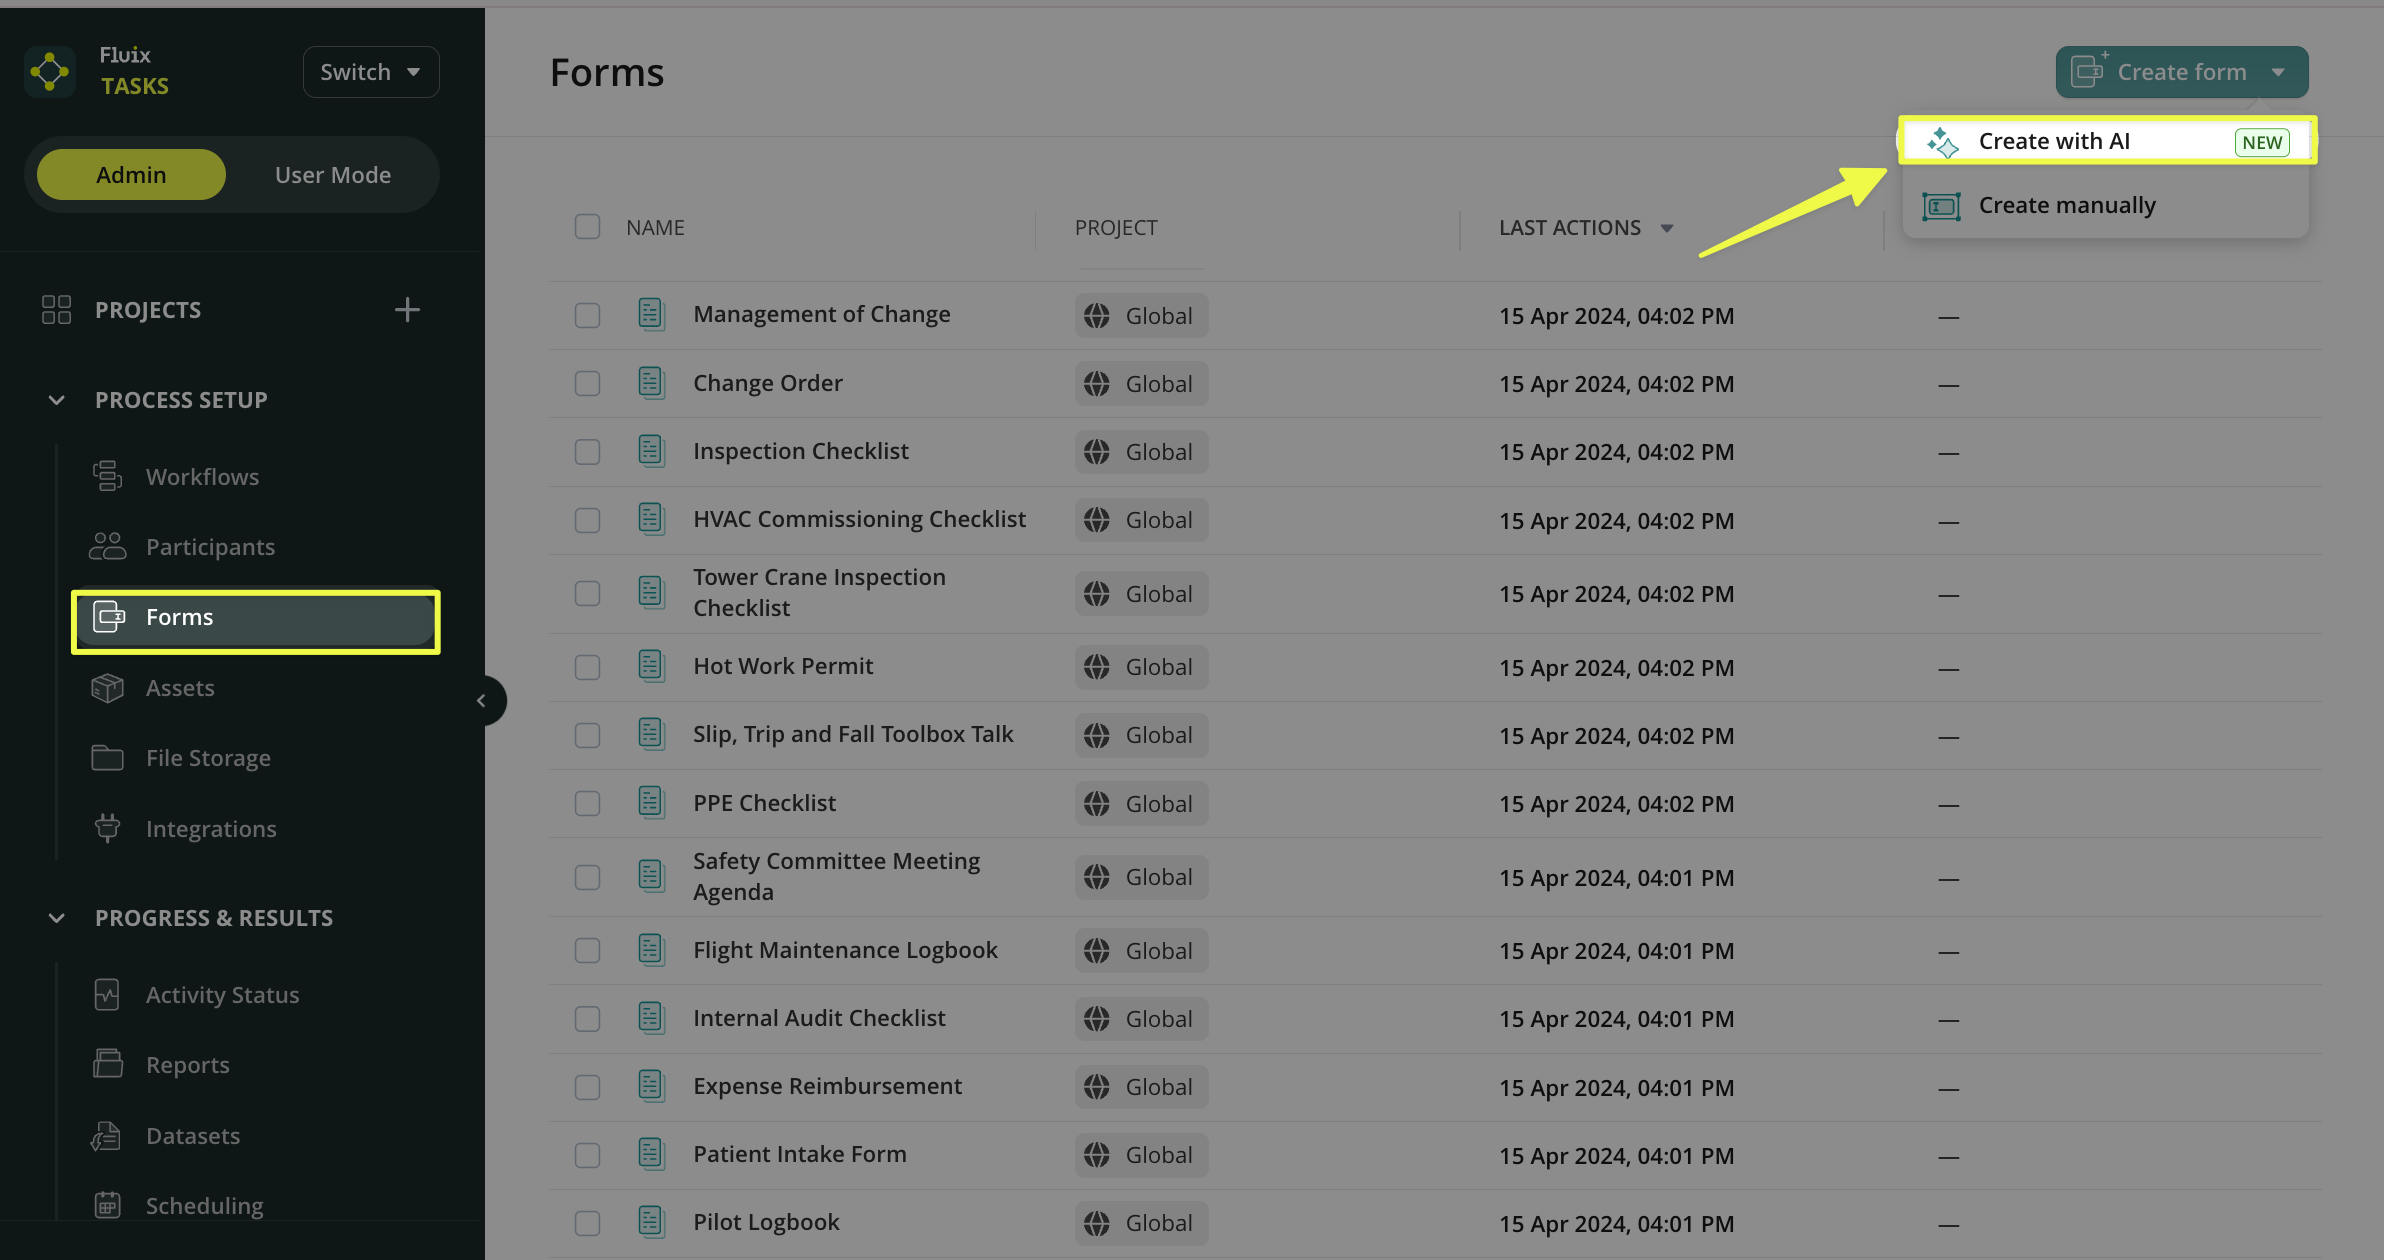
- Click the ‘Create with AI’ button.
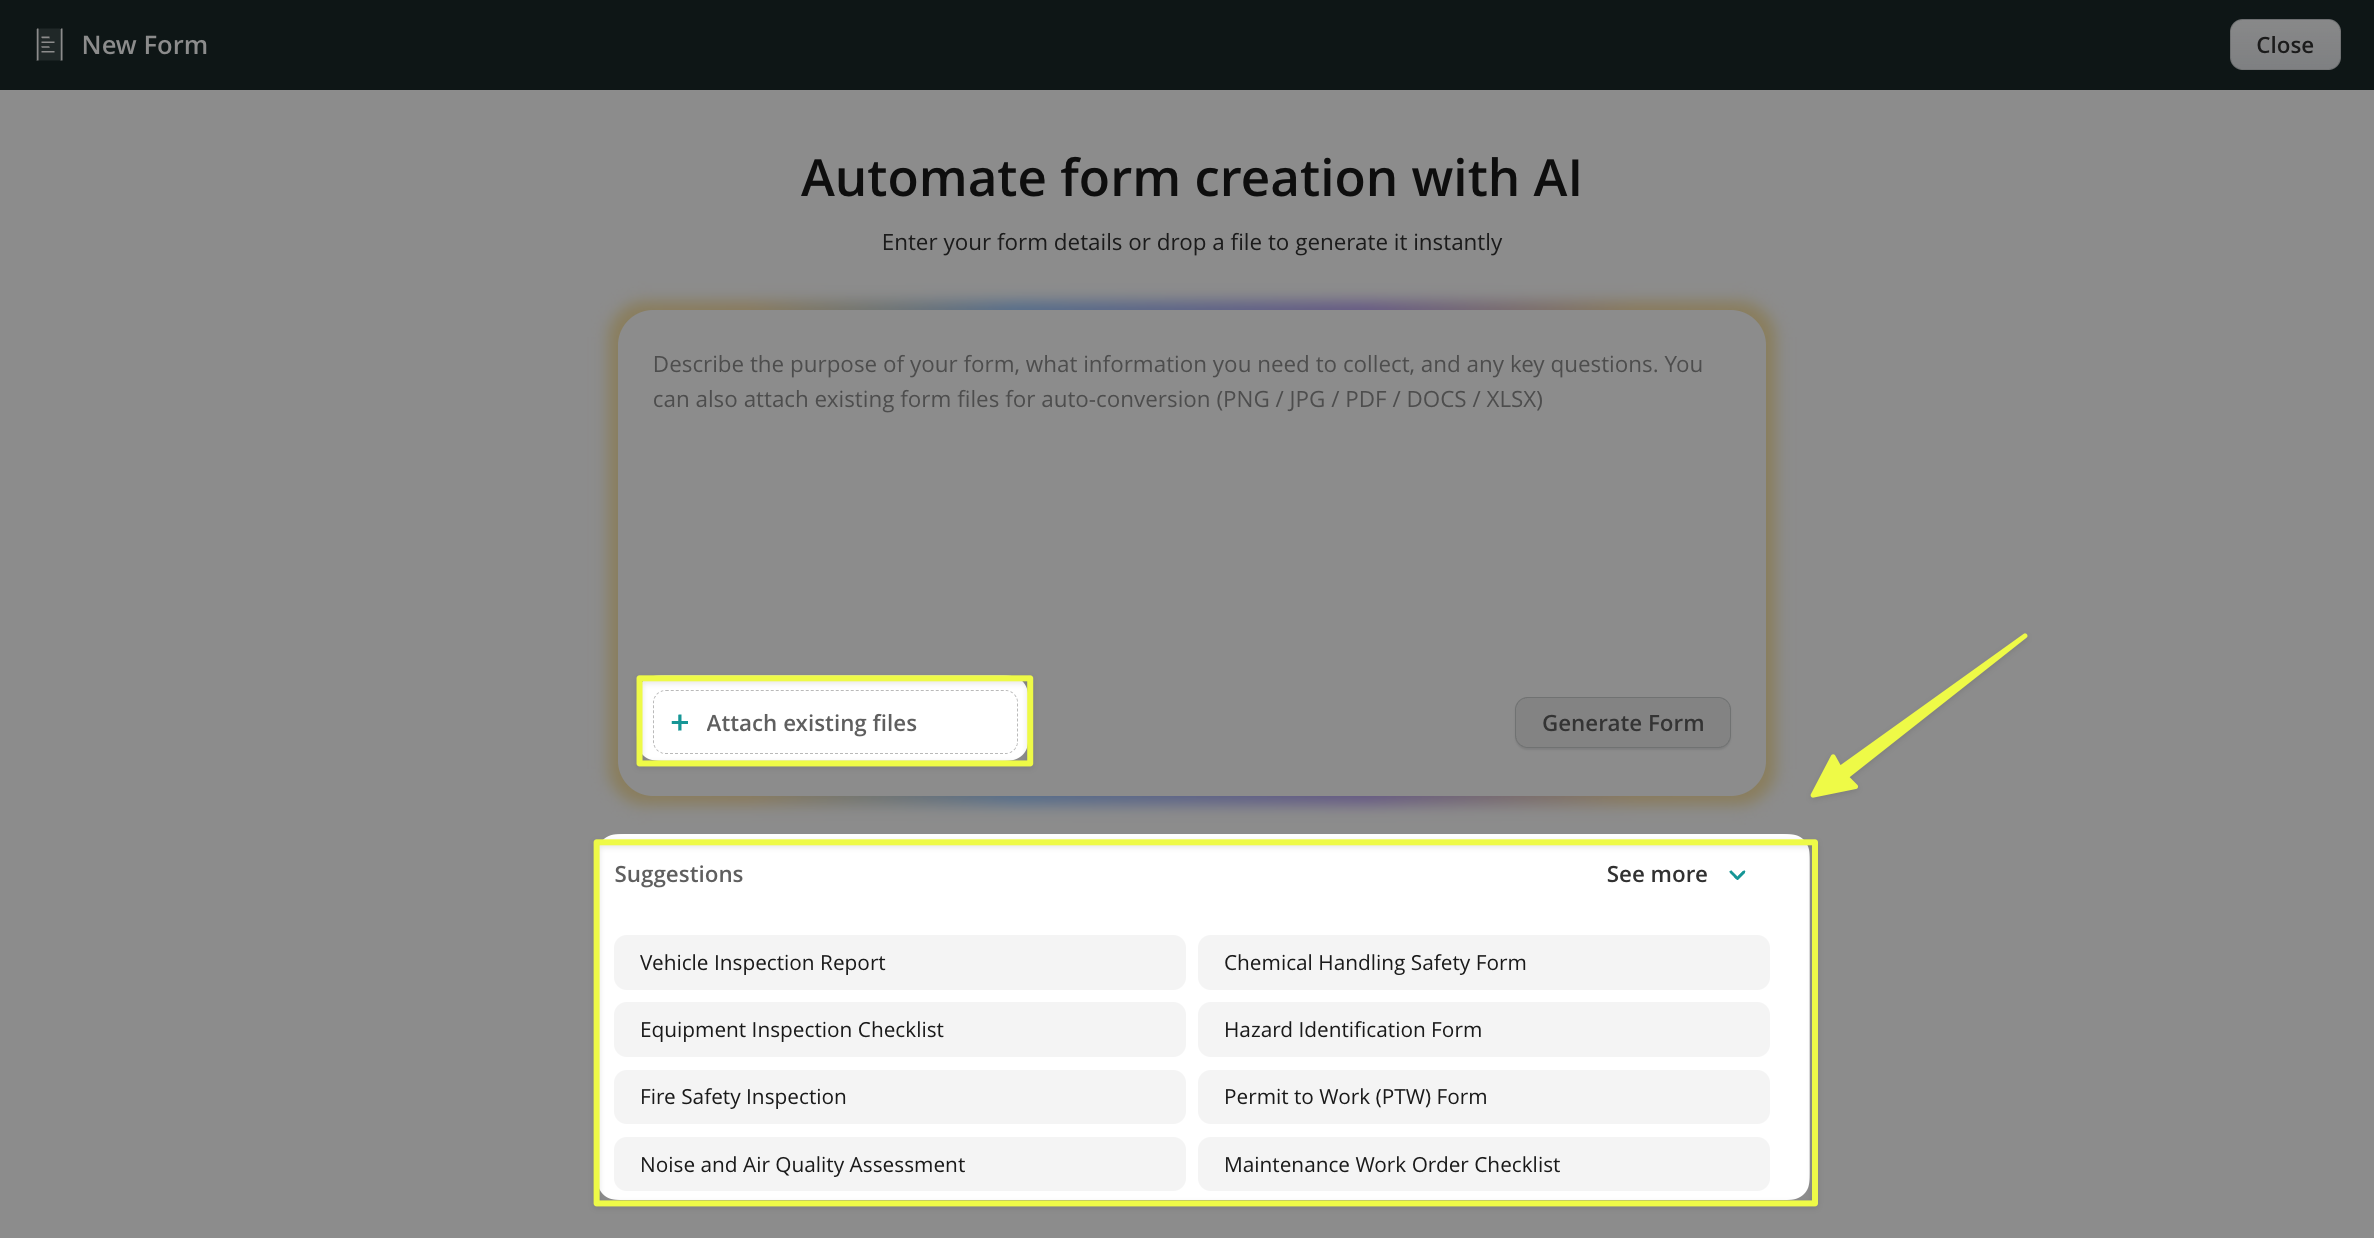
- You can either use one of the following approaches:
– Enter a prompt with a description of what you expect AI to generate. Be precise with your requirements to receive the most valuable result.
– Enter a prompt and attach the document
– Simply attach your document
– Use the templates below with ready-made prompts - Once done, click on the ‘Generate Form’ button.
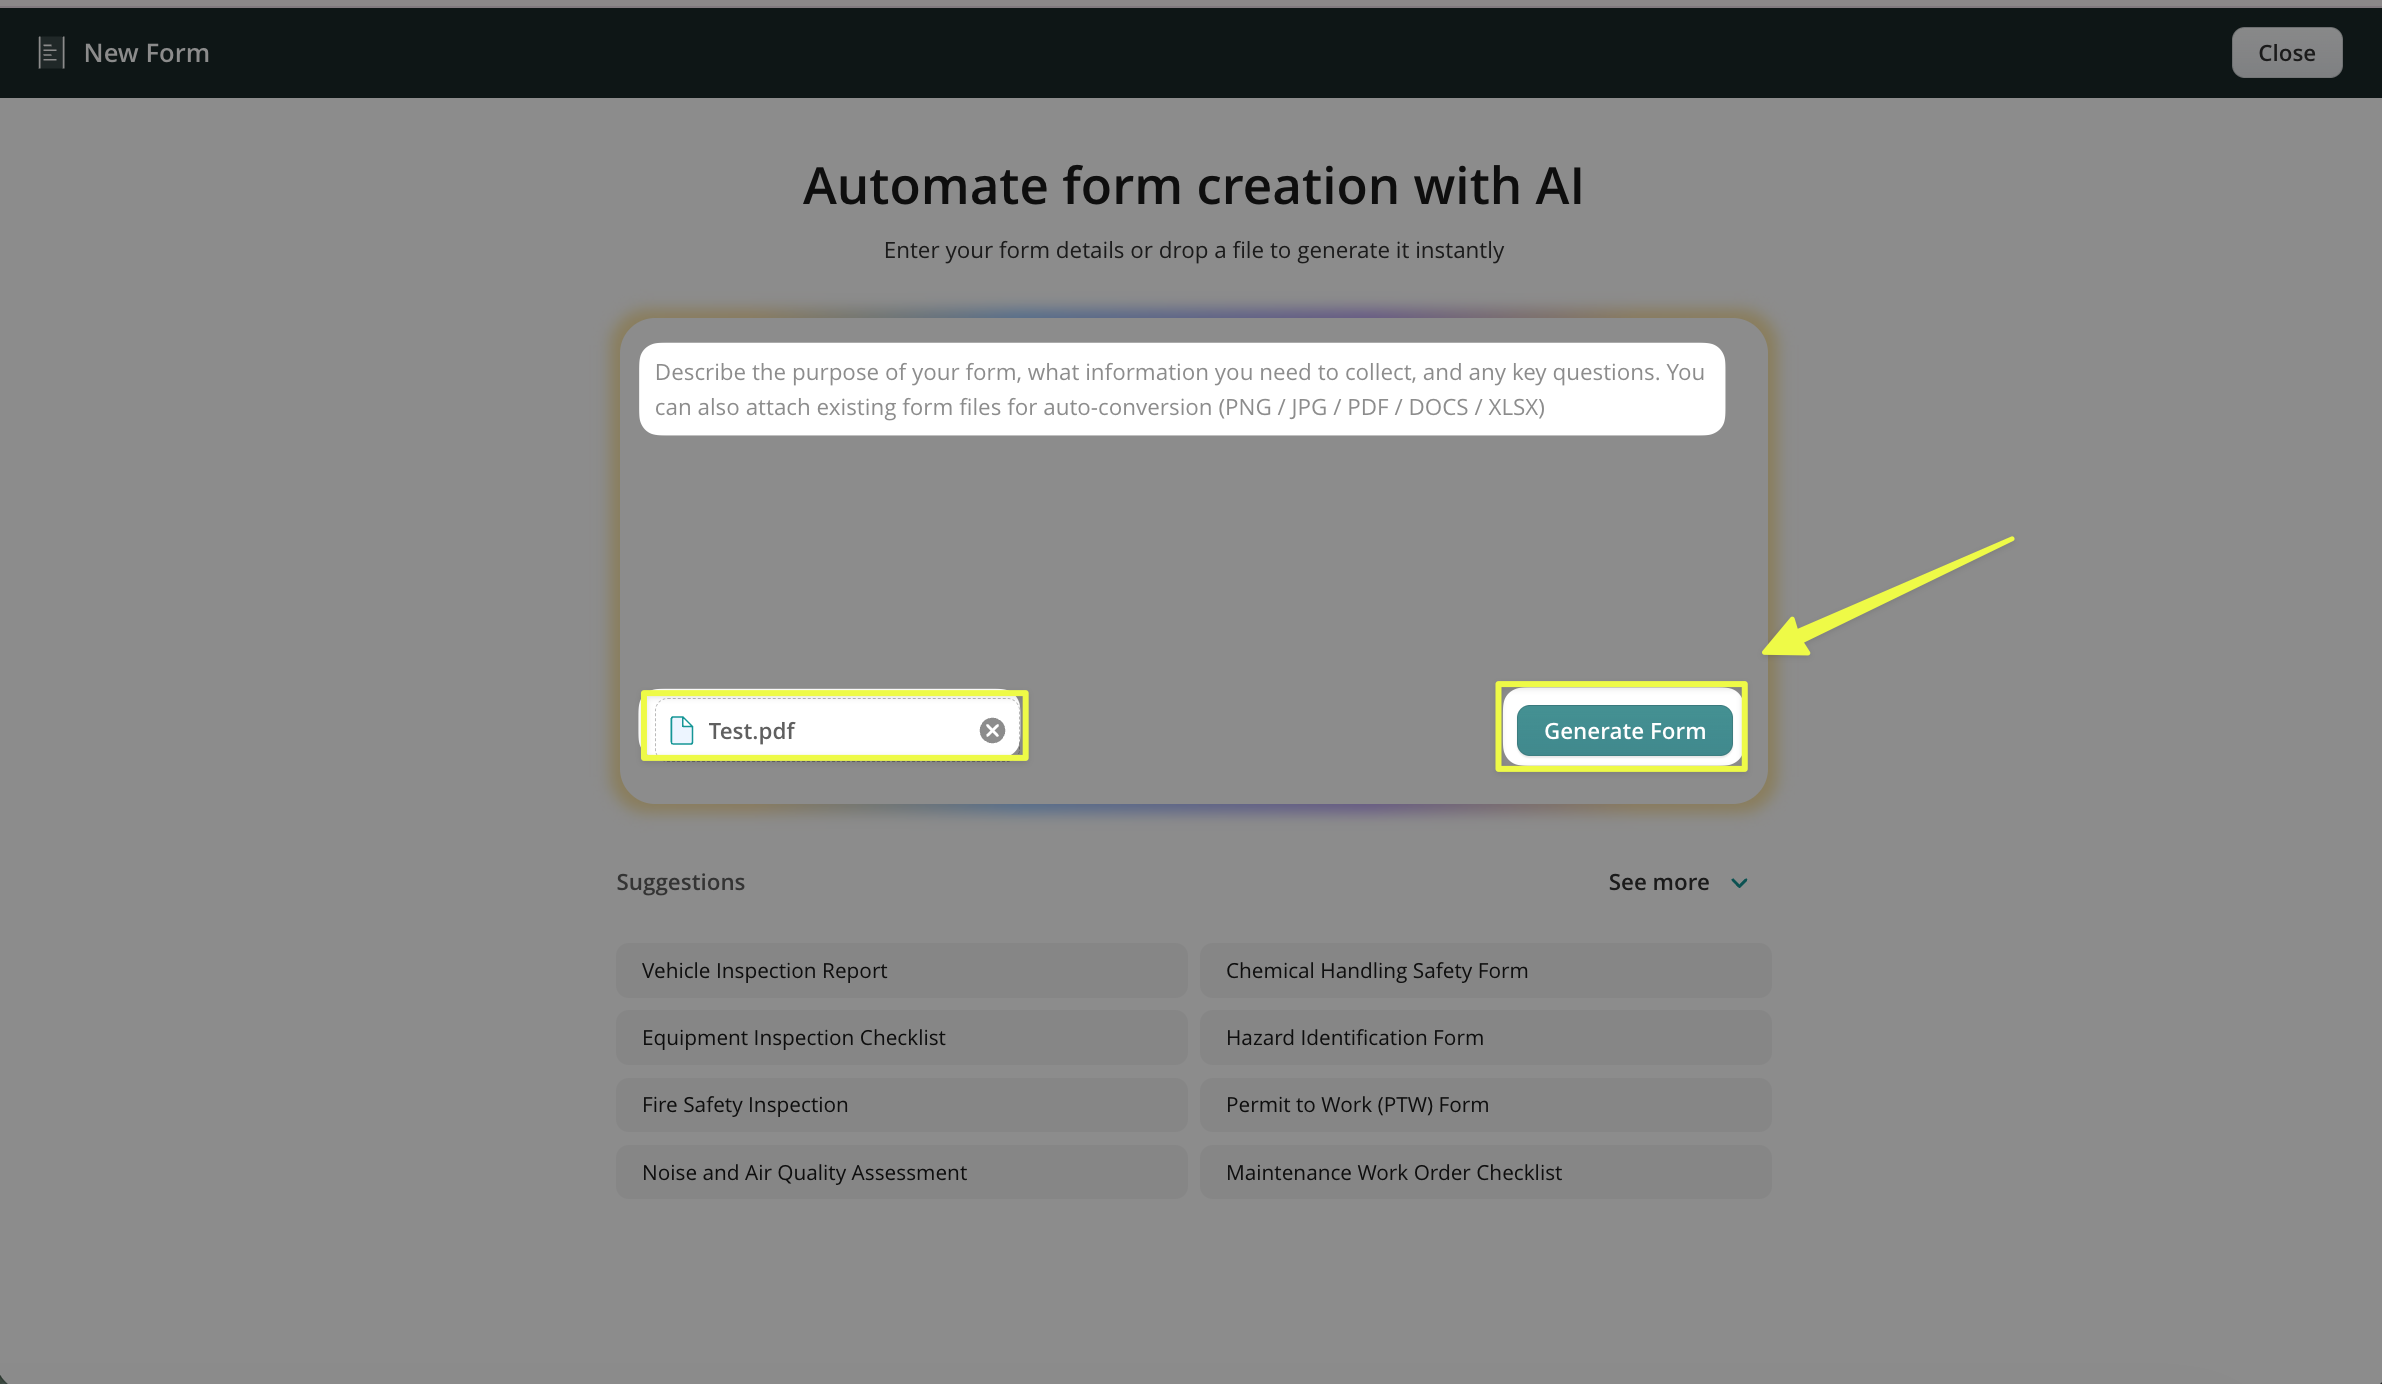
- The form generation process has started. Depending on the scope, it may take a couple of minutes to generate a form; you will see approximate estimates on the screen.
Note: Ensure that you keep the web page open during the form generation process.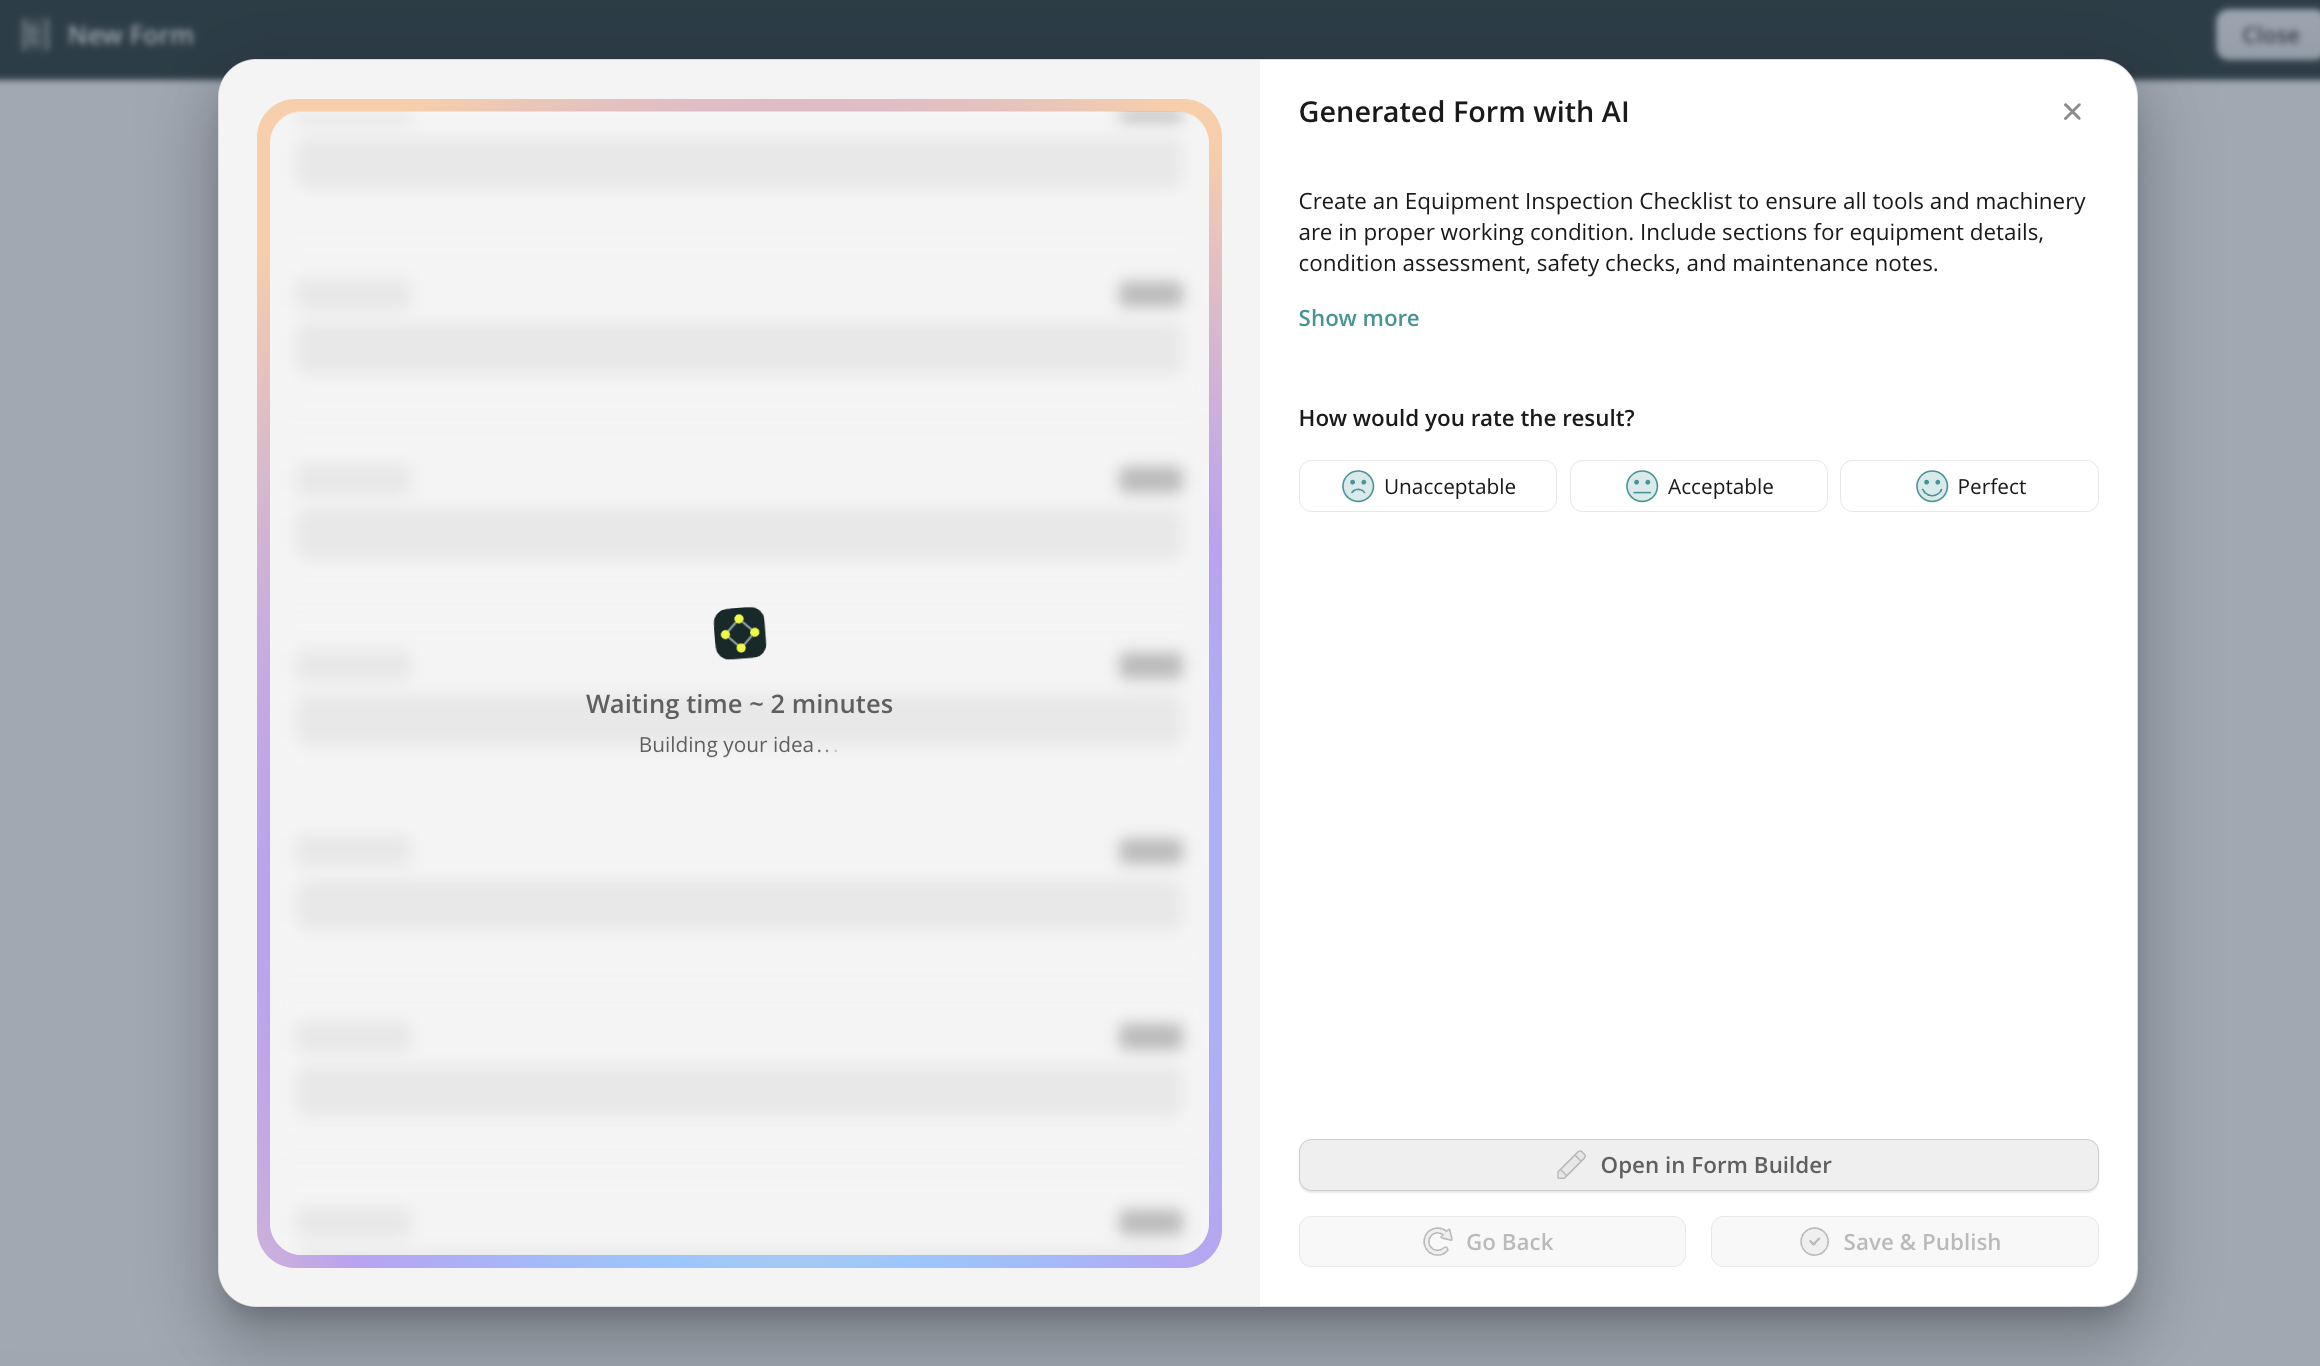
- After the form is created, you will see the options to ‘Go Back,’ ‘Save and Publish,’ or ‘Open in Form Builder’ to make further edits in the form.
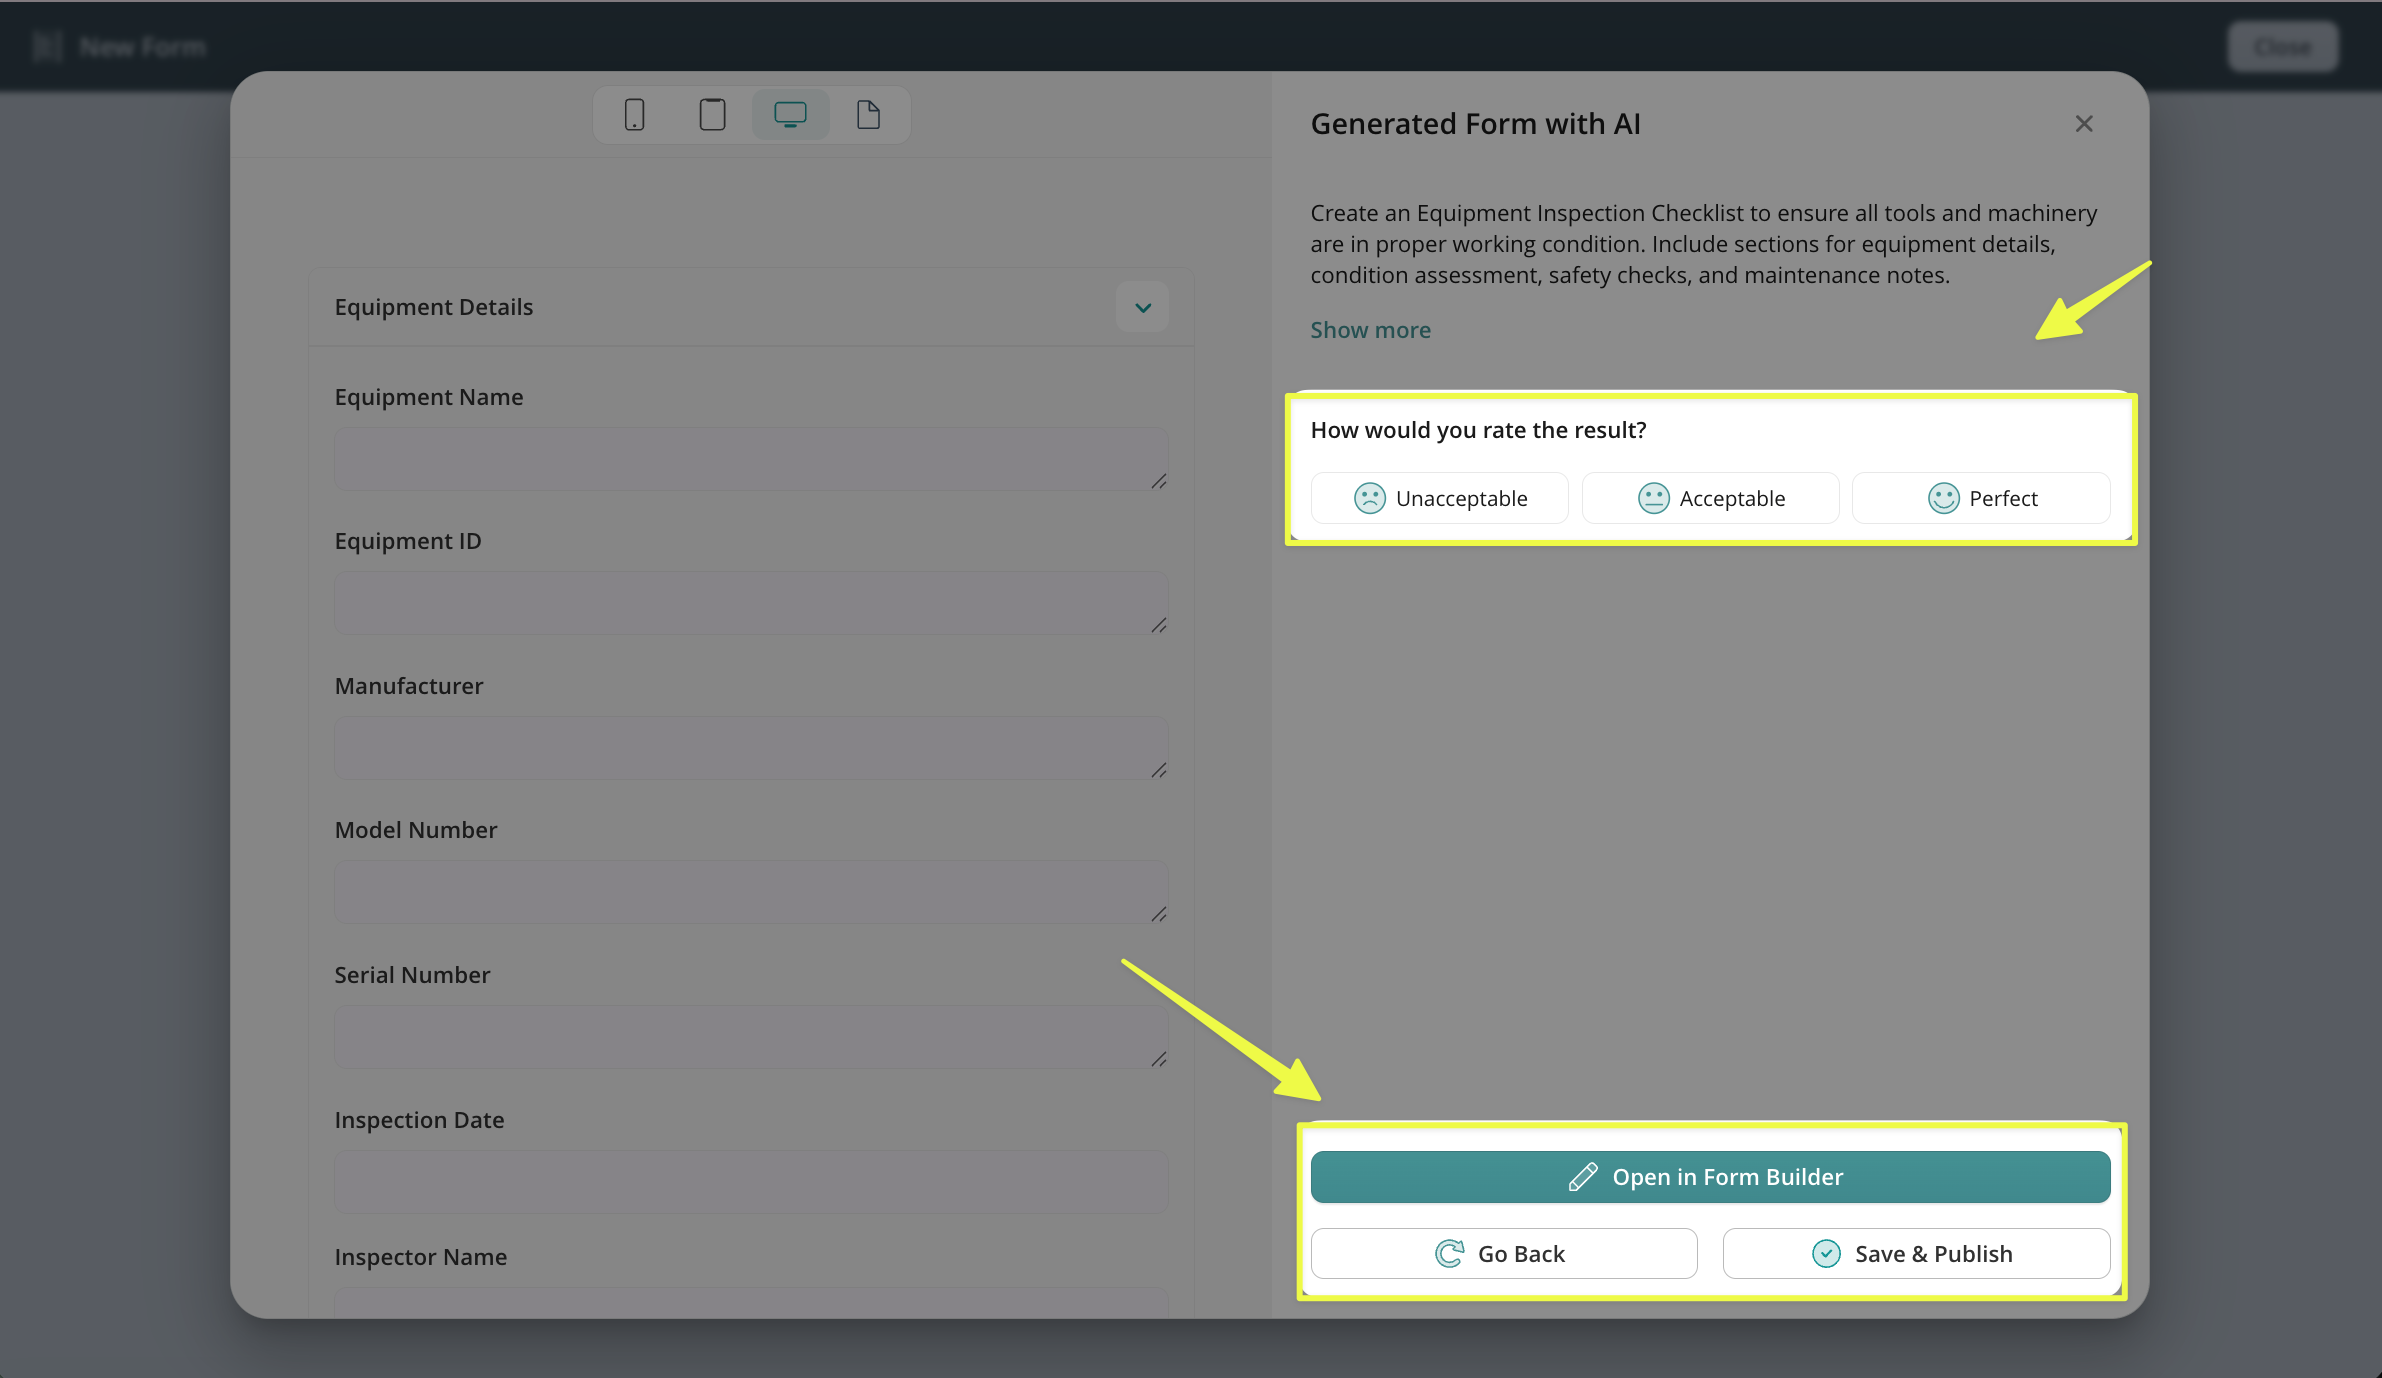
- By clicking on the ‘Open in Form Builder’ button you will have the posibility to review your form and make the necessary changes.
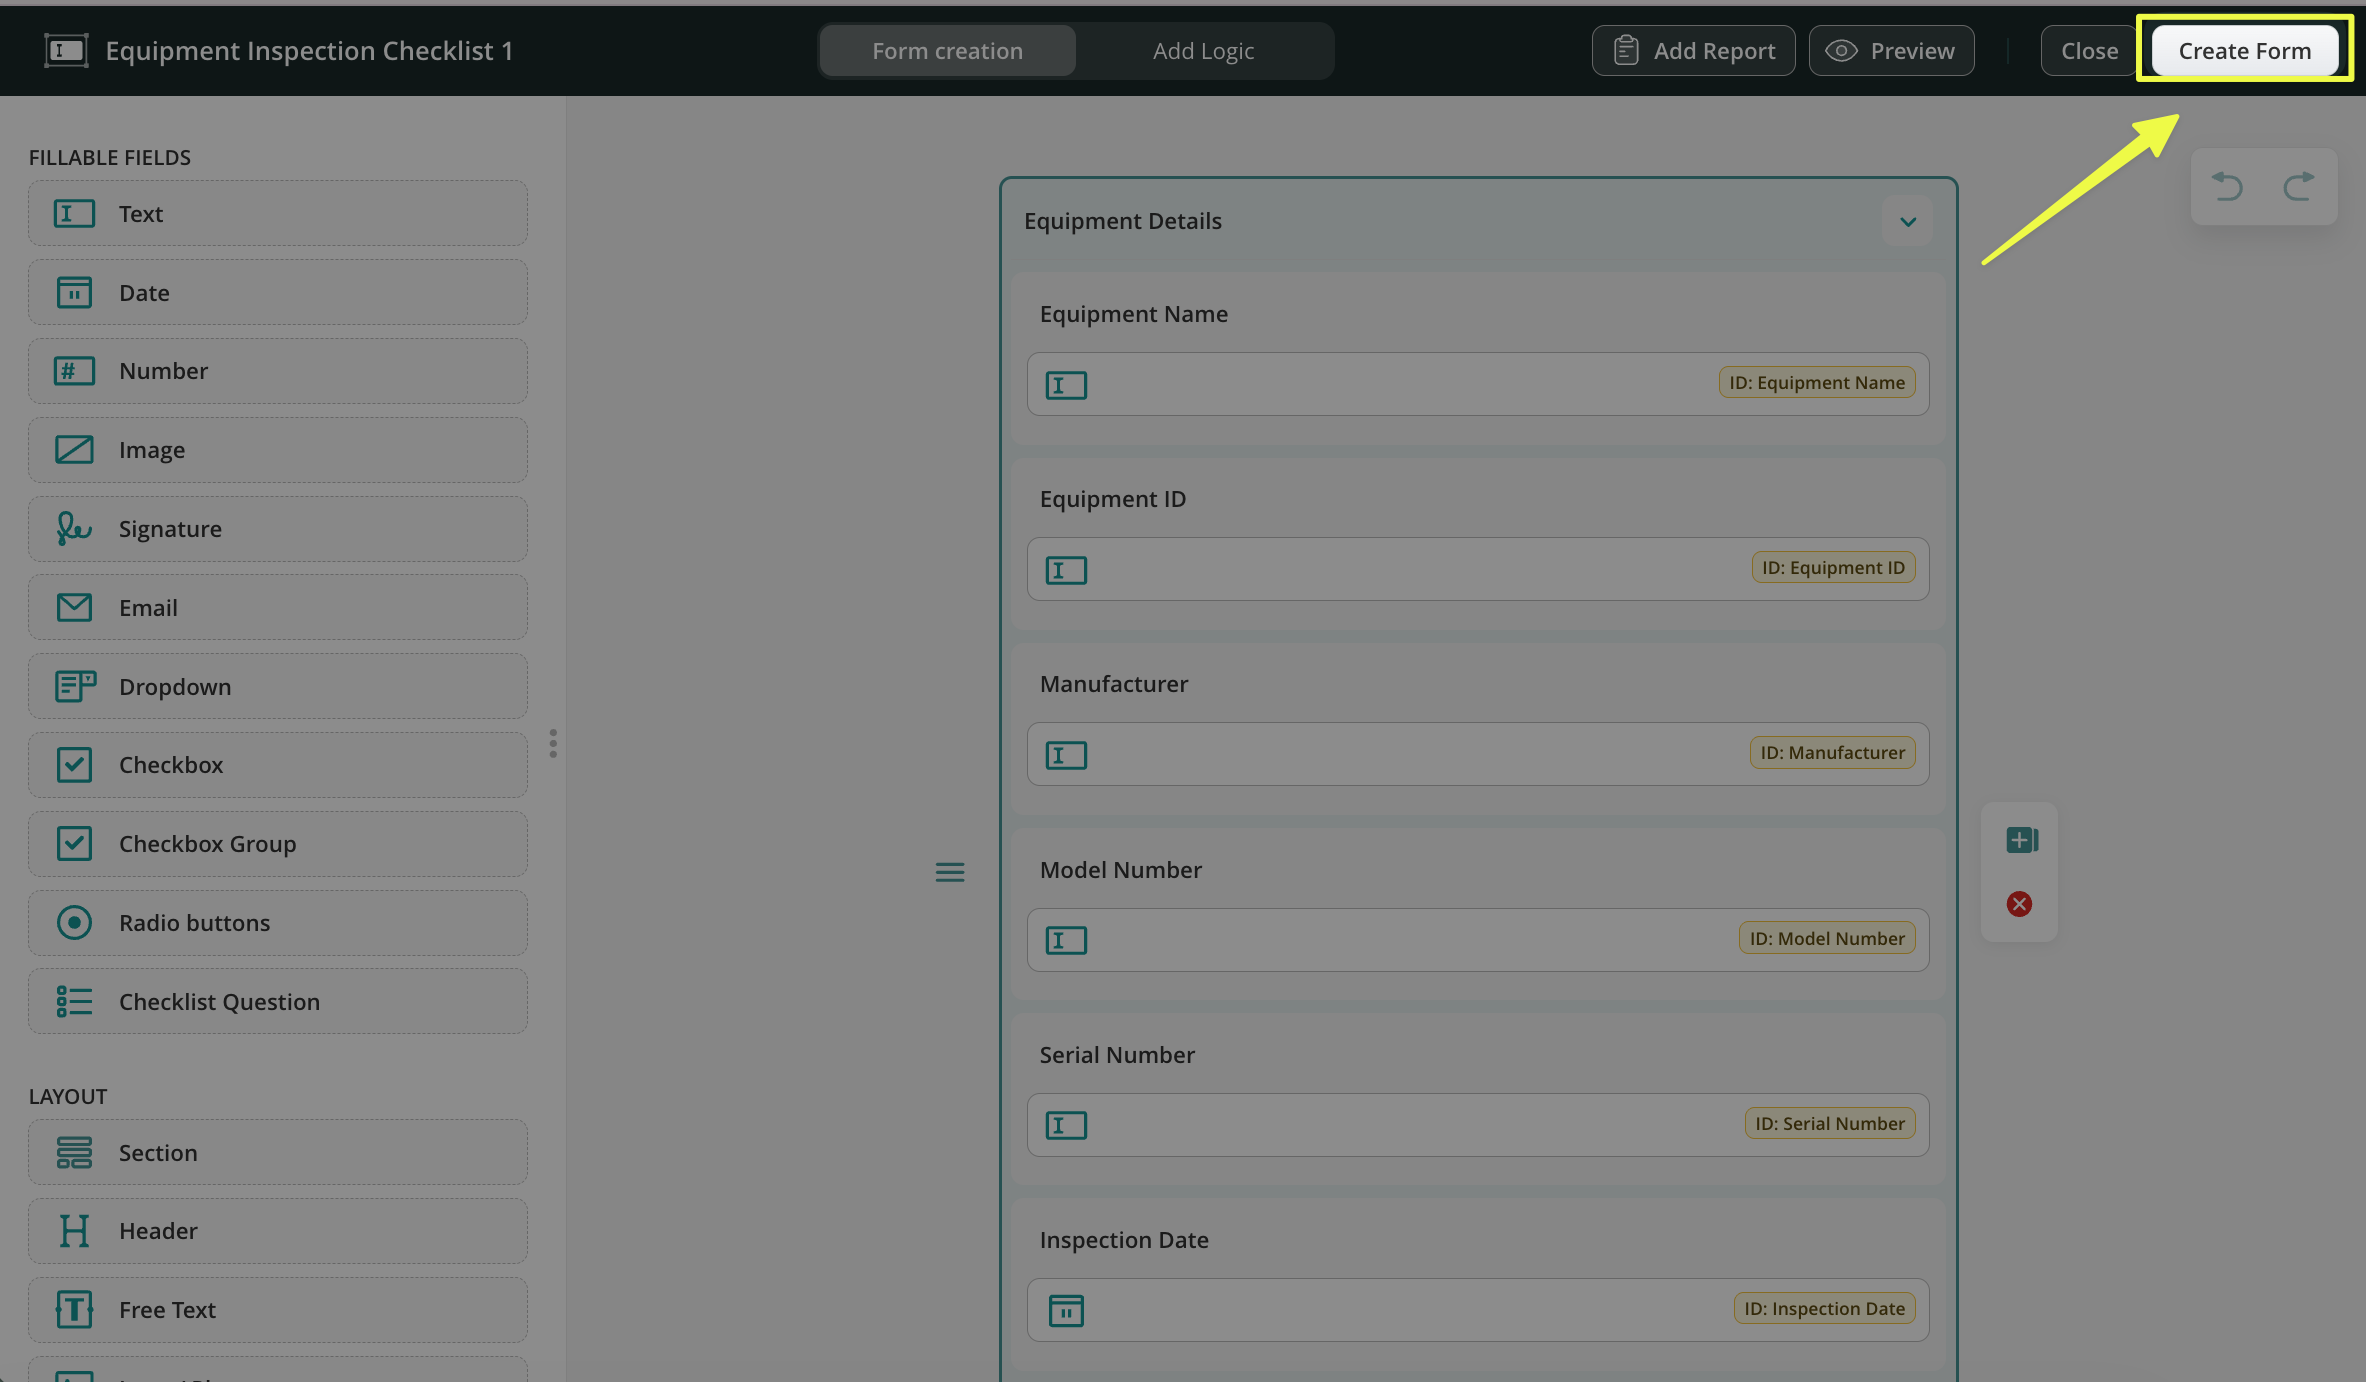
- Once you have finished working on your form in the ‘Forms’ section, you can click on the ‘Create Form’ button to publish the Dynamic form.
In order to make this form part of your company’s workflow, you will need to add this form to the workflow. Check out a separate article or the video tutorial below in order to build the workflow from scratch.
If you have any questions or need help building a process, contact our support team at support@fluix.io, and we’ll be happy to help.