


What integration does
Wrike is a popular web and mobile-based project management application that helps teams from small size to enterprise to effectively manage their tasks and projects.
Fluix is a web and mobile-based cloud platform that helps teams with setting up digital document management and workflow automation on projects in various industries.
Make is a no-code solution that allows you to connect almost any popular tools together.
Nowadays it is very common that organizations use a handful of different tools to fulfill their internal requirements in terms of document management and task tracking to ensure timely and accurate project completion.
The integration of Fluix and Wrike through Make allows you to connect these two crucial parts of the working process.
Note: Integration requires a Core account in Fluix and an account in Wrike and Make. However, to try the integration, you can register free trial accounts in all tools.
Setup
Step 1 – Creating scenario in Make
1. On the Make’s main dashboard click Create a new scenario in the upper right corner.
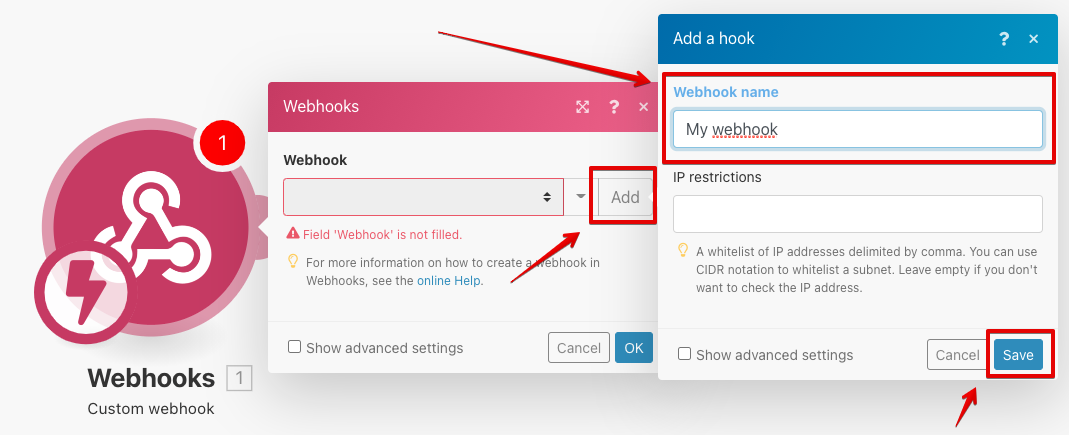
2. Hit the plus icon in the middle of the screen, choose the Webhooks option from the list of available integrations and select Сustom webhook as a trigger.
3. Click Add, rename the webhook according to your preference and click Save.
4. Copy the appeared webhook URL and go to your Fluix account.


Step 2 – Configuring Workflow in Fluix
In Fluix you’ll need to create / adjust a workflow that you use to submit forms in Fluix from where the data will be automatically extracted to create a task in Wrike.
- In the selected workflow, add submit action called Submit by http and select POST values as the data type:

- Add the webhook URL you copied earlier in Make to the submit action and click Save changes to save the workflow.
Step 3 – Setting up integration modules
- Go to the Fluix app on device or web and submit a test document through the workflow you created.
- Once you see the success indicator in Make, click OK.
3. Hover your cursor over the webhook module and click on the appeared plus icon to create the destination module for the data that will be used for task creation in Wrike.
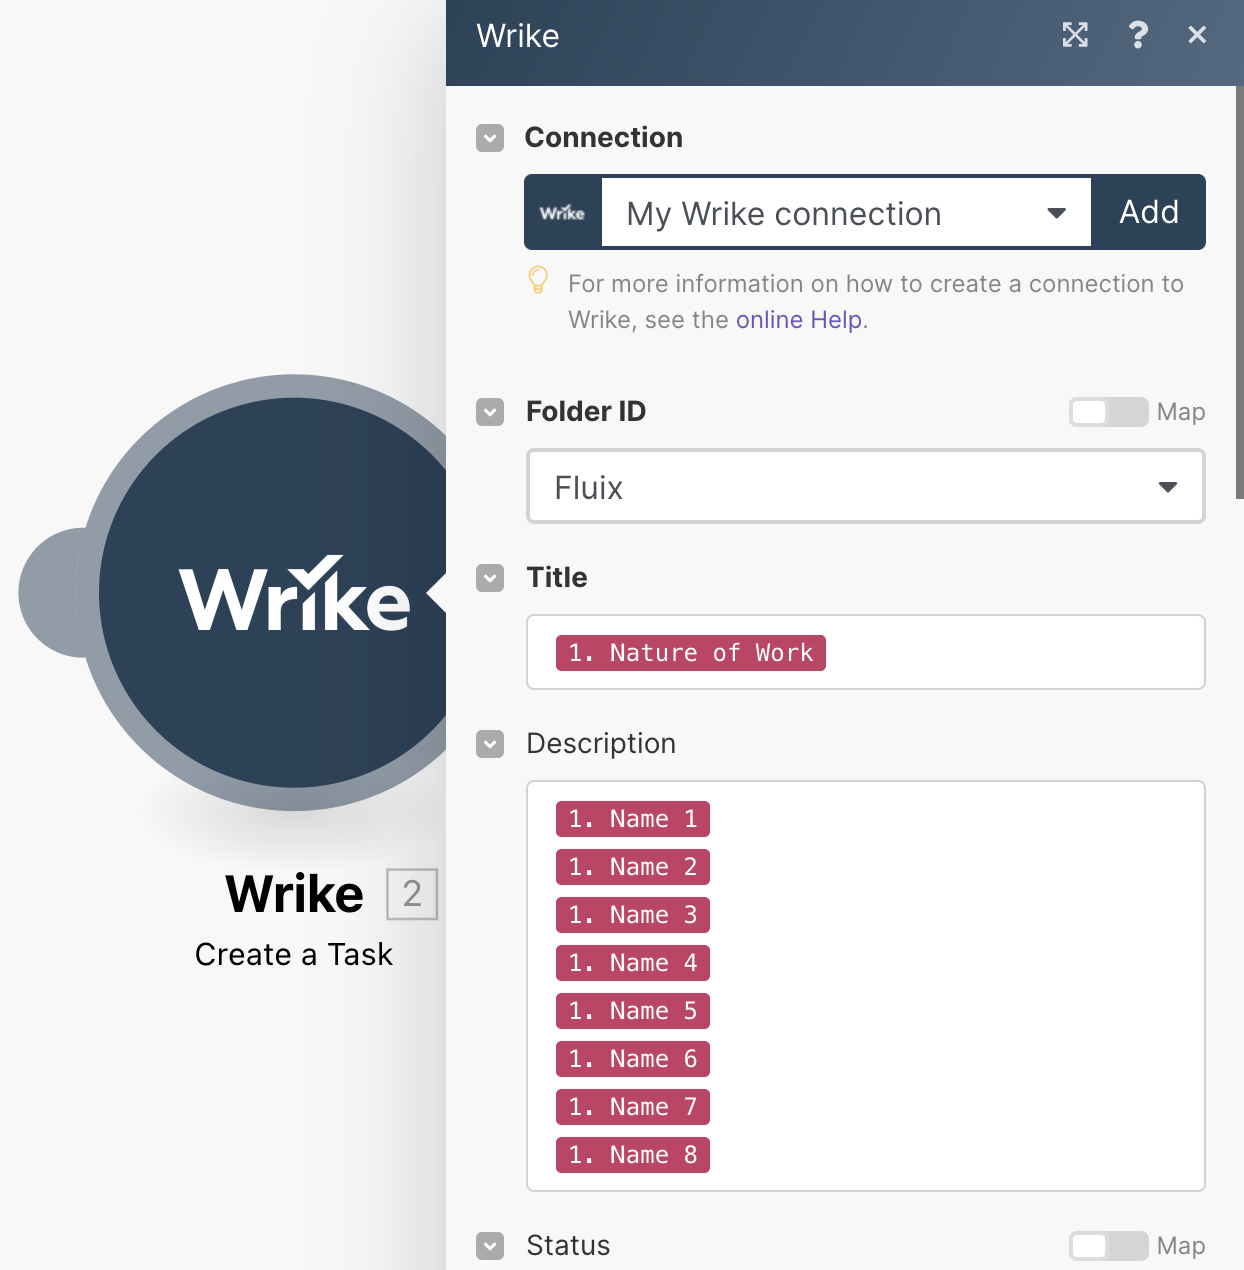
4. Click Add another module, select Wrike from the list of available integrations and select Create a Task:
Step 4 – Connecting Wrike
- Click Add and Save in order to give access to your Wrike account.
2. Configure all the necessary parameters from the list on the integration setup page and click Ok to save.

Task’s title and description will be created based on the information taken from the particular fields in the submitted form that were predefined by you during the integration setup.

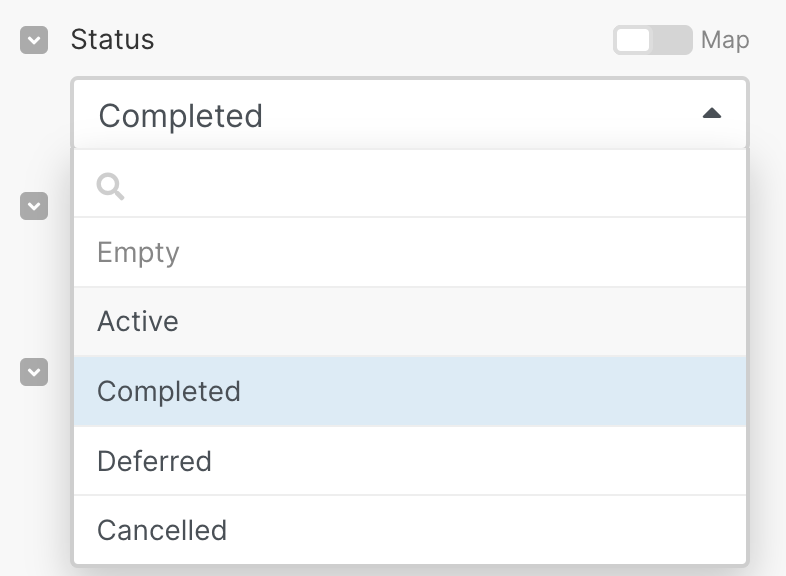
In the integration settings, you may predefine and further change the status and importance level of the tasks upon their appearance in Wrike after the document submission.
You may define the particular space and list stakeholders or teams for whom this task is visible by default.

3. Click Run Once in the left bottom corner and try submitting your document. Once done, you should see your tasks created in Wrike where description and title correspond to the data taken from the chosen form fields from the submitted document in Fluix. Then you will just need to activate the scenario in the left bottom corner.

Step 5 – Testing integration
Go to the Fluix app on the device or User App in the web browser version. Open a test form, fill it out and submit it through the workflow. In Wrike, you will see a new Task created.

In case you have any questions or difficulties with setup, contact our support at support@fluix.io and we’ll be happy to help you.
Check other business integrations here.