


Fluix now offers Scheduling, a powerful feature designed to help you plan and automate task assignments, ensuring smooth project execution and effortless recurring tasks, such as inspections.
Who Benefits from Scheduling?
- Back Office Teams – Easily automate task assignments based on project requirements. Schedule inspections daily, weekly, monthly, or quarterly without manual input, ensuring nothing is overlooked.
- Field Teams – Receive task notifications exactly when needed, without manually tracking deadlines. Simply open the Fluix app when notified and start working on your assigned task.
What Can You Achieve with Scheduling?
- Set up automatic triggers to run your processes at the perfect time.
- Streamline your operations, save time, and ensure tasks are completed on schedule, reducing manual scheduling efforts.
- Automate both recurring and one-time tasks.
- Ensure time-bound tasks are never missed.
- Clear task views, including upcoming tasks for admins and field staff.
- Optimise task assignments by location and skills.
- Improve compliance and reduce operational risks.
Note: Scheduling functionality is available starting from Core Pricing Plan.
How to set up Scheduling in Admin Portal?
Use Case Example:
Imagine a Field Supervisor who needs to ensure that field workers perform weekly maintenance tasks efficiently without overlapping assignments.
Step 1 – Choose a workflow to schedule
Select the workflow where your tasks will be scheduled. You can either choose an existing one or create a new workflow.
Need help building a workflow? Check out:
Note: Scheduling is only available for processes initiated within Fluix and cannot be combined with processes initiated by external software.
Additionally, Scheduling currently applies only to User tasks in Fluix. We are actively working on adding scheduling for External Users.
Step 2 – Configure Scheduled Events
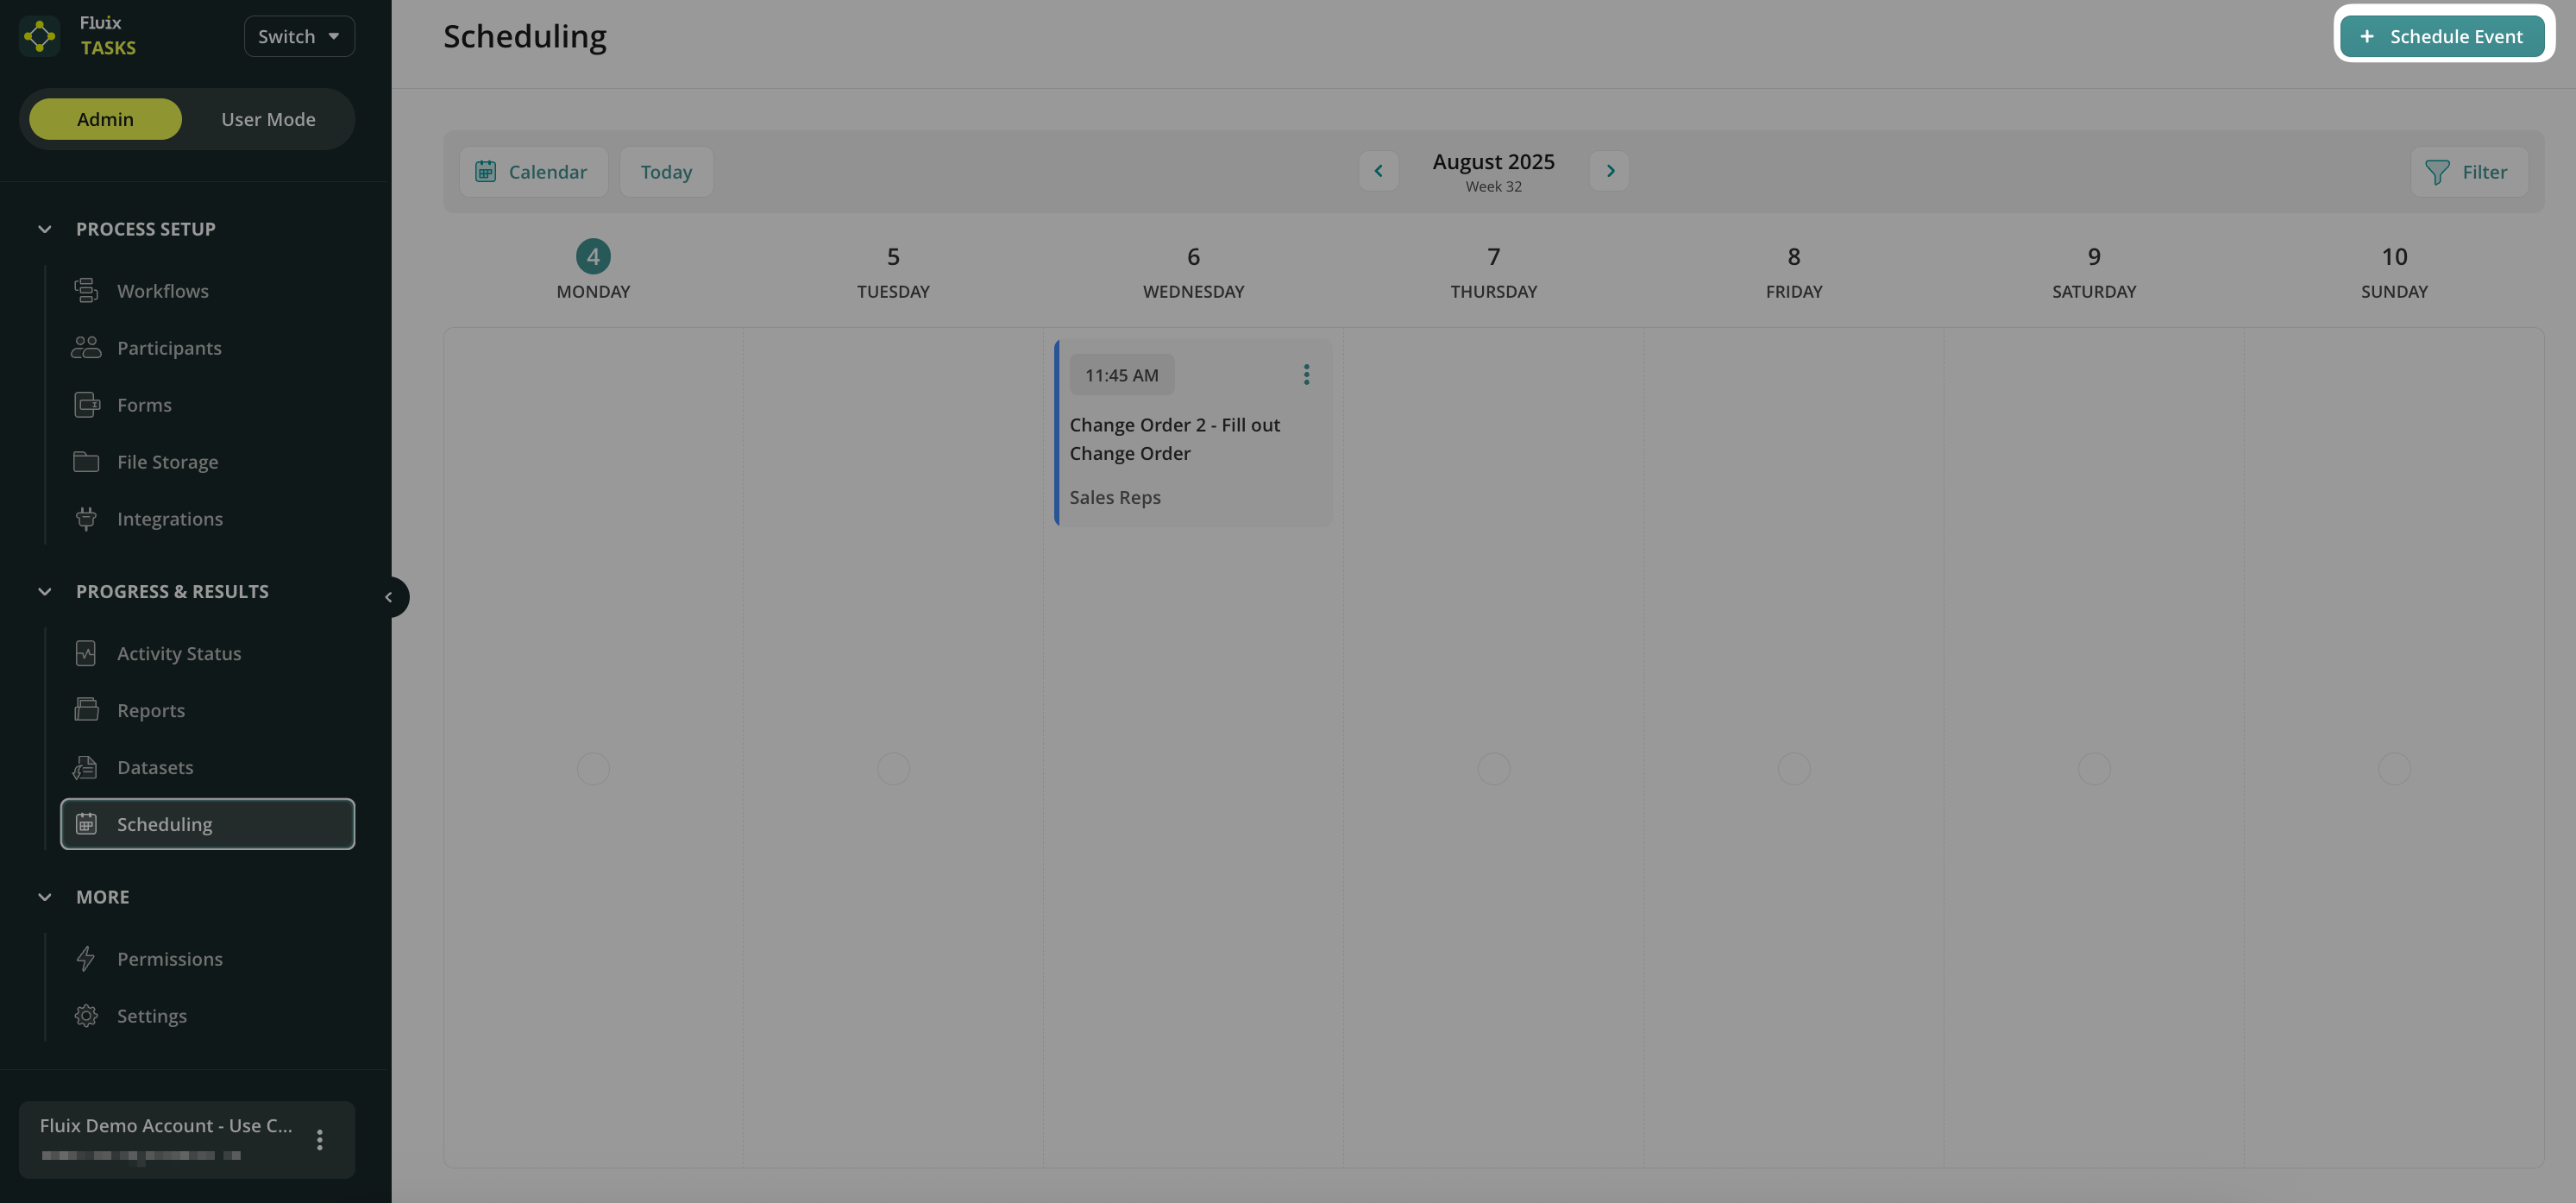
1. Go to the Scheduling section in the Fluix Admin Portal.
2. Click Schedule Event.
3. Choose the relevant workflow and give your event a clear name.
4. In the opened window, name the scheduled event and select the Assignee from the workflow. The assignee can be:
- Group of Users – One shared task appears in the group’s Assigned section.
- Each Group Member individually – Each group member receives their own task.
- Individual team members from the Group – The selected group members will receive the tasks.
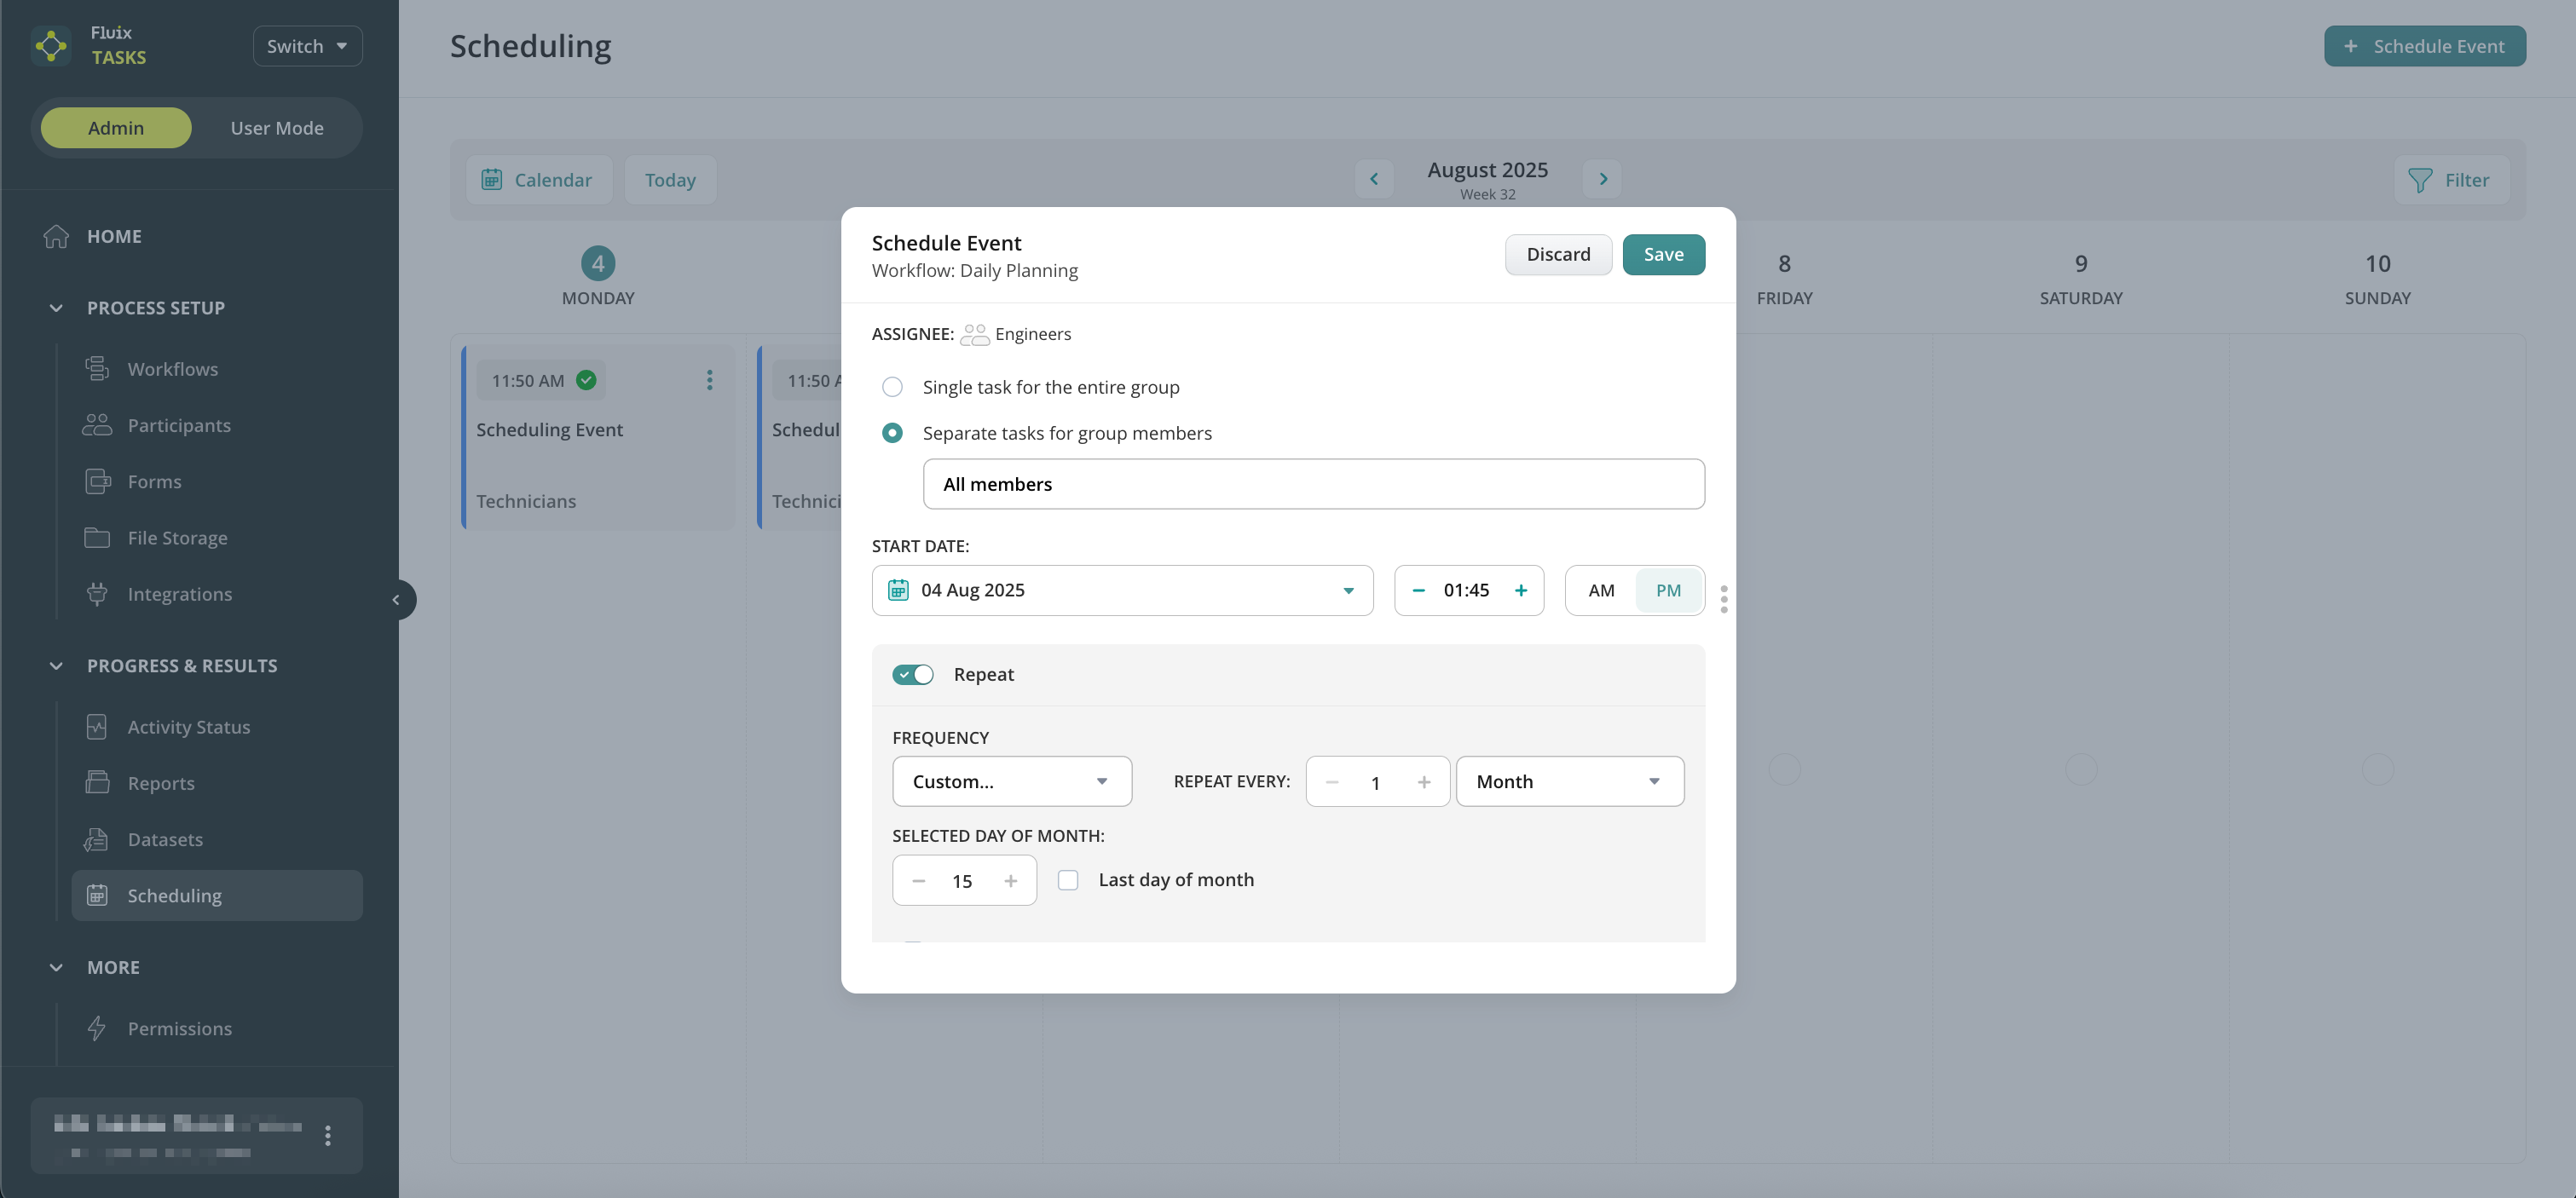
5. Define the Task Start Date and Time when users will receive the task and notification.
6. Choose the Recurrence:
- One-time
- Daily / Weekly – Pick specific weekdays.
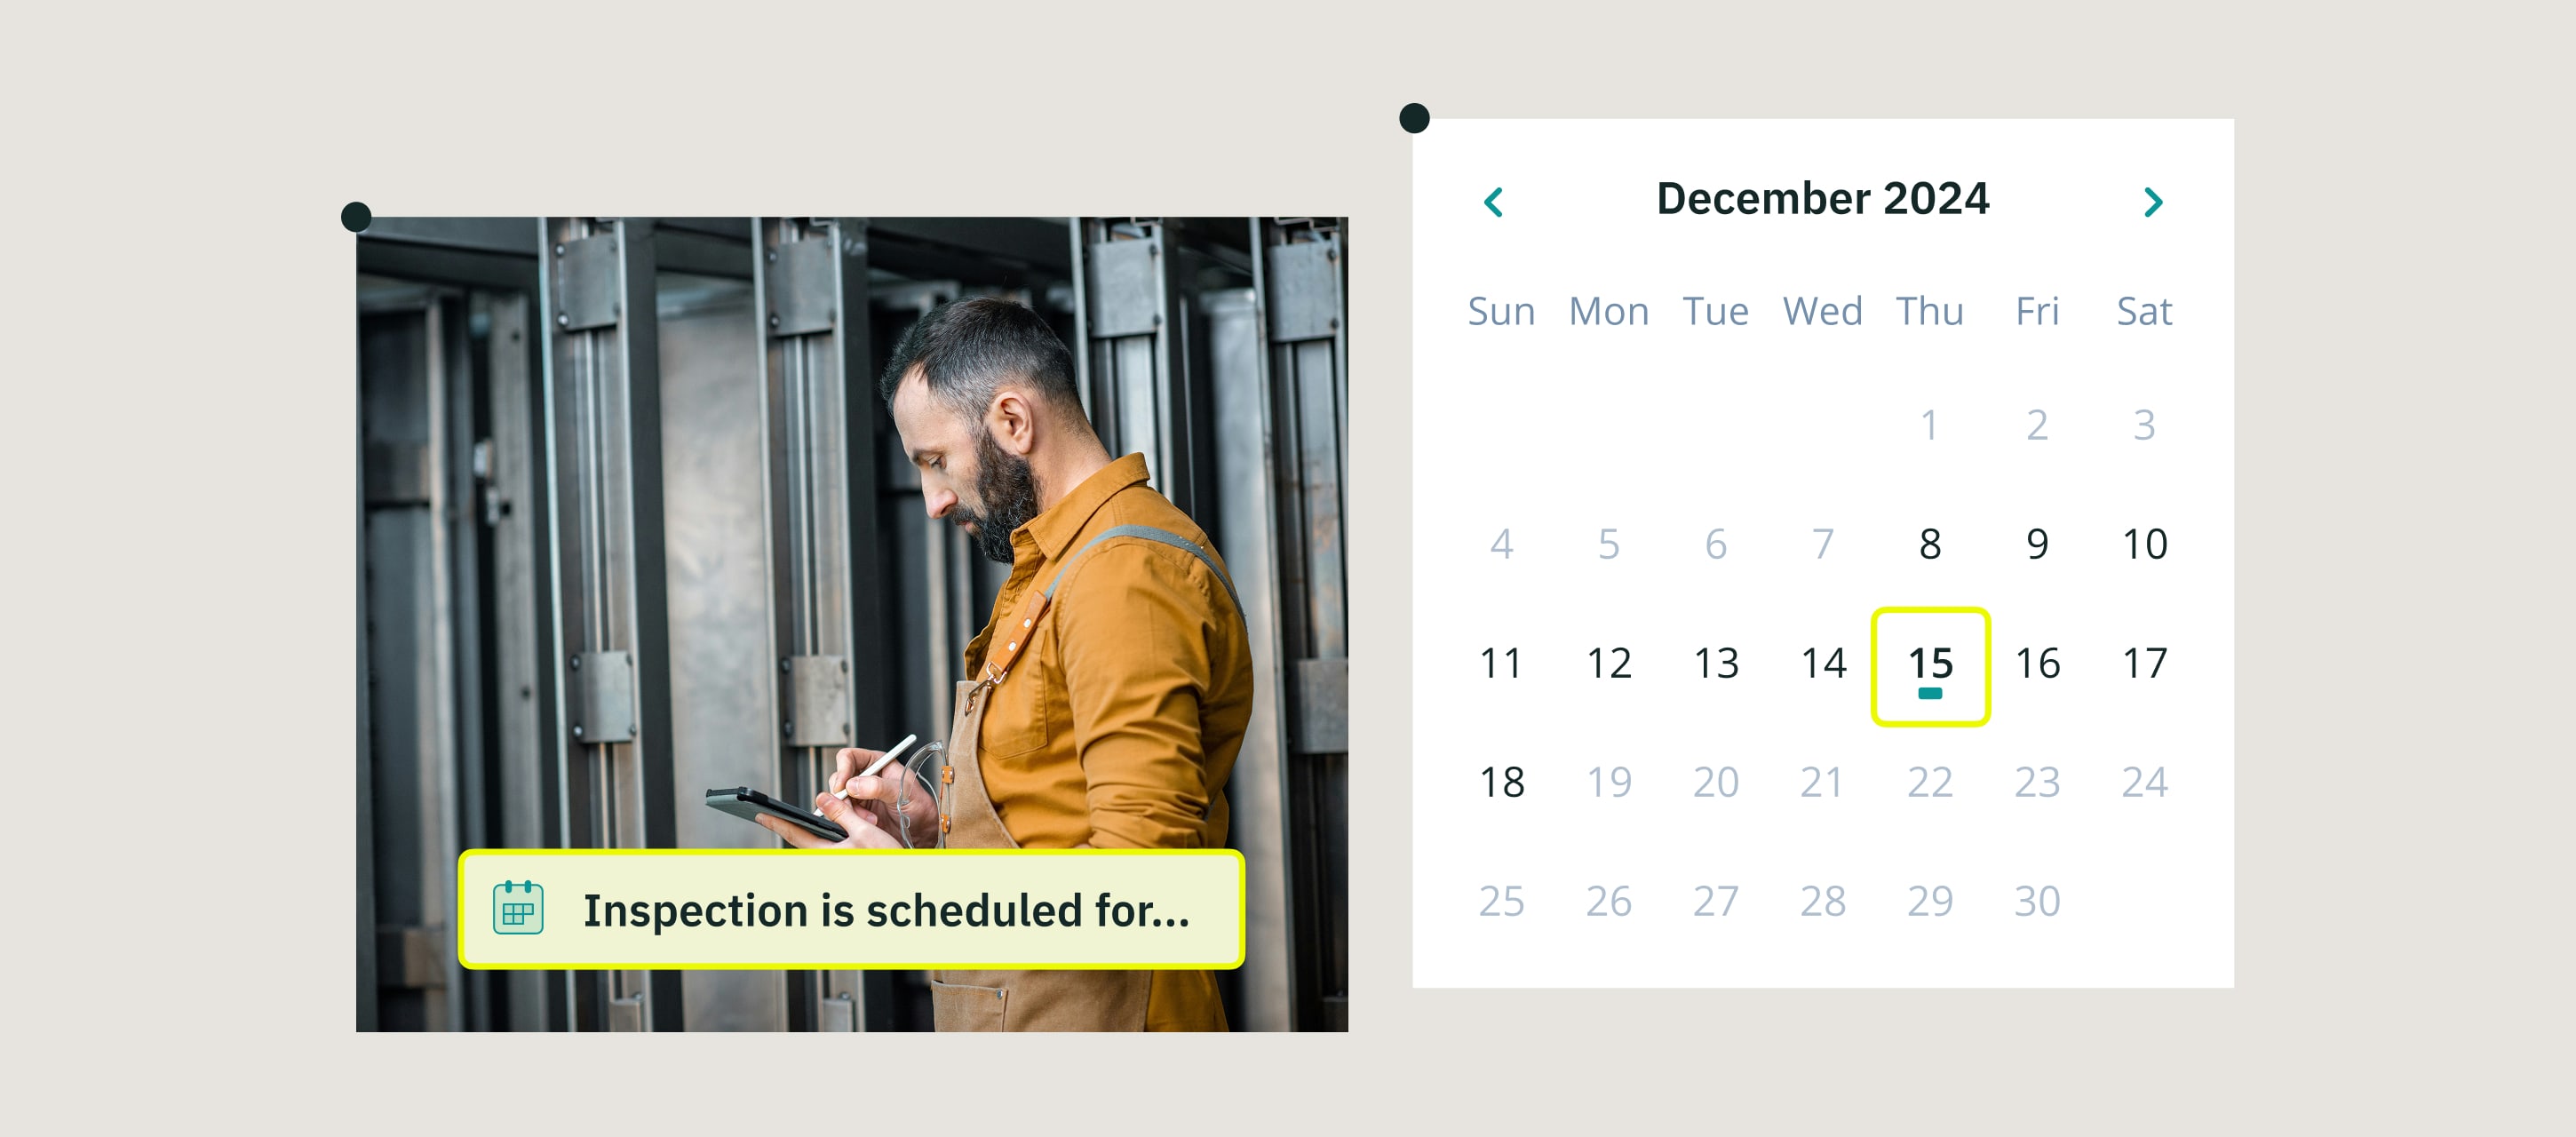
- Monthly – Choose a specific date or the last day of the month.
- Quarterly – Every three months from the start date.
- e.g., 15 Dec 2024 → 15 Mar 2025 → 15 Jun 2025
- e.g., 15 Dec 2024 → 15 Mar 2025 → 15 Jun 2025
- Yearly – Same day annually or the last day of the month.
- e.g., 15 Dec 2024 → 15 Dec 2025 → 15 Dec 2026
- e.g., 15 Dec 2024 → 15 Dec 2025 → 15 Dec 2026
- Custom period – Plan and schedule tasks on your own terms, even if they don’t follow a fixed schedule
- e.g. every 2 months on 15th.
7. (Optional) Set an end date if the task should stop after a period. Click Save.
You’ll now see a weekly view in the Scheduling section indicating that tasks are configured for automation. The Scheduled column will also be added in the workflow section.
Step 3 – Test Your Scheduled Tasks
- Add yourself to the user group and verify the task assignment.
- At the scheduled time, open the Fluix Tasks app to check that you received the notification.
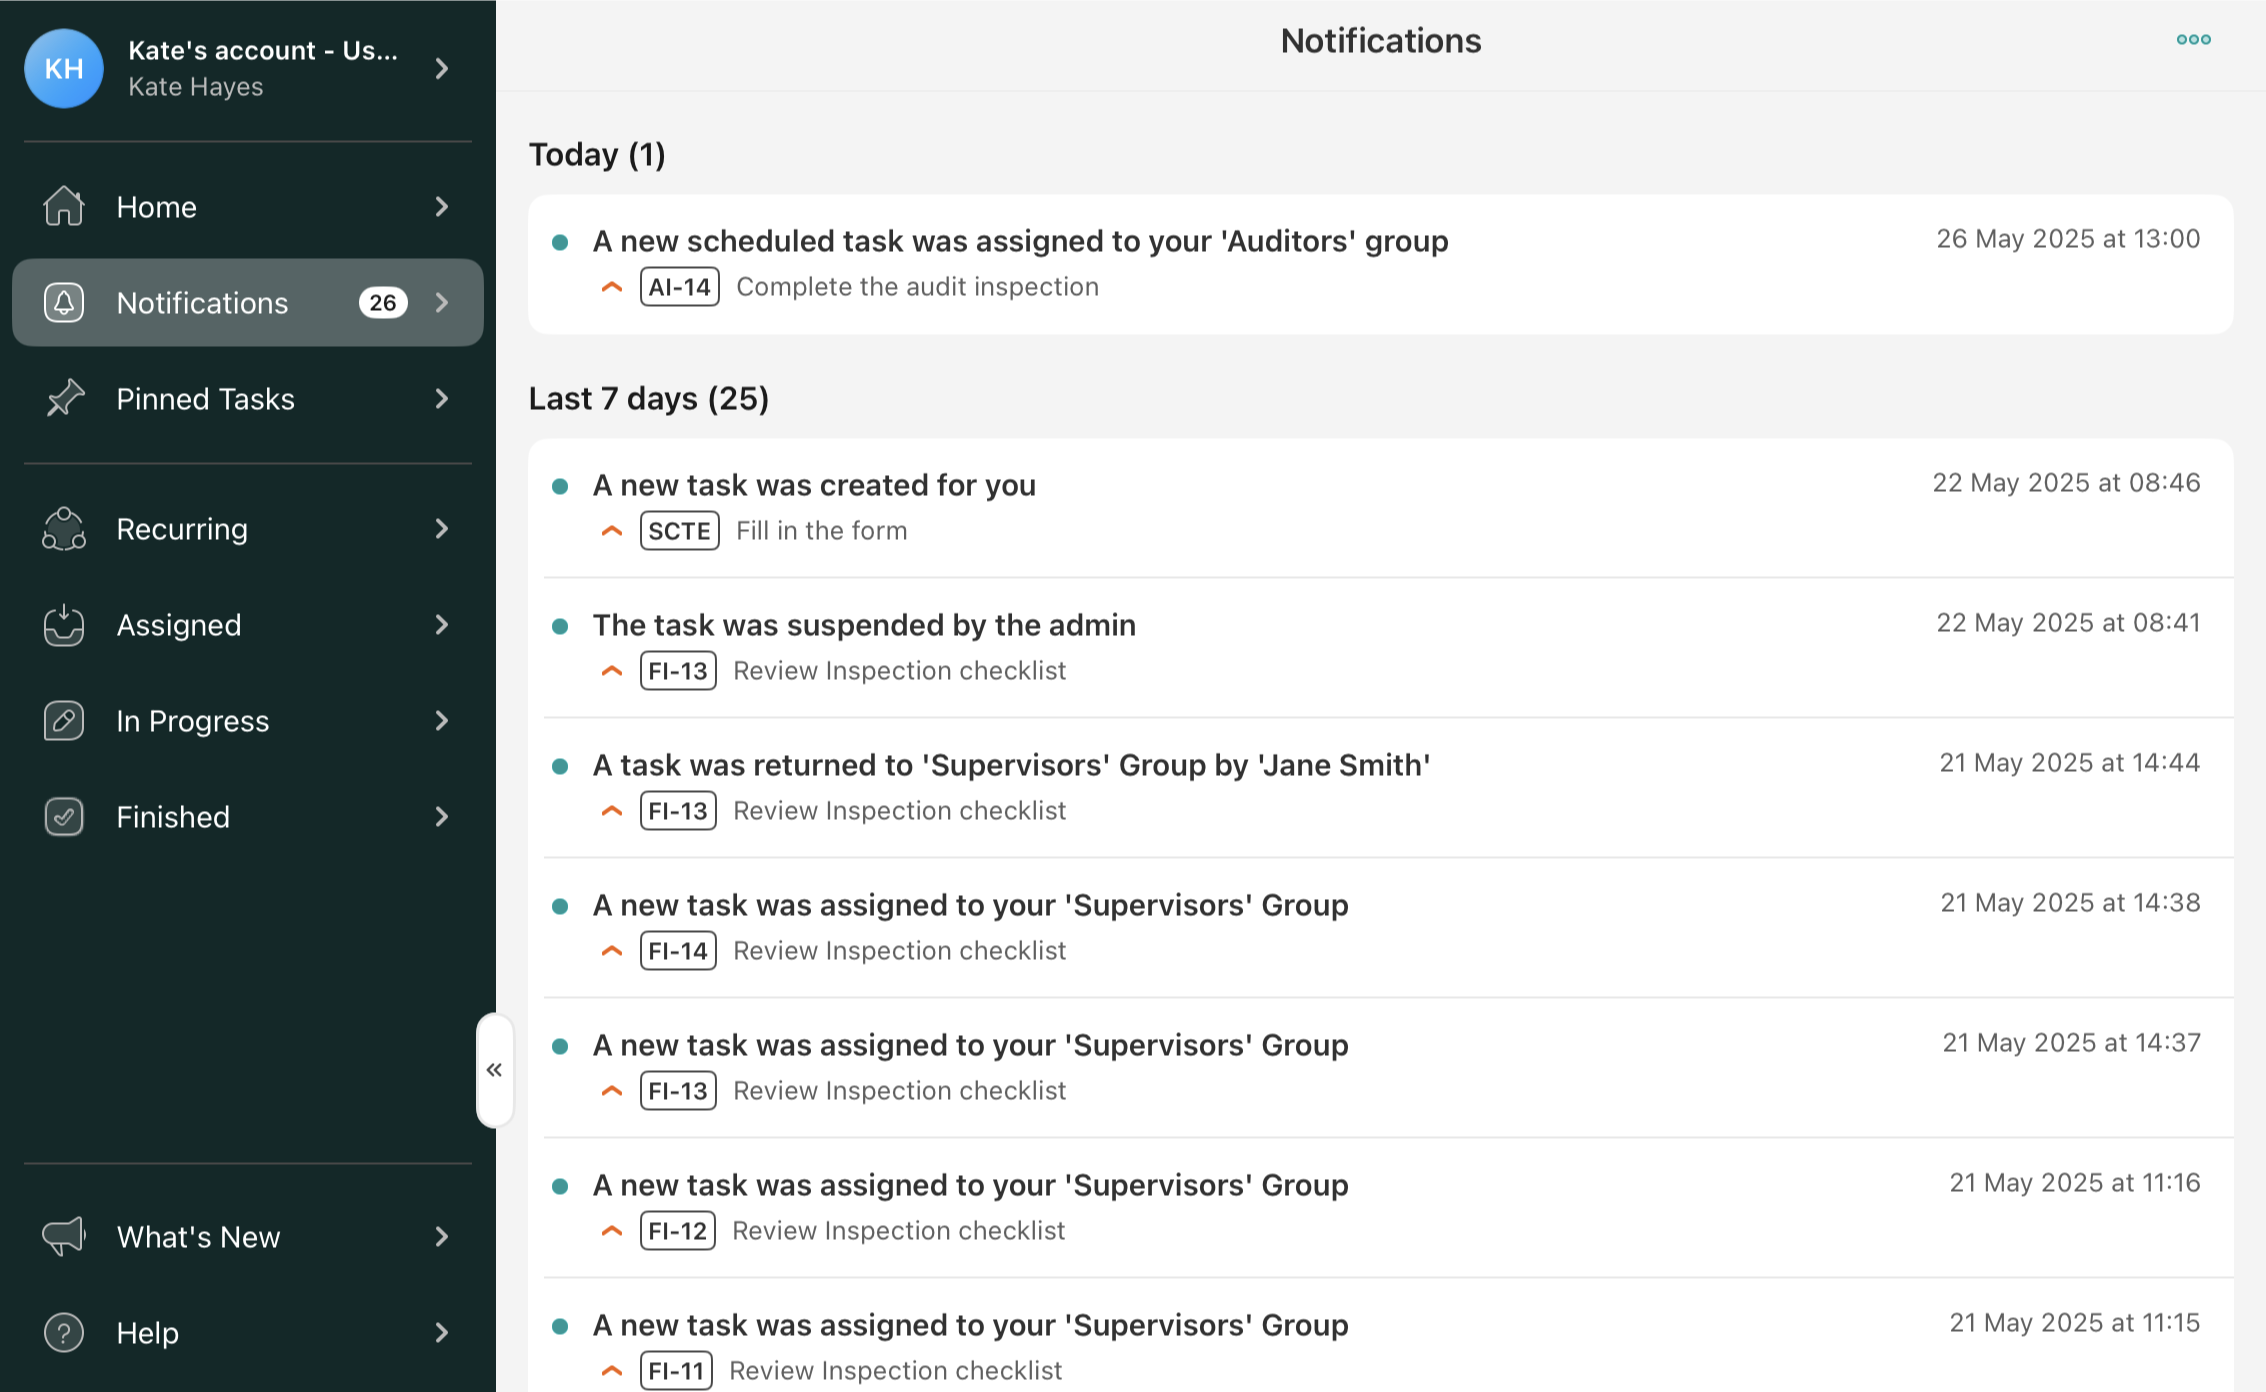
- Verify the task appears in your Assigned section—either individually or as part of a group.
If you have any questions, reach out to support@fluix.io. Also, subscribe to our product newsletter to stay updated on new features in Fluix!