


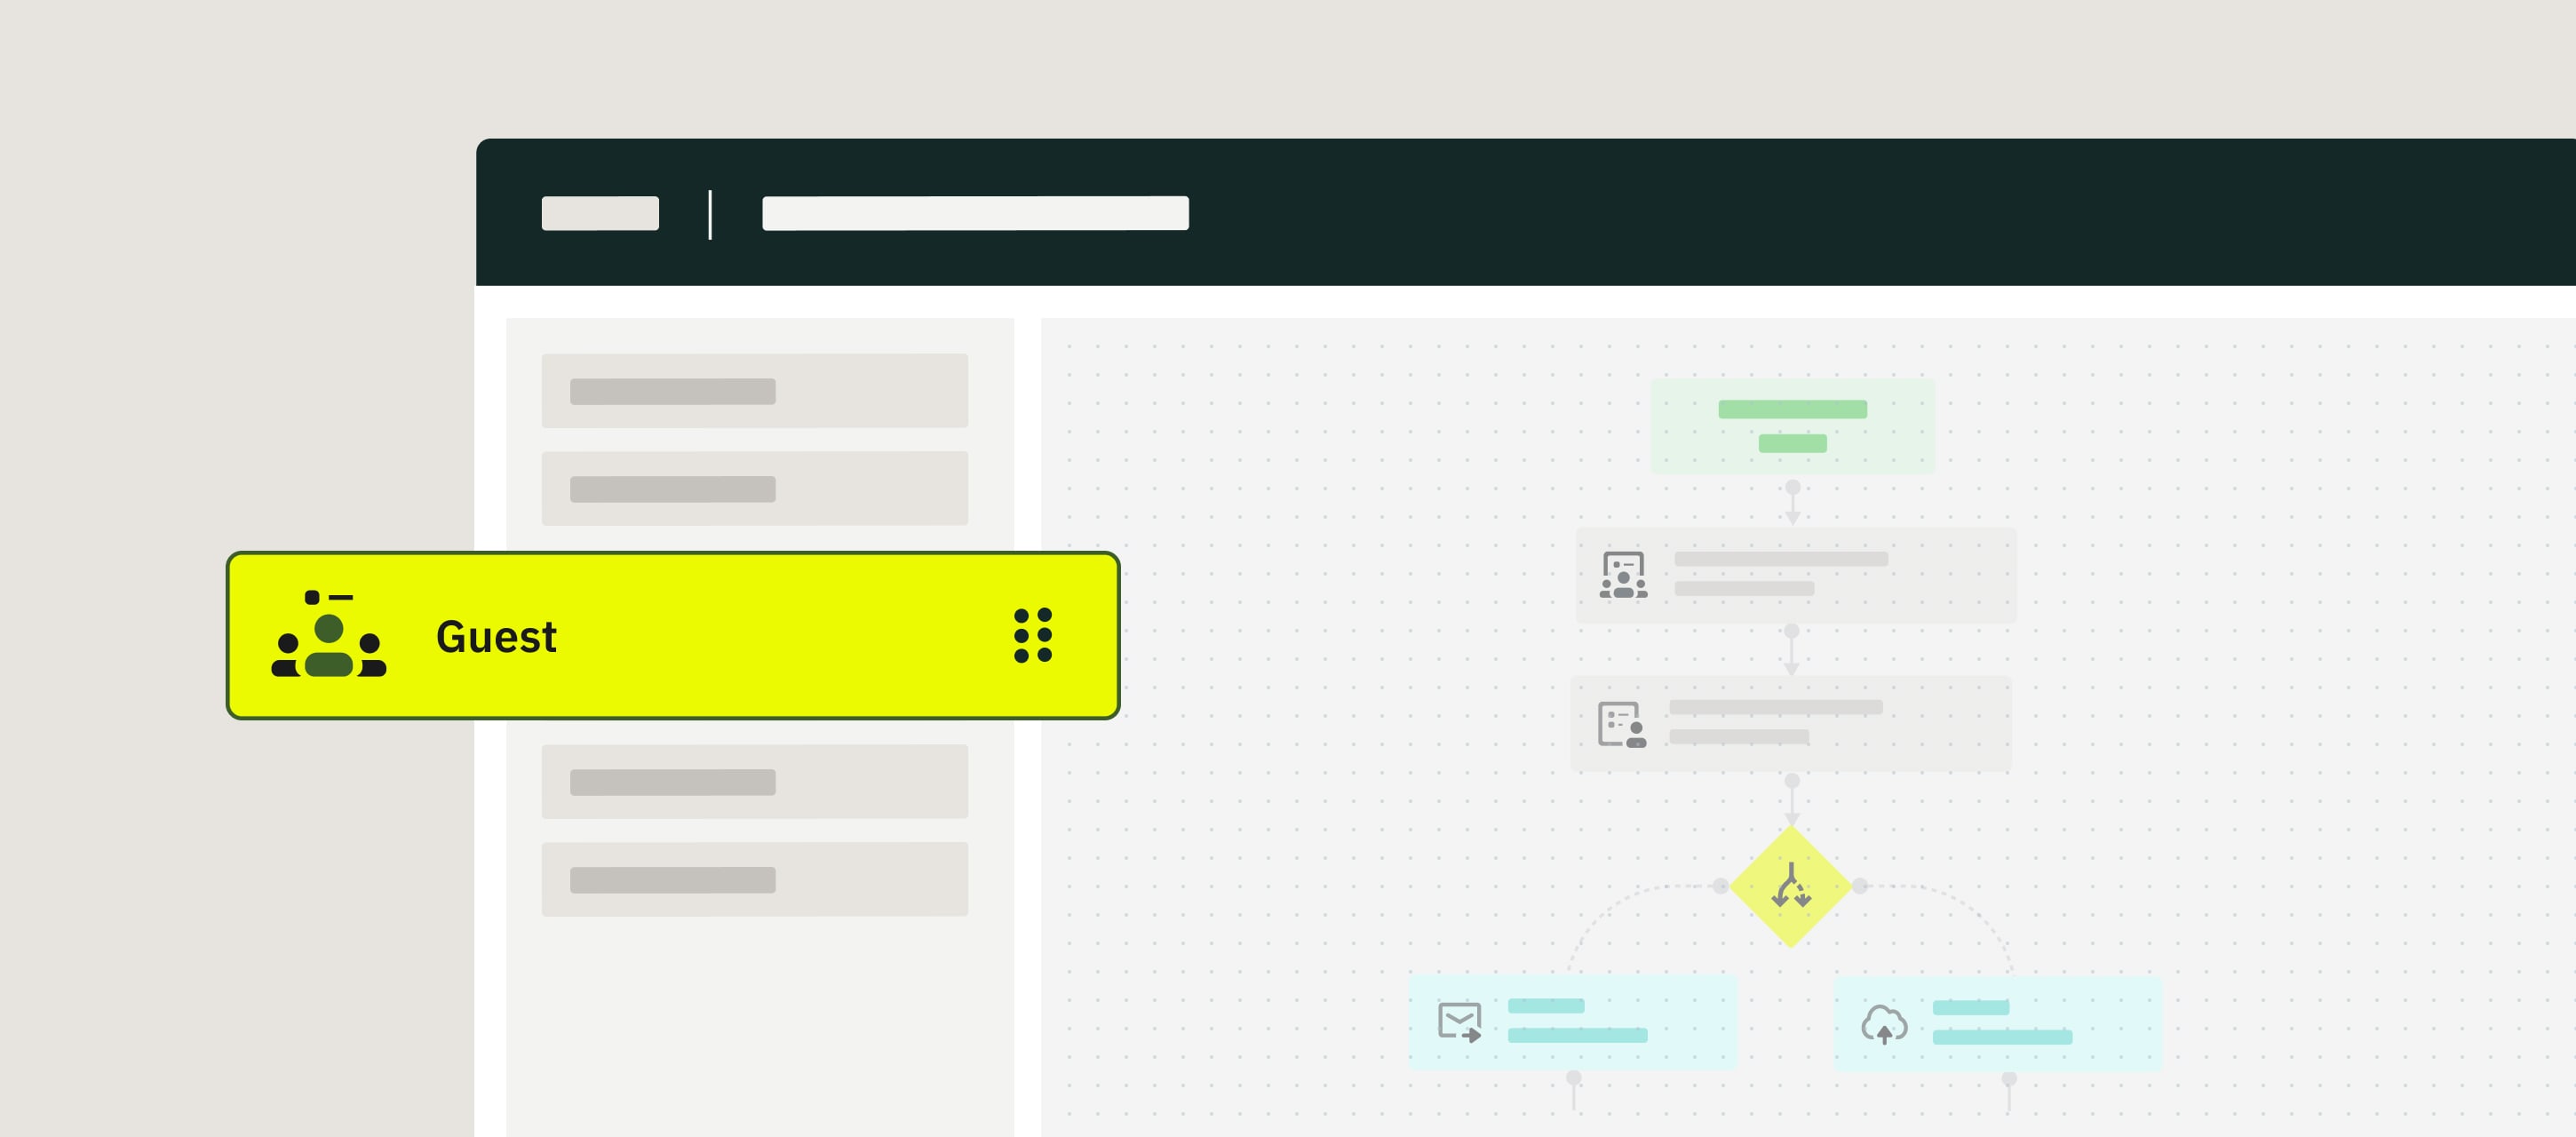
Who can be the External users in Fluix?
The External user is a person whom you can invite to collaborate with your team on a task, sign a contract, or fill in a form without even adding this person to the Fluix system. There can be someone from your or any other organization involved in a specific project or team to work on specific tasks. Here are some examples:
- Subcontractors that work on the same project with your employees
- Clients that receive documents to review and sign them remotely
- Employees in your organization who need to fill in forms periodically
- Students who pass training and do their paperwork and get a copy
What’s the difference between an External user and a Regular FluixUser?
External user:
- No registration is needed (follow the link to access the task)
- No need to download the app, accessible from any device in any web browser
- Work on one task at a time
- Online access
Regular Fluix User:
- Admin needs to set up an account and provide access to tasks
- iOS and Android app, Web app
- Access to multiple tasks in the app
- Online and offline access
How to set up the External Task in the process?
First, you’ll need to decide whether the External user is the one who starts the process or joins in the middle of it. Based on this choice, the way the External task can be set up will be different. Let’s look at 2 real-life scenarios as examples of configuring such tasks:
- Scenario 1: External user starts the process – the Subcontractor enters the field, opens Fluix as the External User, and fills out the checklist related to this location. Once done, the checklist is sent to the Supervisor – Fluix user for review.
- Scenario 2: External user is in the middle of a process – the Salesperson as a Fluix user fills out the contract in the app and sends it to the Client as a External user for review, signing, and sending further down the workflow.
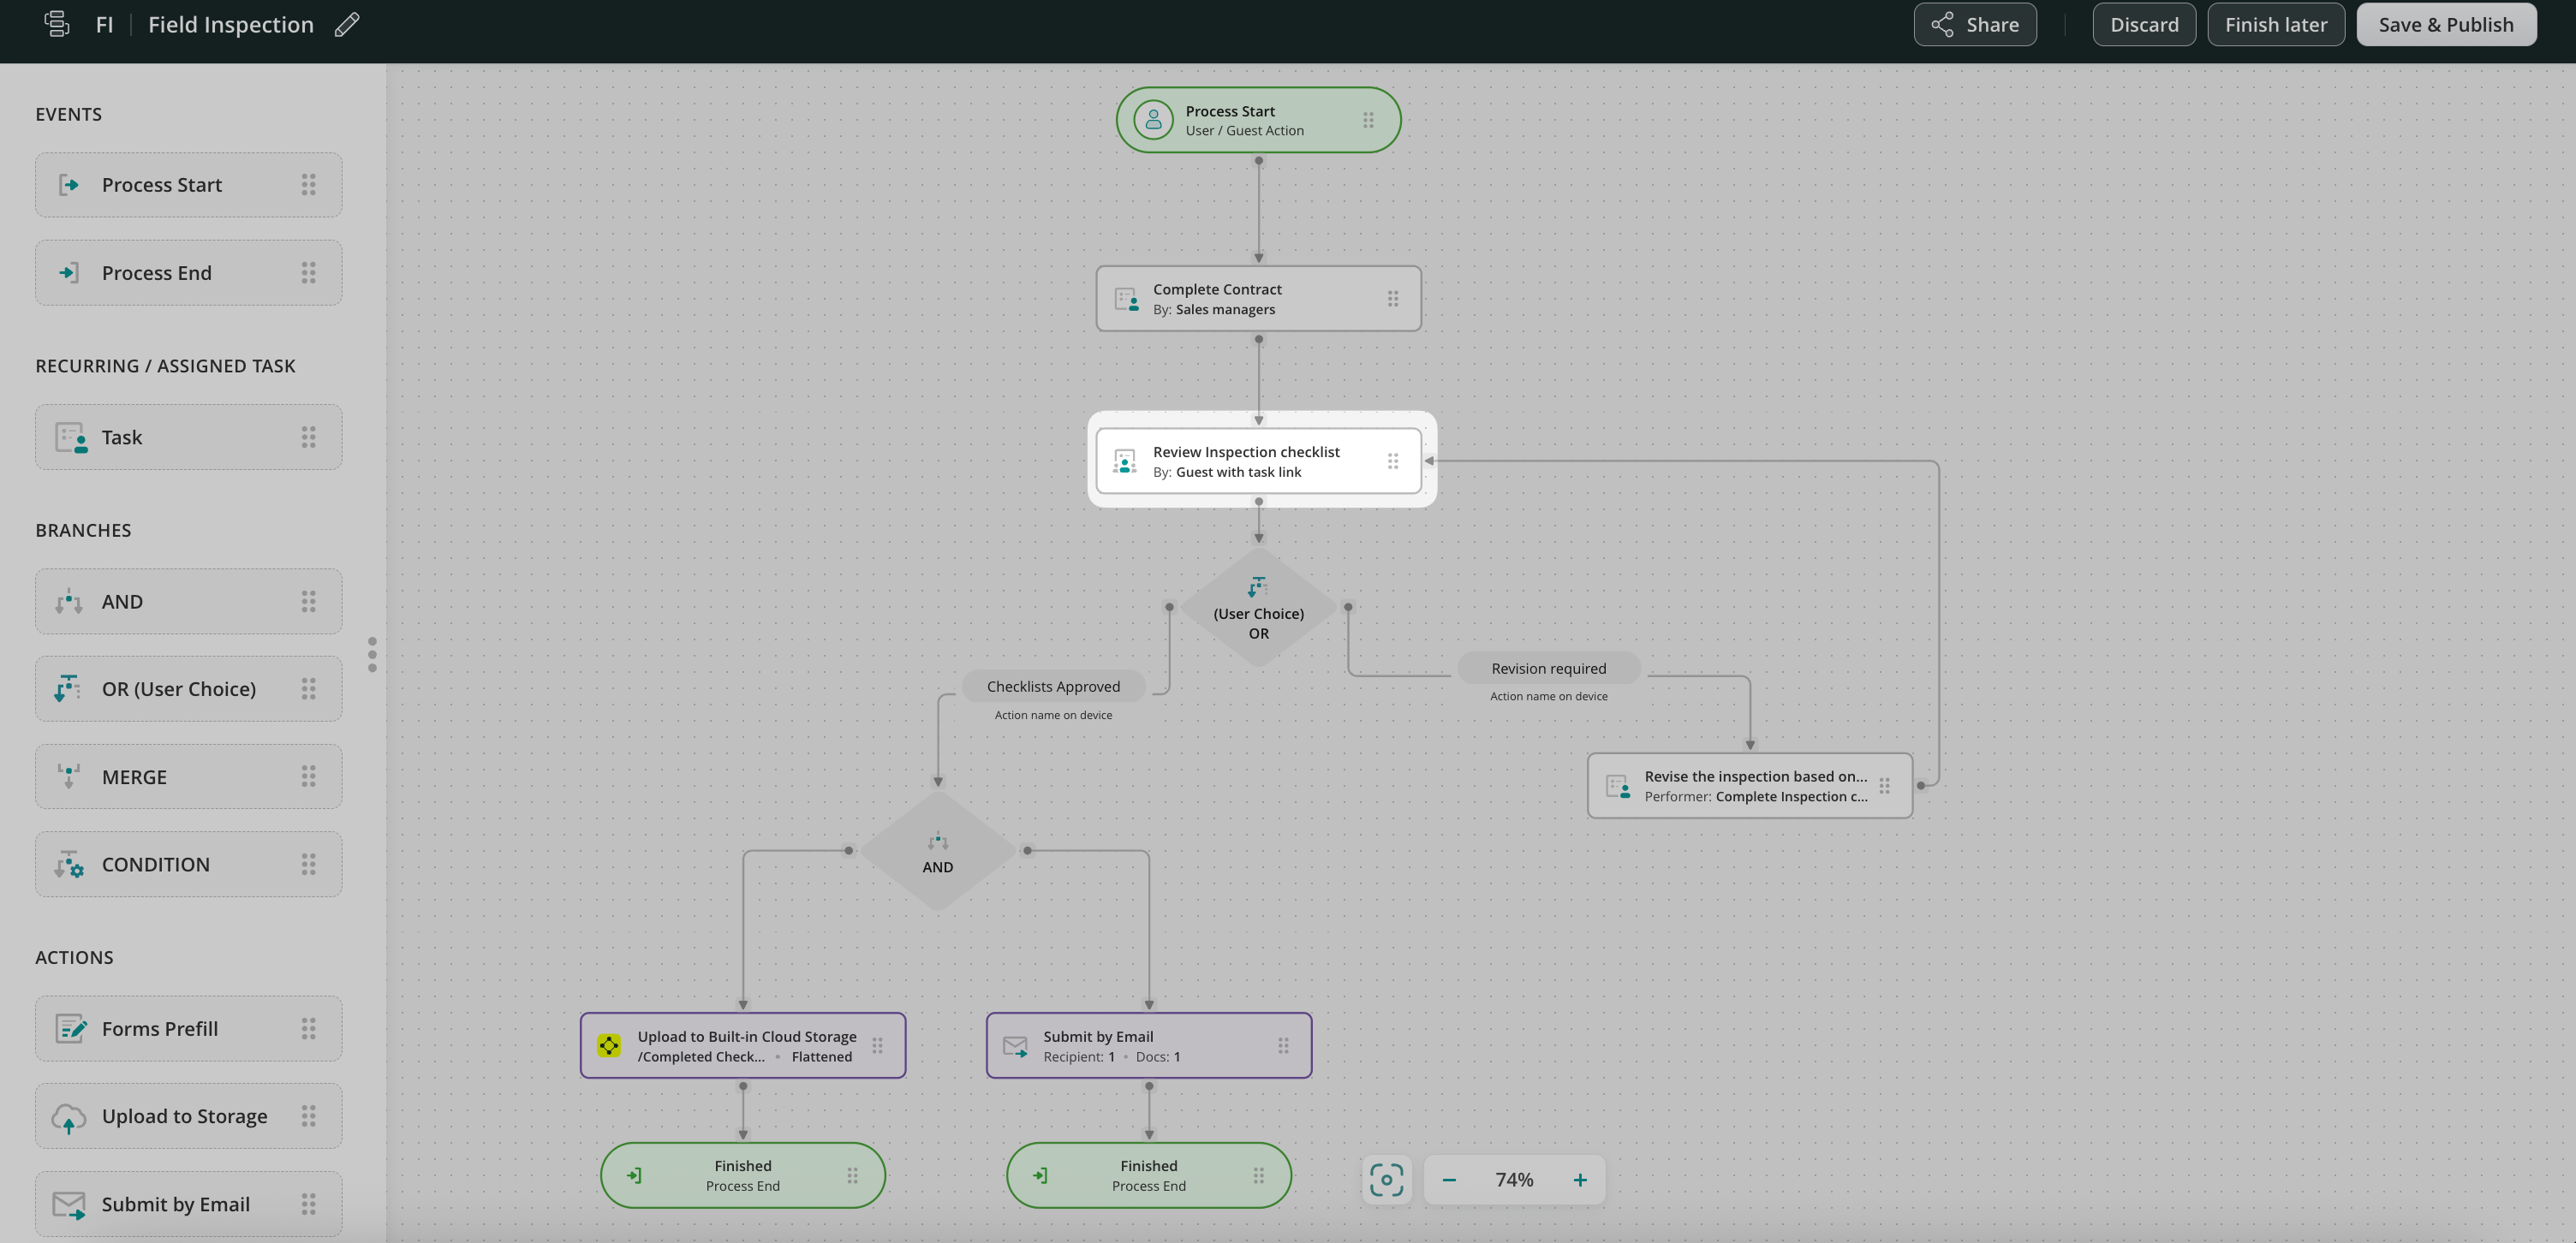
Scenario 1: External user starts the process
Step 1 – Create a task and add a form.
Navigate to the Fluix Admin Portal, create a new workflow, and configure the first task for Subcontractors who will fill out a checklist.
To do this, drag and drop the Process Start and User task elements from the sidebar on the left to the working area. Once done, select the External User option in the Assignee section.
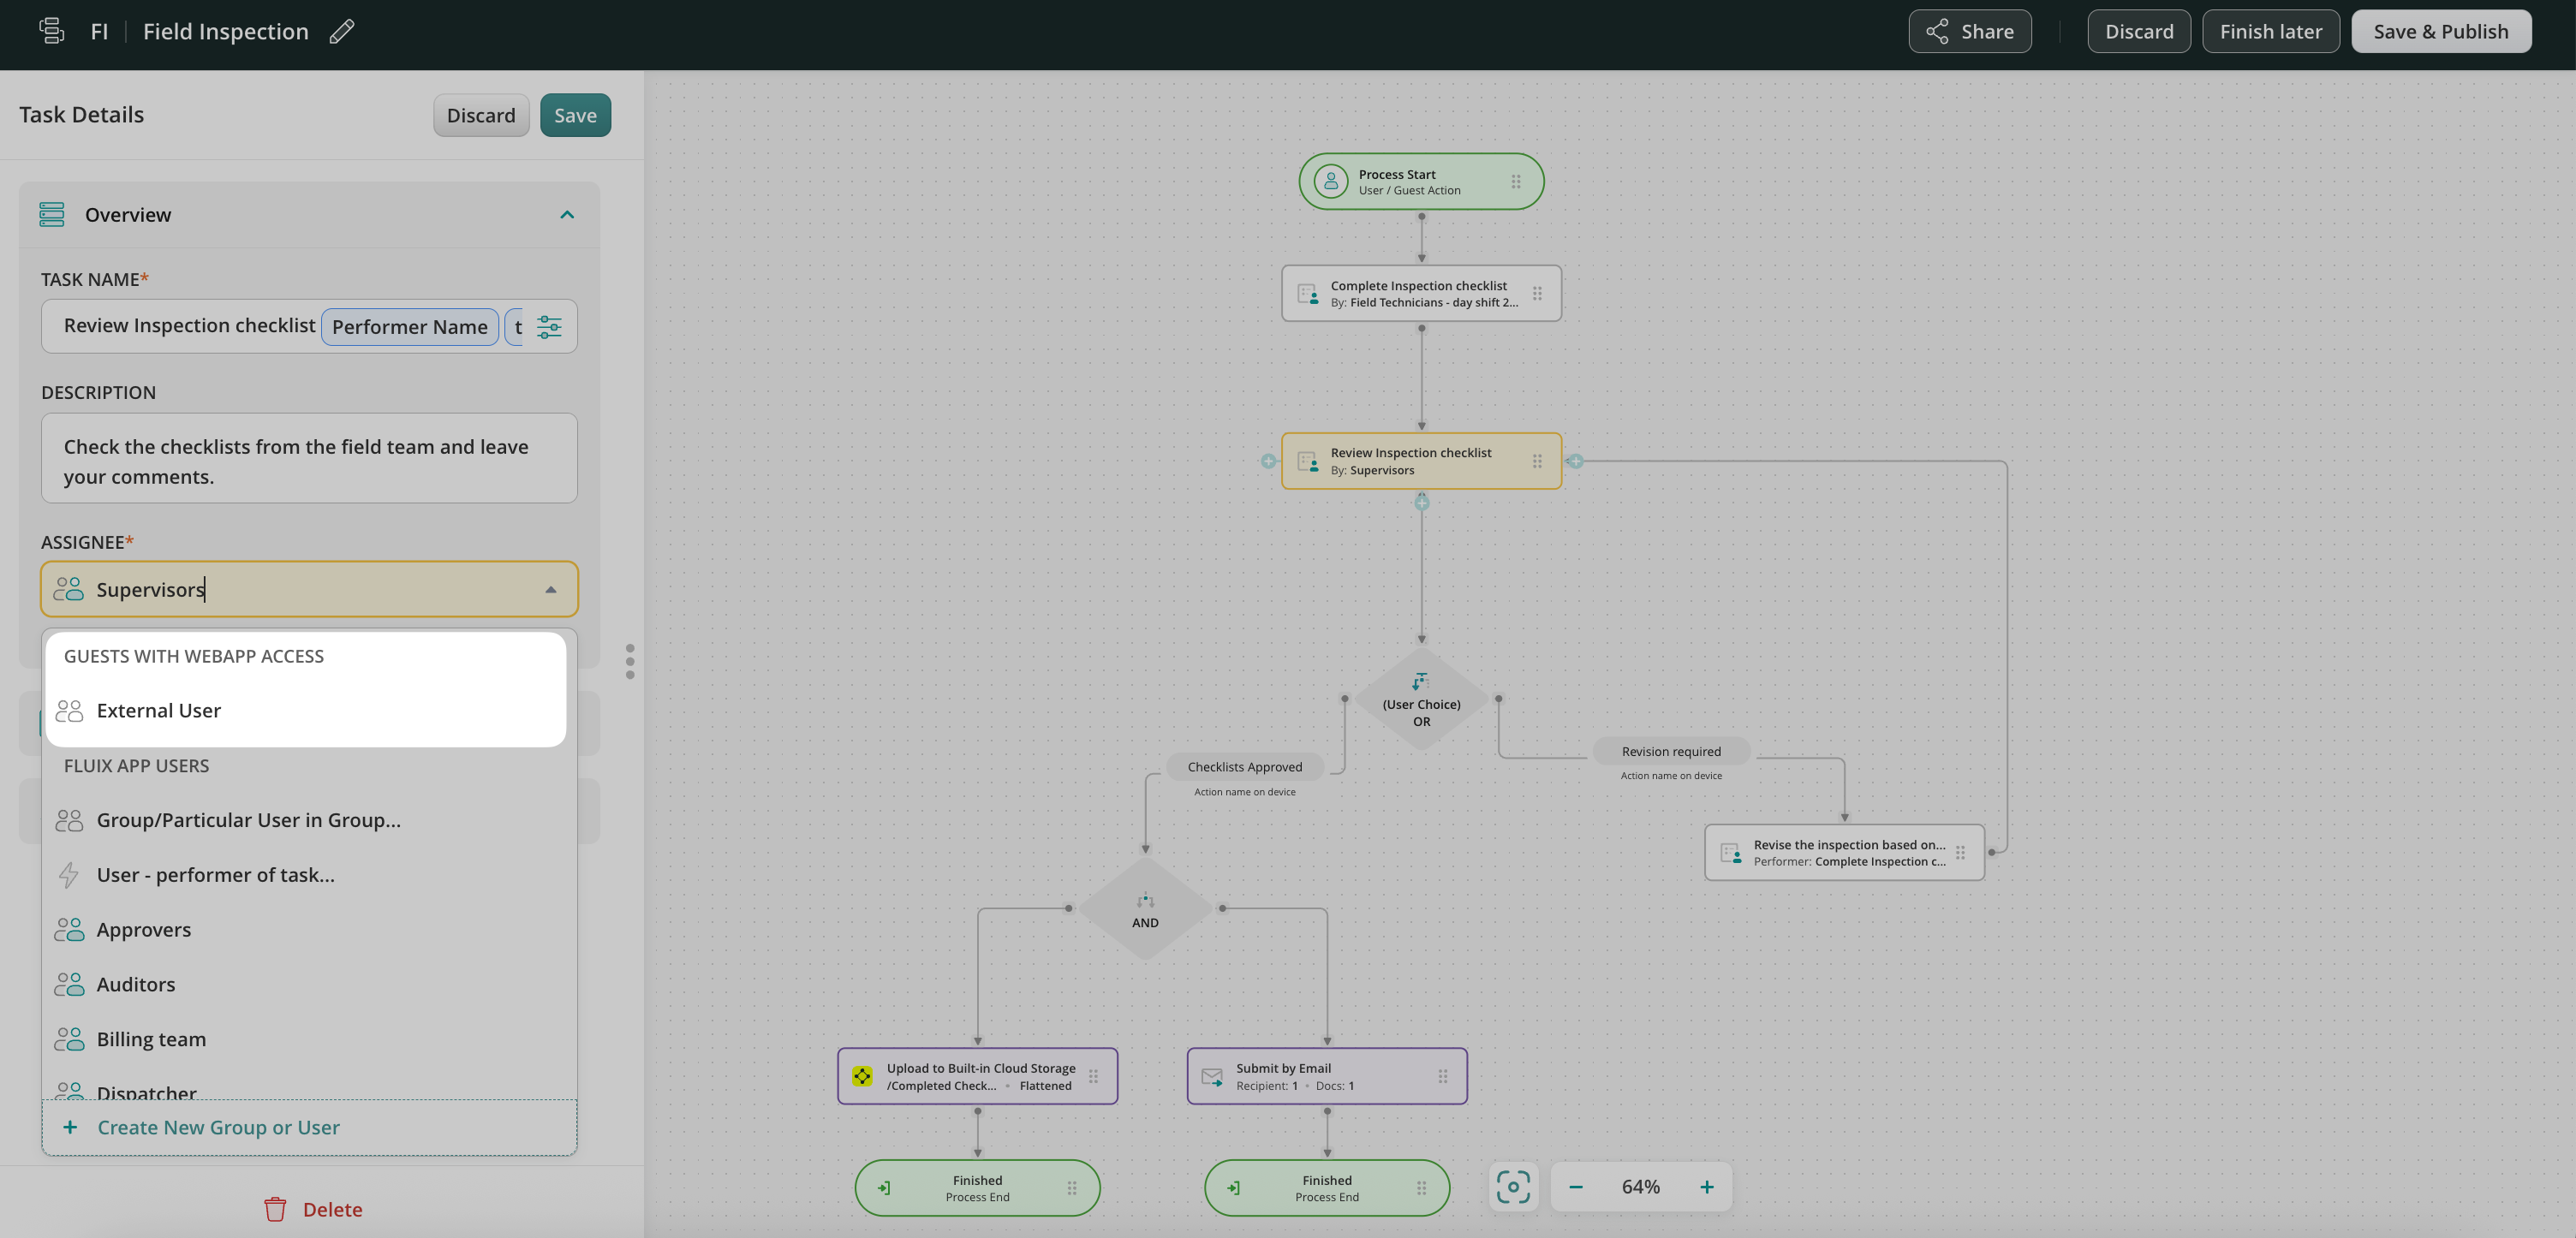
Fill out the task name and description that will be displayed to the External User, and add a checklist in the Forms tab.
Step 2 – Copy a link for External User to access the task.
In the Recipient tab, you will see two options how such task can be shared with the External User:
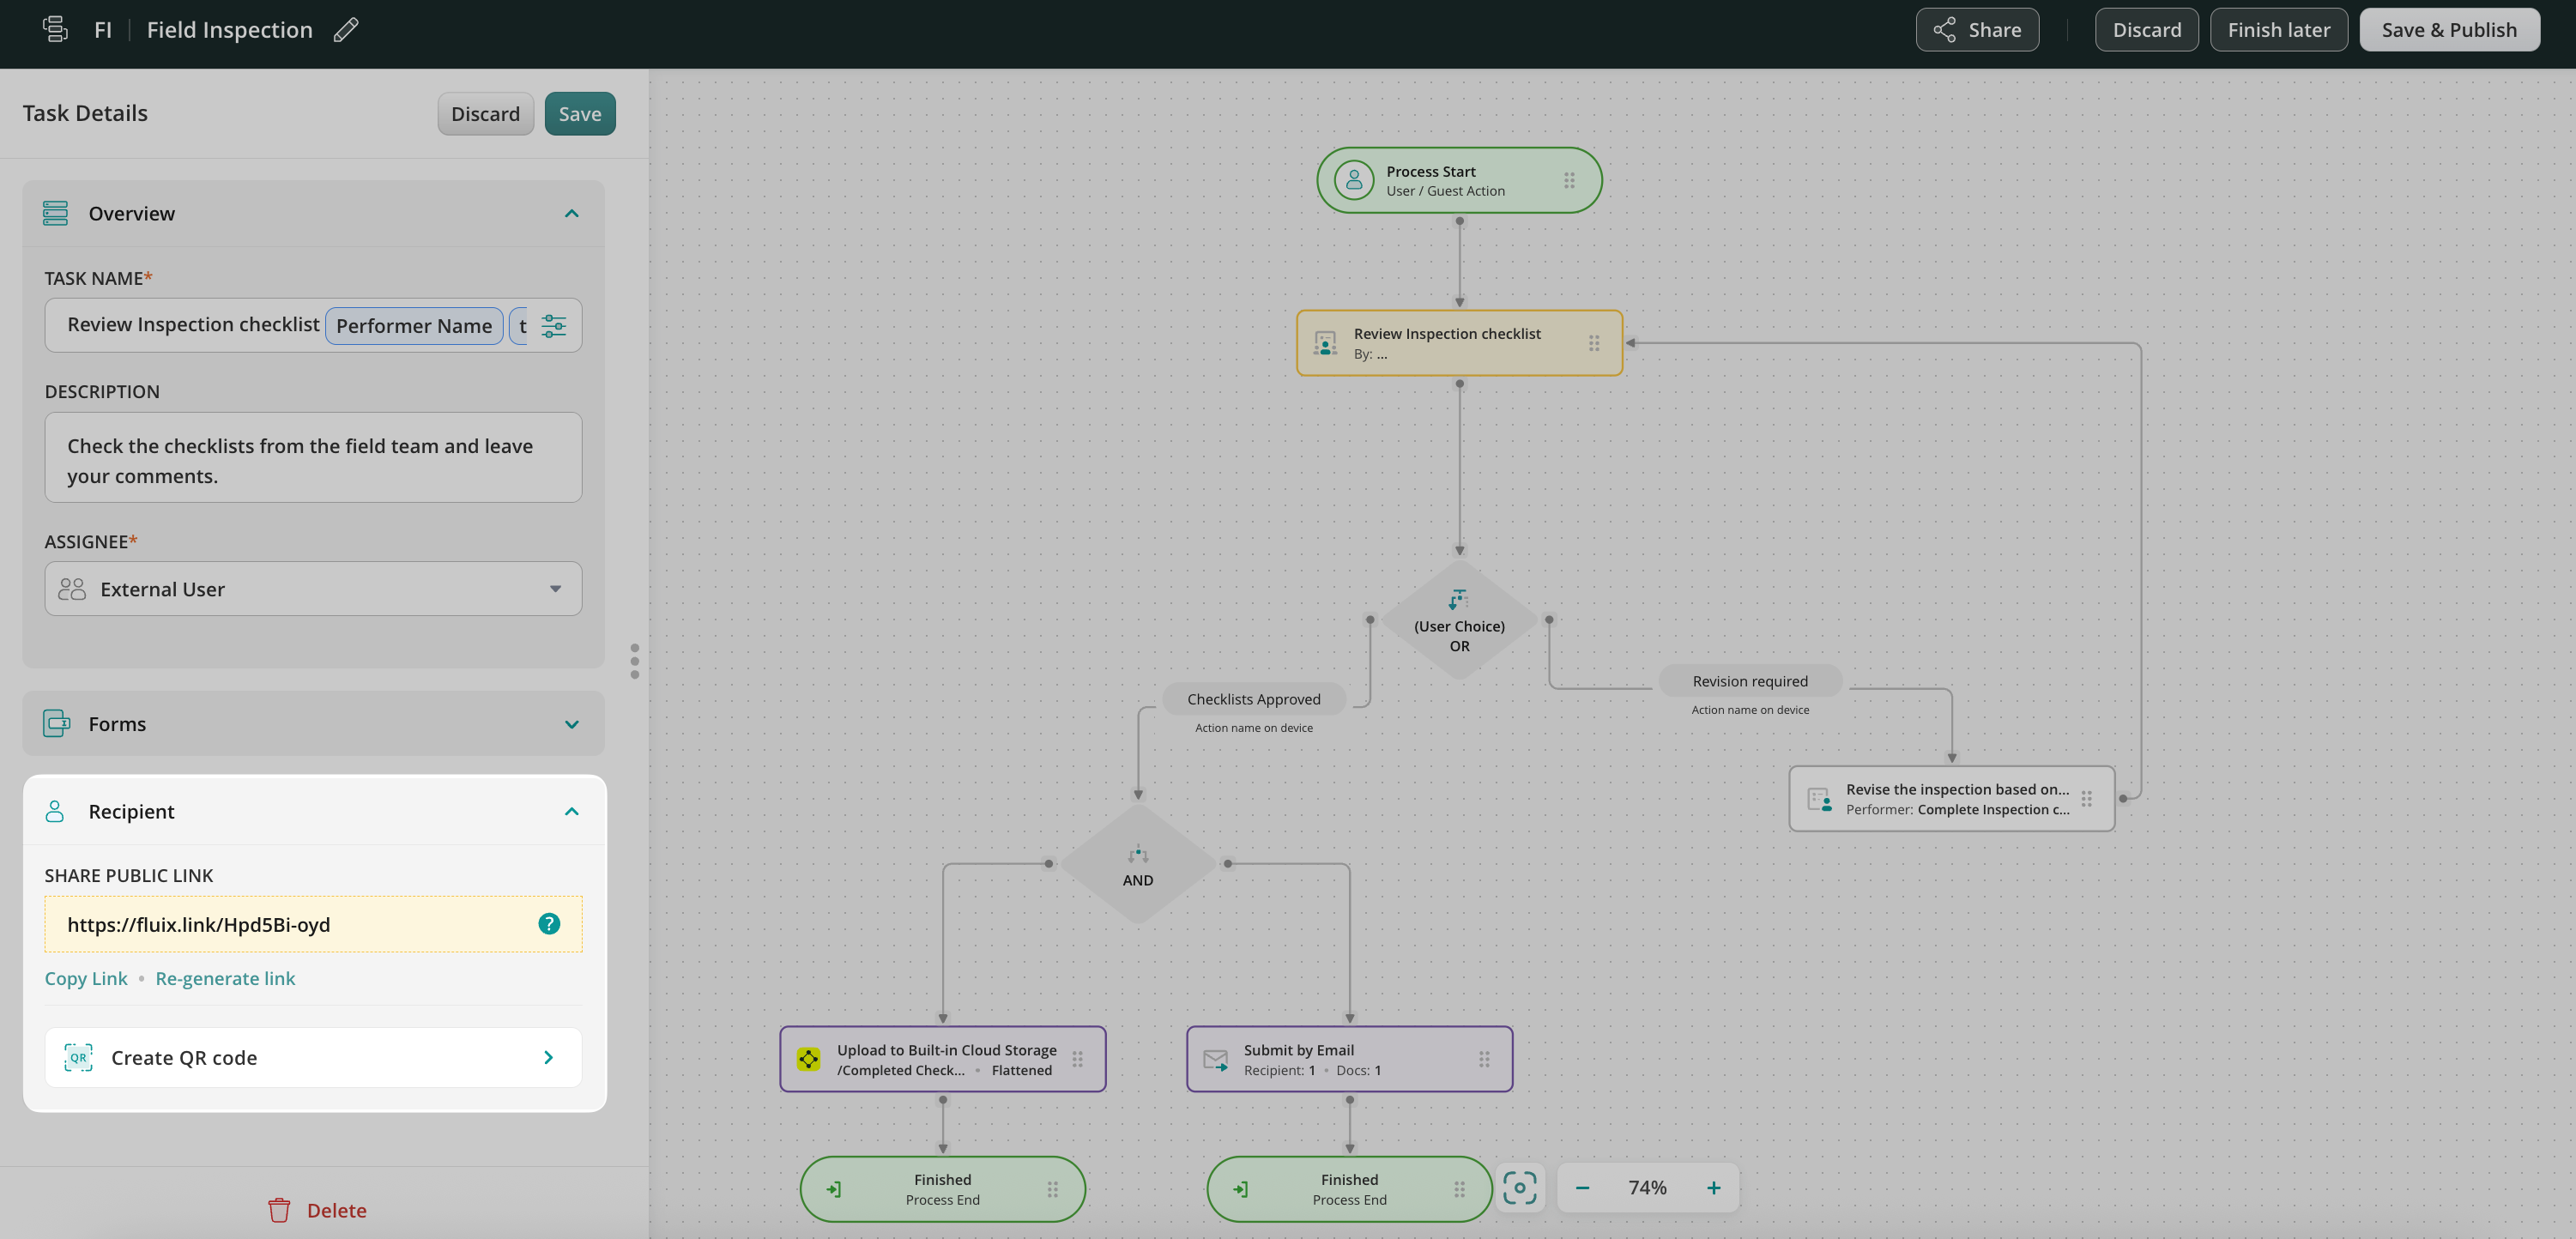
- You may share the public link for providing access to the task for non-Fluix users. Such links are automatically generated, however, you can manually regenerate them if necessary upon clicking the Re-generate Link button.
- You may also create QR Code that the external user can scan to be redirected to the preconfigured workflow form. By tapping Create QR Code option, the new window with the options that you can add to the QR code image will be shown, select the preferable options (e.g. Task Name, Task Description or Company logo), and click the Download button. After that, select the form in which you would like to save the created QR code (PNG, PDF).
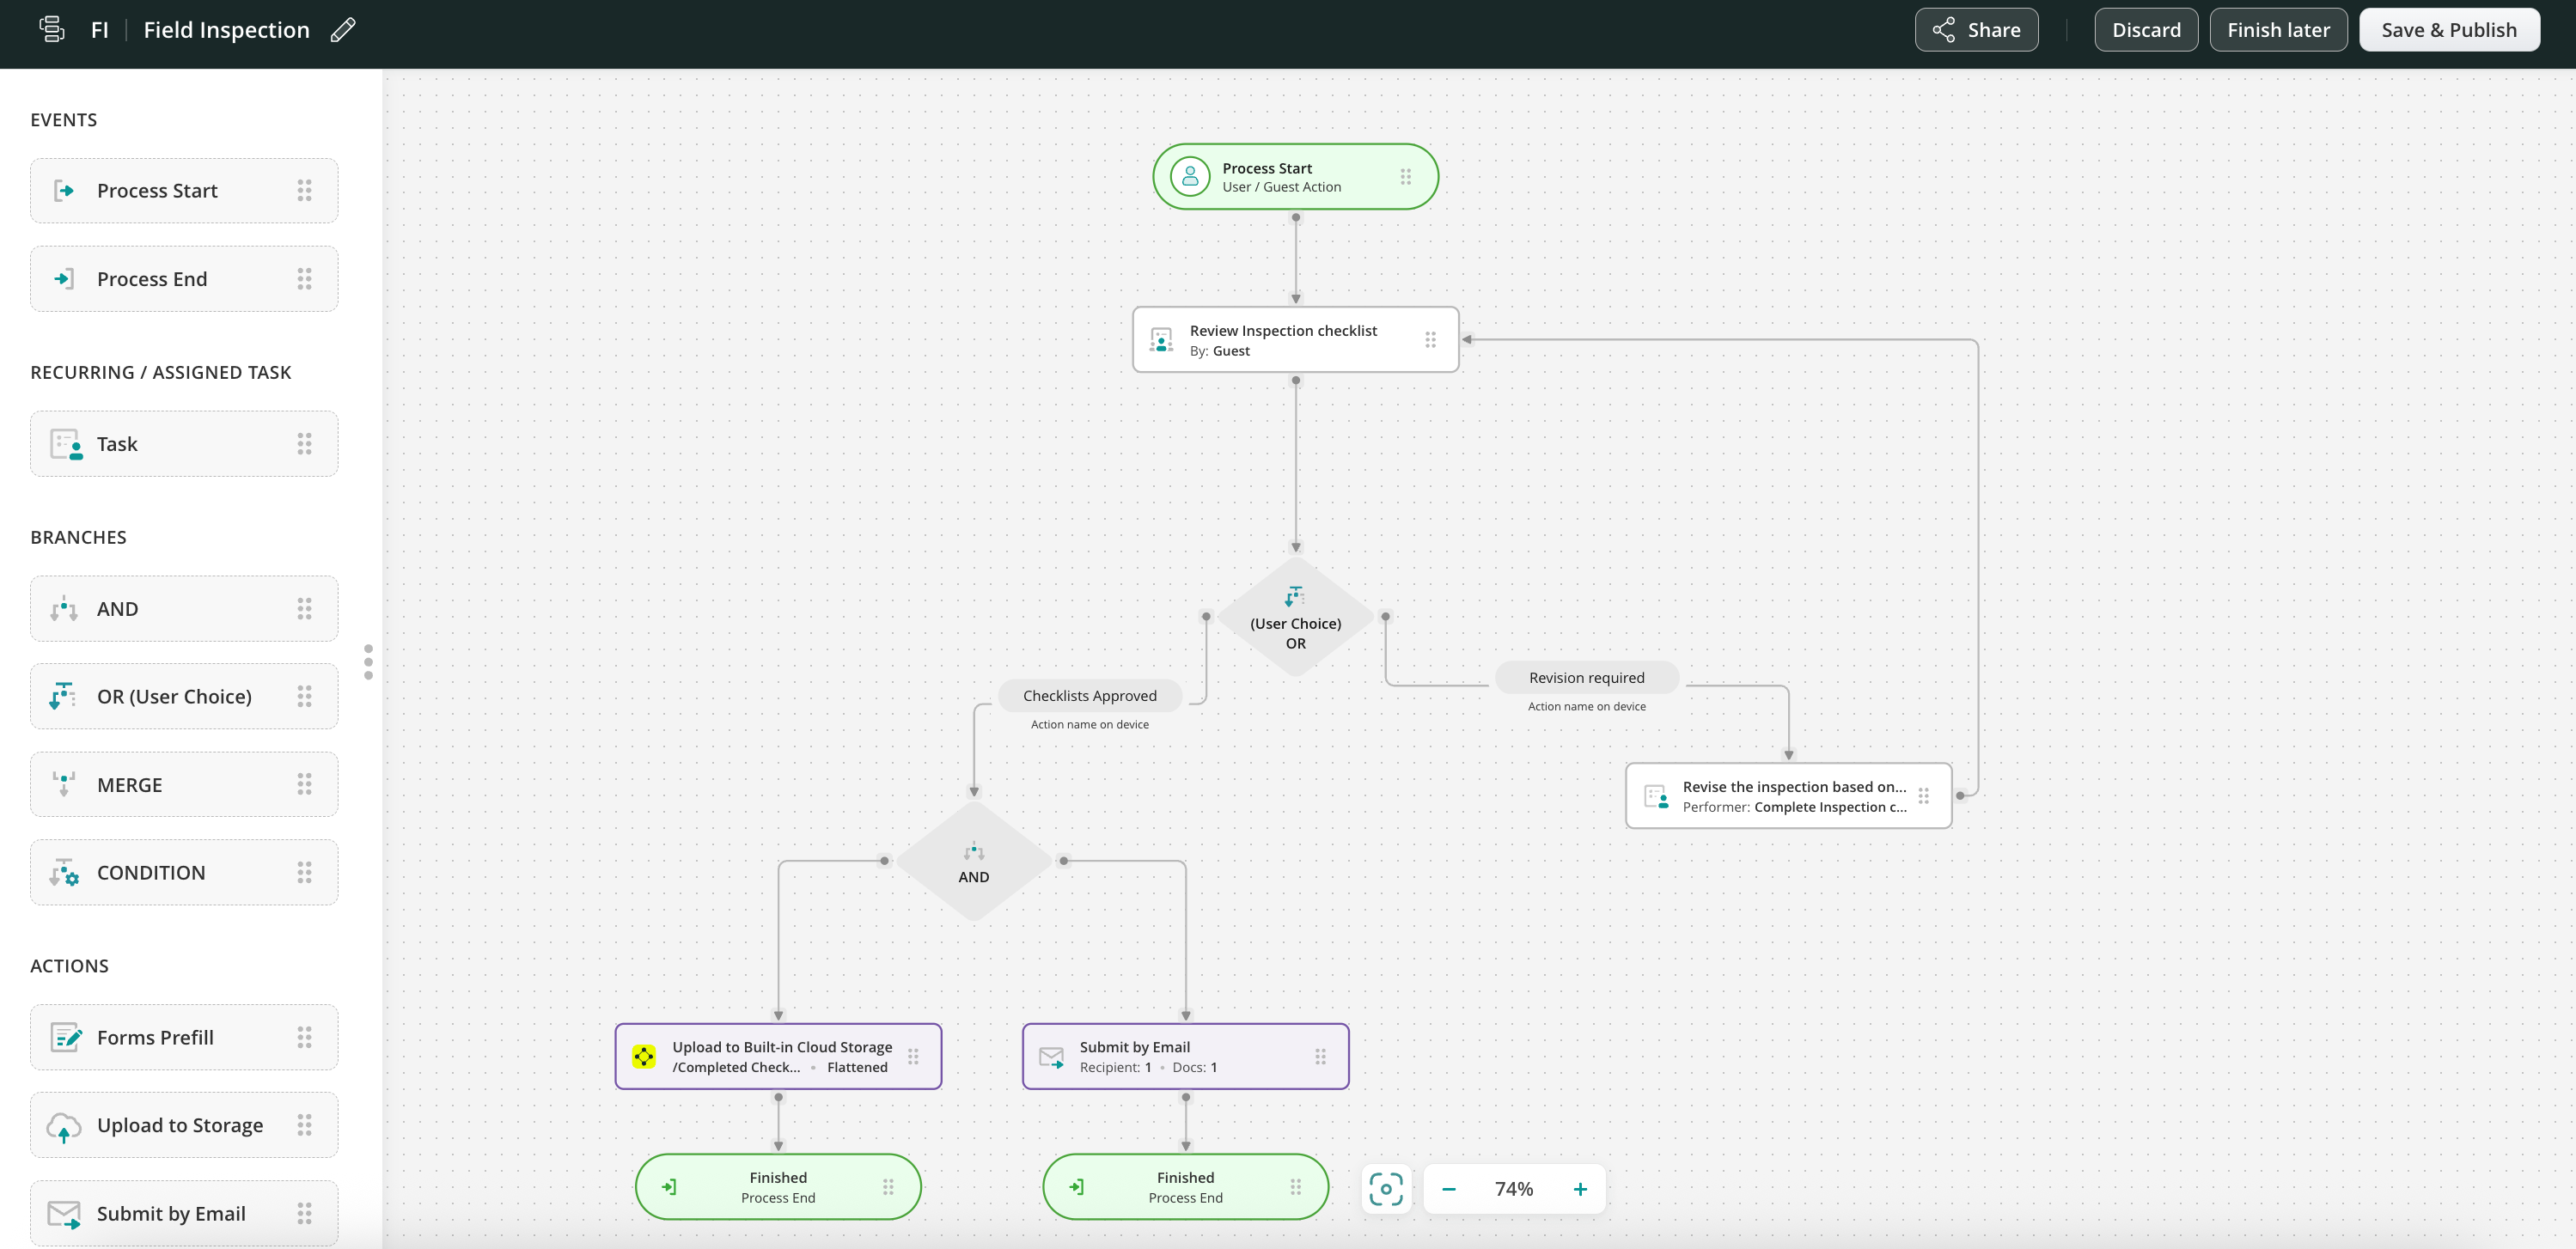
Step 3 – Decide on the task or action that will follow the External task.
When the external user completes the task, it will be automatically pushed down the process. You may decide on the action or set of those that will be taken to continue or finish the flow. For example, the checklist can be sent to the Supervisor for review and then emailed to the office or uploaded to the cloud storage.
Scenario 2: External user is in the middle of a process
Step 1 – Create the initial flow before adding the External task.
Navigate to the Fluix Admin Portal, create a new workflow, and configure the first task for the Sales Managers who will fill out the contract.
Step 2 – Add an External task to the workflow.
Drag and drop the User task from the sidebar on the left to the working area. In the Assignee section, select External user and connect the task with the previous action or task by an arrow.
Fill out the task name and description displayed to the External user and specify the due date if needed.
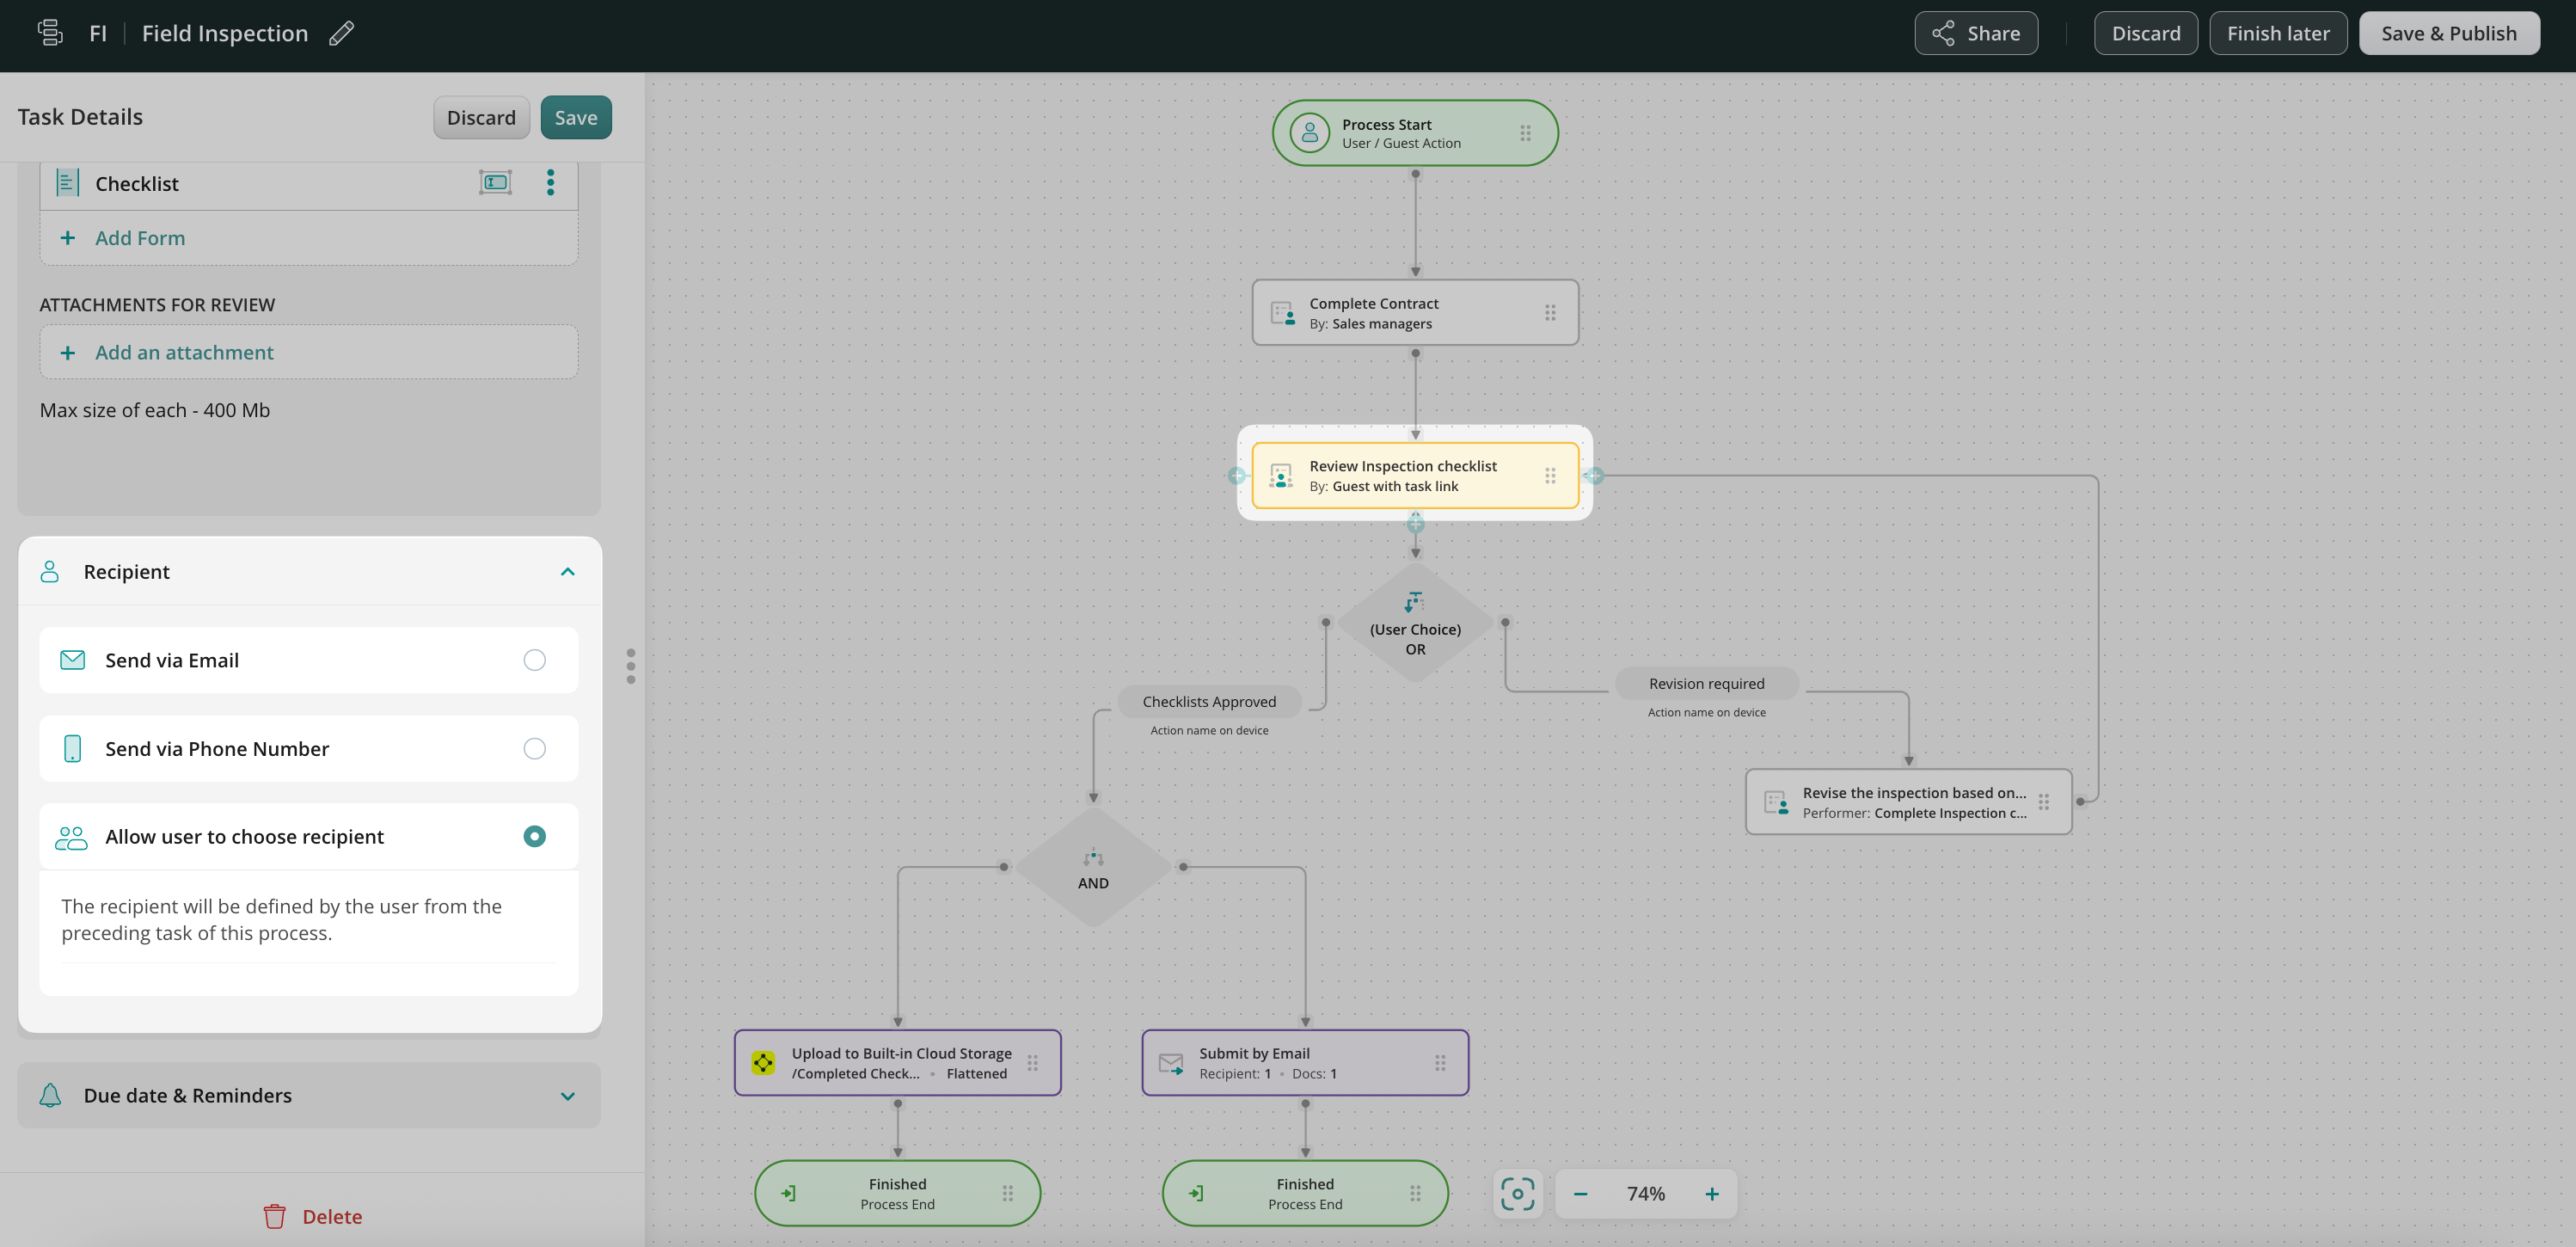
Step 3 – Configure the Recipient for the External task and set reminders.
There are three options for how the user from the preceding task can send the email to the Recipient, let’s look closer at each of them.
1) Send via Email option
Specify the email address to which the task should be delivered or configure the dynamic values to allow users to fill out the email from the form data automatically. Modify the email subject and the text according to your needs.
2) Send via Phone number
By configuring this option, the user from the preceding task will be able to fill out the recipient’s phone number upon finishing the task. Once he finishes the task, the link for the External task will be sent to the phone number that the user filled out.
3) Allow users to choose the recipient option
By selecting this feature, you give the user from the preceding task an option to decide on his own to whom to send the form/task to. Therefore, upon finishing the task, the user will see the pre-defined subject and the text of the email that he will be able to edit according to his needs and send the task via email to the respective recipient.
Set reminders to notify your external users about the due date for the task or when it’s overdue already.
Step 4 – Decide on the task or action that will follow the External task.
When the External User completes the task, it will be automatically pushed down the process. You may decide on the action or set of those that will be taken to finish the flow. For example, the documents can be sent to the Salesperson for review and after getting approval, they can be emailed back to the office, uploaded to your company’s cloud storage, or sent to any other tool.
How the External user may work in Fluix?
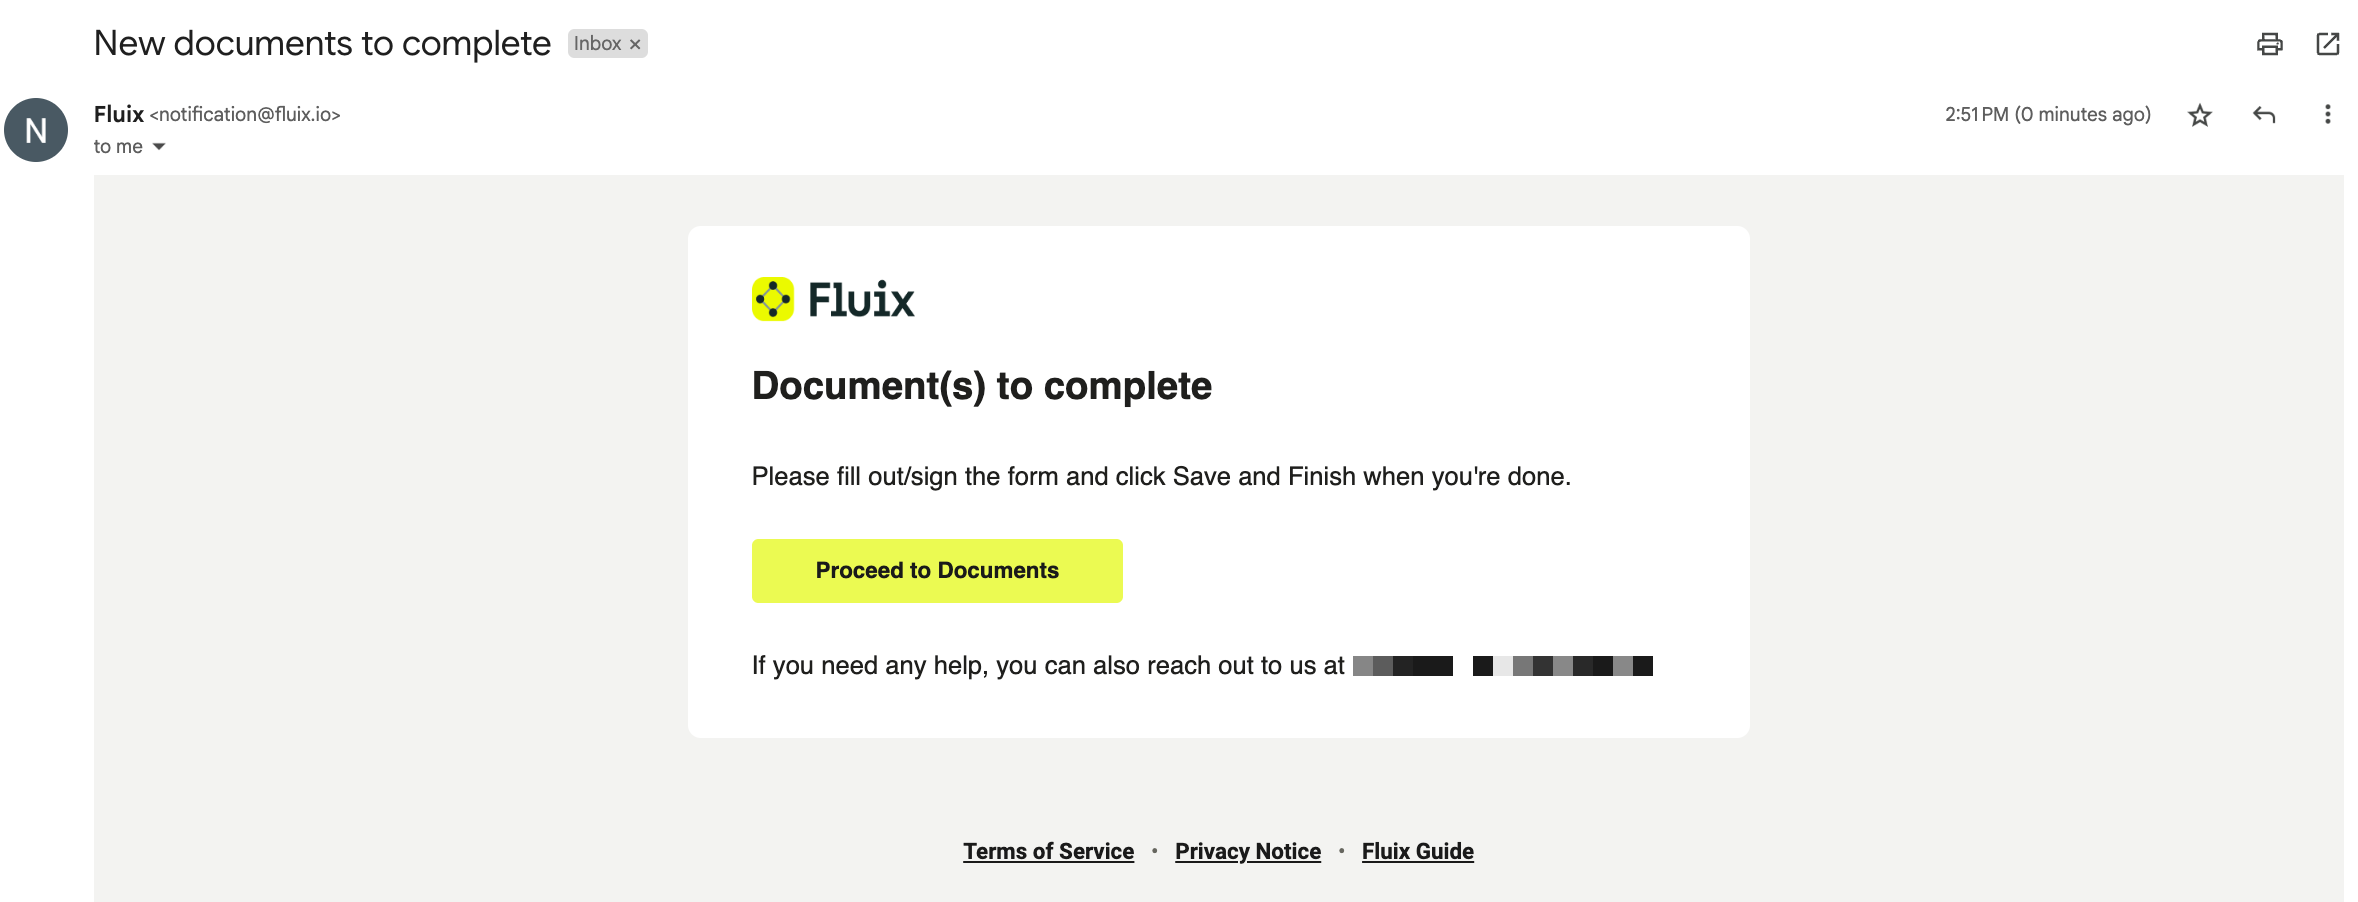
The External user can easily access the task and documents shared with them. Here are the steps:
- Follow the link in the received email.
- Fill out your name.
- Open the task and click on the attached form to open it and start filling it out or signing the documents.
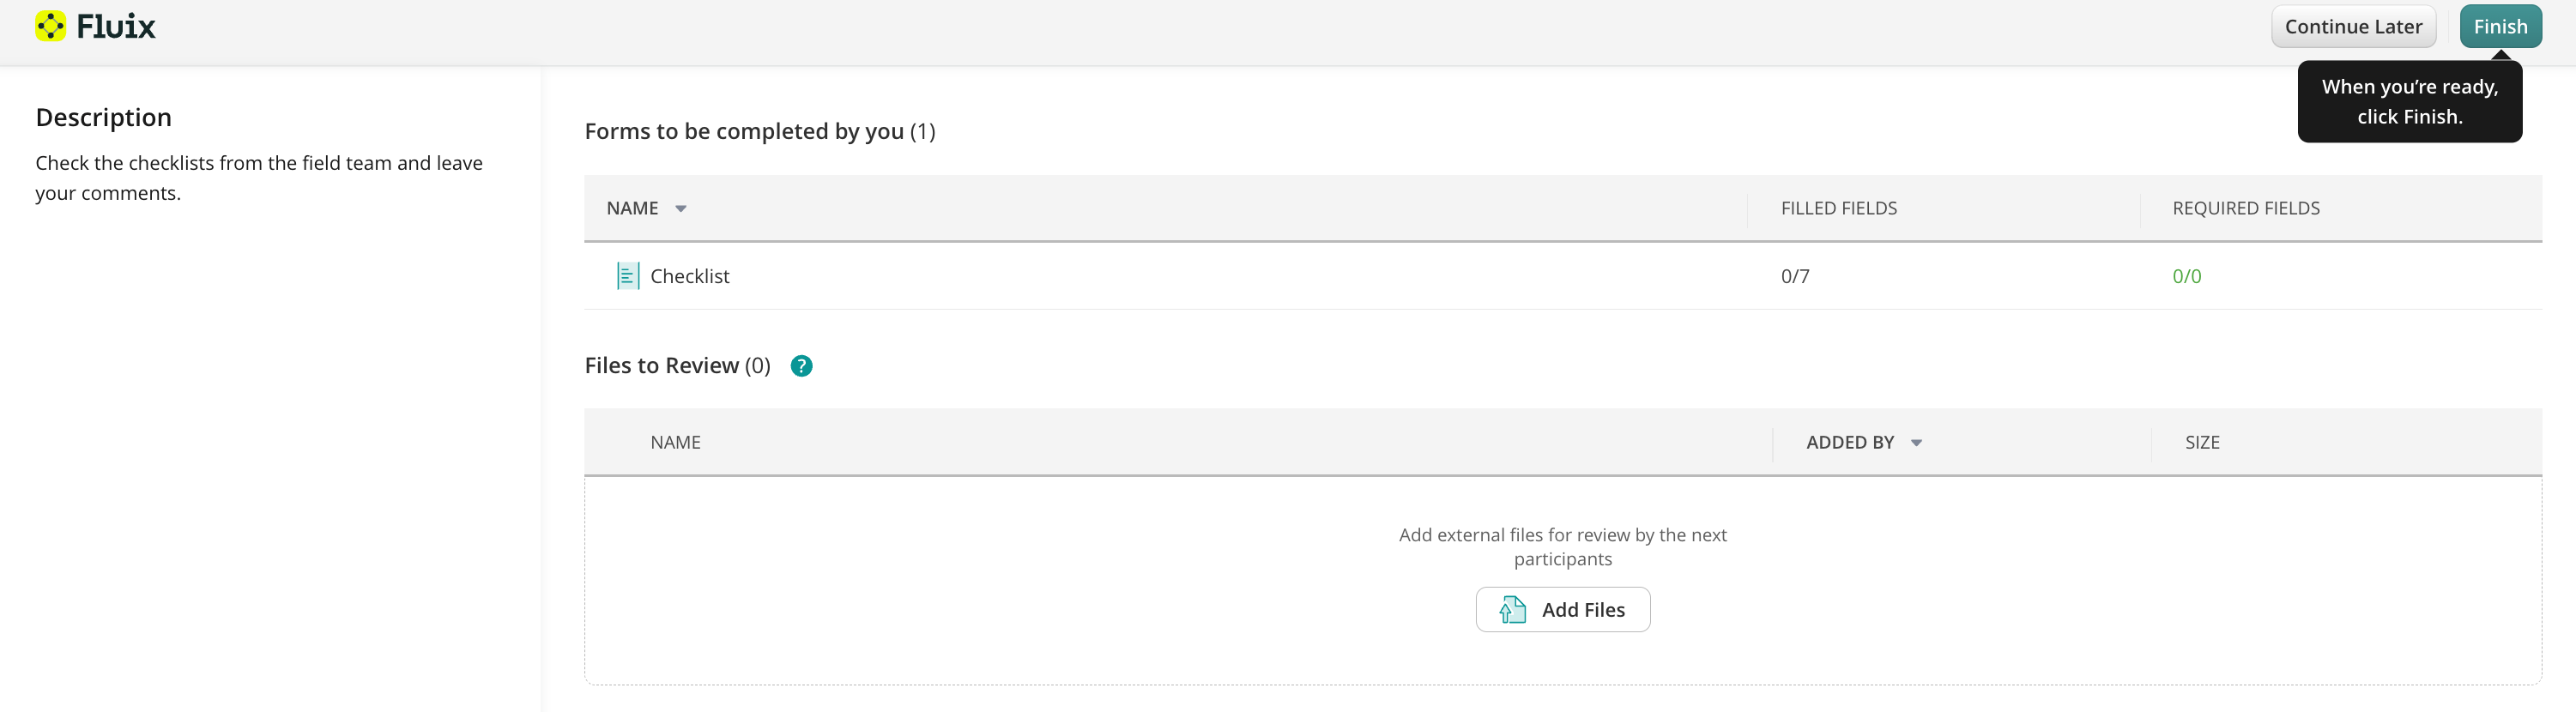
- Once all the required data is filled out, click Finish, and the task will be completed and sent according to the preconfigured flow.
FAQ
What can External users do in Fluix?
Guests can access tasks that were shared with them. In tasks, they can:
- fill out forms
- sign forms
- add unlimited photos in forms
- read user notes in forms and add new notes for the next participants of the flow
- review attachments added by the Admin.
Can External users see each other in the company’s account?
External users have limited access to the task they were invited to collaborate on, and can only see the task shared with them. They may see the Users’ or other Guests’ names only if the previous executors of the task earlier have left some notes in this specific task.
Who can invite External users to the company’s account?
Depending on the setup, there can be several ways of adding External user to the account:
- Admin copies and sends the link to the task to Guest
- External users may share the link provided by Admin with other External users
- Users upon finishing the task, send the email with the link to the External users using the email address specified in the form.
How can a External users be converted to a User or vice versa?
Any External user may become a Fluix User once the User is added to the company Fluix account by Admin. When a new User is created, the invitation email is sent to their email address with the link, upon following which the User will be able to download the app, create a secure password and log into the User account.
Feel free to contact us at support@fluix.io if you have any questions on setup.