


Microsoft Teams (MS) is a team collaboration application developed as part of the Microsoft 365 family of products. It offers workspace chat and video conferencing, file storage, and integration of proprietary and third-party applications and services.
Fluix is a web—and mobile-based cloud platform that helps teams set up digital document management and workflow automation on projects in various industries.
In order to set up MS Teams integration in Fluix, please follow the steps below.
Use Case Example
Let’s check a real-life scenario that you may cover within your company processes.
The Service Technicians fill out the checklist in Fluix. Upon submission of the form in Fluix, a new notification in the channel in MS is created for your team with certain data filled out in Fluix.
Step 1 – Create the recurrent business process for your team in Fluix.
Navigate to the Workflows section in the Fluix admin portal to create a new workflow. Drag-n-drop a Process Start—User / Guest Action event and the User task to the working area. Configure it by adding fillable forms and assigning it to the team that will work on it regularly. Make sure that you have added yourself to the group of users so that you can test the setup later.
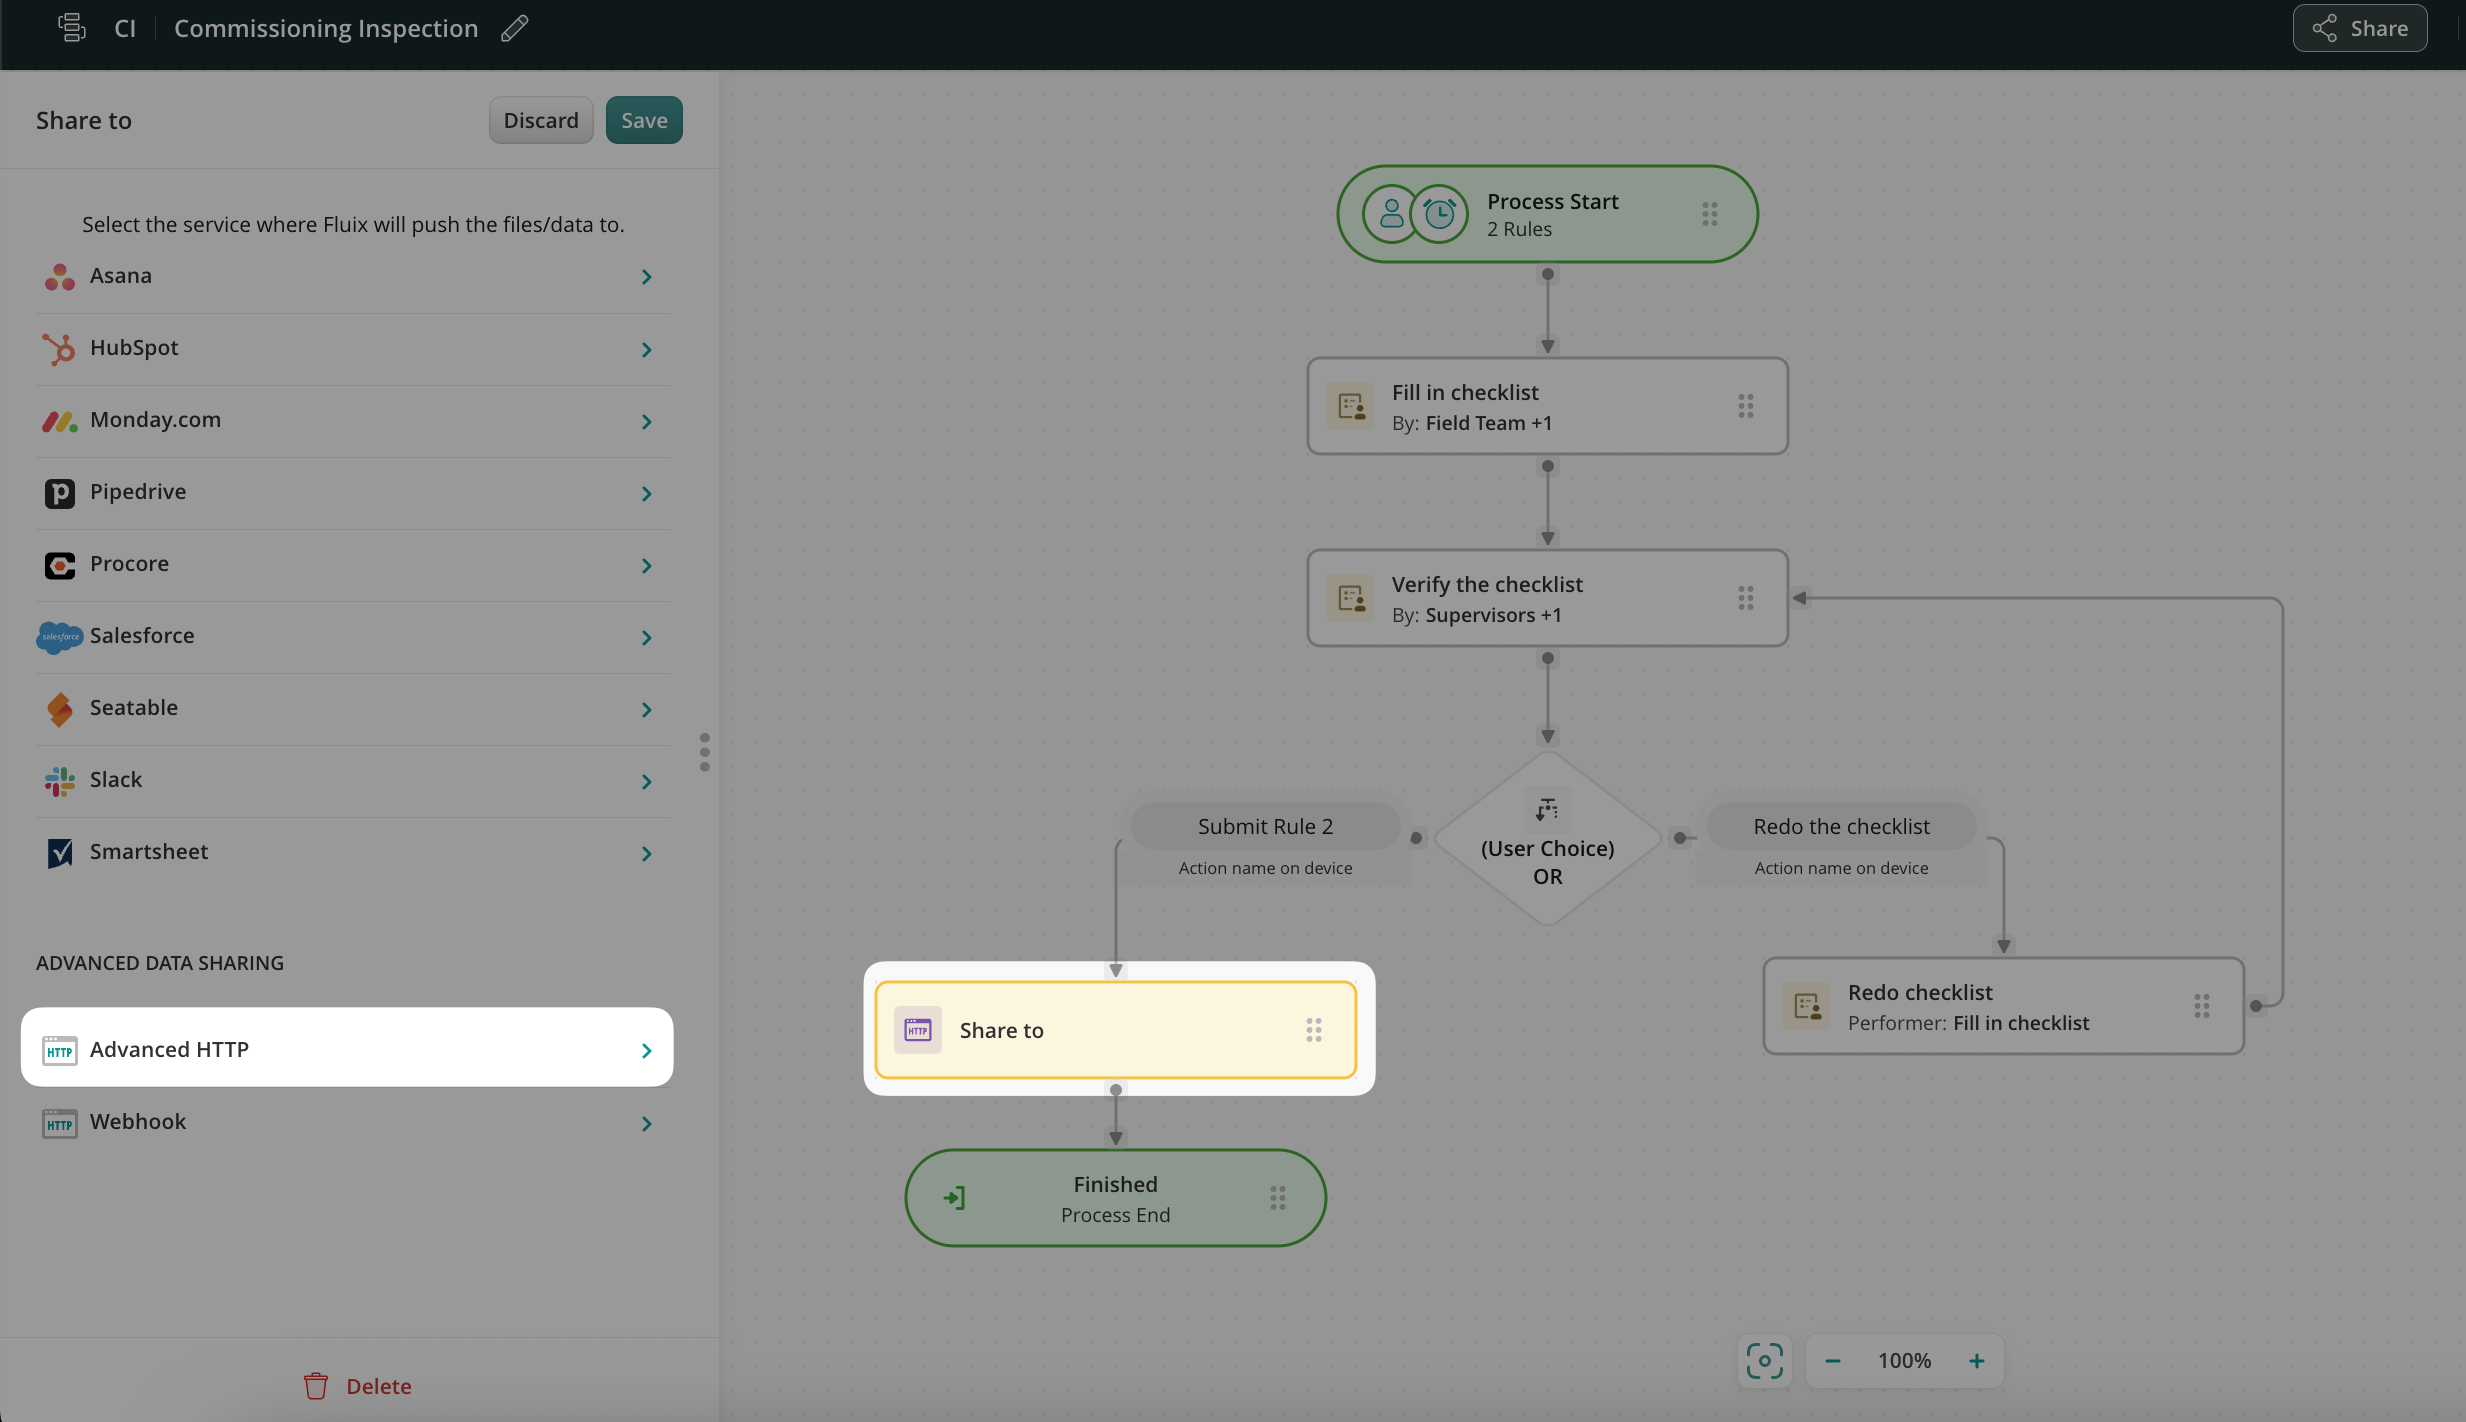
If necessary, add additional tasks for other process participants and connect the tasks. The workflow example below shows a fully configured flowchart with a revision task and communication loop between the field team and supervisor.

Step 2 – Connecting Fluix with MS Teams.
Drag and drop Share to submit action to the workflow chart and connect it with the previous step that your team will be working on.
Click on the Share to element, select Advanced HTTP from the options in the Advanced Data Sharing section, and click Configure.
In the opened Advanced HTTP Request Builder, configure the request name, let’s say “Fluix/Teams integration”, select ‘POST’ as the request type, and add the request URL. The respective URL can be found in your company’s Teams account by the following steps:
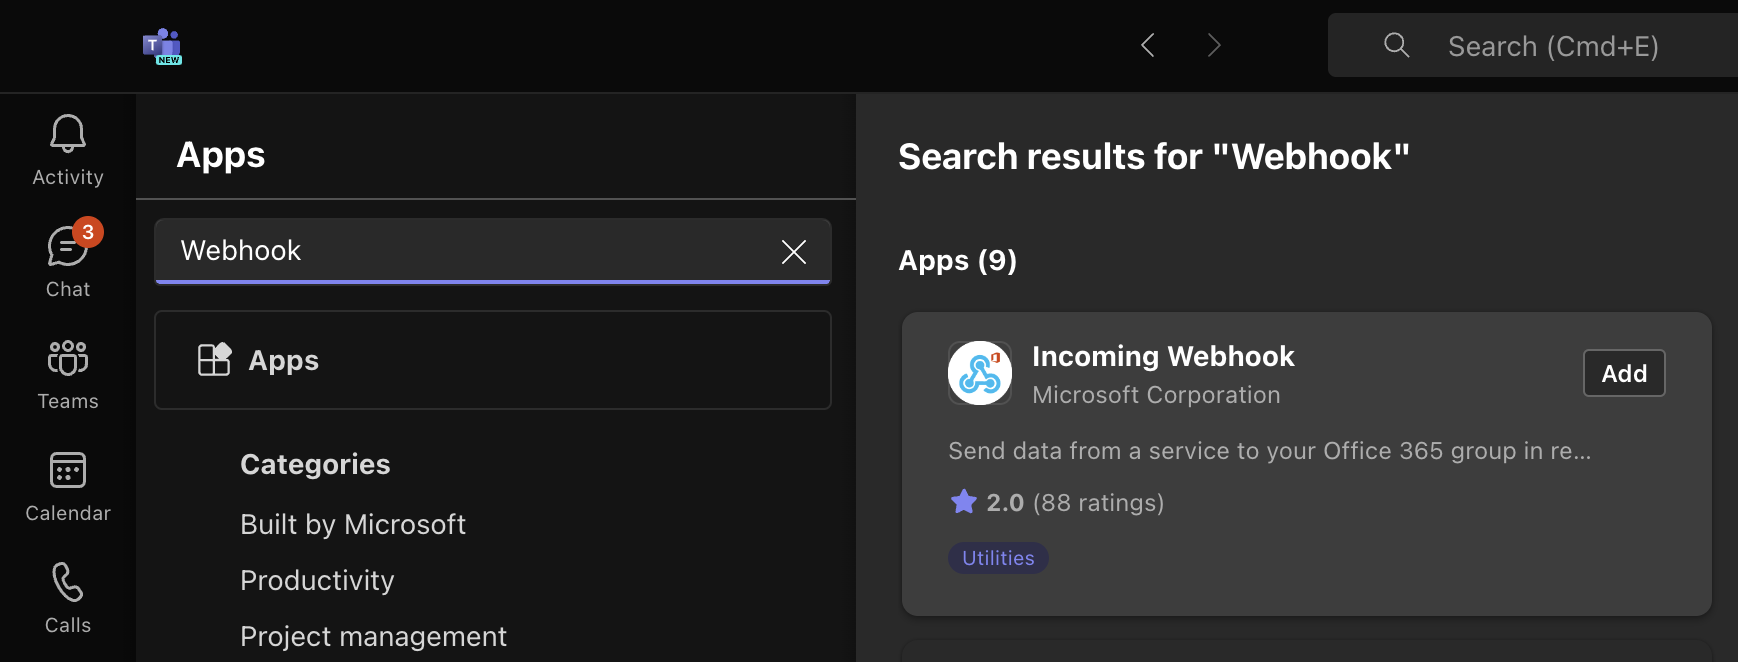
1. Click on the Apps section on the left panel and search WebHook -> click Add next to the Incoming Webhook that will appear on the screen.
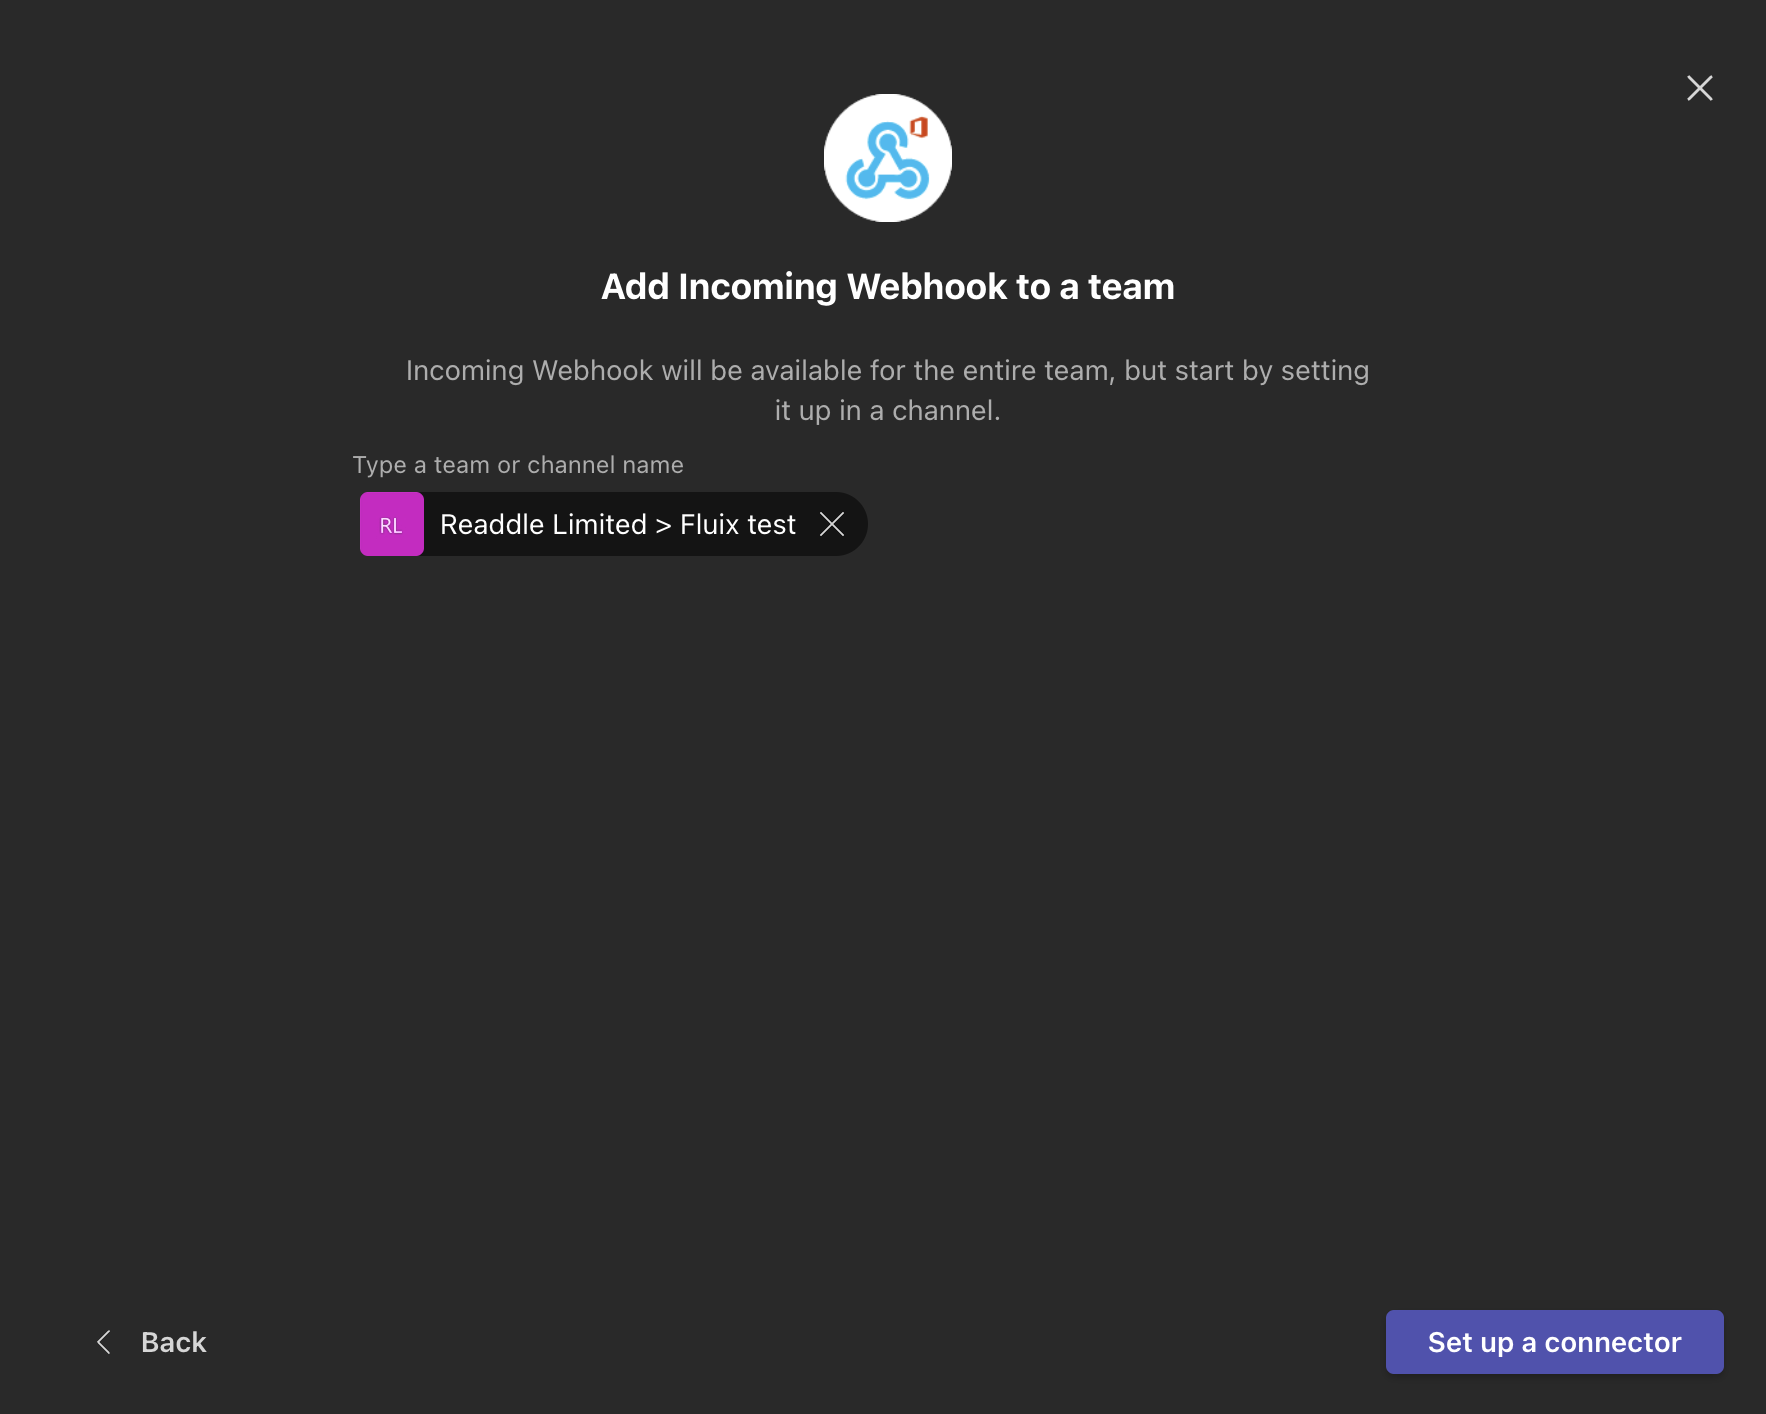
2. In the opened window, click Add to a team and then select the channel from the list to which the notification will be send out from Fluix through webhook. Then, click Set Up a connector.
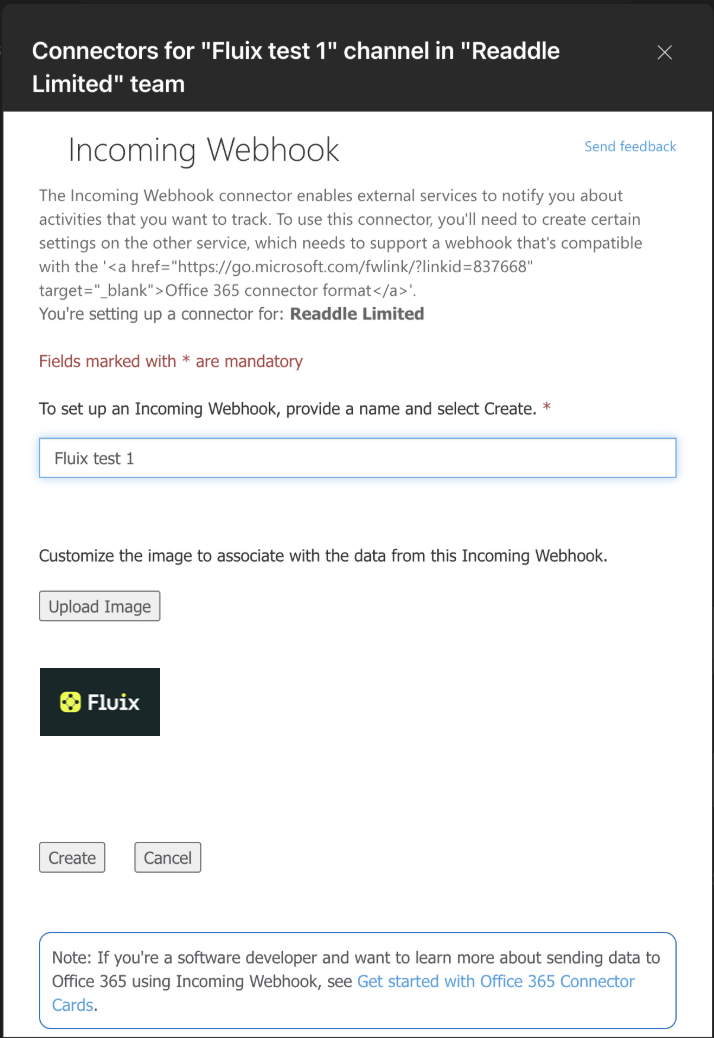
3. The window Incoming Webhook will open. Here, we’ll receive the webhook that will later be added to Fluix Advanced HTTP Request Builder. Name this webhook and upload the image to customize the association regarding the data that will be pulled through the webhook, then click Create. In a couple of seconds, the new field with the URL will appear on the screen. Click to copy it and click Done.
Step 3 – Configure the message.
Paste the webhook to the request URL field in the Advanced HTTP Request Builder. In the Headers section, add the following information:
Header name as Content-Type
Header value – application/json.
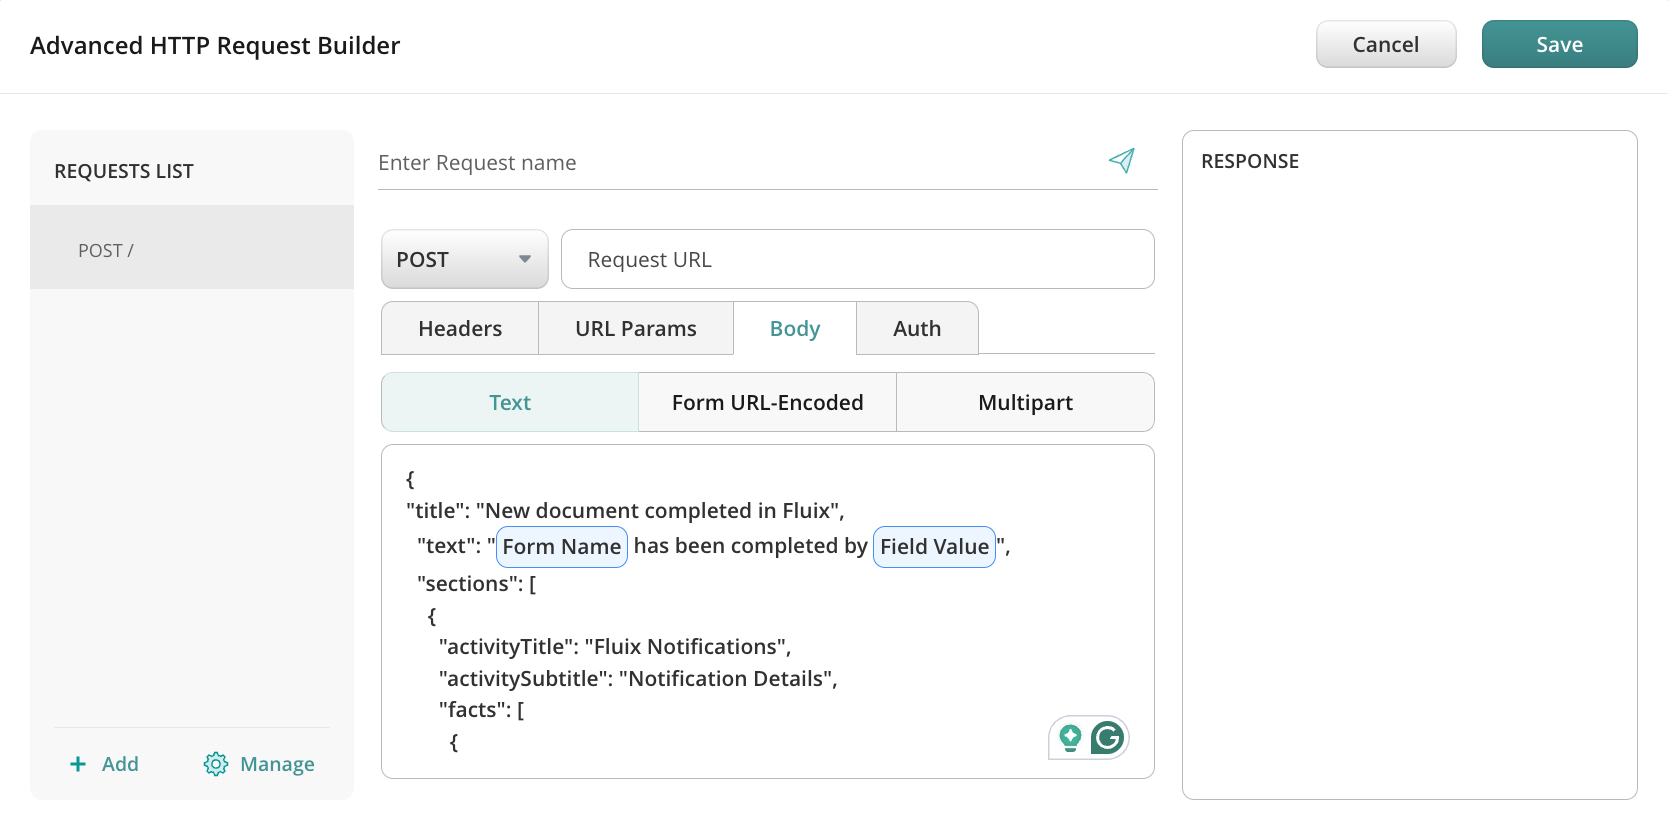
In the Body section, paste the following script.
{
“title”: “New document completed in Fluix”,
“text”: “[Form Name] has been completed by [Field Value]”,
“sections”: [
{
“activityTitle”: “Fluix Notifications”,
“activitySubtitle”: “Notification Details”,
“facts”: [
{
“name”: “Status”,
“value”: “[Field Value]”
},
{
“name”: “Time”,
“value”: “[Finish Date (DD-MM-YYYY)]”
}
],
“markdown”: true
}
]
}
Please note: the data put in the square brackets [] is the dynamic values from the wokrflow and the form. To add them, simply start typing the word e.g. Form, and the builder will suggest the respective dynamic value as demonstrated on the example below.
Step 4 – Save and test the setup.
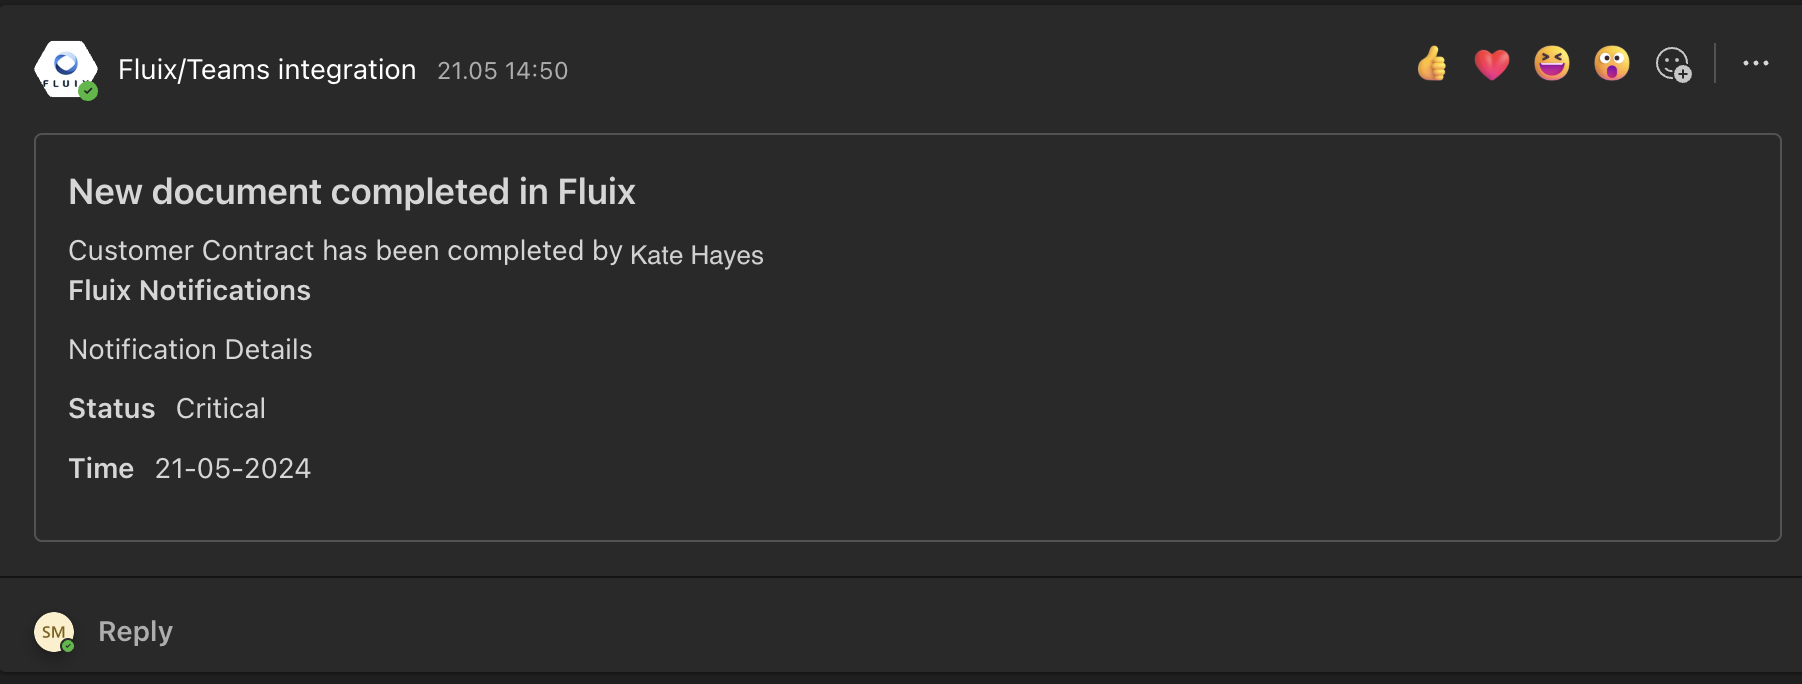
Once you fill out all the fields, click Save and then Save & Publish to activate the workflow. Open the Fluix Tasks app on the mobile device, or click User App in the right corner of the admin portal. Navigate the task that you created, fill in the form, and finish it.
Once the task is submitted in Fluix, a new notification will be created in the Teams channel informing the team about the new checklist that was filled out in Fluix.
In case you have any questions or difficulties with setup, contact our support at support@fluix.io and we’ll be happy to help you.
Check other business integrations here.