


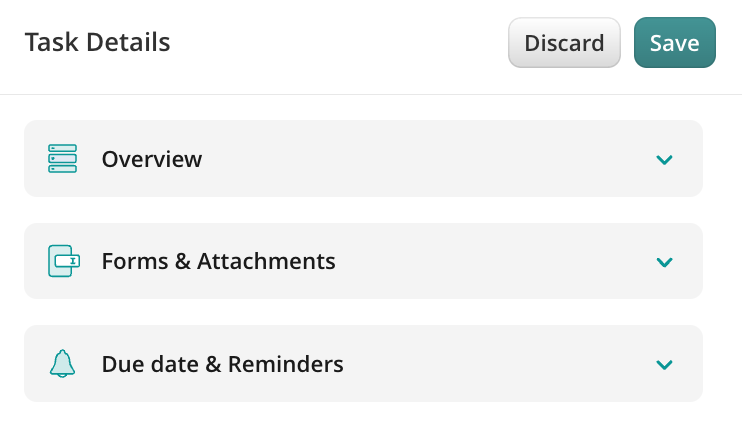
Task configuration menu has 3 main tabs: Overview, Forms & Attachments, and Notifications.
Overview
Overview tab contains basic information about the task.
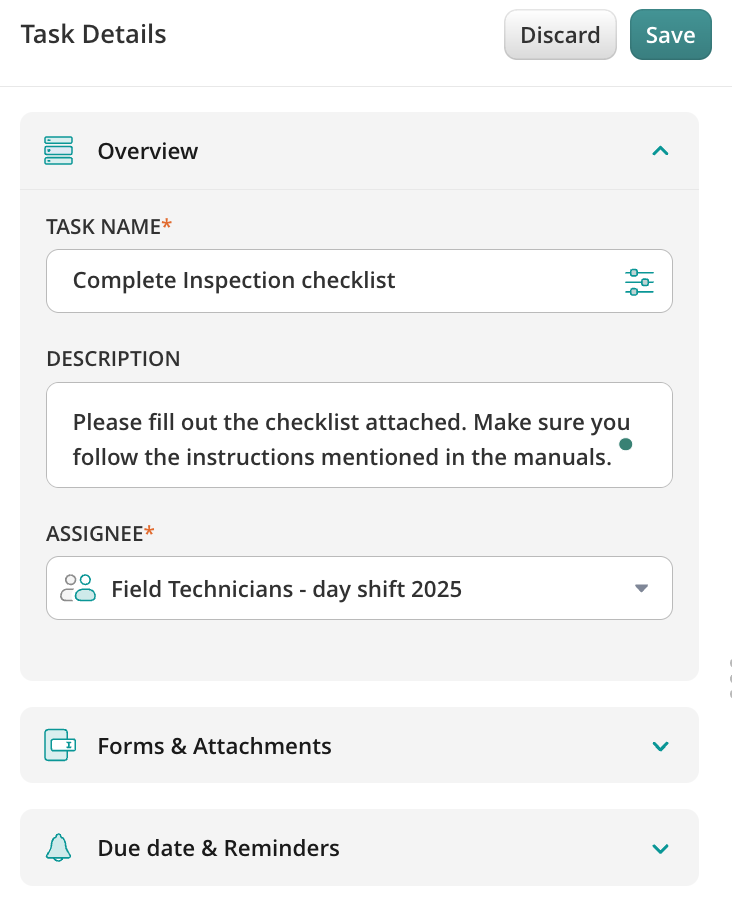
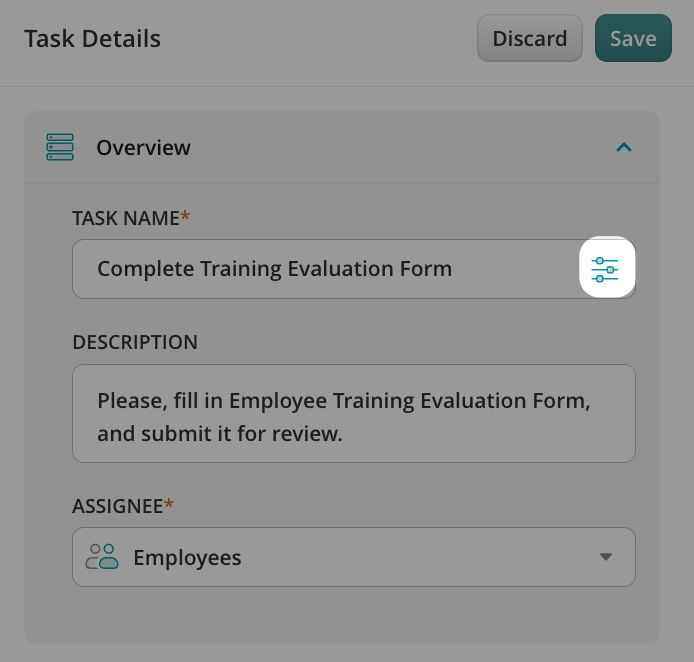
Task Name suggests you fill out the name of the task that the user will see on his/her device. By clicking on the Dynamic Values icon on the Task Name field, you may select the list of fields and values that you’d like to see in the task name after the user completes it.
Assignee who will perform the task gives the ability to select the respective group/user who will perform the task. Let’s take a closer look at how you may configure the assignee for the task:
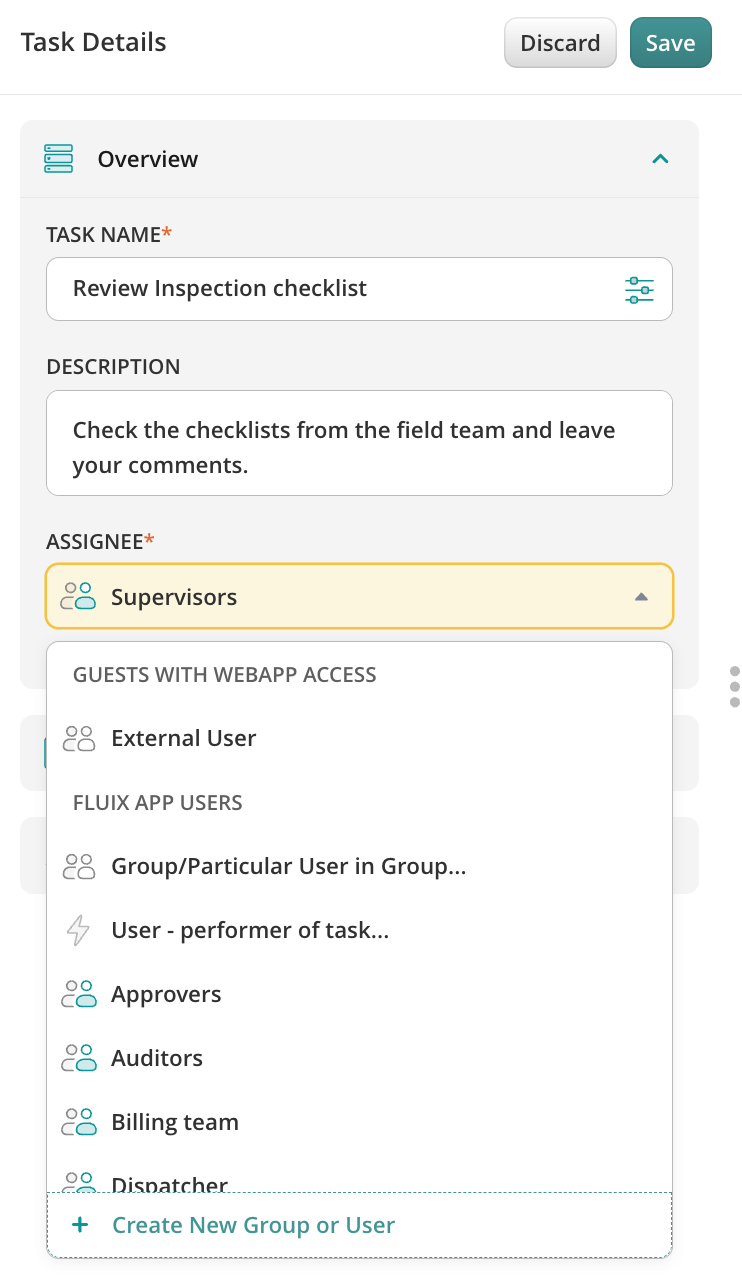
Guests with webapp access:
- External users with web access to the preconfigured forms.
Fluix App Users:
- Group option automatically assigns the task to the group preconfigured by the account admin. In this case, the user who submits the task cannot select a specific user; the task will be available for all the participants of the preconfigured group.
- The Group/Particular User in Group option lets the performer of the previous task select the particular user from the Group to whom the task will be assigned. In this scenario, the account admin selects the Group while building the workflow, from which the user will be able to select a particular user and assign a task to him/her upon submission.
- User-performer of the task option automatically assigns the task to the particular user who performed any of the previous tasks.
Please note: both the Group/Particular User in Group and the User—performer of the task options can be configured starting from the second task in the workflow.
Forms & Attachments
Forms & Attachments tab was designed to add forms and attachments to the task to be performed.
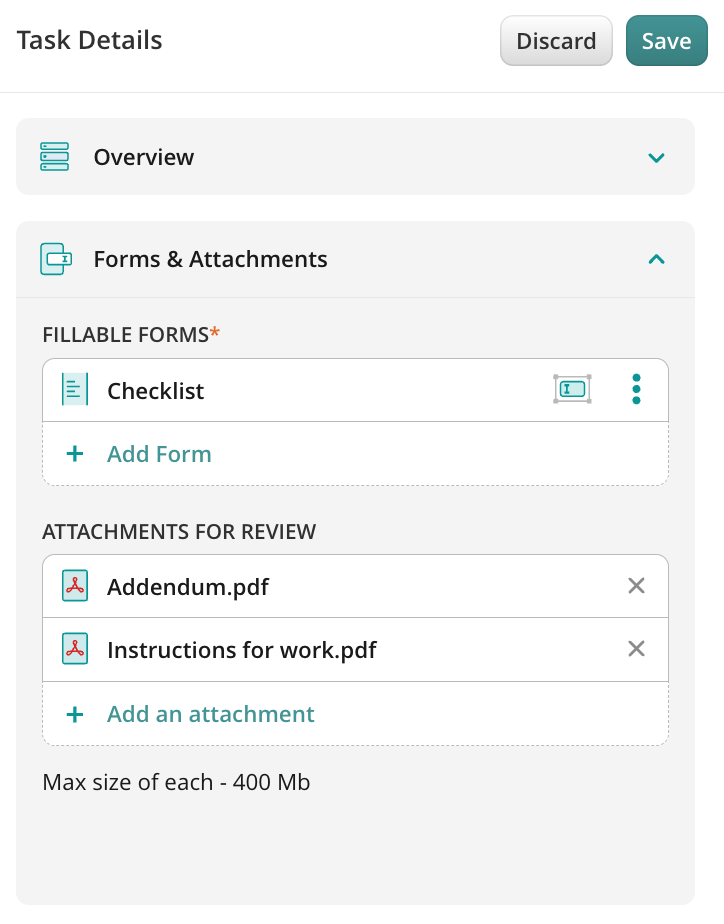
Web forms are the primary elements of work in a task. They contain inputs, checkboxes, and other fields that the user will fill in.
You can select a form from the Fluix Form Library, create a new one in the Form Builder, reuse the already used one from other tasks in this workflow, or import the fillable PDF from your cloud storage or your computer:

If you choose a form from the Fluix Library and the same form has already been used in one of the tasks in the current workflow, you will see it as a new form, while the form name will stay the same.
A number of forms in one task is unlimited, thus you can select as many as you want and add them to the task.
Next to the name of the added form, you will see the Assign form fields, and Remove from the list options:
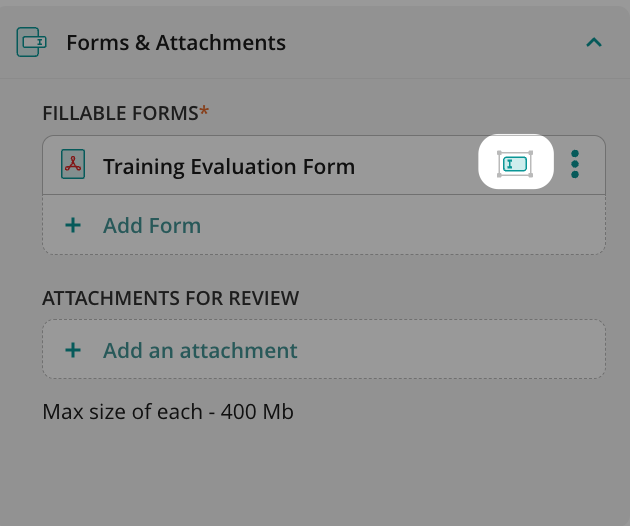
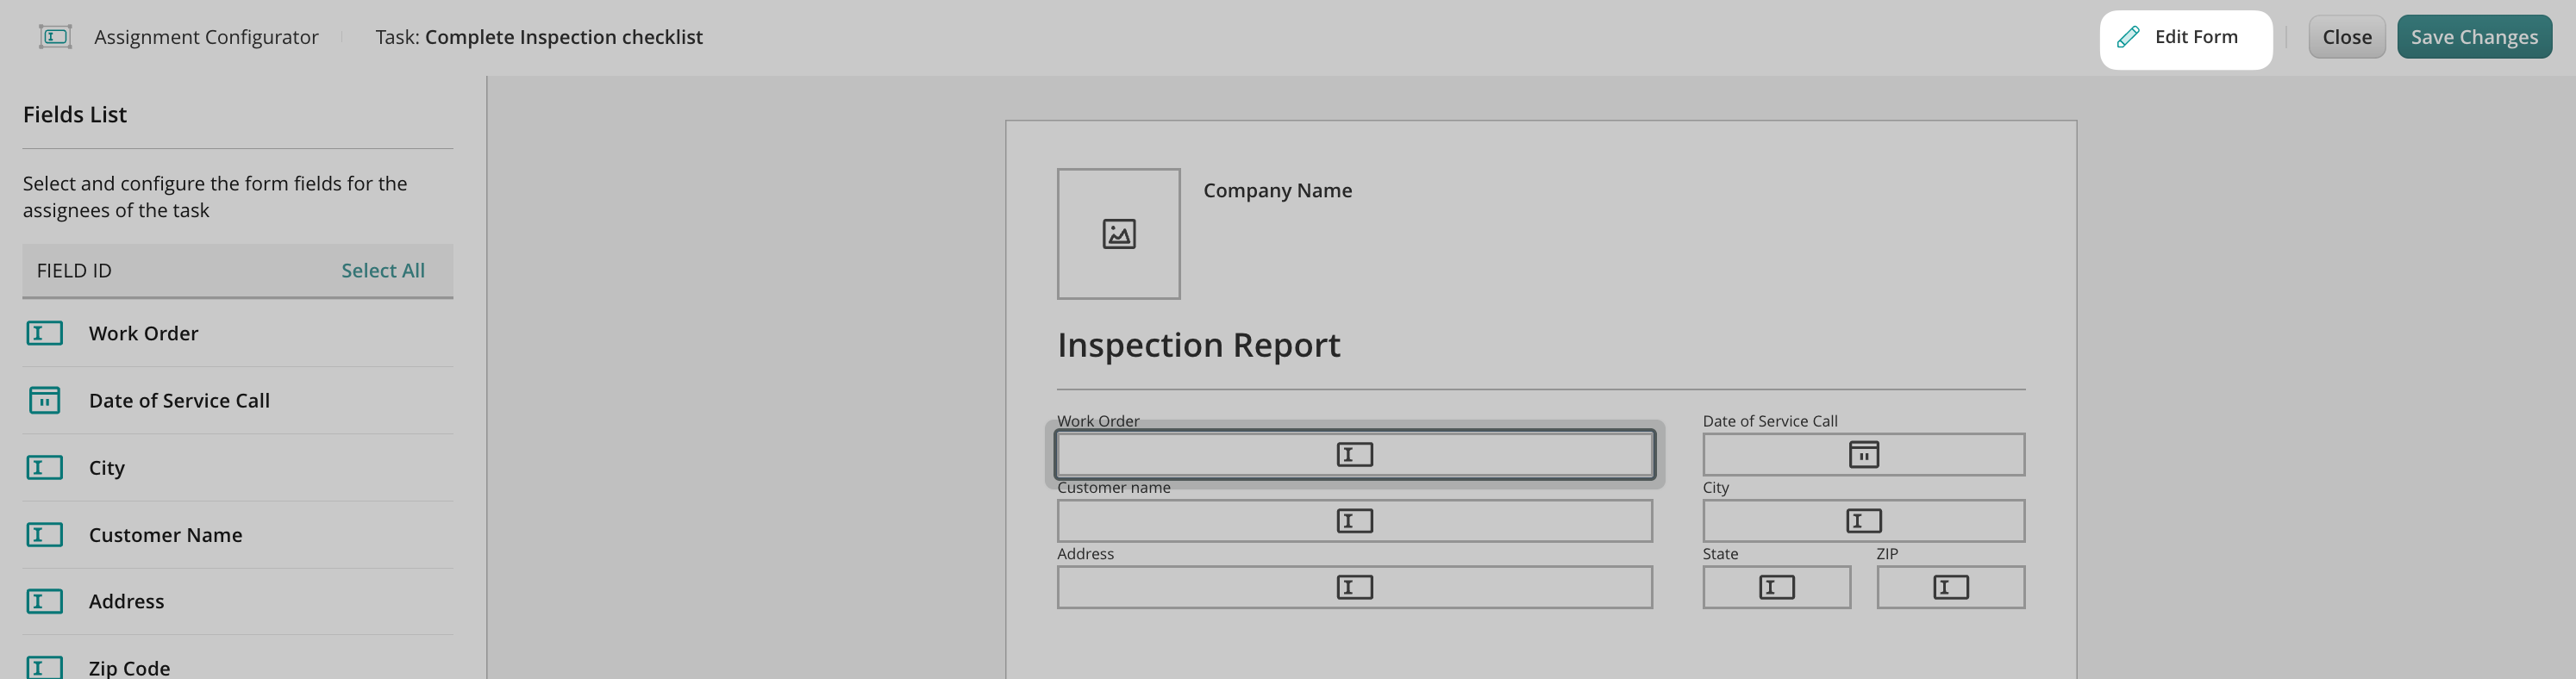
By assigning form fields, you define the particular fields in a form for the Group-Assignee of the current Task. You can make particular fields required or view only for this Group. If the same form should be filled out by different Groups, you can assign the respective fields in this form to each task.
You may also edit the web form created in the Form Library in the Assignment mode by clicking the Edit form button.
Attachments do not travel within a workflow; they serve as materials for review in a particular task (usually manuals, instructions, or handbooks).
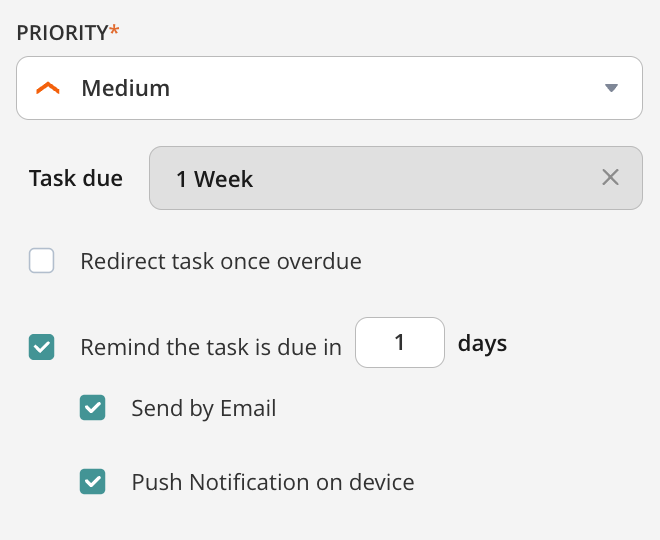
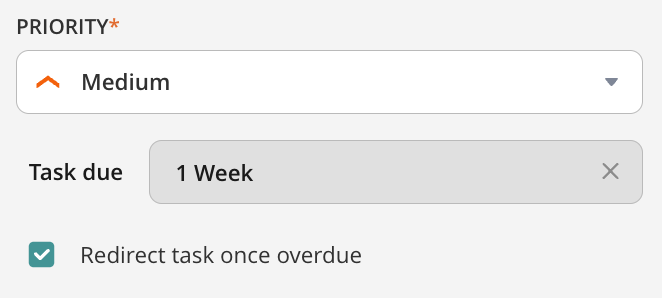
Priority is a section where you can set a task priority for the end user that will be displayed on their device. It contains the following states: critical, high, medium, and low. By default, the priority is medium.
Comment is a section where you can add a list of actions or a simple description that accompanies the task. These actions are for the end users’ viewing purposes and will be shown on their devices.
Due Date & Reminders
Due Date & Reminders is a tab where you can set the execution duration of a particular task and configure the reminders that the performer of the current task can receive. By setting execution durations, the end users will be notified about Task timelines and overdue status. This allows you to manage the redirection of both User and Guest Tasks in case they are not completed on time. If a Task becomes overdue, it will be automatically redirected to prevent any potential disruptions in the process.
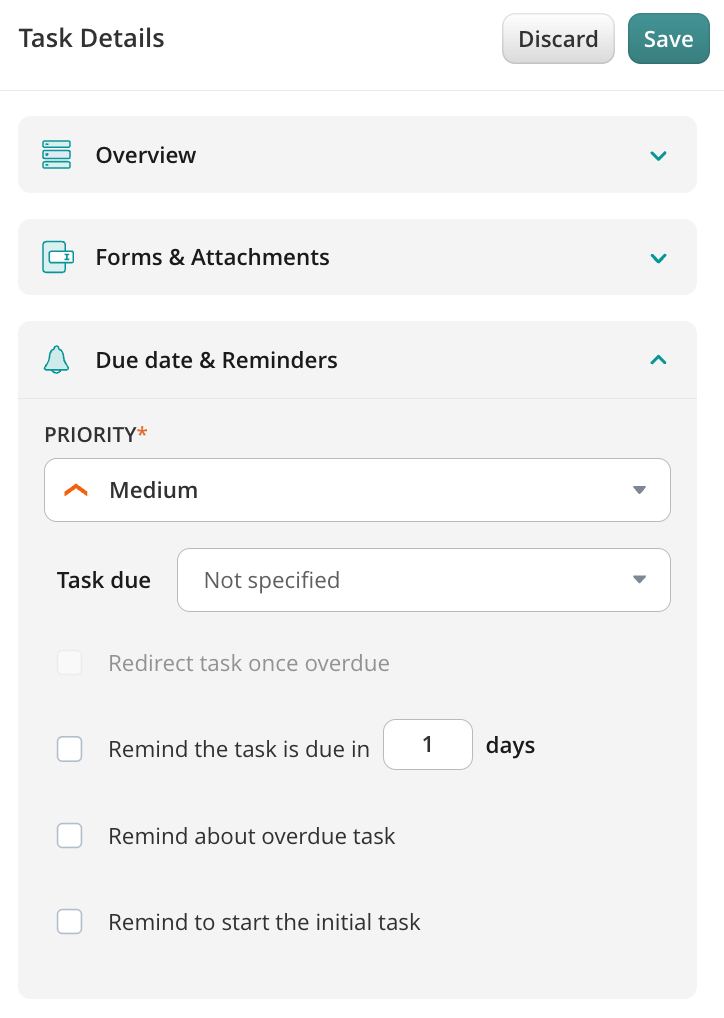
You may set the date and time for the user to receive a notification to start the initial task. To do this, put the checkmark next to the “Remind to start the initial task” option, select the preferred time, and select how you would like the notification to be sent to the user: via email or by pushing the reminder to their device.
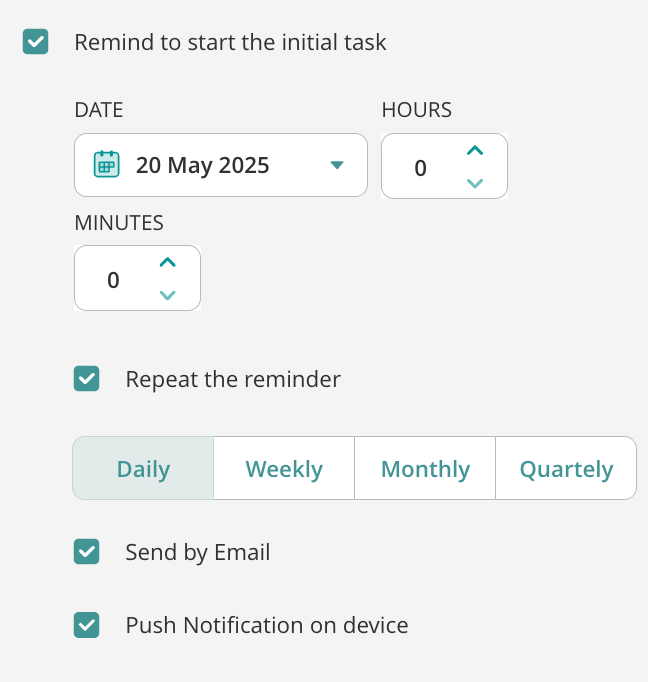
You can specify the due date for a particular Task and set a reminder for when it’s due by selecting the checkbox next to “Remind the Task is due in x days” and selecting how you would like the user to receive the notification: send by email or to push the reminder to the user’s device.
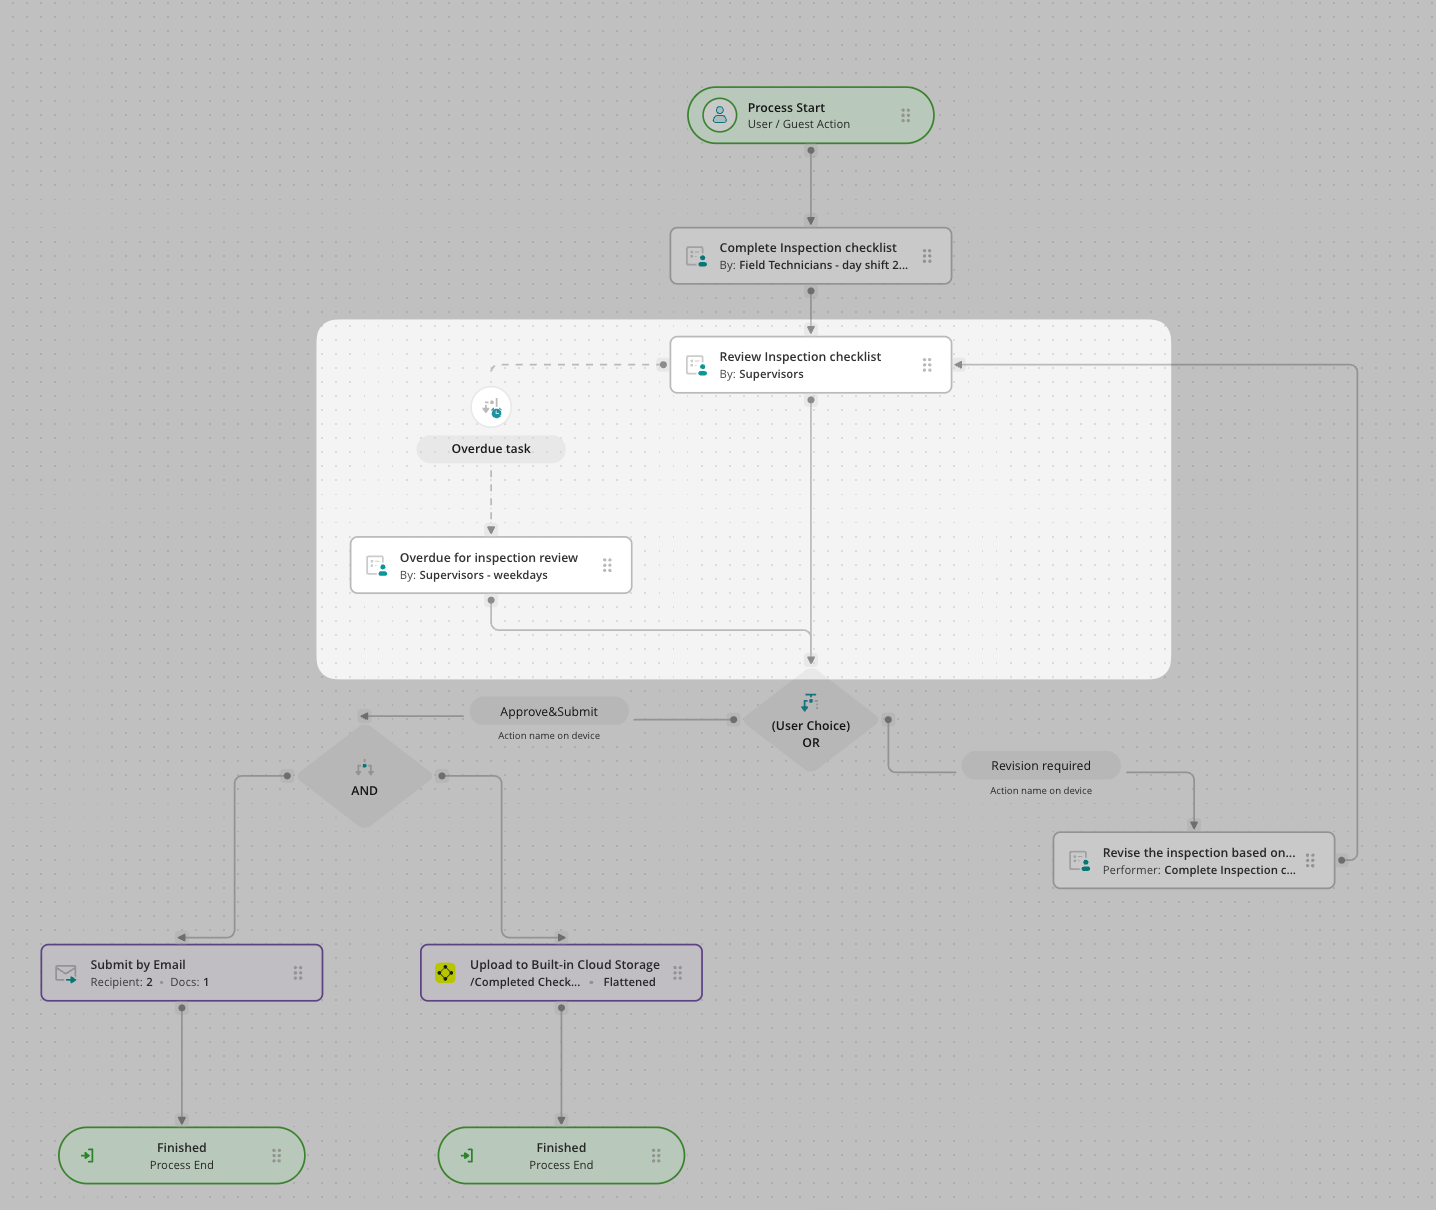
There is an option to settle the redirection of the Task in case it becomes overdue by putting the checkmark next to “Redirect the Task once overdue.” You will see an element “Overdue task” appear. You can link this element to another task, automatically redirecting the task to another predefined flow if the user did not complete it on time.
In case of any questions, feel free to contact us at support@fluix.io