


To send a document for online signing, please follow the next steps:
- Log in to Fluix on your iPad, iPhone, or web browser.
- Open a document to be signed, fill it out, and tap the Submit button in the top right-hand side corner.
Only documents containing a valid digital signature field can be sent for signing. If such a field is not present in the form, you won’t be able to email the document for signature, and you’ll see the error message: ‘There is no signature field in this document, hence the recipient won’t be able to sign it and return to you afterward.’
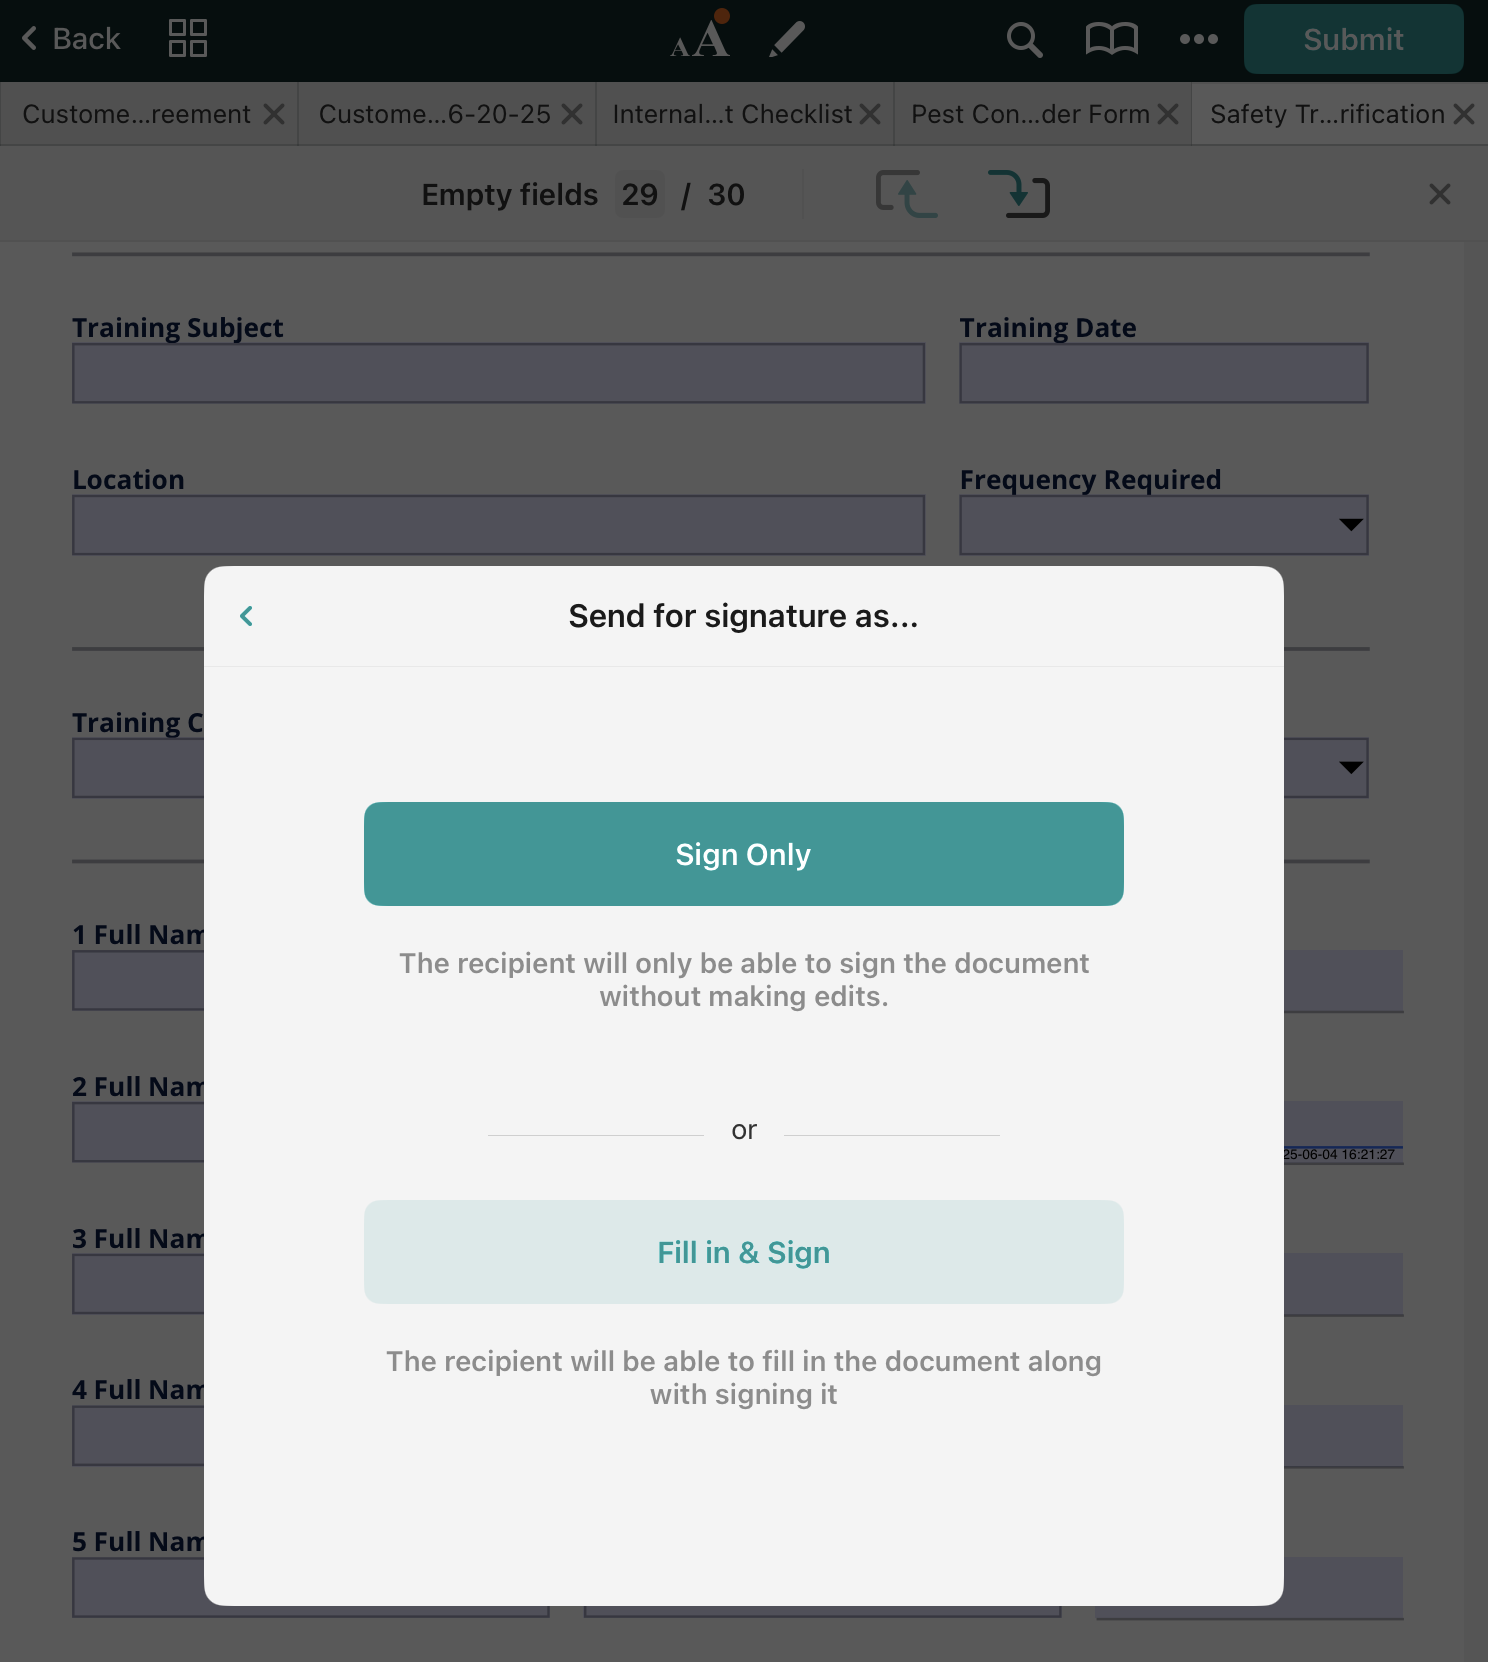
In case a signer has only to sign a document and is not expected to make any changes, choose Sign Only to restrict editing of the document. If you want the signer to fill out other fields, select Fill in & Sign.
- In the popup window, enter the signer’s email address. Please note that only one recipient can be added per document. If you made an error in the email address, upon every next entering of address the dropdown list will include it. To avoid that, you can delete it by swiping left on the address.

- The signer will receive an email with the link to the document to be signed. By default, the link is available for 4 days. One day prior to expiration, the reminder will be sent to the signer. However, you can add a custom period for reminders by tapping on Add Reminder.
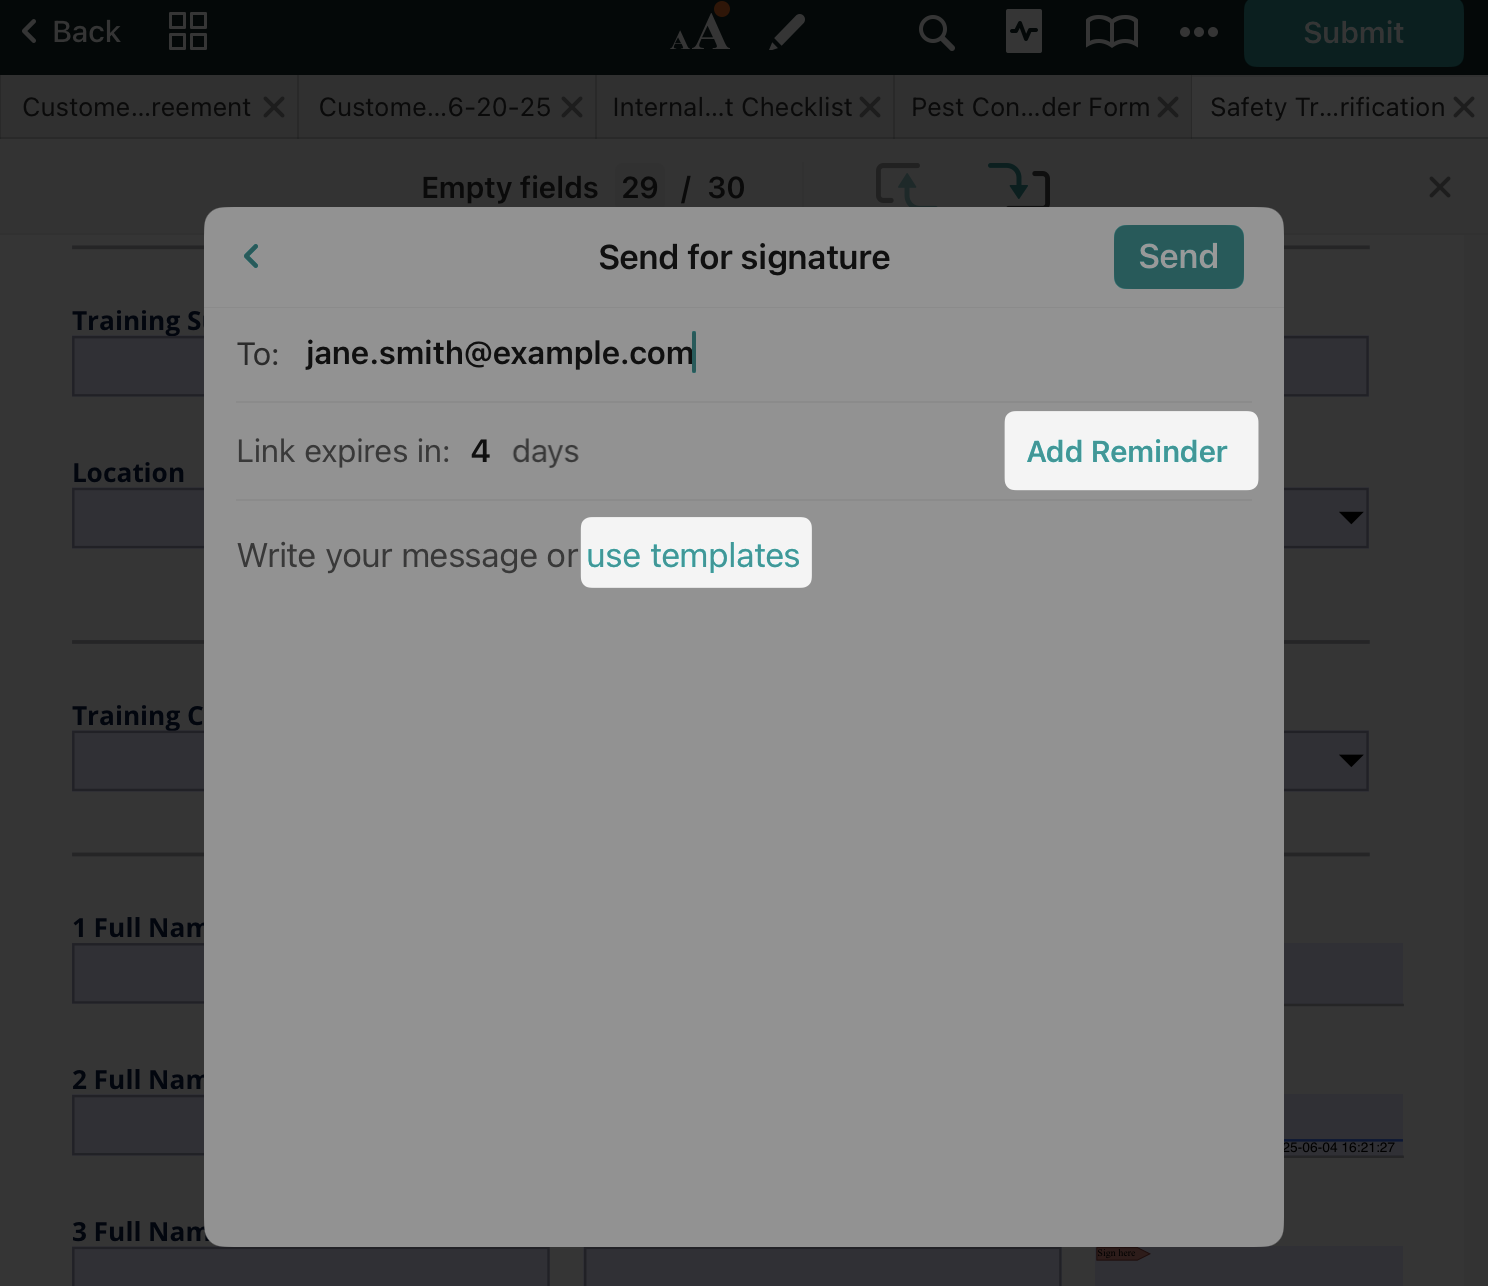
- You can also add a personal comment to accompany the document. If you send similar comments to your customers, you can save them to Templates and use them each time you send a document. Please note that the templates are saved on the device locally and are not synced between your devices used to work with Fluix.
- Tap Send.
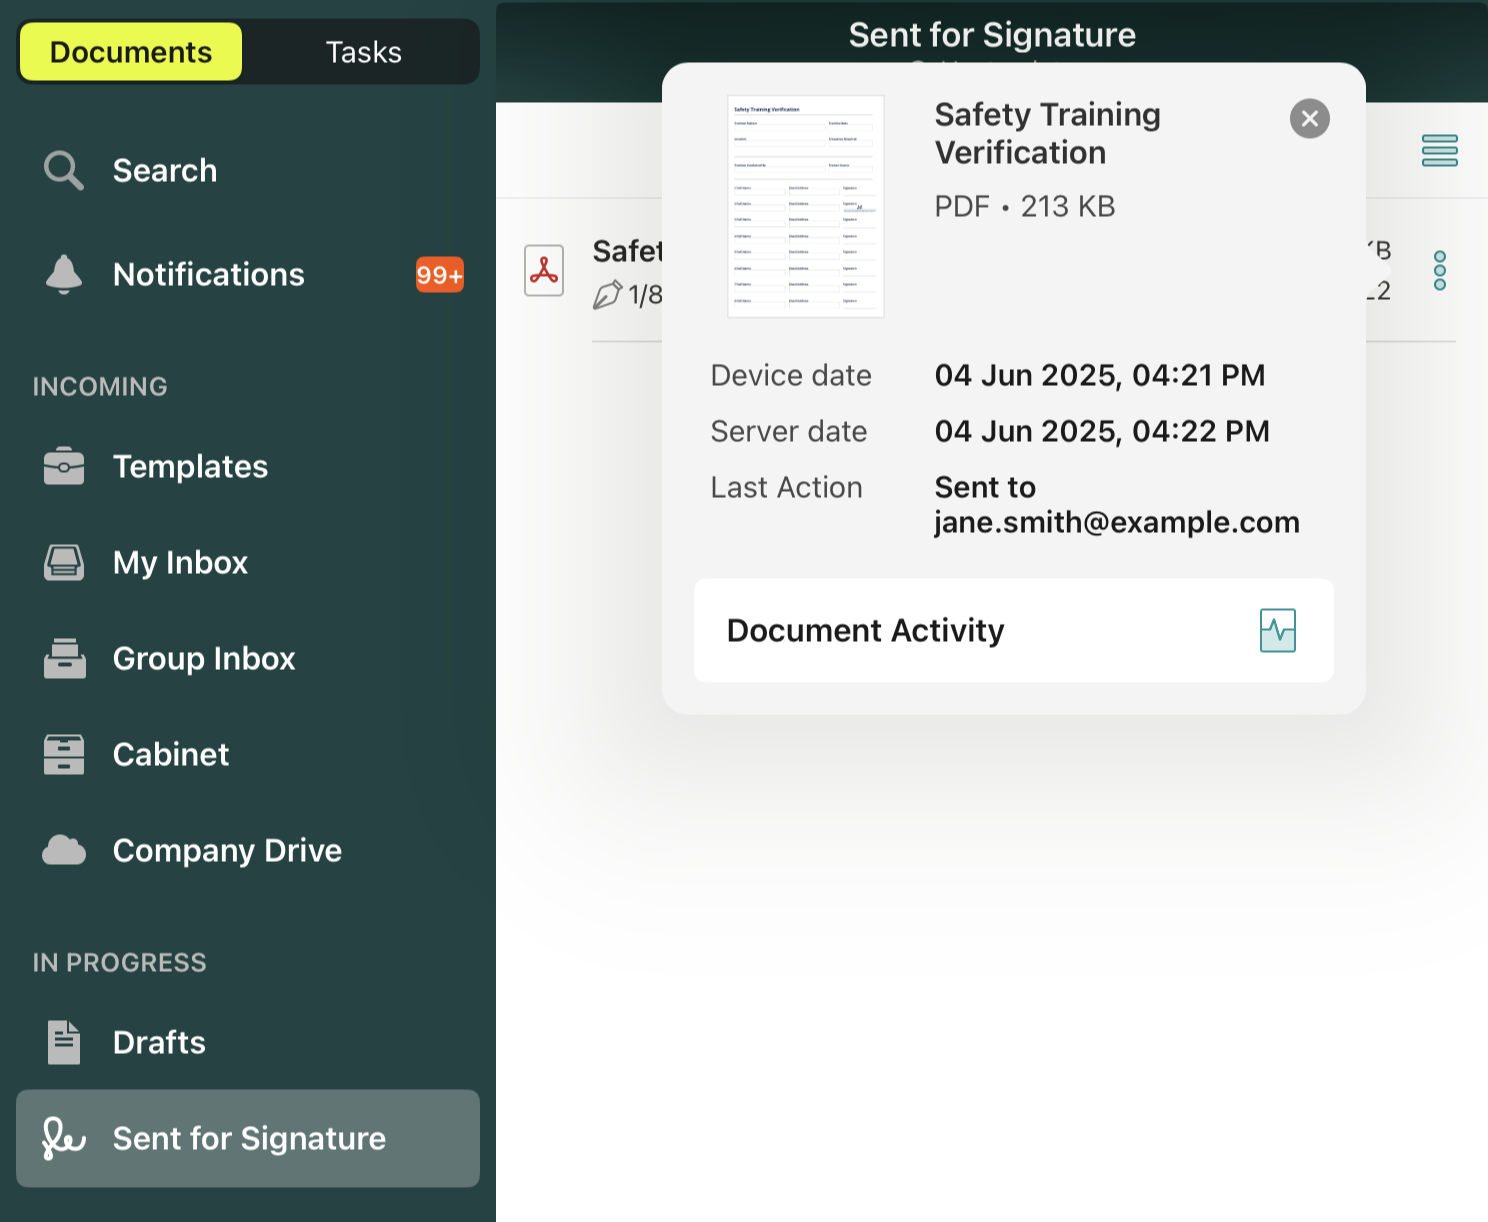
After the document is dispatched, you will see a new tab, Sent for Signature, where a copy of the sent file is stored:
A signer will receive the following email about a document that needs to be signed:
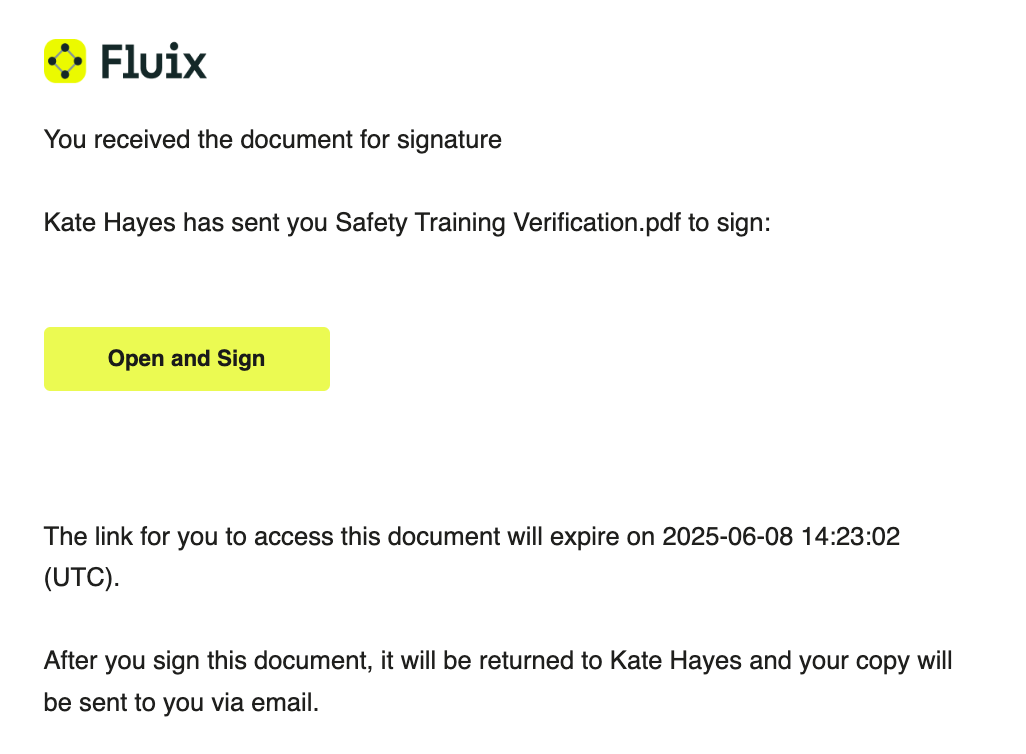
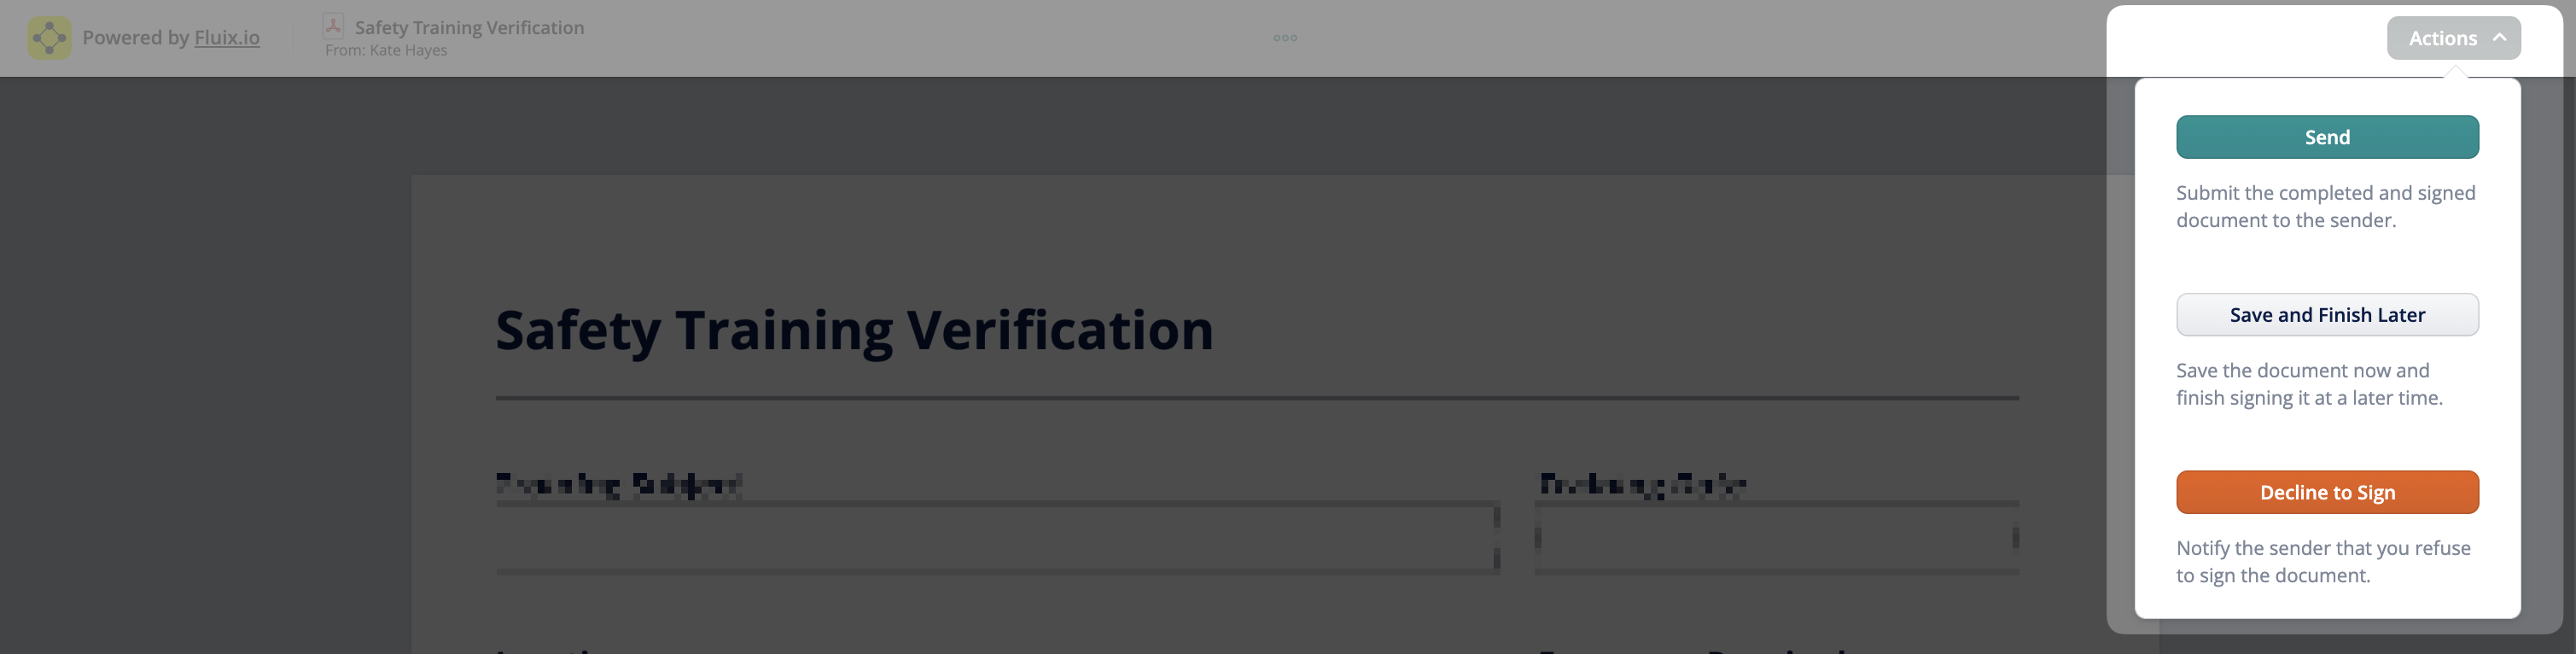
Once the signer clicks Open and Sign, they can open the document in the browser on any device. To sign a document, the signer taps on the respective signature field in the form and draws their signature. From there, the signer has three choices under Actions: Send the document back to the sender, Save and Finish Later, or Decline to Sign.
After the document has been successfully signed, a signed version is returned to Fluix and marked as signed in My Inbox of the user who initially sent the document for signature.
The confirmation email is sent to both the signer and the sender of the document.
If the signer declines signing the document, it is pushed back to the sender’s My Inbox and marked as Declined.
If the signer didn’t have a chance to sign and return the document before the link in the email expired, the document will be returned to the sender’s app’s My Inbox section, with the status Expired displayed under the three dots under Document Activity. In that case, a user can send the document for signature once again.
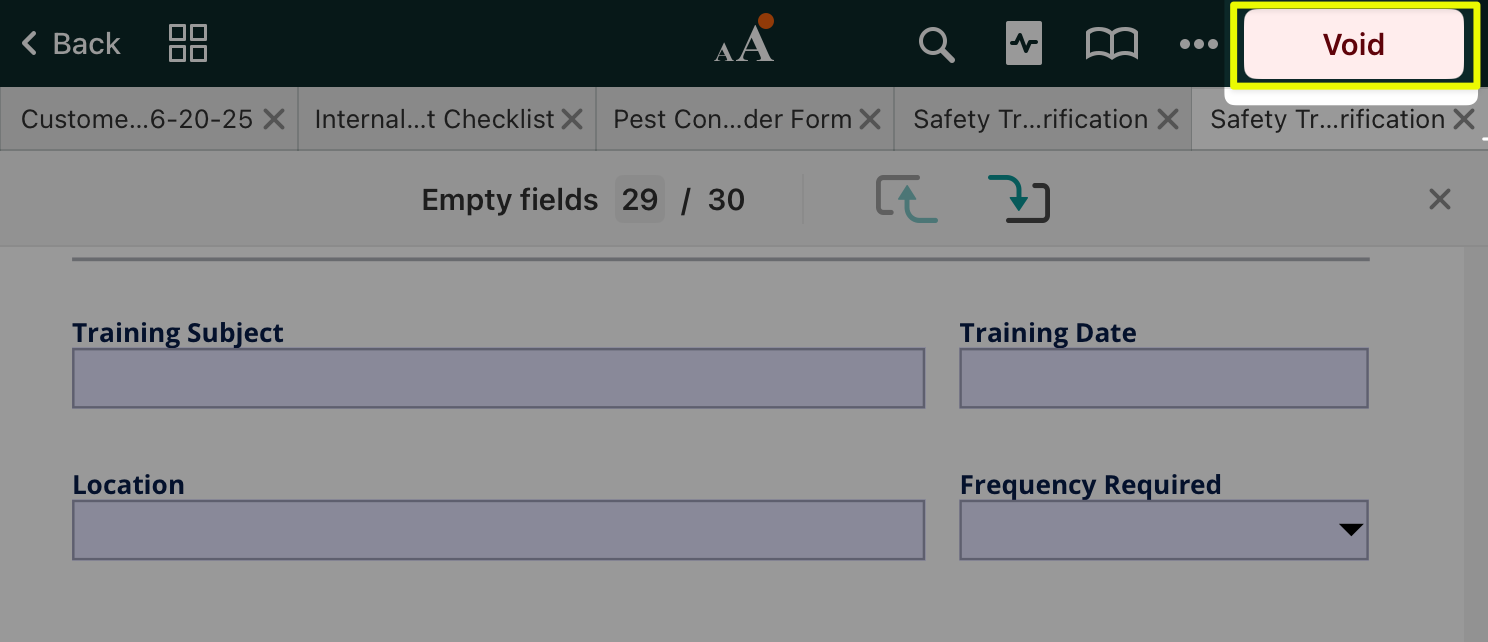
Document retraction
If a document needs to be retracted, proceed to the Sent for Signature section -> select the file -> tap Void:
The admins can also void the documents from the Admin Portal, in the Document Status section. The retracted file will no longer be available for the signer and will appear in the sender’s My Inbox section.
Continue with signed documents in the workflow
Once the document returns to the sender in the sender’s My Inbox section, it can be sent further as per the pre-configured workflow rule: emailed to other participants of the workflow, uploaded to company storage, etc. Once the document is submitted to its final destination, it will land in the Completed tab on the device.
You can also watch a video on how to collect signature online.
Feel free to contact us at support@fluix.io if you have any questions or comments.