


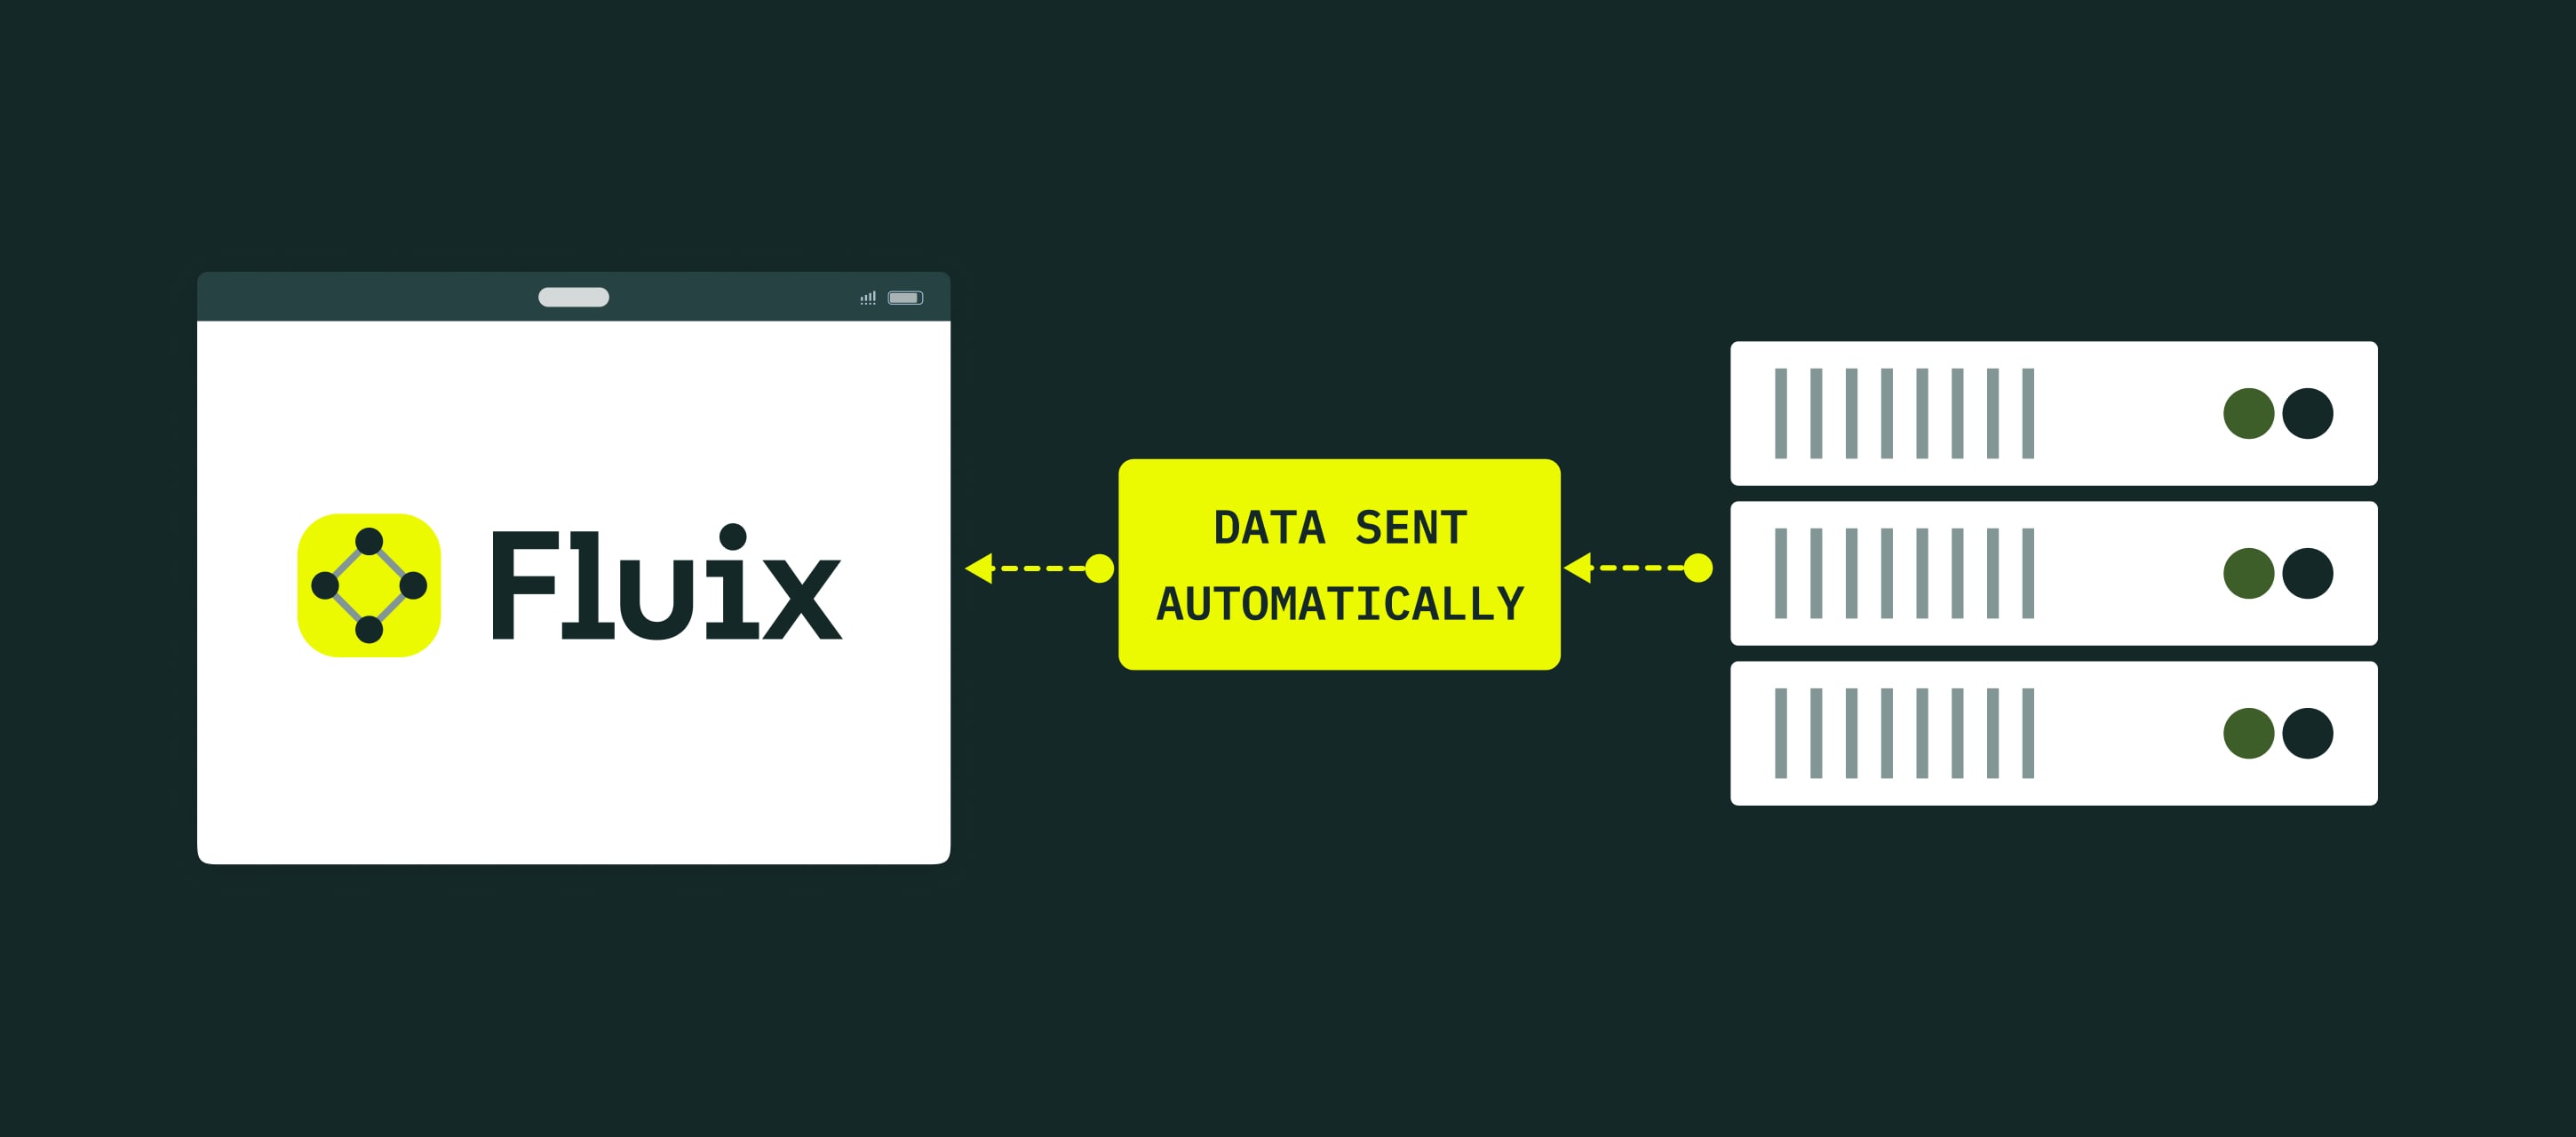
Webhook is an ability to automatically push the data your team enters in forms to the third-party tool in POST values format.
The flow:
- Your team member fills out the form in Fluix and clicks Finish.
- The data entered in the form is pushed through the URL to a third-party tool depending on your preference in the POST Values format.
In order to set up the webhook integration in Fluix workflow, please follow the instructions below.
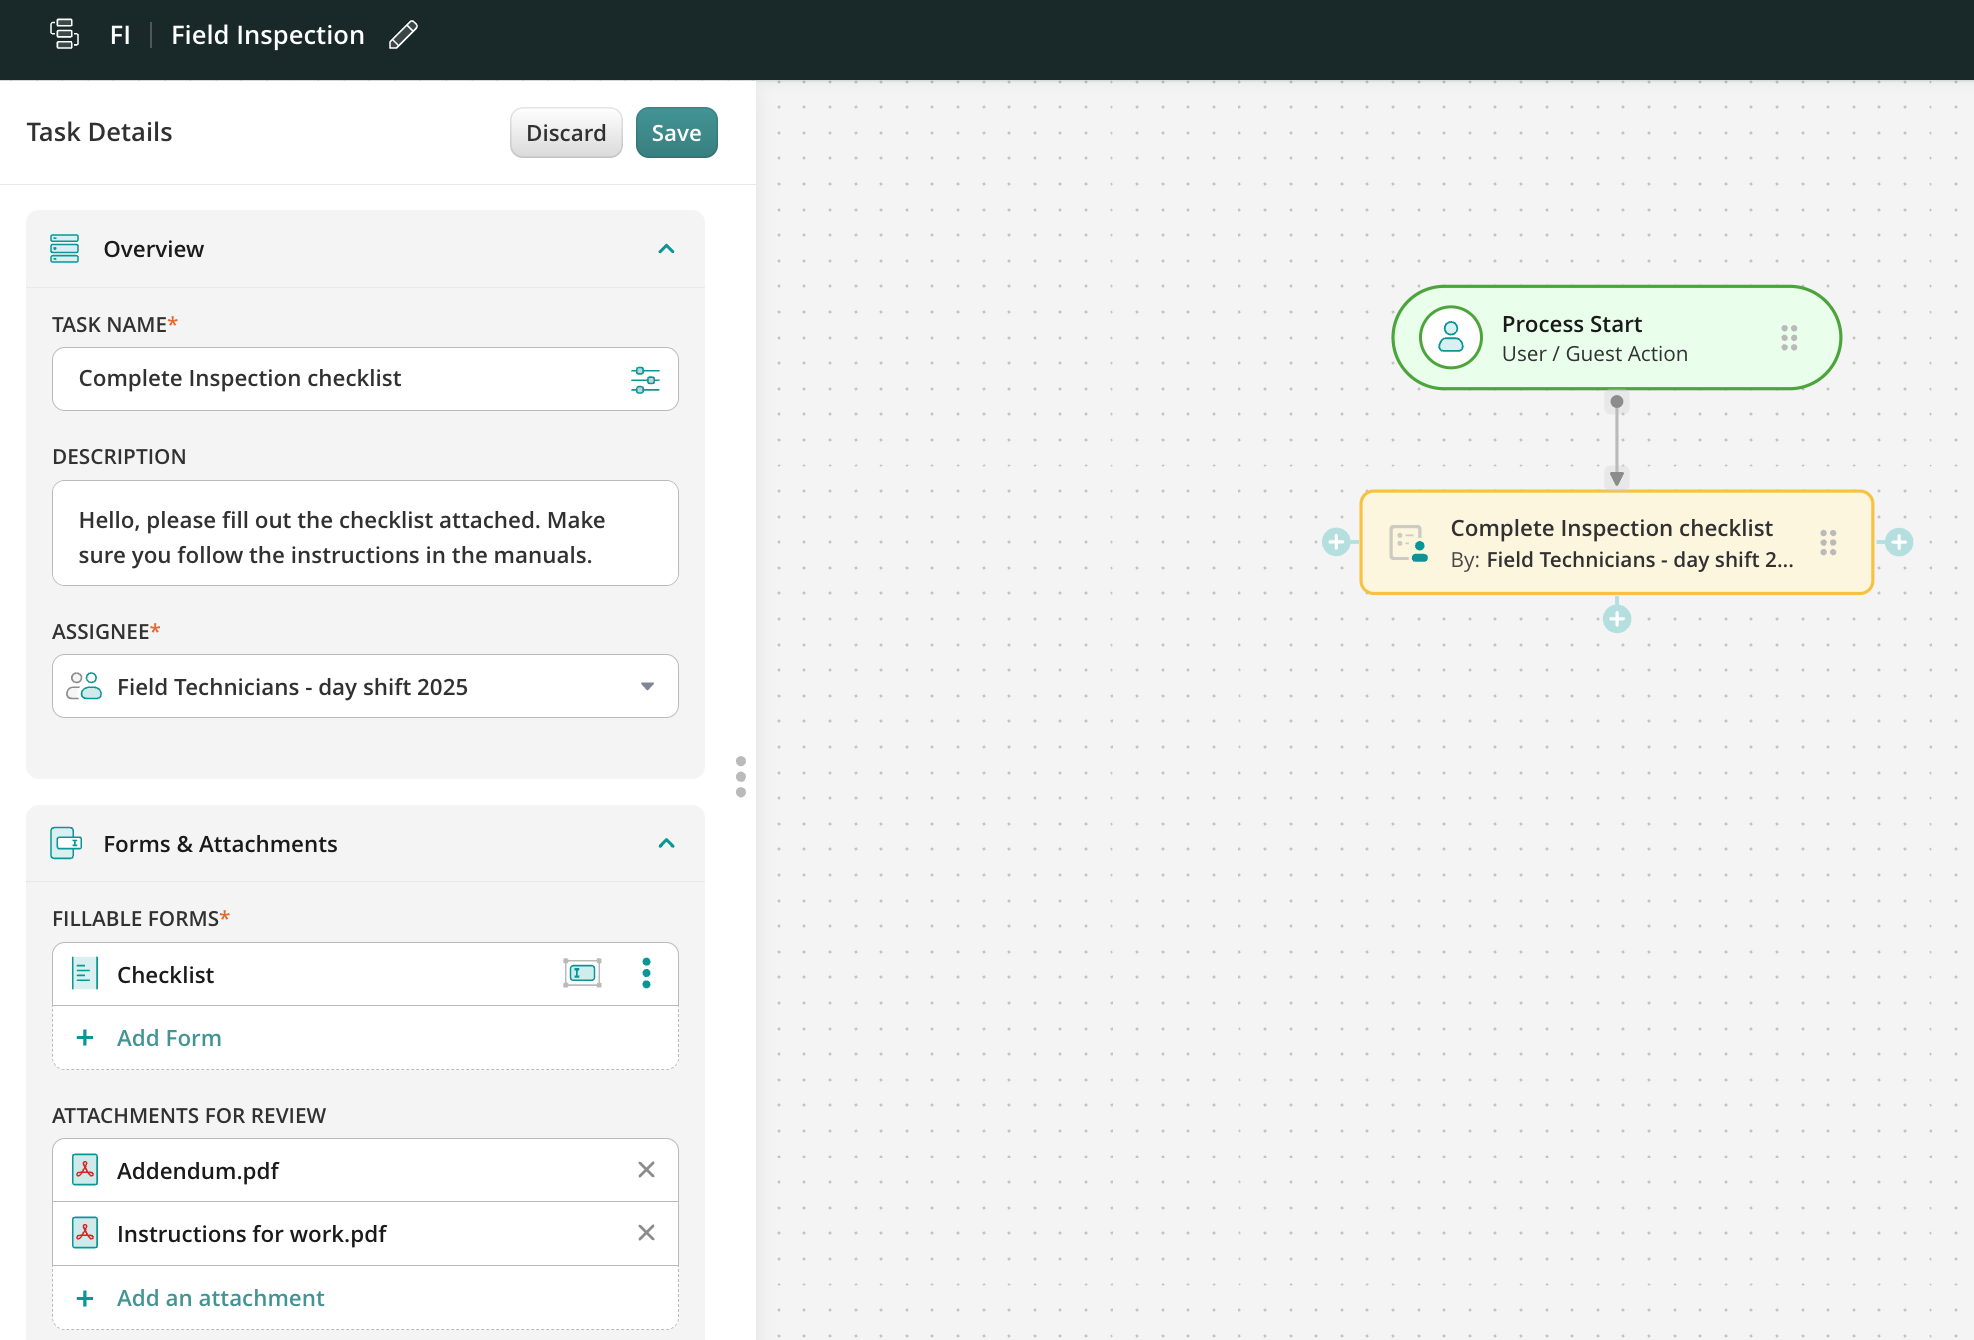
Step 1 – Create the repetitive process in Fluix
Navigate to the Fluix admin portal, Workflows section, to create a new workflow. Drag and drop User task and configure it: add fillable forms and assign the task to the team that will complete it on a regular basis. Make sure that you have added yourself to the group of users in order to test the setup later.
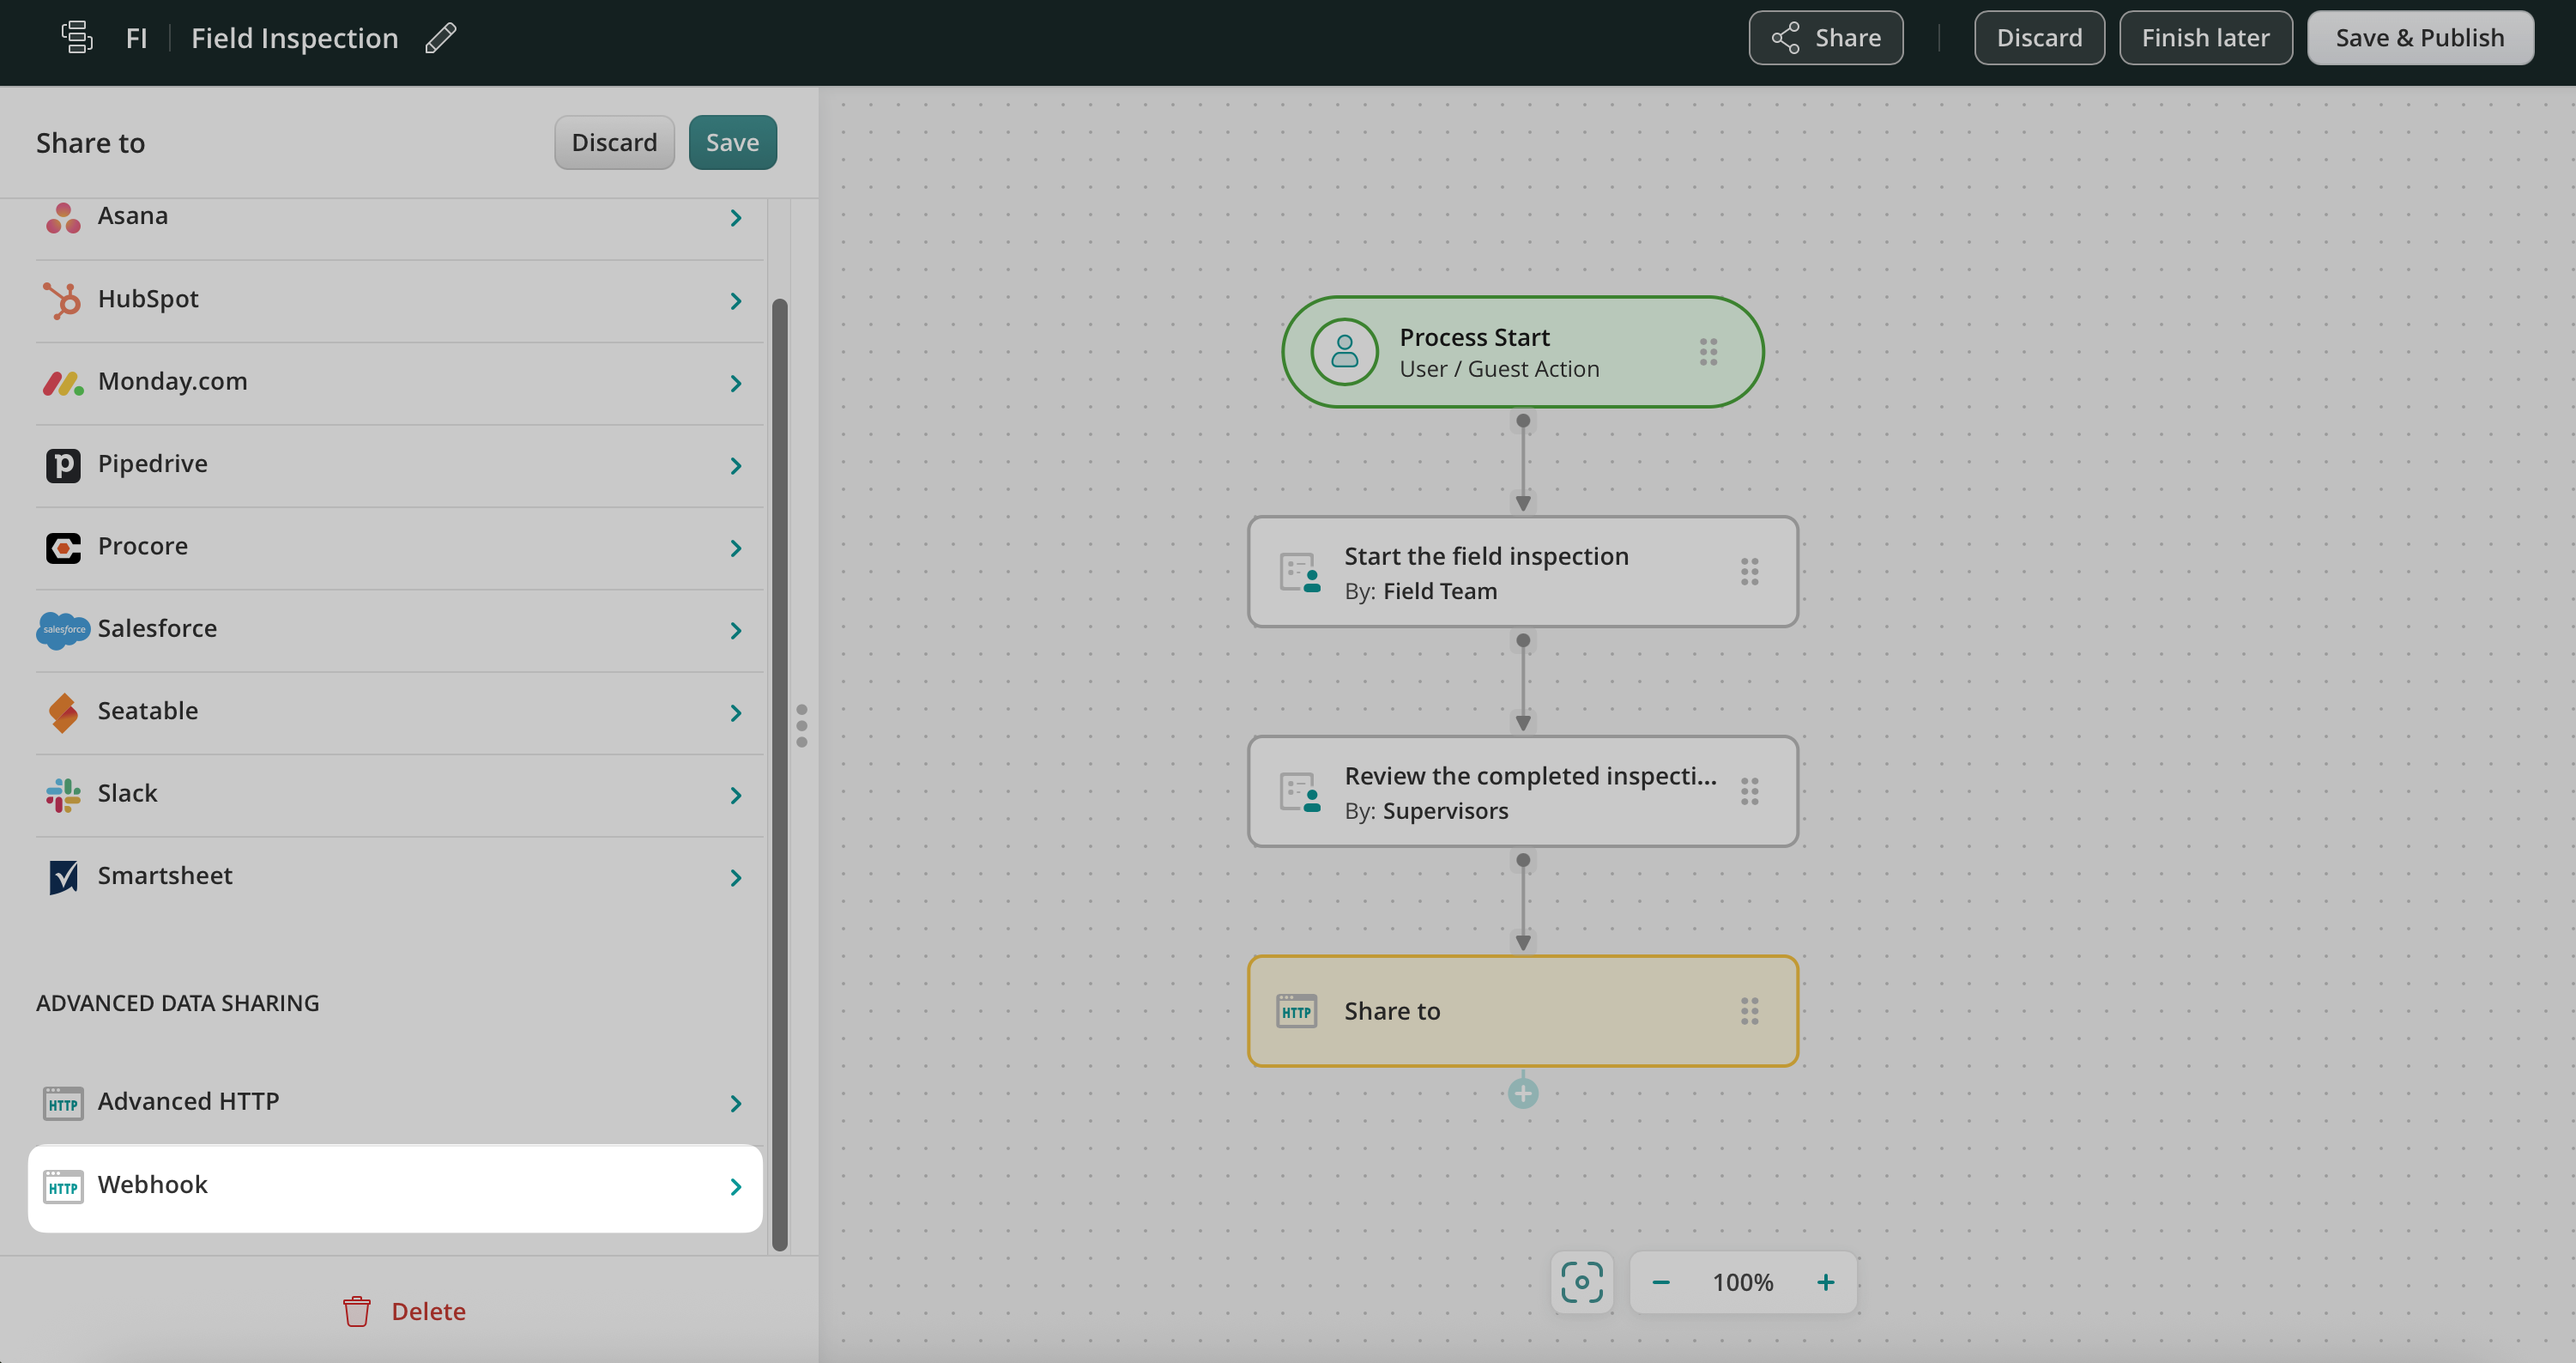
Step 2 – Configure Share to integration in Fluix
Drag and drop Share to submit action to the workflow chart and connect it with the User task that your team will be working on.
Click on the Share to element and select Webhook among the Advanced Data sharing options.
In the Name section, you can add the respective name of this Webhook integration.
In the Webhook link section paste the URL to which you would like the entered data to be sent.

Depending on the third-party tool where you would like to send the data to, the Webhook can be located in one of the following ways:
– Webhook link can be provided in your Admin Portal of the preferred tool by default.
– You may use Zapier or any other platform that allows you to connect different software tools with each other in order to receive a webhook link. Therefore, we suggest checking if Zapier or any other tool has the preferred third-party tool in their list.
Once you paste the Webhook link, select the form in the Attached form section from which the data will be pushed to the third-party tool, and click the Save button.
If you need any suggestions regarding the platforms that provide webhook links, contact us at support@fluix.io
Step 3 – Save and test the setup
Click Save & Publish in the upper right corner to save the workflow.
Open the user app on the mobile device, or click User App in the right corner of the admin portal.
Open the task that you configured, fill in the form, and finish the task.
Once the task is finished, the data that you have filled out in the form will be sent to the URL which you have configured while building your workflow in the POST values format.
In case you have any questions or difficulties with setup, contact us at support@fluix.io and we’ll be happy to help you.