


Asana is a project management tool that helps teams to organize and plan project tasks in one dashboard. Asana is used by businesses of all sizes to optimize project management and enhance team collaboration.
What Fluix + Asana integration does
Fluix and Asana integration allows you to keep track of the project details, be well aware of all the stages your team is working on, and store project documentation in one place. With this integration, you may ease project management by automation the process of creating tasks.
Once your team member completes the form in the Fluix app, the specific data is transferred to the Asana project along with the respective form and added to the newly created task so that everyone across your team can have access to the documents and related data in Asana projects.
Note: Integration requires an Operations account in Fluix and an account in Asana. To try the option, you can register for a free trial account in both tools.
In order to set up Asana integration in Fluix Workflow, please follow the instructions below.
Step 1 – Create the repetitive process in Fluix
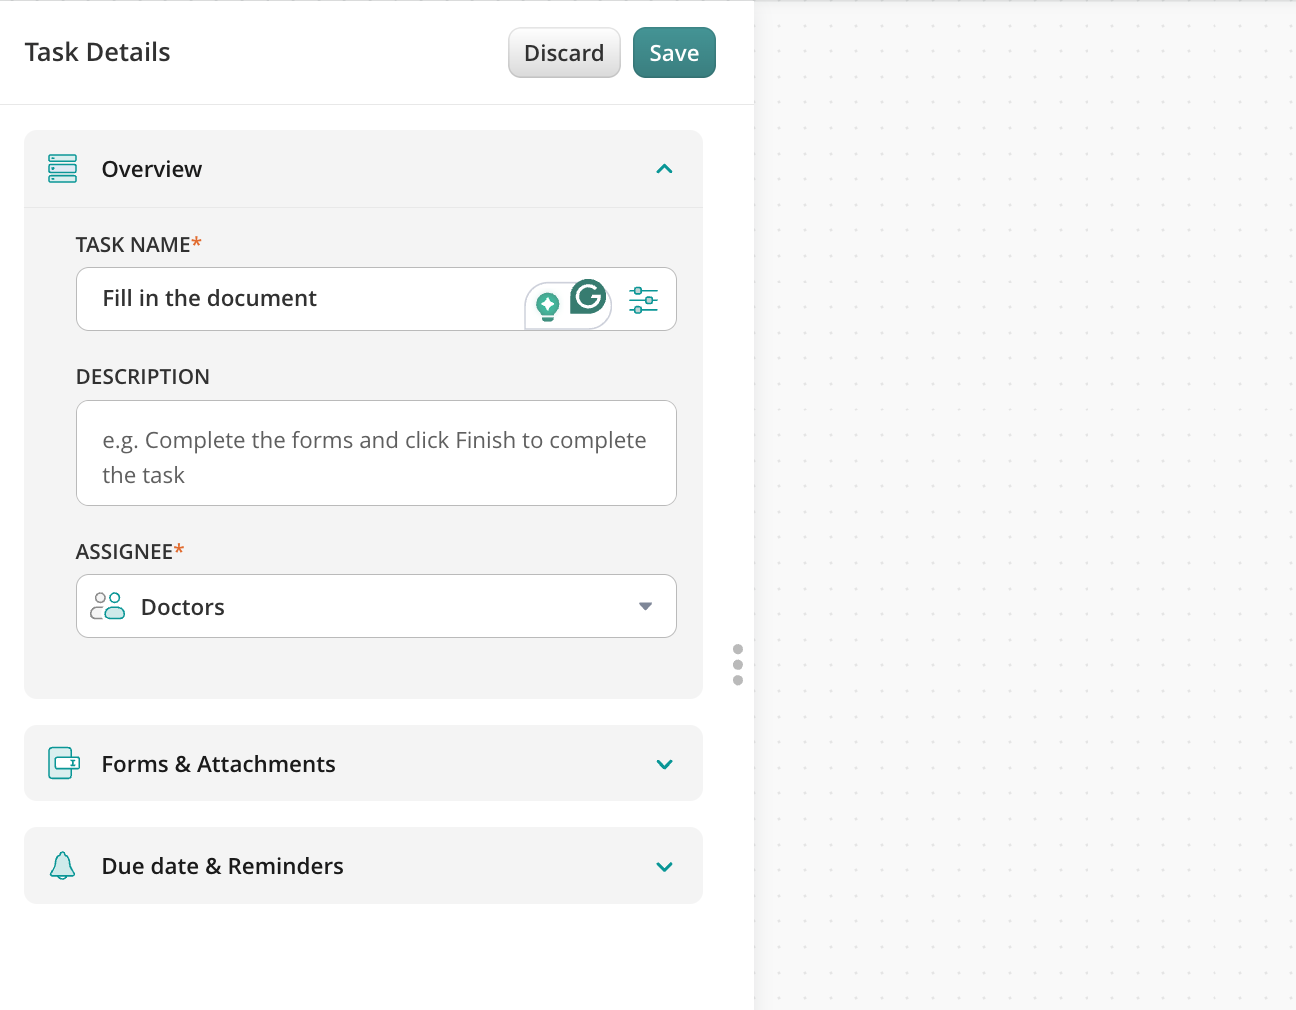
Navigate to the Fluix admin portal, Workflows section, to create a new workflow. Drag and drop a User task to the working area and configure it by adding fillable forms and assigning it to the team that will work on it on a regular basis. Make sure that you have added yourself to the group of users in order to test the setup later.
Step 2 – Connecting Fluix with Asana
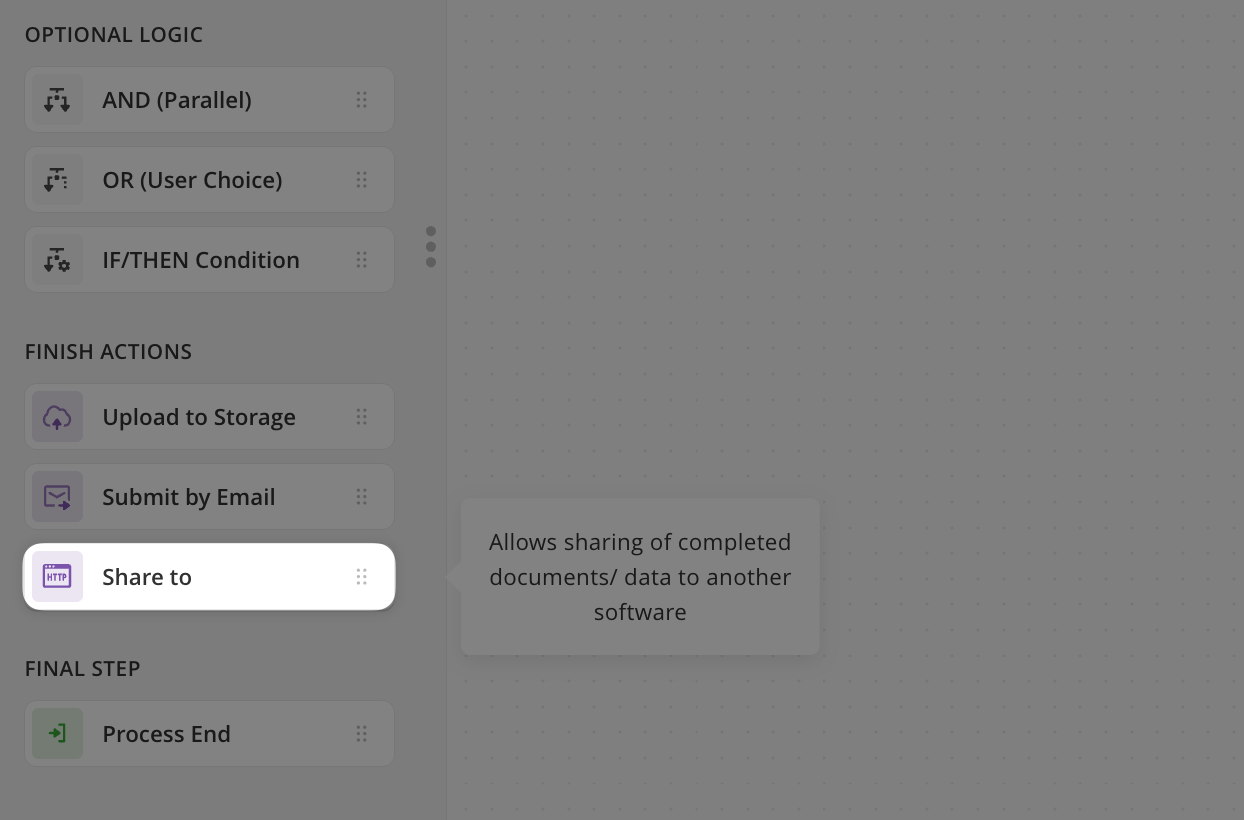
Drag and drop Share to submit action to the wokrflow chart and connect it with the User task that your team will be working on.
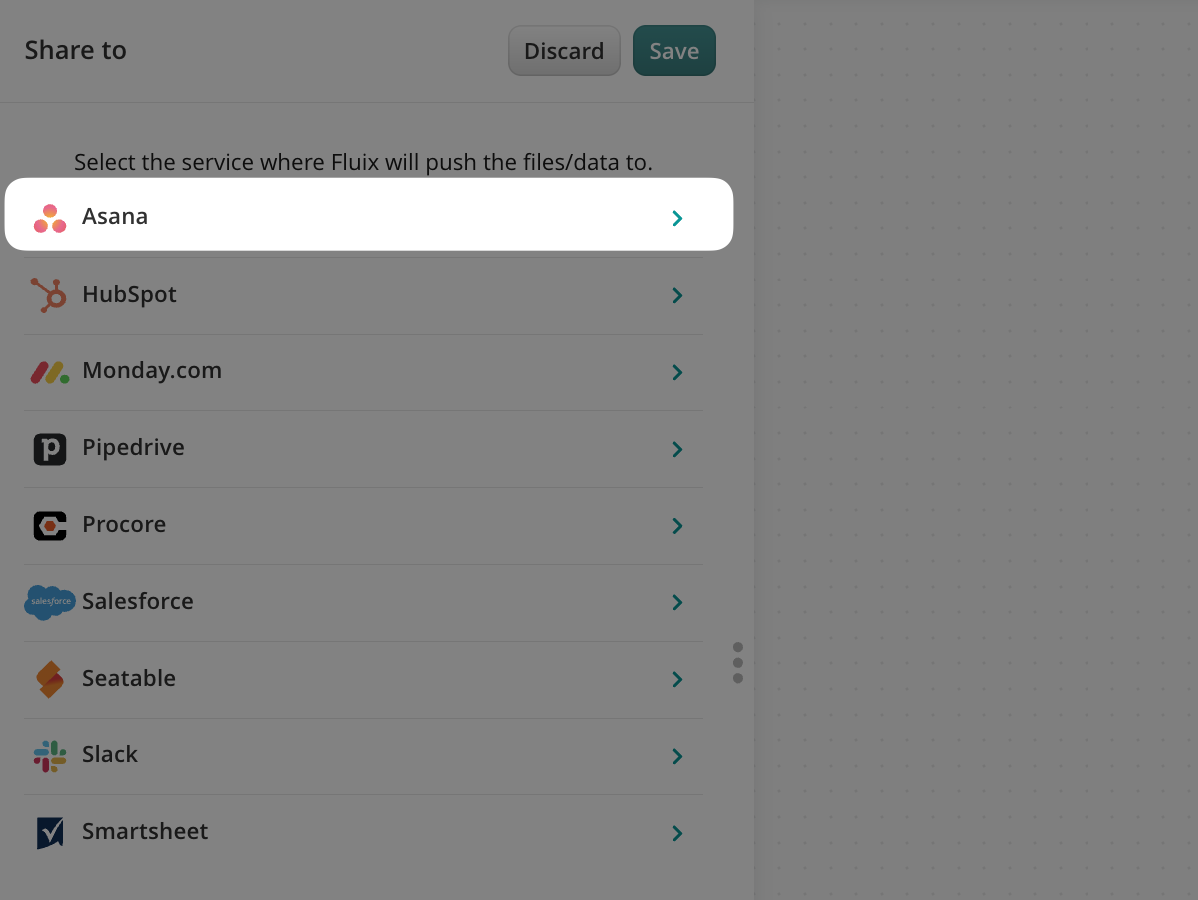
Click on the Share to element and select Asana among the list of third-party tools.
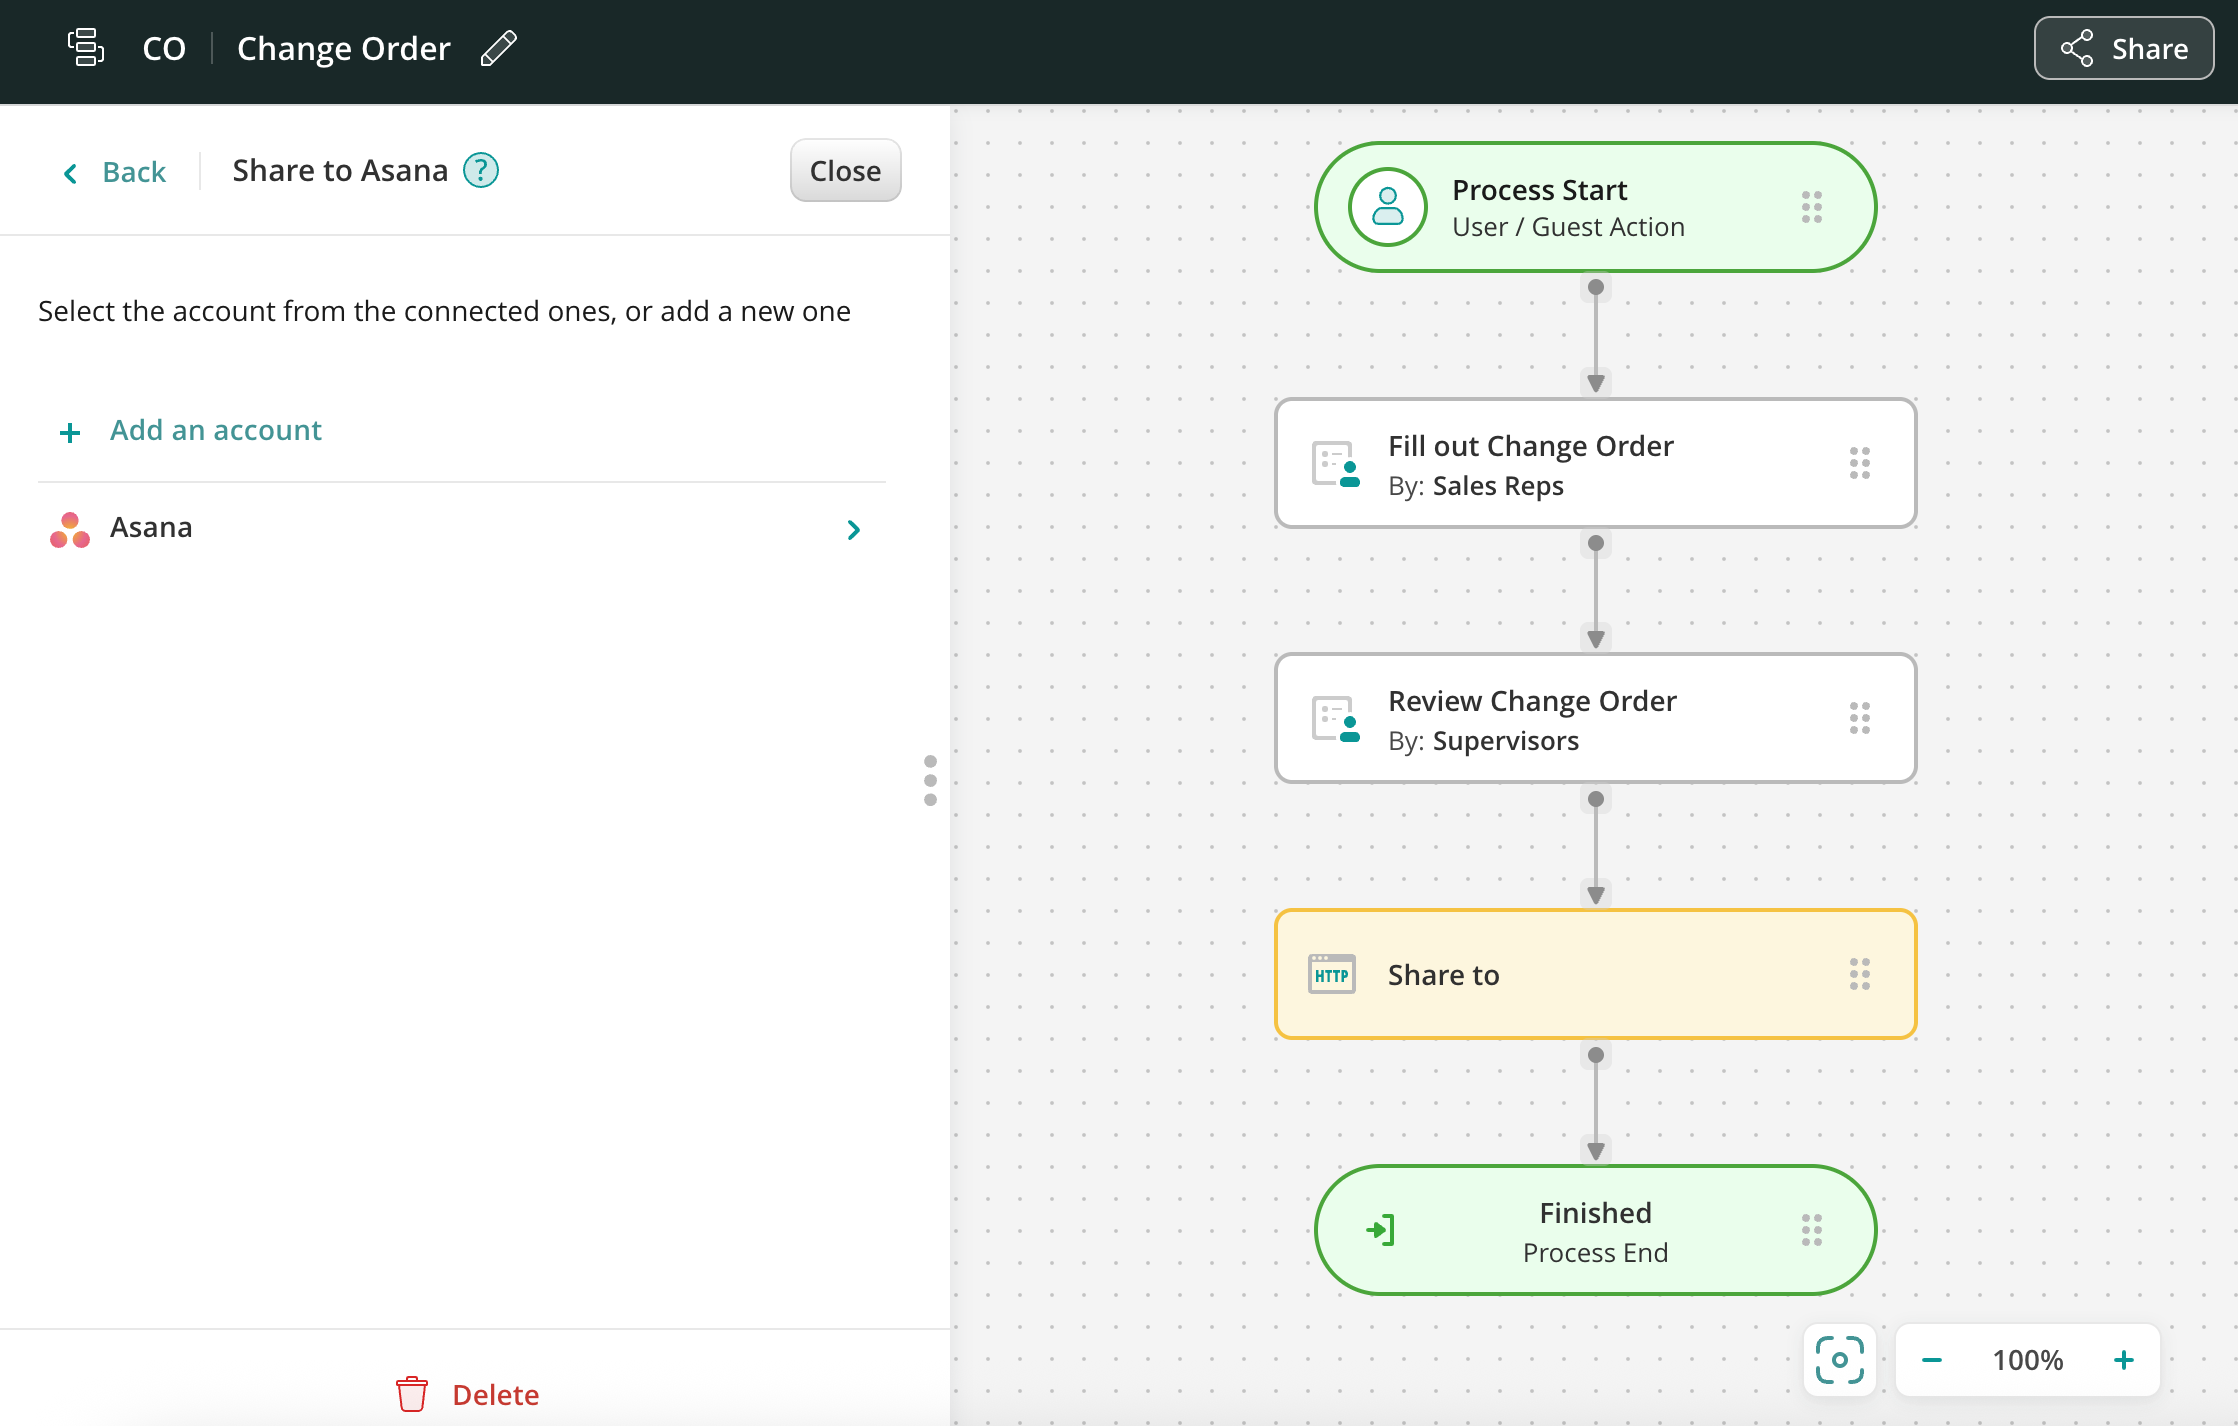
Upon redirecting to the Asana authorization page, fill out your company’s credentials. Click on the button Allow in order to give Fluix permission to access your account. The connected Asana account will be automatically added to the accounts:
Step 3 – Configure the data extraction
Configure the data that will be extracted to the connected Asana account upon the submission of the task. Tap on the connected Asana account and select the Project name to which the data values pre-configured in Fluix will be exported upon submission of each task.
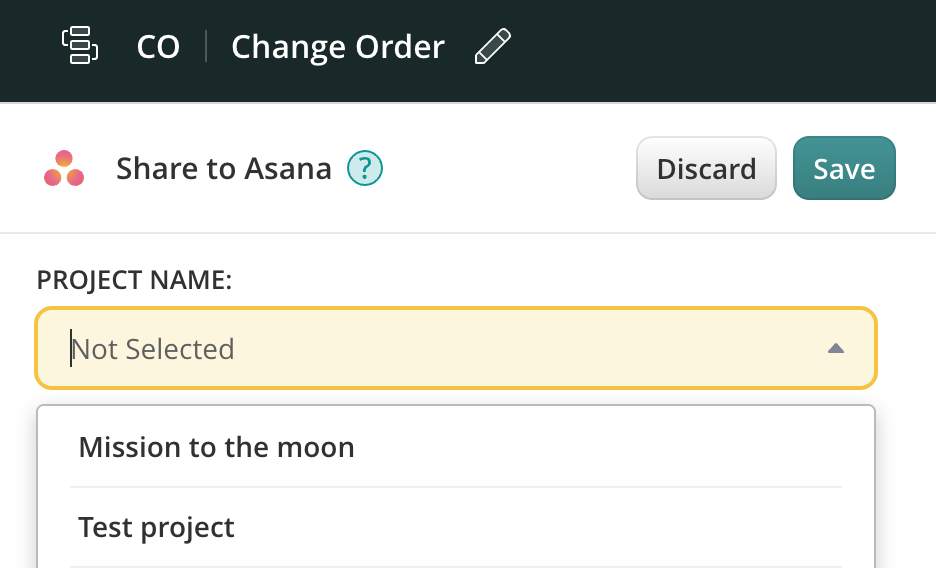
In the New Task Name section, you may configure the respective information that will be submitted to the chosen earlier Asana project. By clicking on the configuration icon in the New Task Name section, you may select which specific details will be exported to the project upon task submission.
Step 4 – Save and test the setup
Click Save & Publish in the upper right corner to save the workflow. Open the user app on the mobile device, or click User App in the right corner of the admin portal. Navigate to the task that you configured, fill in the form, and finish it.
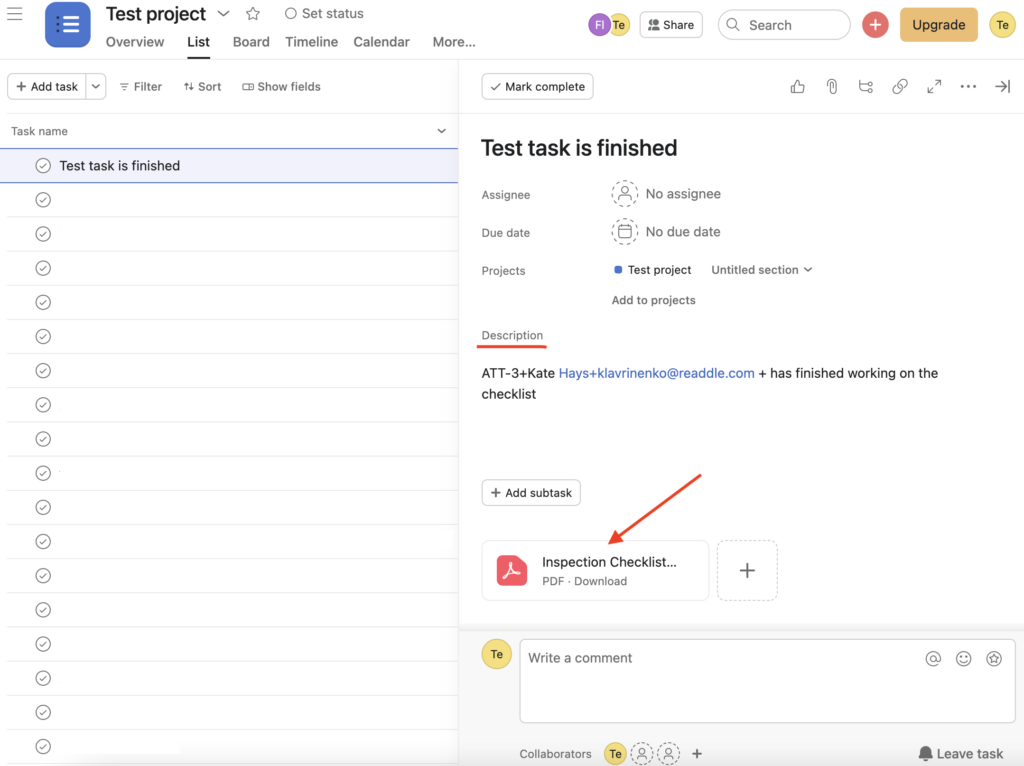
Once the task is finished, a new row in the project’s table will appear in your Asana account, taking into consideration the dynamic values pre-configured in the workflow. The submitted form could be found by clicking on the Details button next to the name of the submitted task.
Here is an example of how the finished task is displayed in Asana’s project:
In case you have any questions or difficulties with setup, contact our support at support@fluix.io and we’ll be happy to help you.