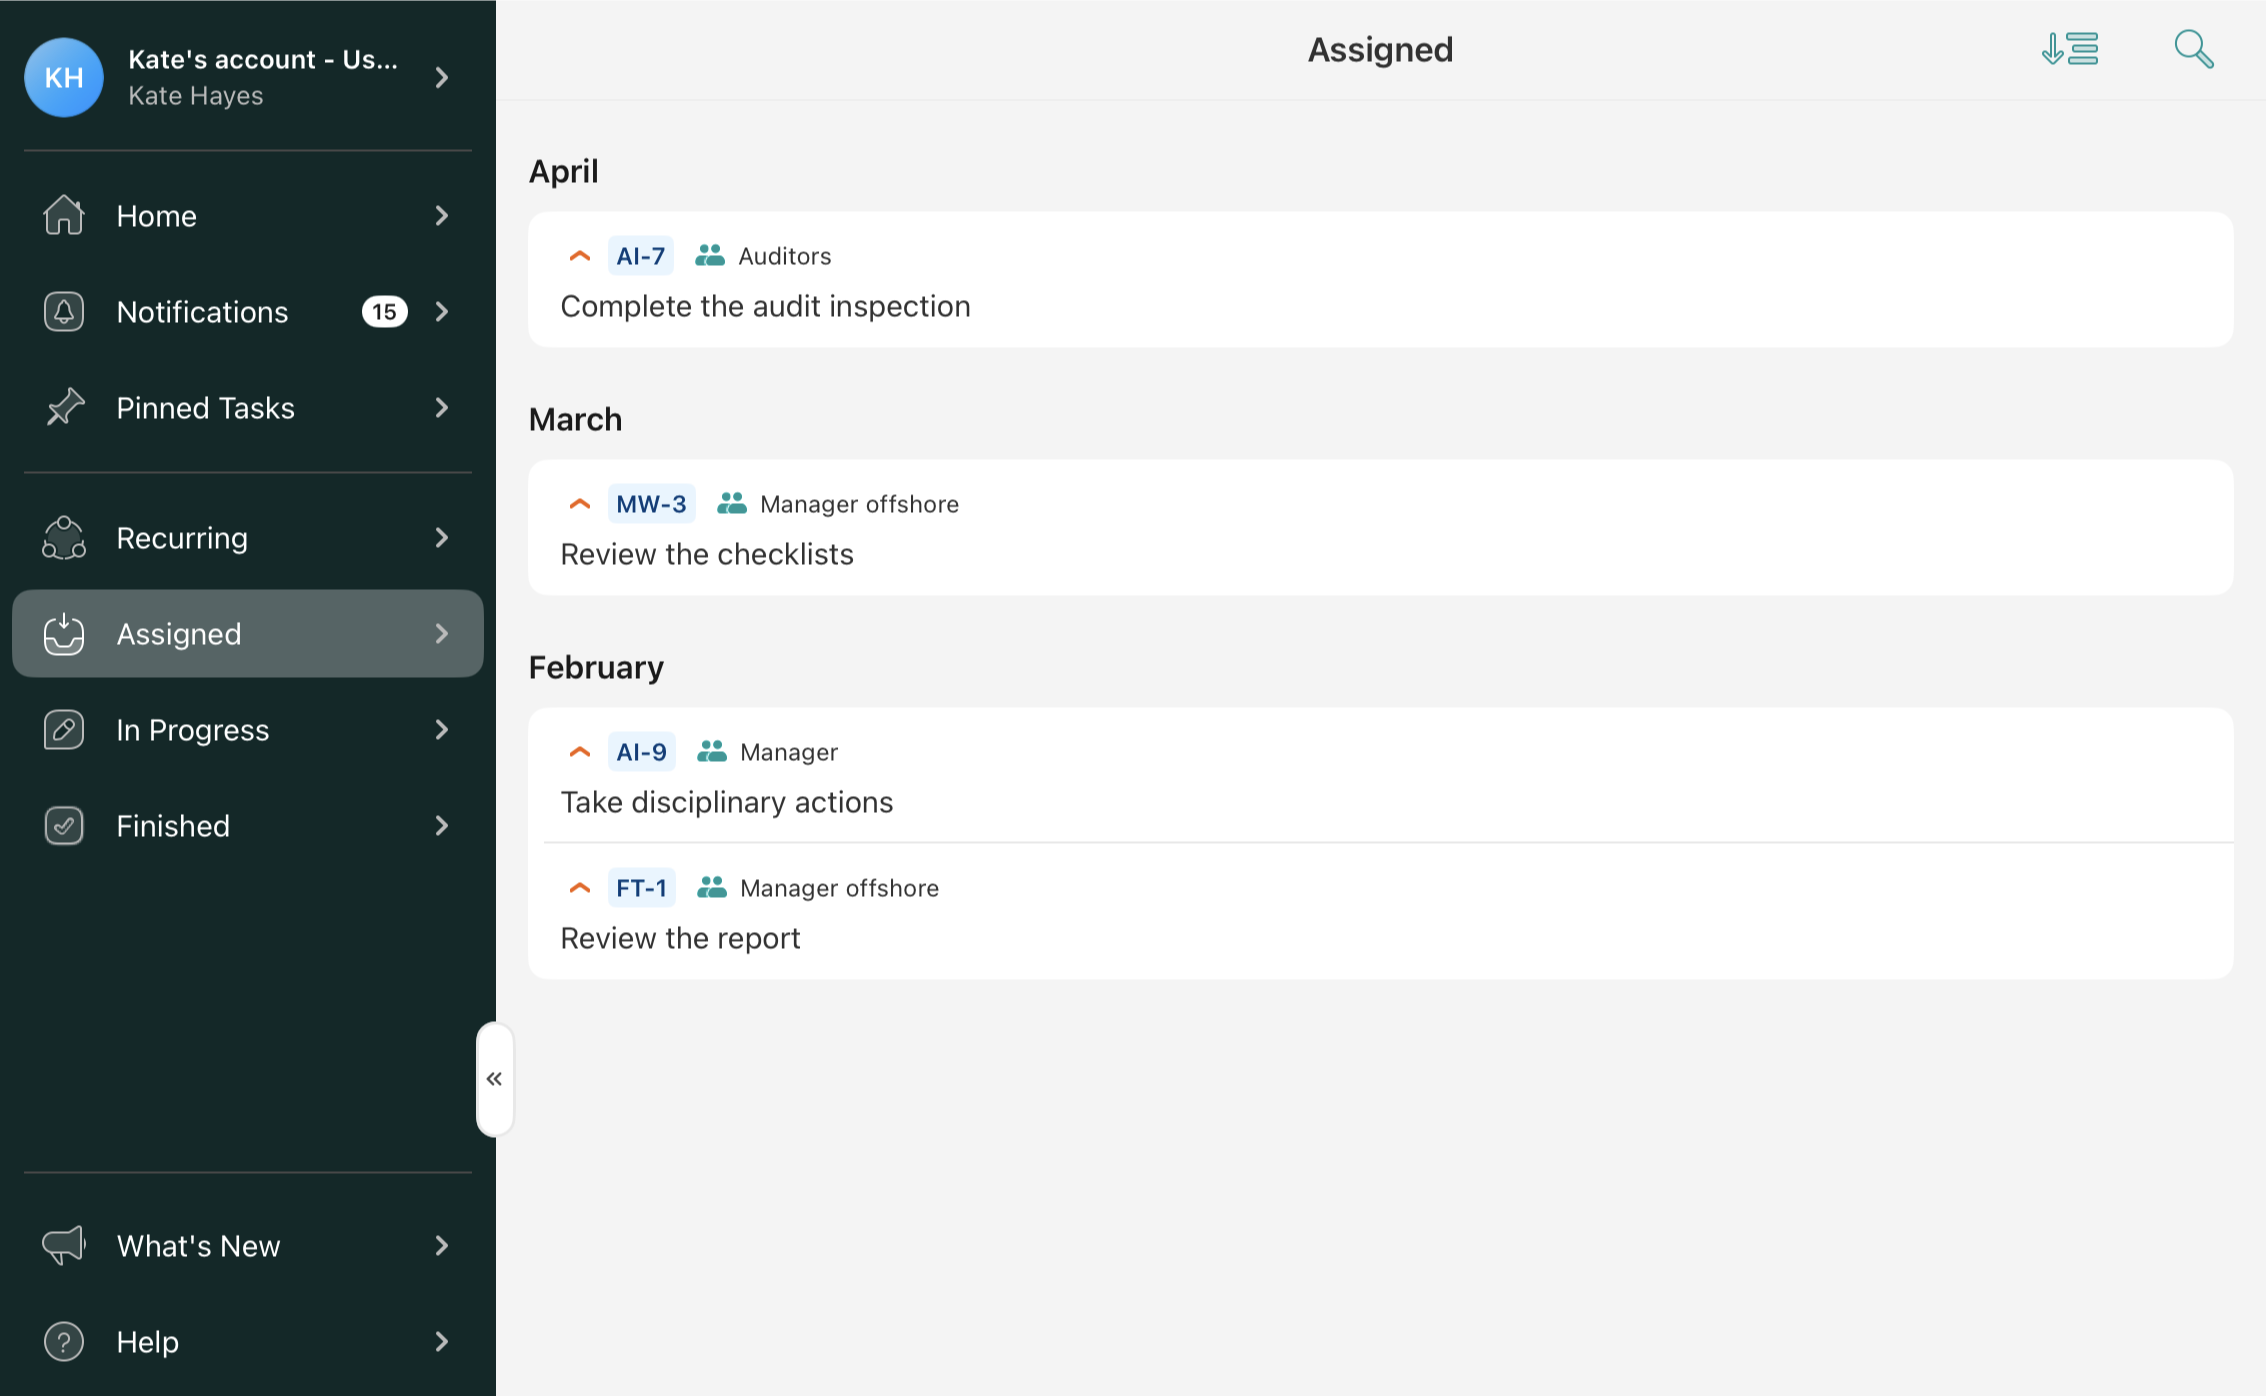
The tasks appear in the Assigned section when someone sends them to you either as a user or as a member of a particular group. If the task was assigned to a group in which you are a participant, the name of the group will be displayed next to the Process ID e.g. DAP-27.
When a task is assigned to a group, and one of the group members assigns it to himself or herself, it will not be displayed in the Assigned section.
Your company admin may have pre-configured the due date for the assigned tasks. Once a task is overdue, it is marked accordingly and shows the number of overdue days.

Sorting the tasks
You may sort the tasks in the Assigned section by the following options:
- Priority
- Task ID
- Due Date
- Creation Date
- Assignee name
- Task name
The Priority option lets you sort the tasks from critical to low priority, which is pre-configured by your company’s account admin.
The Task ID option lets you sort the tasks by their abbreviation.
The Due Date option lets you sort the tasks by priority; the due dates can be pre-configured by the company’s Fluix account admin.
The Assignee name option lets you sort the tasks by the names of the Groups to which they are assigned.
The Task Name option lets you sort the tasks based on the task name in alphabetical order or vice versa.
Search for the relevant tasks
In the upper right corner of the Assigned section, use the Search icon to locate the tasks you need to complete.

Start working on tasks
To review the task and/or to start working on it, simply tap on its line containing the basic information about the task.

To start working on a task or assign it to yourself (in case the task was initially assigned to the group in which you are a participant), tap the ‘Start work’ button in the top right corner. Once you start working on a task, it will be automatically moved to the In Progress tab.
Once you finish working on the form, click the Back button to exit editable mode and click the Finish Task button. The task will be moved to the Finished section and available for you to review.
Feel free to contact us at support@fluix.io with any questions or comments.