


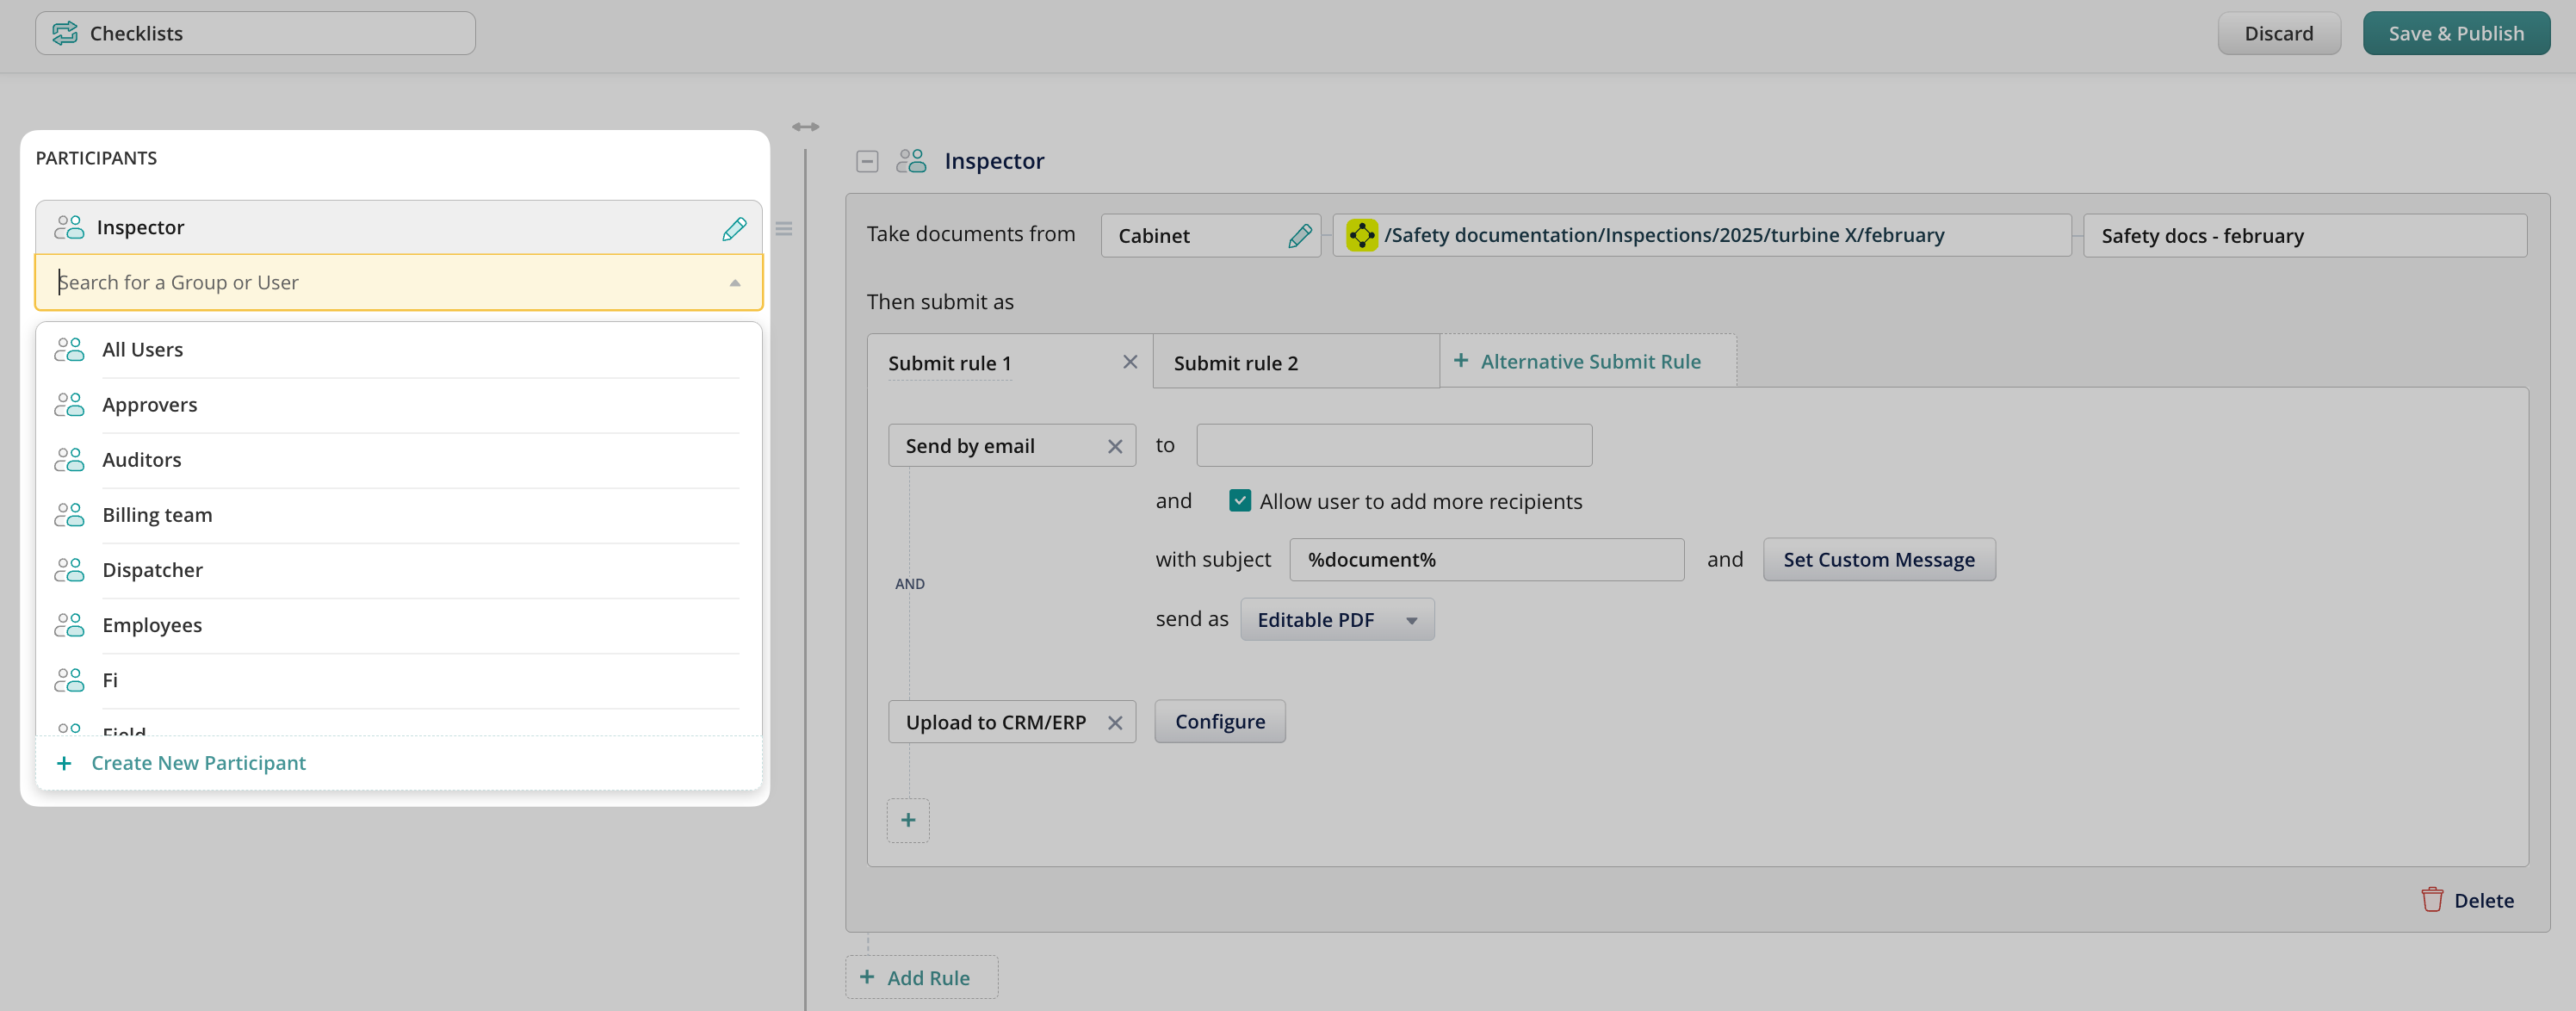
The first step in creating a workflow is adding participants. You can select either single users or groups of users. To apply the workflow to all users in the account, select All Users:
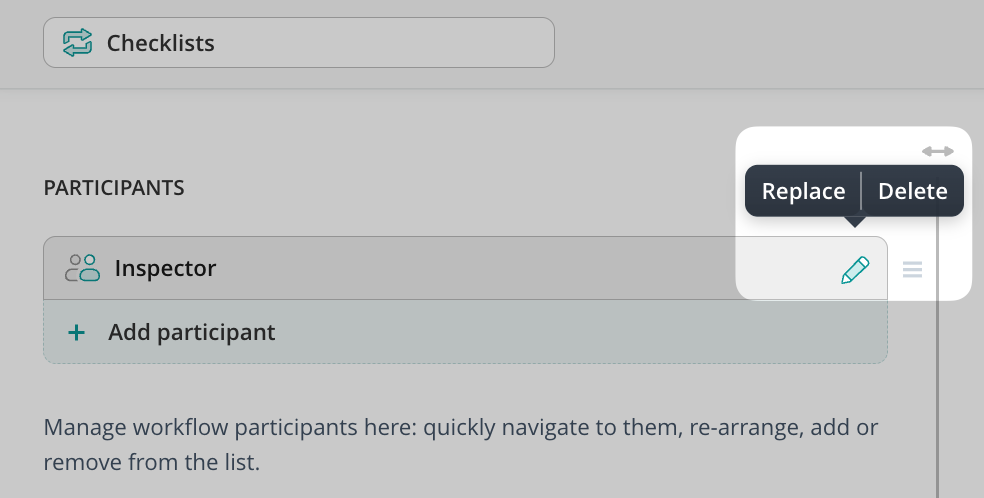
Once the participants are added, in the left-hand sidebar, you will see a list, which you can alter by dragging blocks around, replacing, deleting, or adding new participants:
Name the Workflow
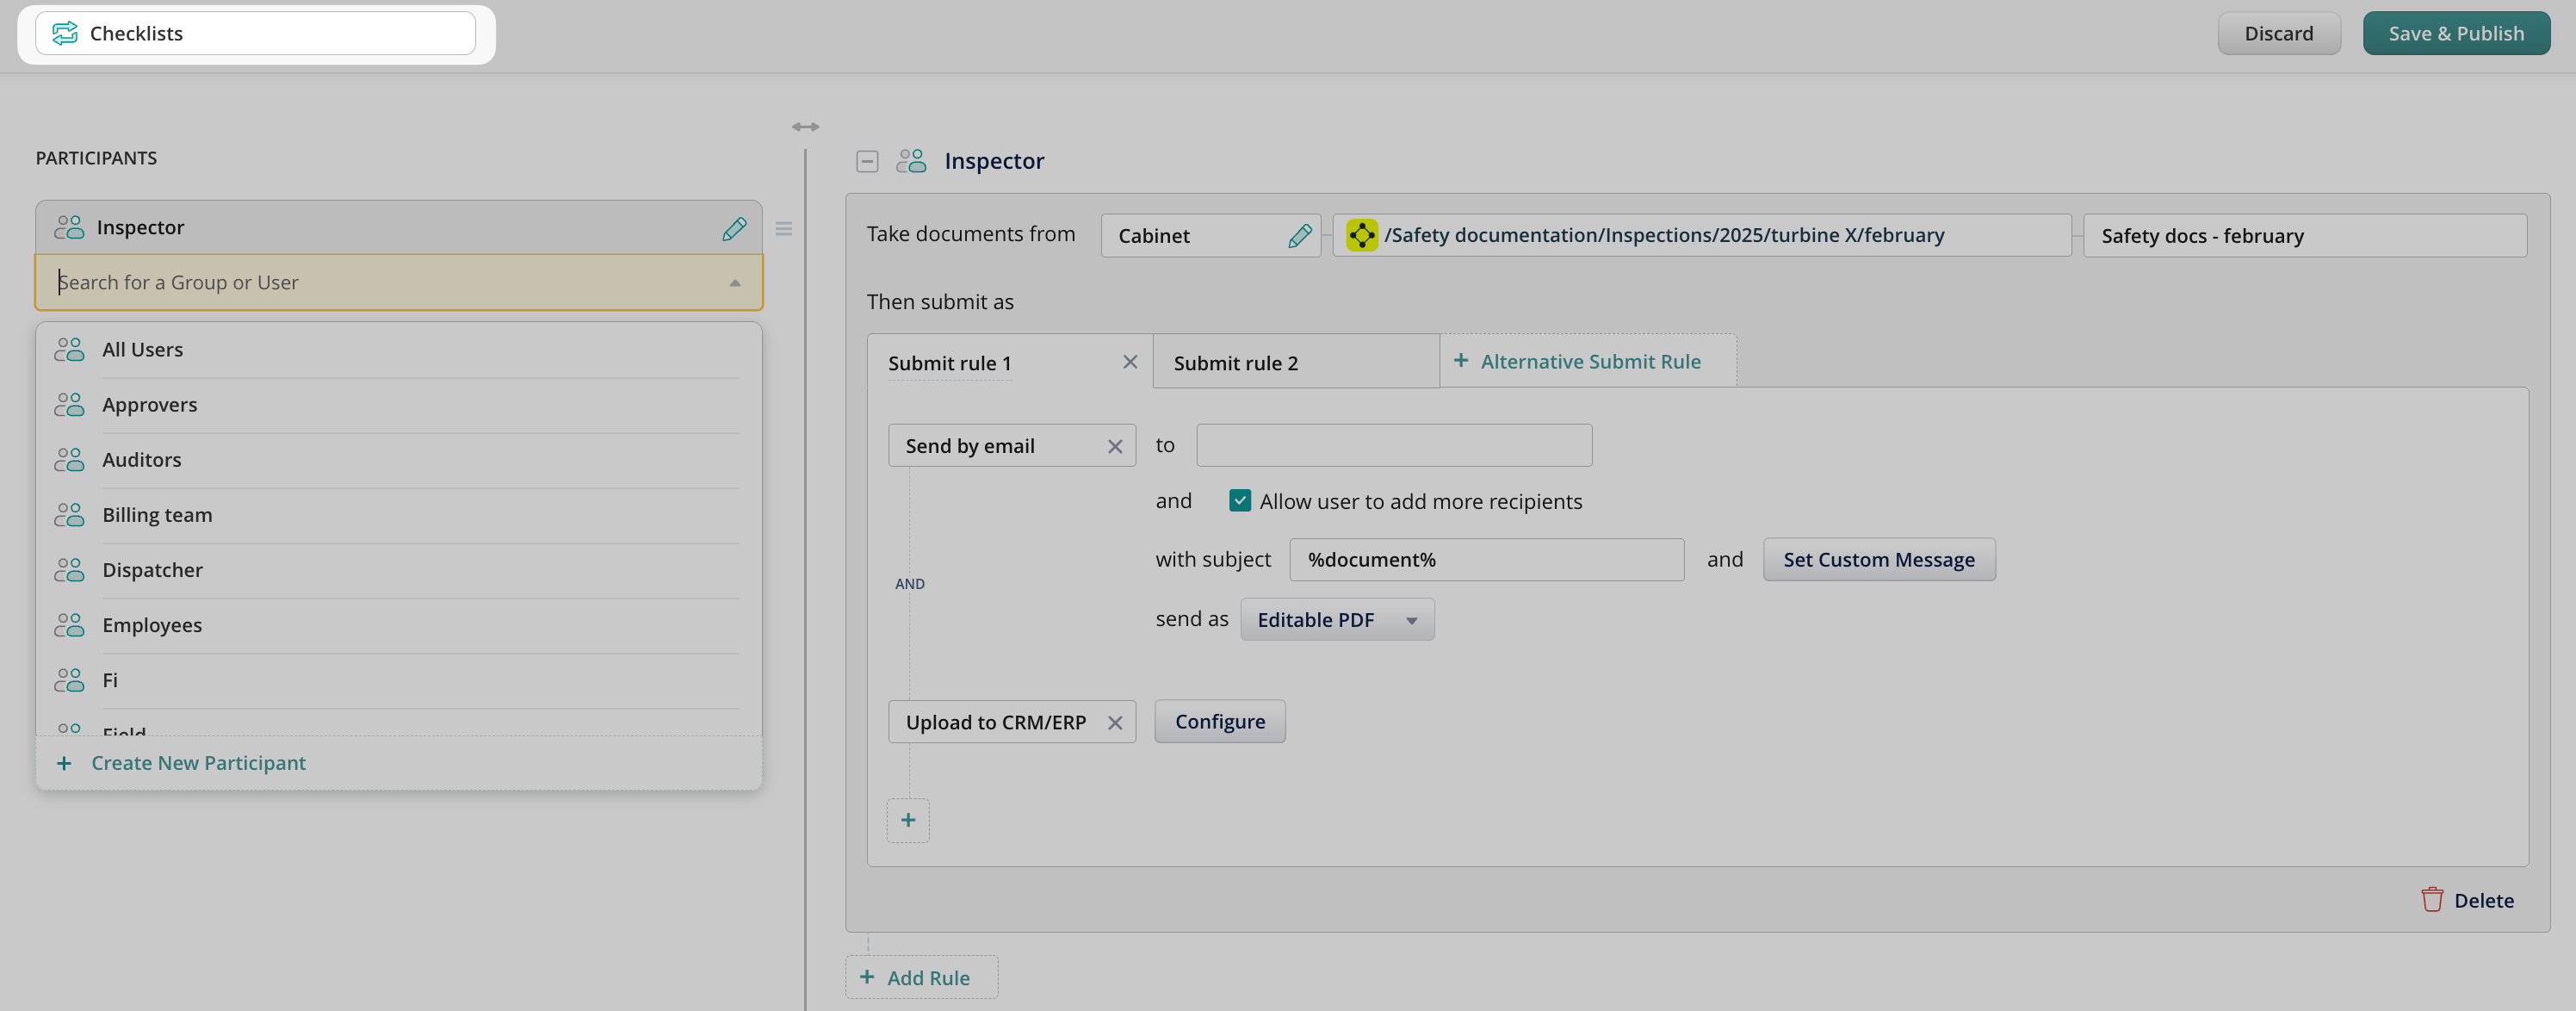
In the top left corner, type in the workflow name. The name will be visible only to the admins; the end-users won’t see it on their devices.
Once ready, the next step is to create a submit rule for the selected participant. Please, proceed to the following article, Determining document sources for details.
Check what you can do with Fluix. Explore features