


Fluix is a web and mobile-based cloud platform that helps teams set up digital document management and workflow automation. In this integration, Fluix serves as an electronic data capture system.
Smartsheet is a web—and mobile-based project management platform that enables teams and organizations to plan, automate, and manage projects and workflows in a centralized manner. It provides tools for project management, reporting, automation, and collaboration.
What Fluix + Smartsheet integration does
Fluix and Smartsheet are seamless integrations that allow streamlined data management and efficient project tracking, ultimately improving project outcomes.
After a team member fills out the form in the Fluix app, the relevant data is automatically transferred to the Smartsheet, making it accessible to everyone on the team for further use and processing.
Note: Integration requires a Core account in Fluix and an account in Smartsheet. However, to try the integration, you can register for free trial accounts in all tools.
Let’s look into how the data collection between Fluix and Smartsheet can be automated using a Share to Integrations feature while building a workflow.
Step 1 – Create the repetitive process in Fluix
Navigate to the Fluix admin portal’s Workflows section to create a new workflow. Drag and drop a User task to the working area and configure it by adding fillable forms and assigning them to the team that will work on it regularly. Make sure that you have added yourself to the group of users so that you can test the setup later.
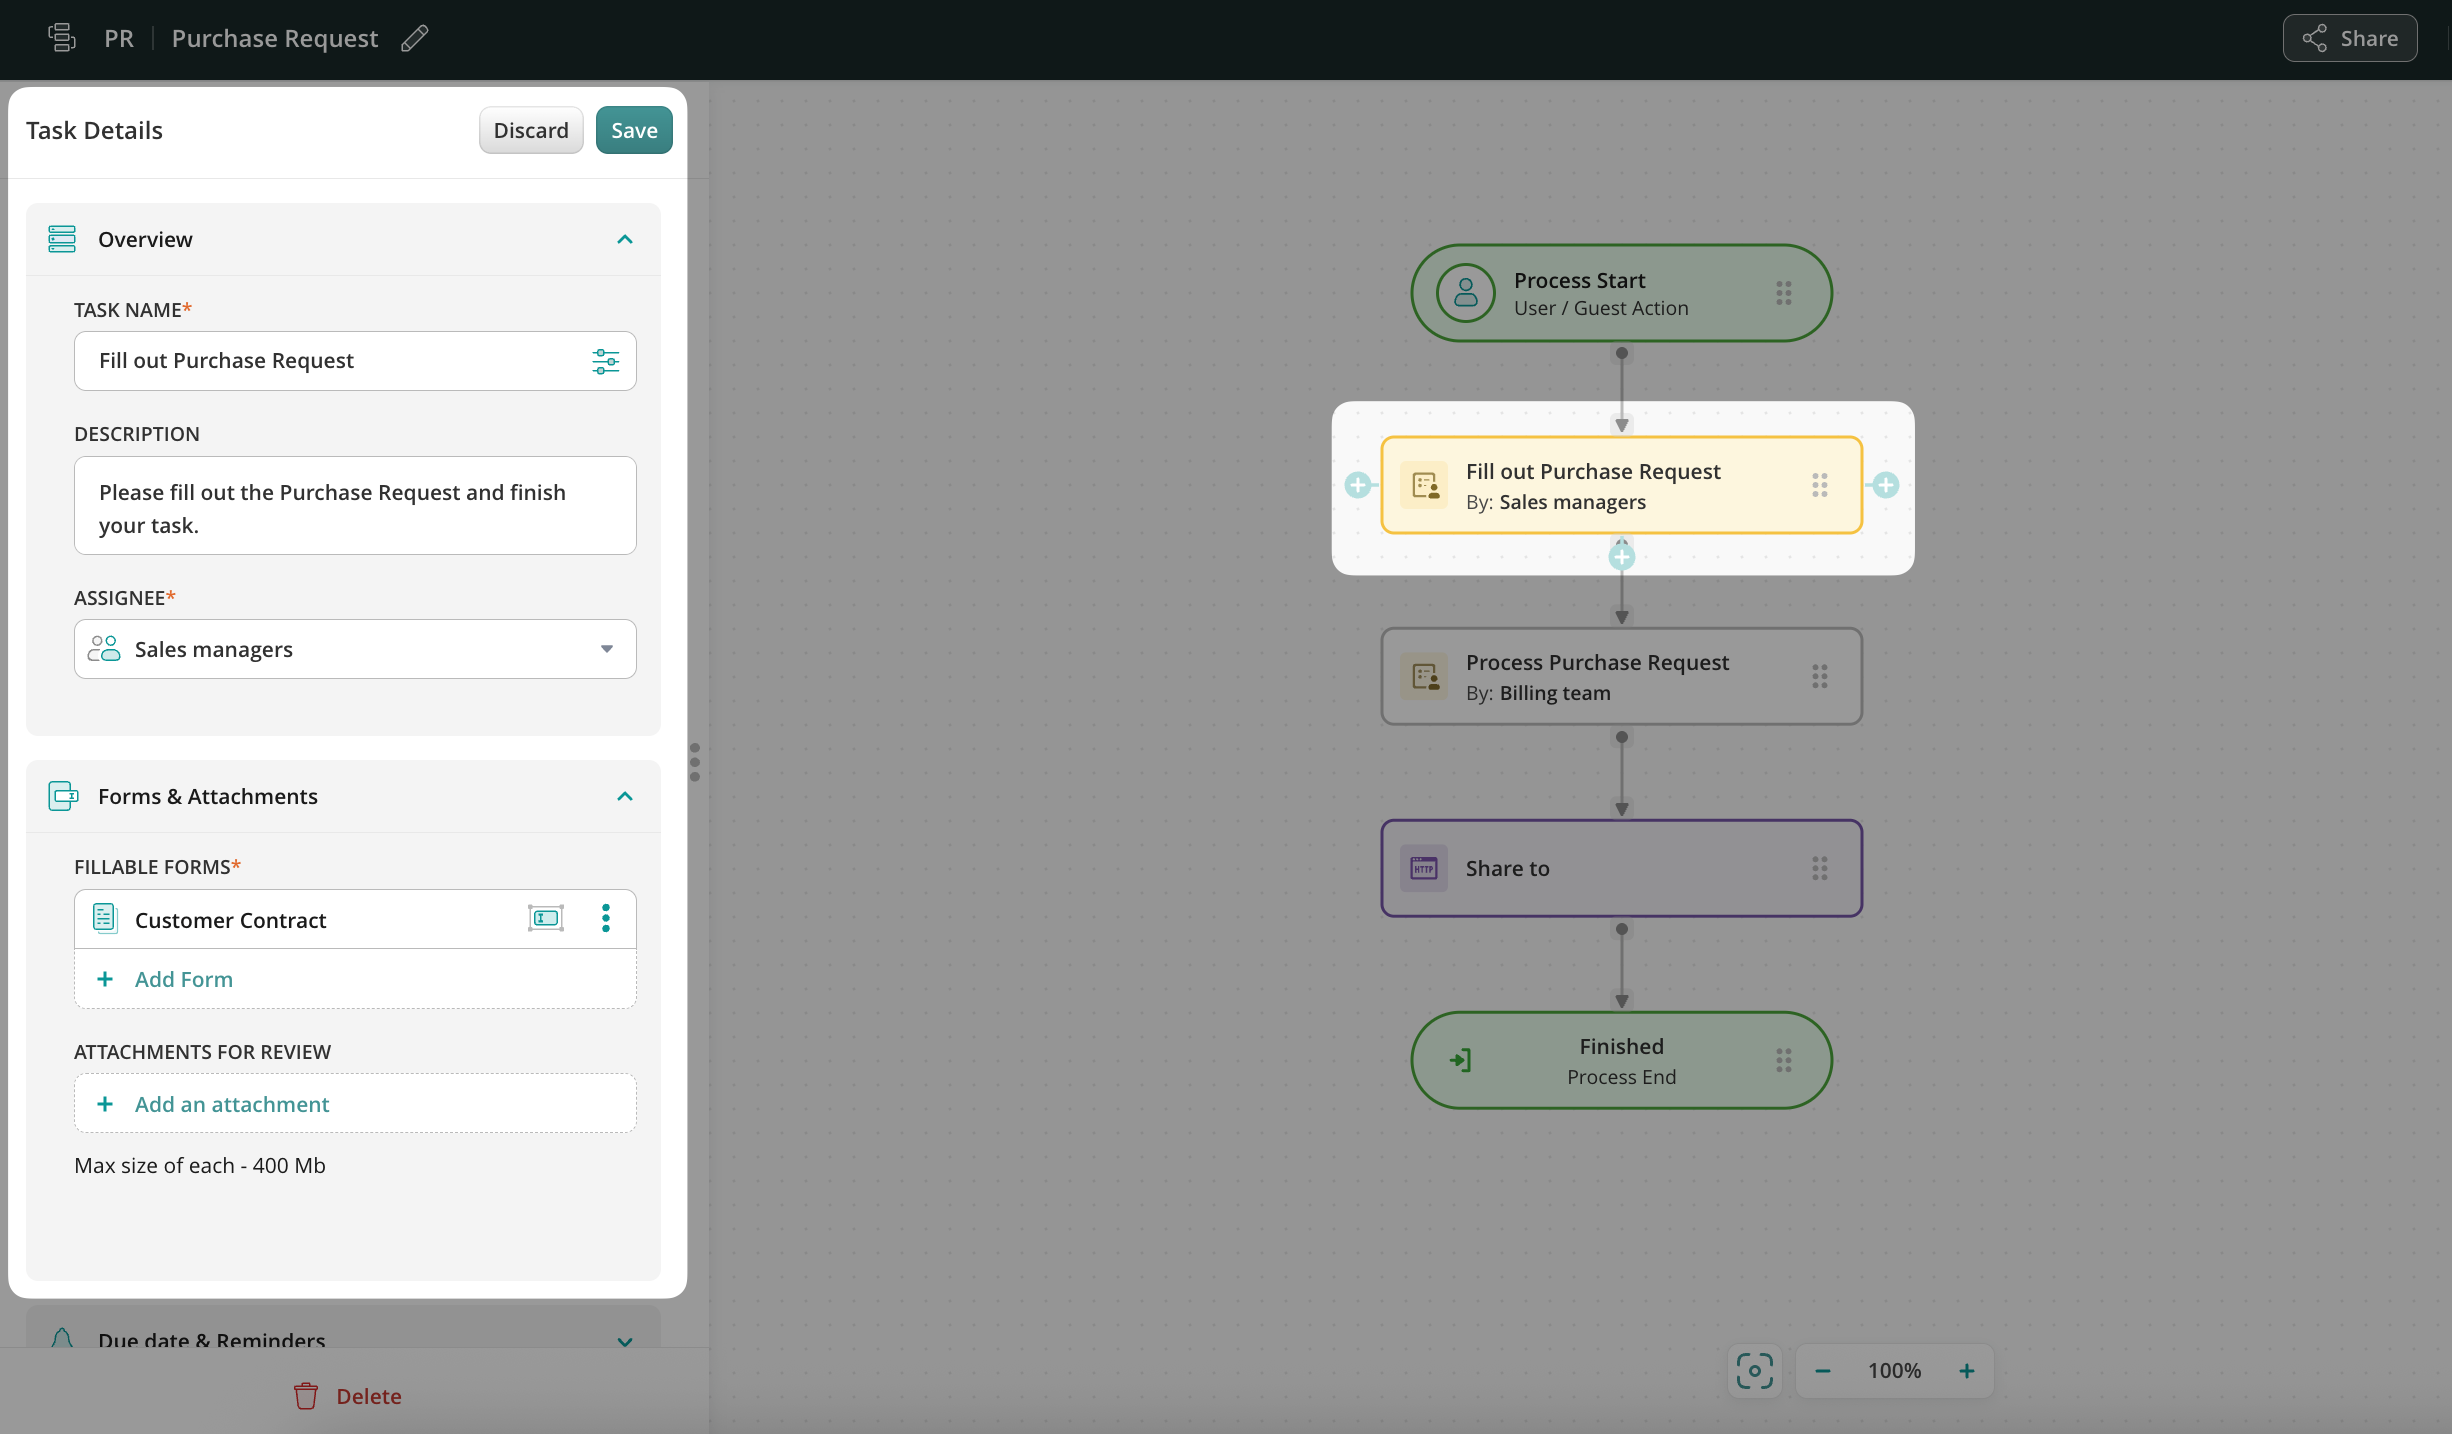
Step 2 – Connecting Fluix with Smartsheet
Drag and drop Share to submit action to the workflow builder chart and connect it with the task that your team will be working on.
Click on the Share to element, select Smartsheet from the list of available Integrations, and click Add an account button in order to add a new account.
Upon redirecting to the Smartsheet authorization page, you may authorize your account by filling out the email address registered in your Smartsheet account or use an option to continue authorization with Google, Microsoft, and Apple accounts.
Step 3 – Configure the data extraction
In the Sheet field, select the table from your Smartsheet account where you would like to extract data from the submitted forms.
In the Columns field, you can Add Columns from your Smartsheet table and pre-configure which values will be added to under which columns by using dynamic values. To do so, click on the configuration icon to open a dynamic values configurator, and select the values from the list.
Confirm your action by clicking Save in the upper right corner of the sidebar.
Step 4 – Save and test the setup
Click Save & Publish in the upper right corner to save the workflow. Open the user app on your mobile device or switch to User Mode in the upper left corner of the admin portal. Navigate to the task you configured, fill in the form, and finish the task.
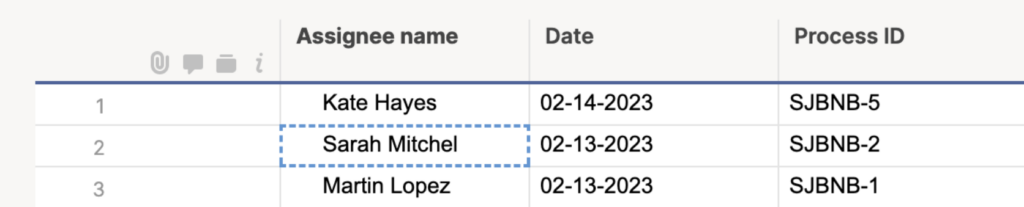
Once the task is finished, the data from the form will appear in a new line of the respective Sheet according to the configuration of the dynamic value pre-configured in the workflow. An example of the line added to the Smartsheet table is below.
In case you have any questions or difficulties with setup, contact our support at support@fluix.io and we’ll be happy to help you.