


Stay up-to-date on your task list and be on the same page with your team by allowing Fluix to automatically create and organize cards in Trello.
Trello is a collaboration tool that organizes your projects into boards.
Integration of Fluix and Trello allows you to create new cards on a board automatically upon each submit of a form that is filled out in the Fluix app.
A 3-step integration is as simple as a piece of cake, you will need only two portions of it: the Fluix workflow and the Trello board.
Step 1: Create a Trello board
Before getting started with integration, you need to create a Trello board where the cards are going to be created. If you are going to use the already existing board, go straight to Step 2
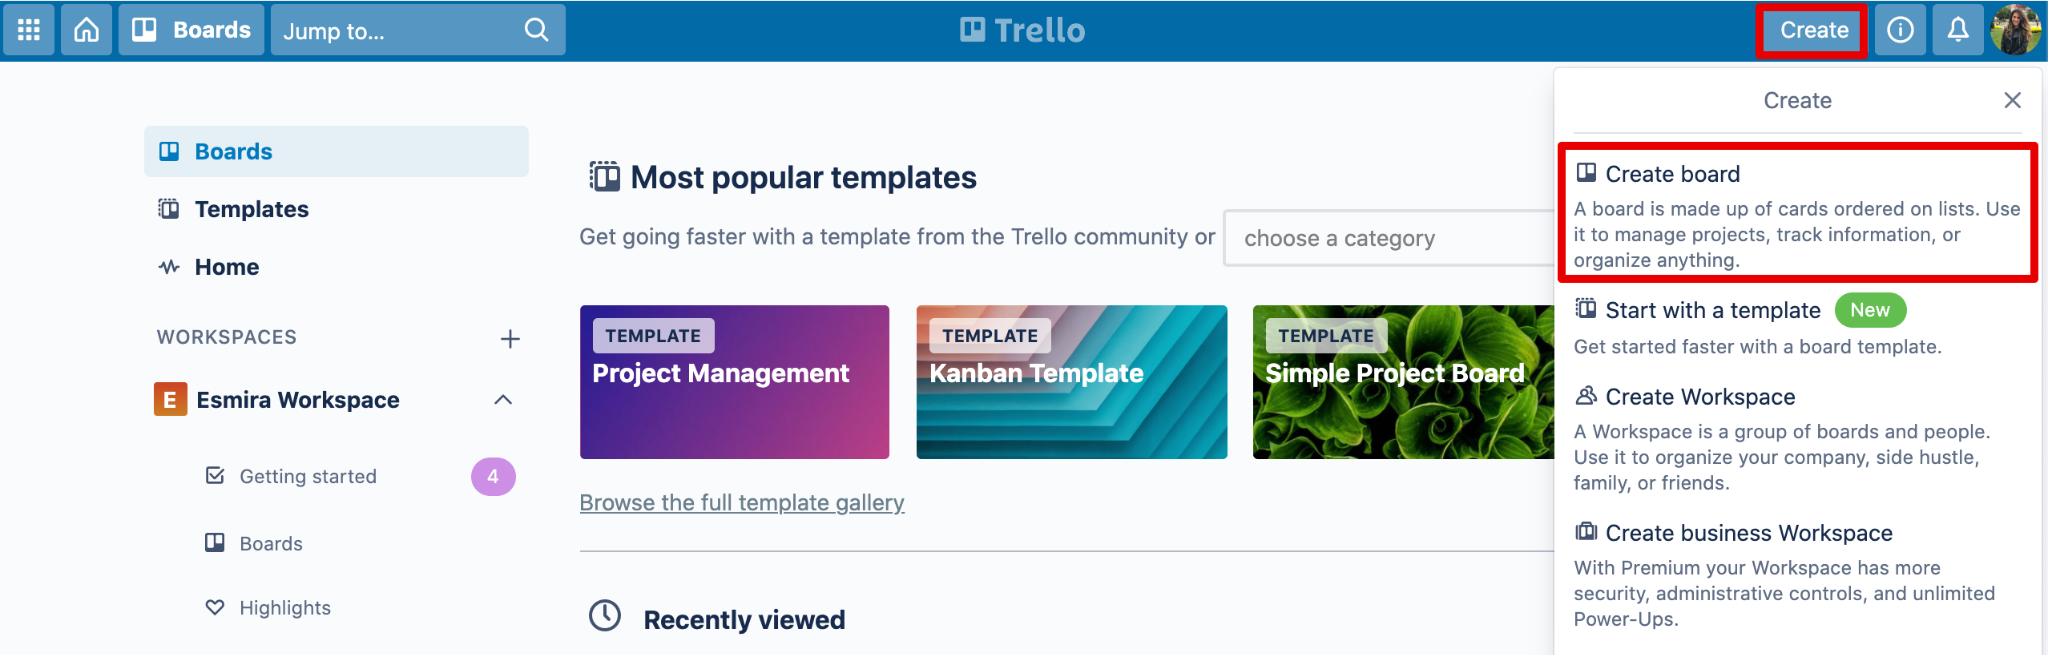
- 1. Click Create in the header and select Create Board in the drop-down menu.
- 2. Enter a name for your new board, select the Workspace that it should be associated with. You can select an existing Workspace for the board, or, create a new Workspace. Once done, click Create Board.

- 3. Click Add a list or double-click any open space on your board to add a new list.

Step 2: Configure an email address for the board
Each Trello board has a unique email address that will be used for connecting Fluix with Trello.
- 1. Open the Menu in the right sidebar, select More, and then Email-to-board settings.

- 2. The email address that was automatically generated by Trello, will be used in the Fluix workflow. Here you can also select the list in which the emailed card will be created and the position in which the cards will appear (on the top or at the bottom of the list).

Step 3: Configure a workflow in Fluix
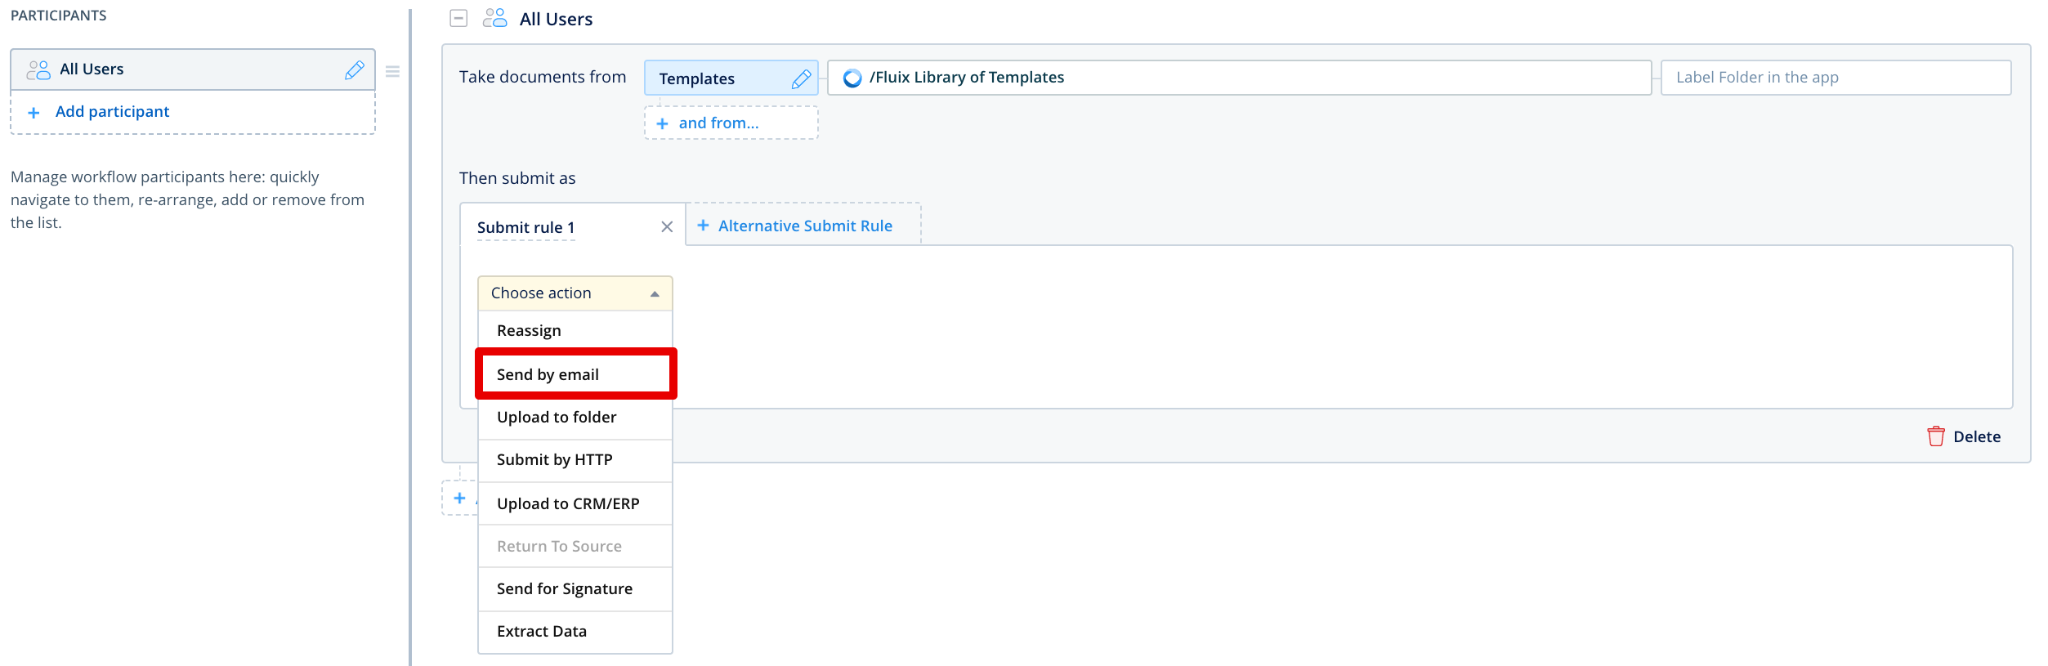
- 1. Create a workflow in Fluix for the documents that need to be filled out and then attached to the Trello cards. If you already have such a workflow, add a new Send by email submit rule:
- 2. Insert the email copied from the Trello board to the recipient’s field in the workflow and specify the subject of the email.
Note: The subject of the email becomes the card’s title, therefore, for your convenience, to be able to distinguish the cards you may use the keyword “%document%” that will transform the name of the form submitted in Fluix to the name of the card.

Additionally, the body of the email becomes the card’s description. Set a custom message in case you would like to add some more information to the description. The filled document will be added as an attachment to the card, thus, make sure to select the needed PDF format.
Additional Formatting tips
When the card is created in Trello, the labels and the members of your team can be added to the card automatically.
For adding labels to the cards, add #labelname, #labelcolor, or #labelnumber to the subject in Fluix.
- If your label consists of two or more words, in the subject line either join the words or use underscores between the words. For example, if your label is named To Do in the subject line of your email either enter #ToDo or #To_Do for the label to render properly on your card.
- If you have multiple labels on a board with the same color or the same name, emailing a board with #color or #name will only add the first label with that color or name to the card.
Members can be added to the card by putting @username in the subject or the body of the email on its own line. Trello users’ email addresses can be also added as “to” or “CC” addresses and they will be added as members of the card. However, in this case, they will also receive this email in their inboxes.
Most documents will be attached to Trello cards just fine. However, there is an overall email size limit (above 10MB) that will prevent documents from being attached to the card.
In case you have any questions or difficulties with setup, contact our support at support@fluix.io and we’ll be happy to help you.
Check other business integrations here.