


Permissions allow being very specific in providing your Fluix team members with the rights to access the Fluix Admin Portal and manage its specific components.
Permissions are managed in the Admin Tab under the More -> Permissions section:
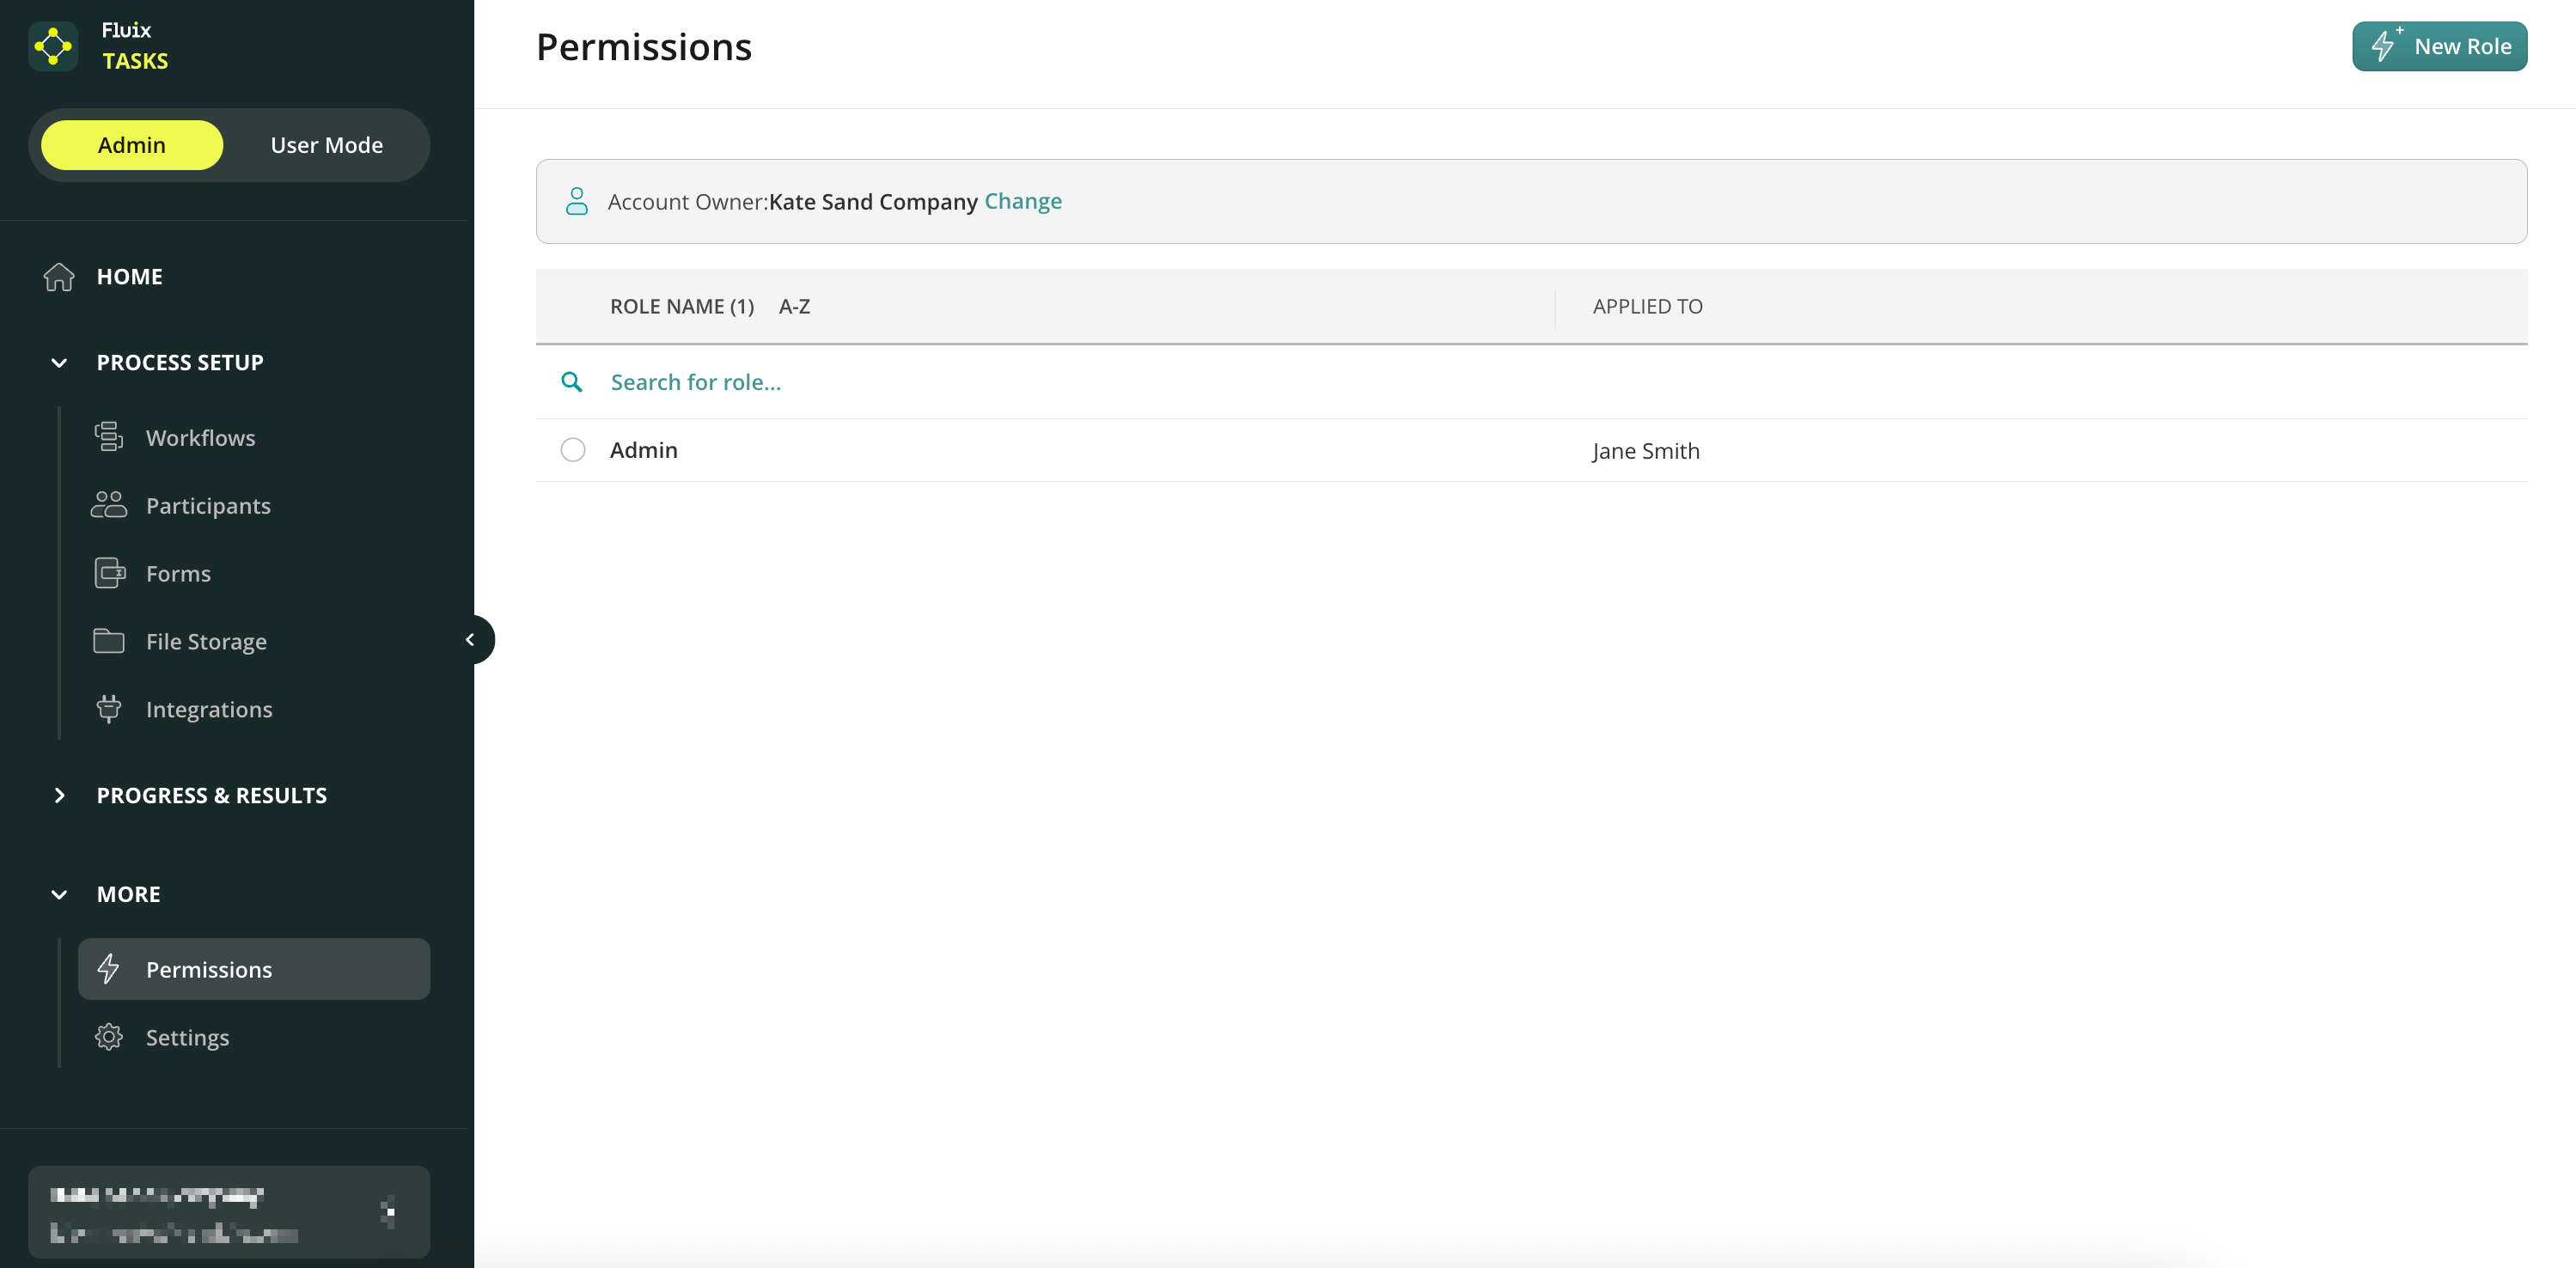
Account Owner
The Fluix Account Owner, the person who registered the Fluix trial account, is listed at the top of the section. By default, the Account Owner has full access to all sections and data in the Fluix account.
If the owner of your Fluix account has changed, contact your Customer Success Manager or support@fluix.io, who will update the records for your account.
Account Admins
Account Admins can be given permission to access specific sections or components of the Admin portal (let’s say, access to Billing or being allowed to add new users to the account) or given full access, the same as an Account Owner.
The Account Owner and Admins with access to Permissions can grant users roles.
Note: Due to security reasons, the admins cannot add users to the role assigned to them or edit their own role.
By providing a user with any role, you make him an Admin. There is no limit to the number of admins in Fluix, but each user can be granted one role only. After doing that, you will not see this user’s name on the list when creating or modifying a role.
Let’s see how to create, edit, duplicate, and delete an admin role. To proceed, please go to the Permission tab under the Setup section of the Admin Portal.
How to Configure and Manage Permissions
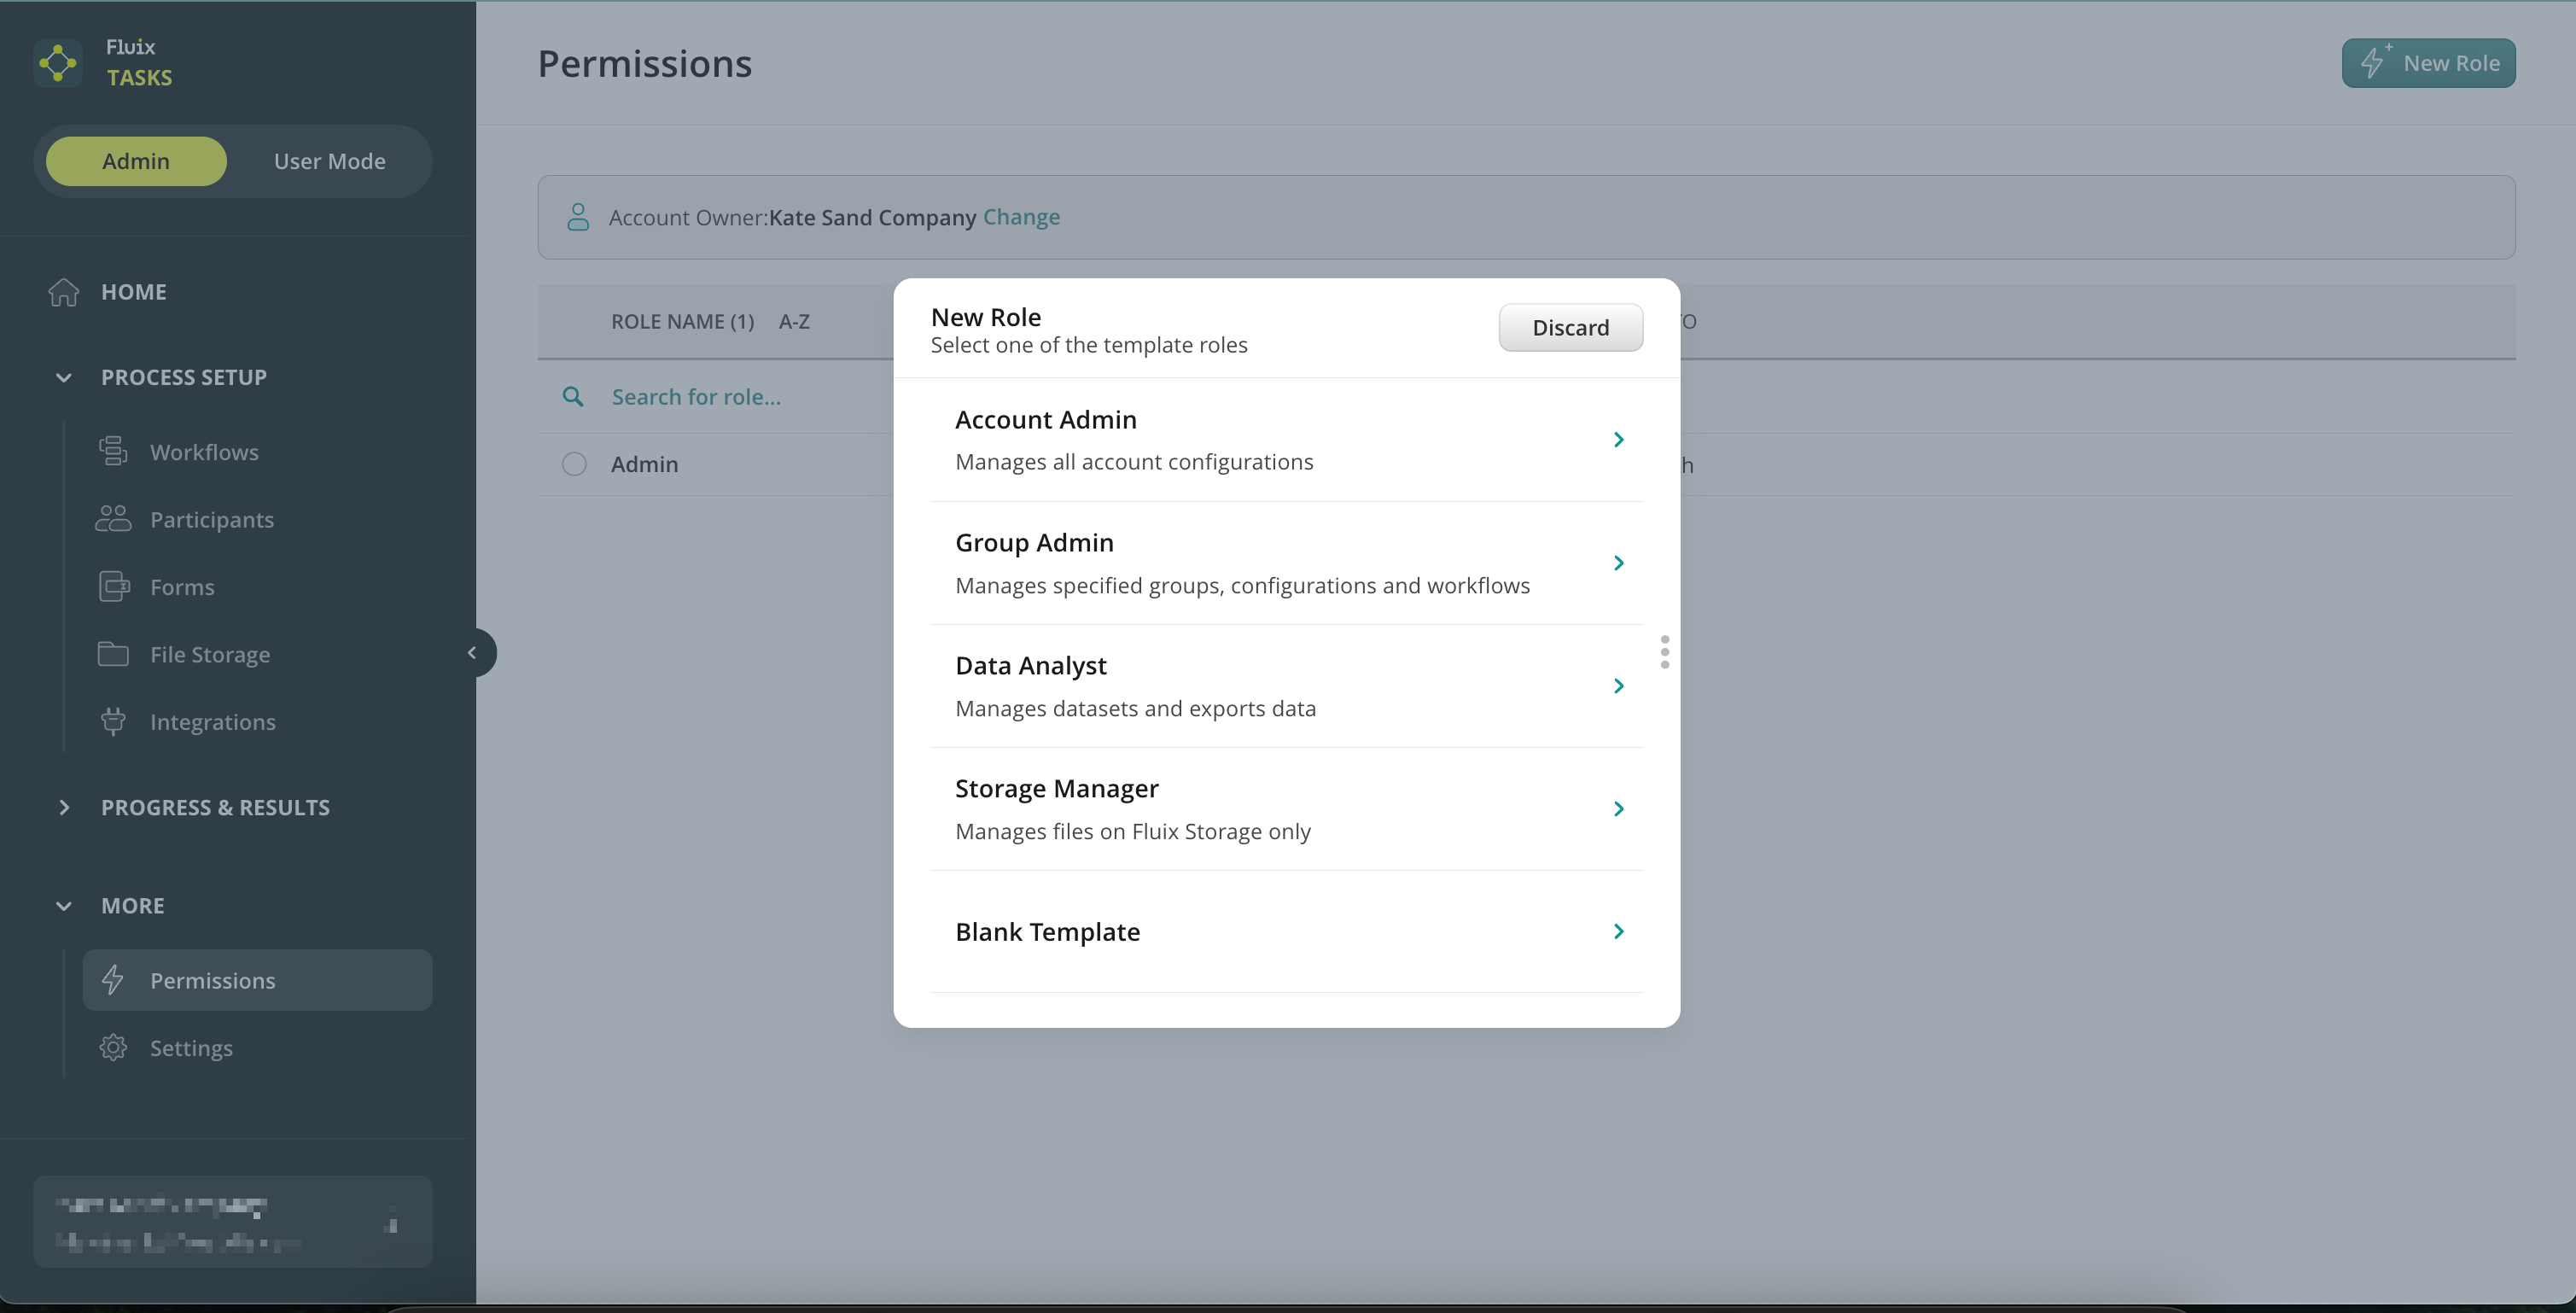
Step 1. Click on the New Role button and select a template from the list or create a custom role from scratch by selecting a Blank Template.
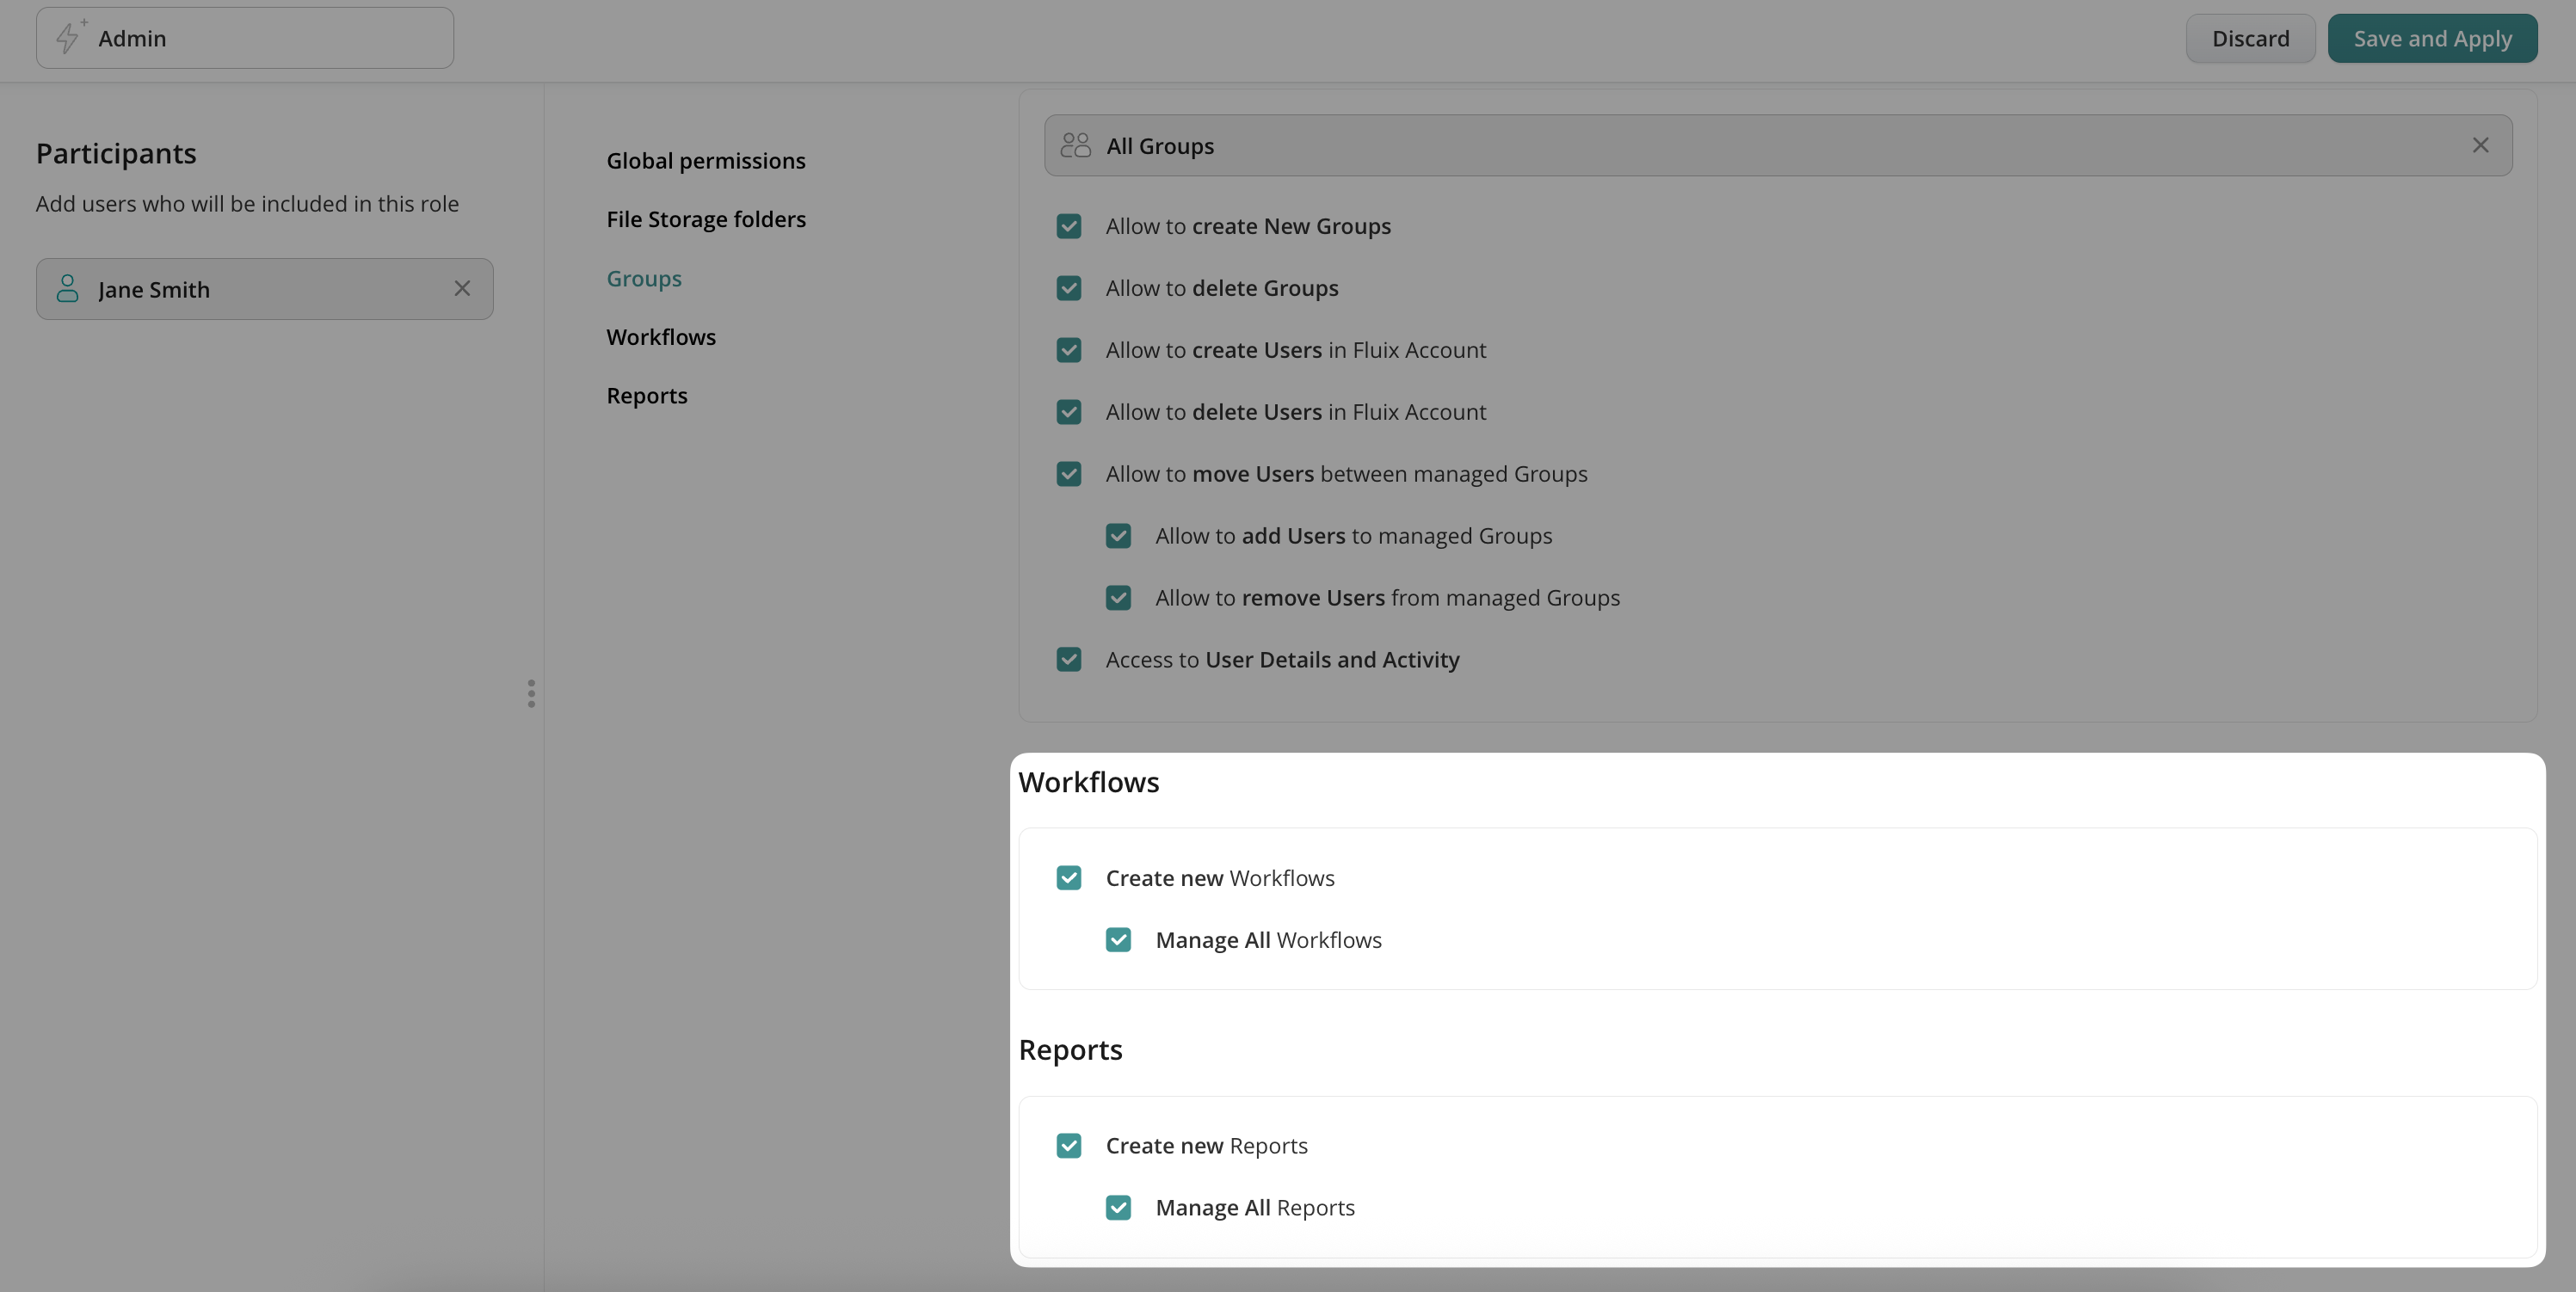
Step 2. Select users to whom the role will be applied. You can choose 1 or multiple users at once.
Step 3. Give a role name in the top left corner.
Step 4. . Grant access rights. Depending on the role you have in mind, you can select the areas in the Admin Portal you want your Admins to have access to. Permissions are organized into five clear categories, so your team members only see and manage what they need:
- Global Permissions—Decide who can access account-wide settings like Billing, Security, and Integrations, and who can assign permissions to others.
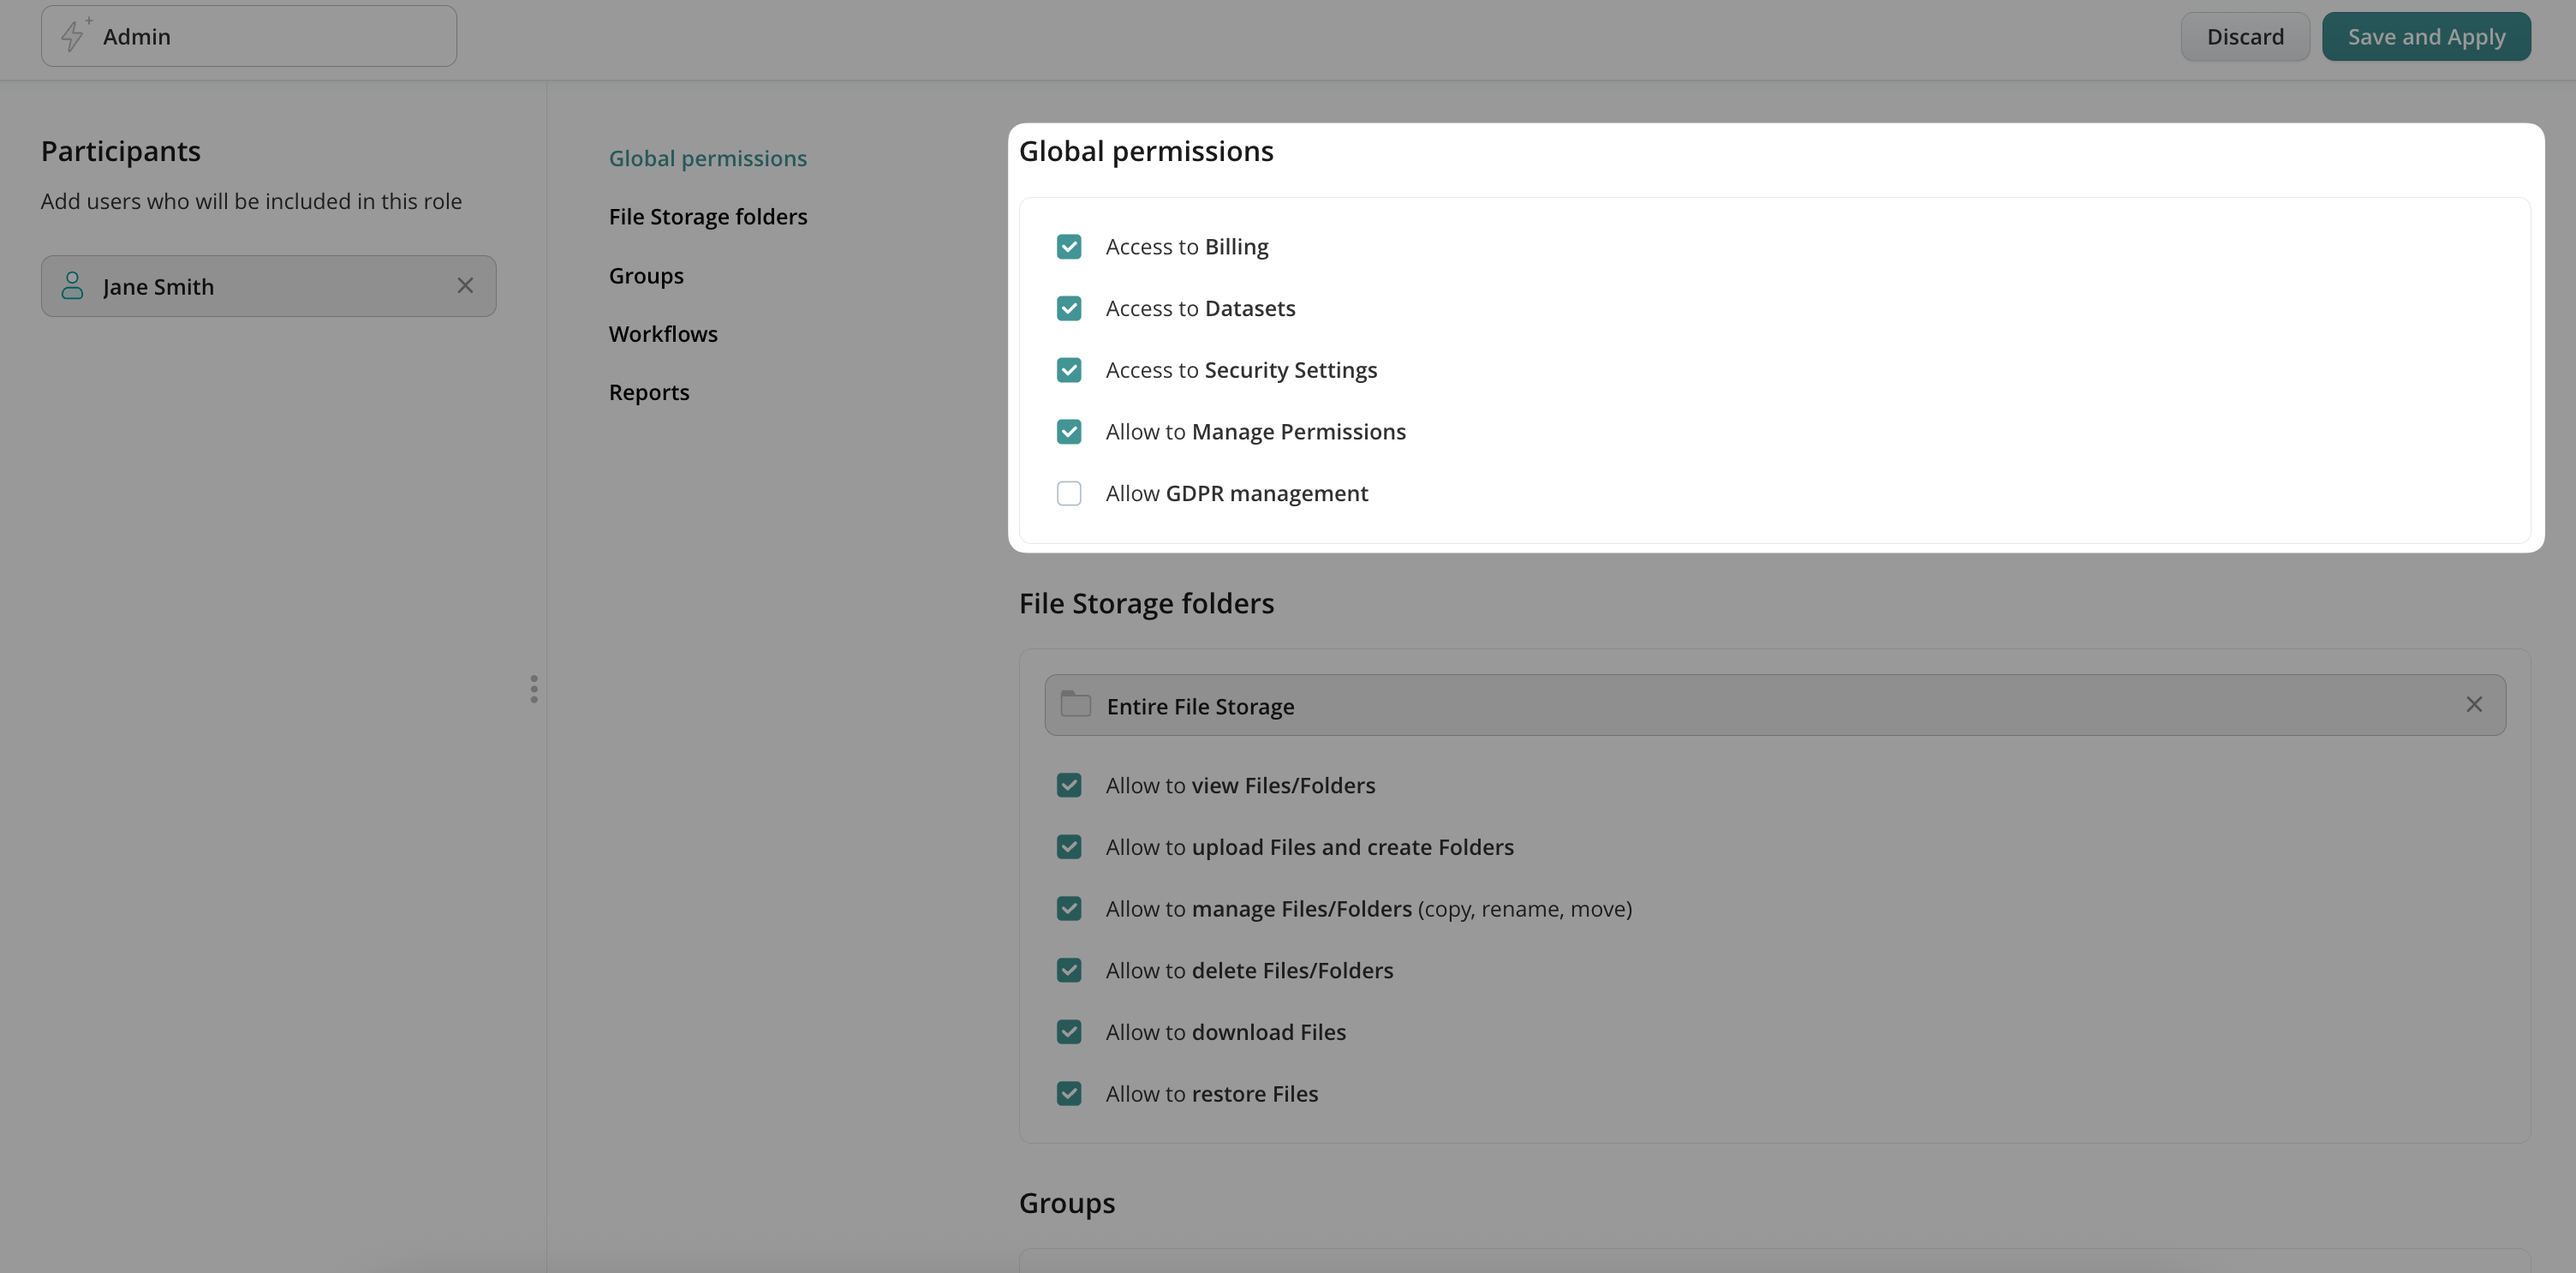
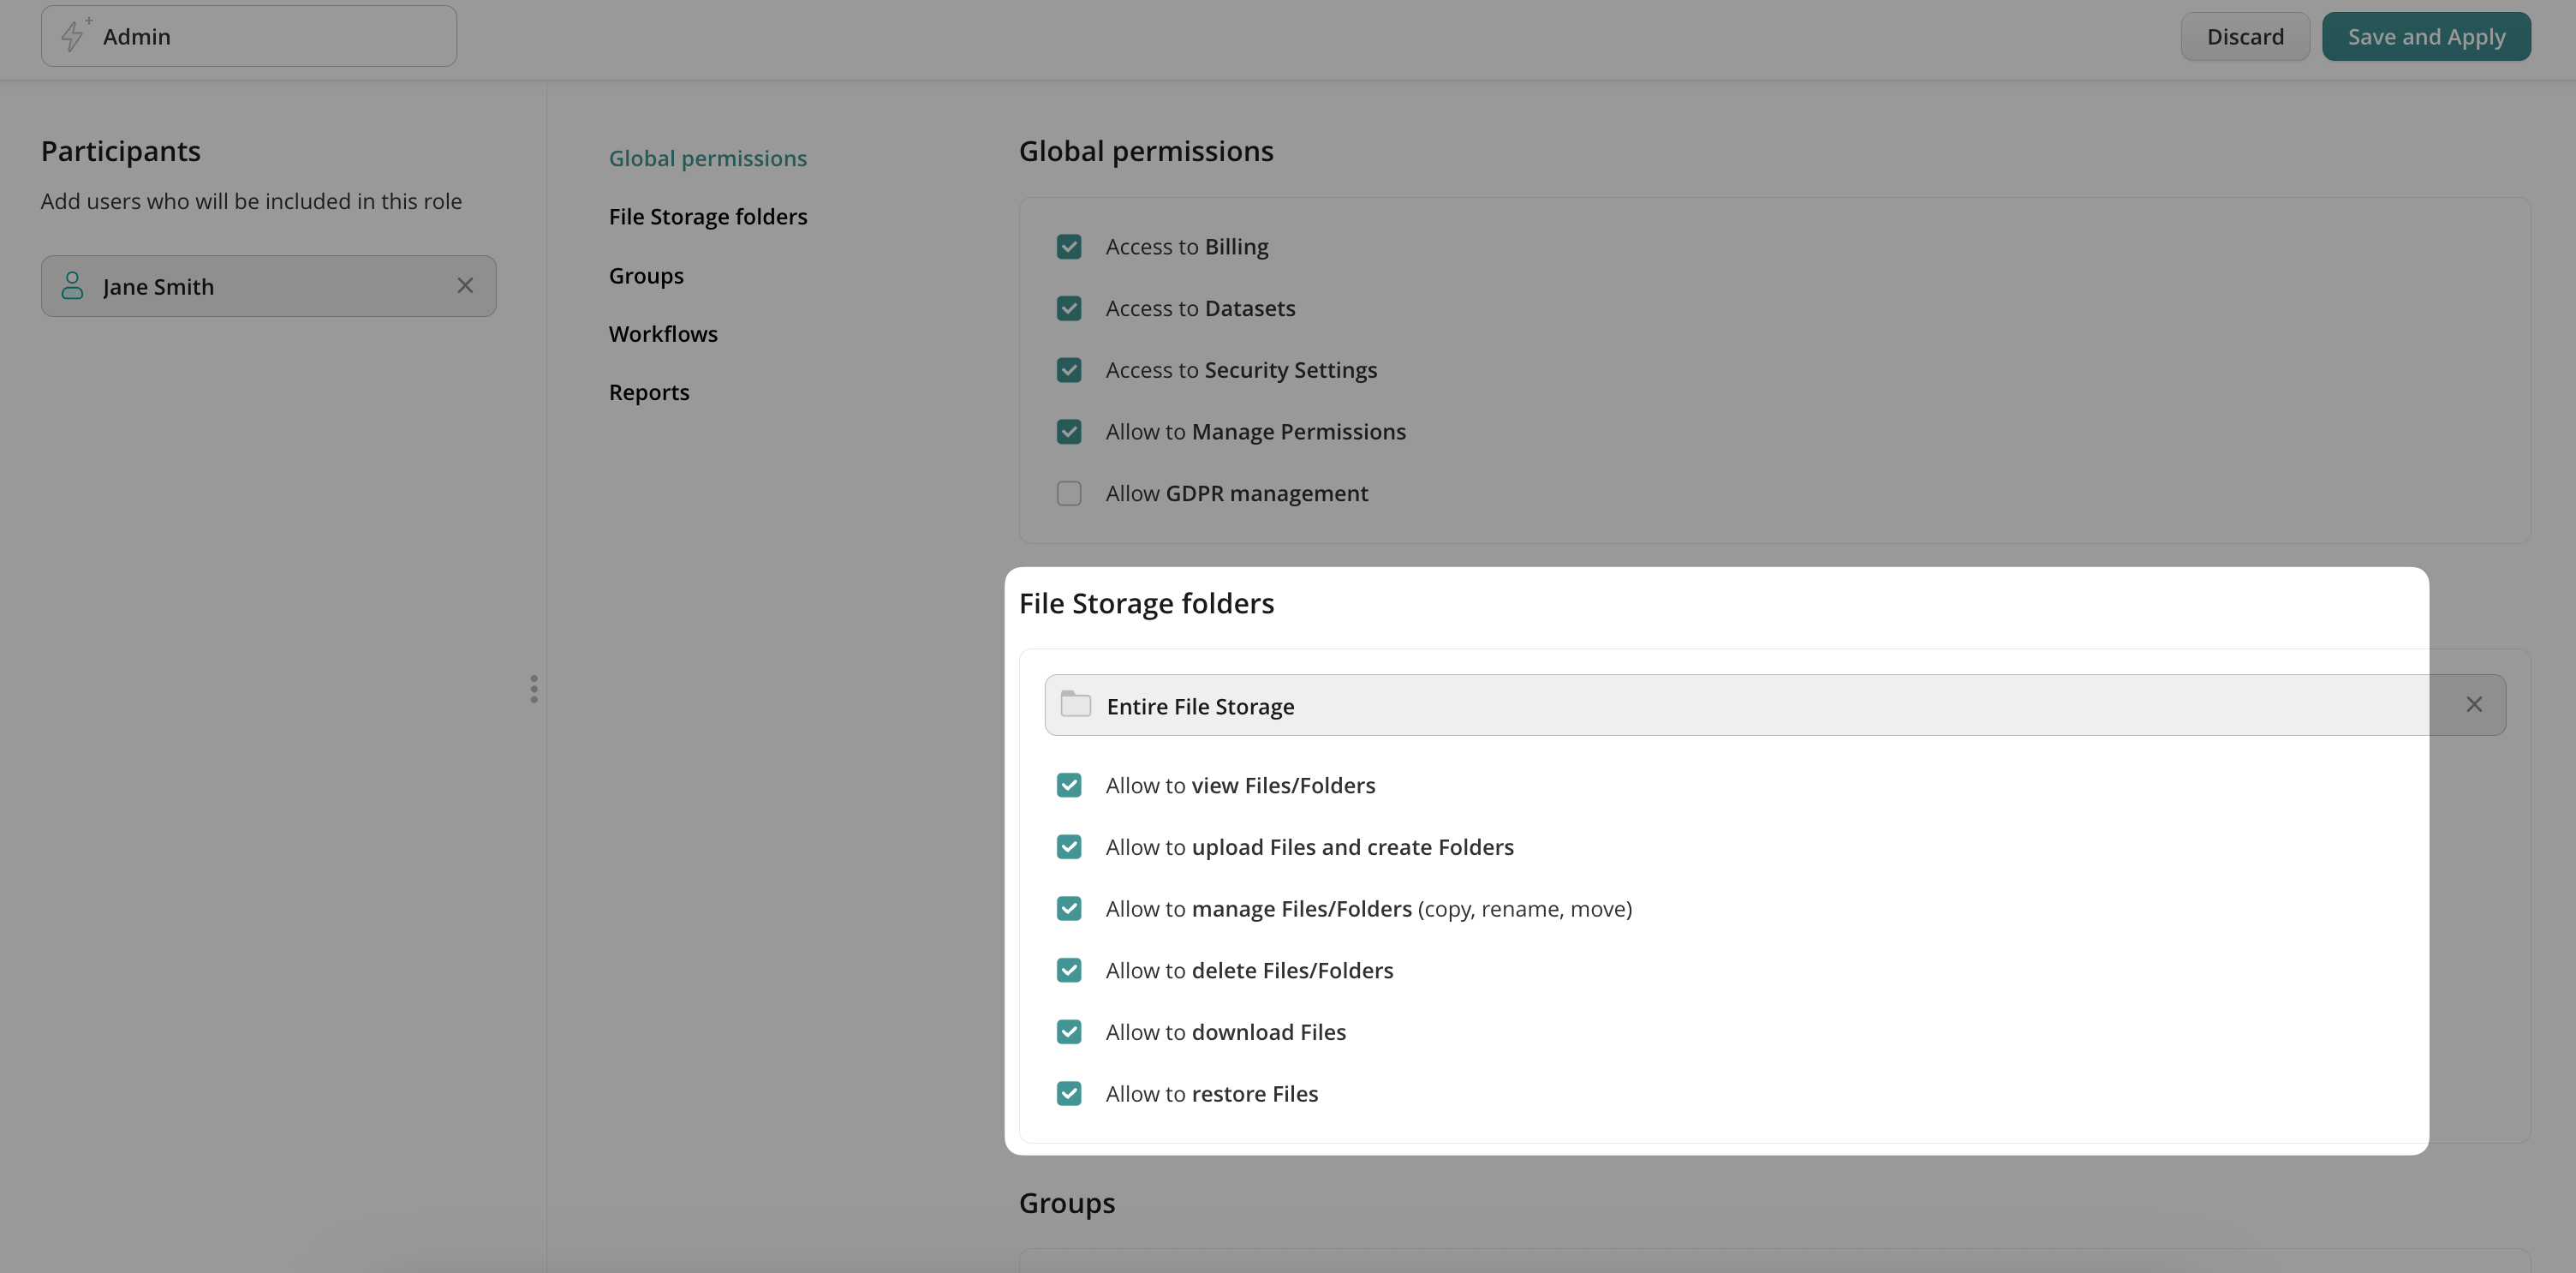
- File Storage folders – Give admins access only to the specific folders related to their projects. This helps prevent accidental changes to files outside their scope.
- Groups – Let admins manage just the user groups they work with. This keeps your account organized and prevents users from being removed by mistake.

- Workflows & Reports – Give admins full control to create and manage taskstreams, making them the owners. They can then easily share them with others in the Fluix team—either with view-only or editing access. Want to dive deeper? Check out our feature tutorial on Taskstream and Report ownership.
- Step 5. Save and apply changes.
How to Edit, Duplicate, and Delete Permissions
To change the scope of the role, select it and click Edit Role.
To add a user to an existing role, open a role and select one on the left-hand side under Add User.
To duplicate a role with the same list of permissions, select it and click Duplicate Role. A new role will be created with the clone tab in the name. Rename it and add users to finish the setup.
To remove the role, select it and click Delete.
If you have any questions about setup, contact our team at support@fluix.io, and we’ll be happy to help.