


This article describes how to connect Fluix to SharePoint Lists. Such integration helps to better structure files that participate in Fluix workflows.
Files, located in any folders in SharePoint can be attributed with certain tags called Columns. When synced to Fluix workflows, these files are grouped in folders named by columns, regardless of the actual folder structure in Sharepoint.
Step 1 – Creating file and column structure in SharePoint
- Open an existing SharePoint list or create a new one that you will use in Fluix workflows.
- Create a list of columns (tags) that will be applied to files. To do this, click Add Column.
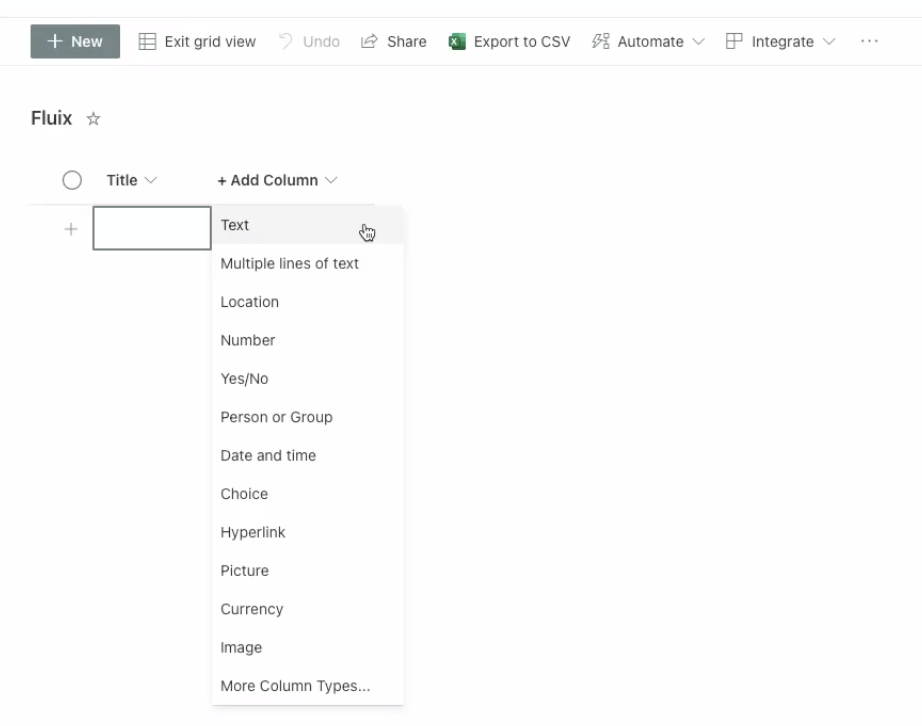
- Type of columns supported in Fluix:
– Text. Limitation: 255 symbols by default, can be changed in tag settings;
– Number. Limitation: numbers only;
– Choice.
– MultiChoice. If several columns are selected for the file, it will sync to the respective folders in Fluix workflow
– Yes/No.
E.g. We chose the Text column and called it Site. In the type dropdown you can create a choice of sites and name them. In our example we called them Odessa, London and New York:
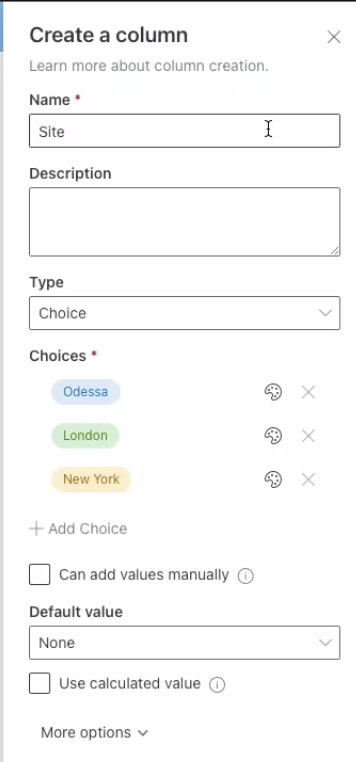
We also created two more columns called Project and Task.
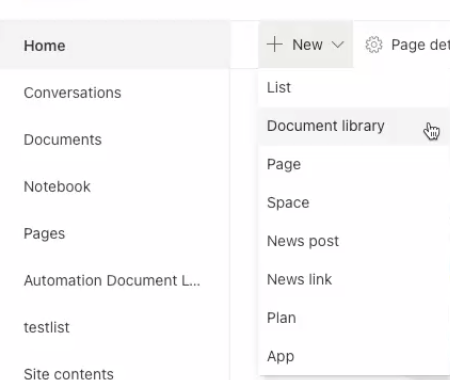
- Create a Document Library and upload files there. To do that, click Home, New, Document library:
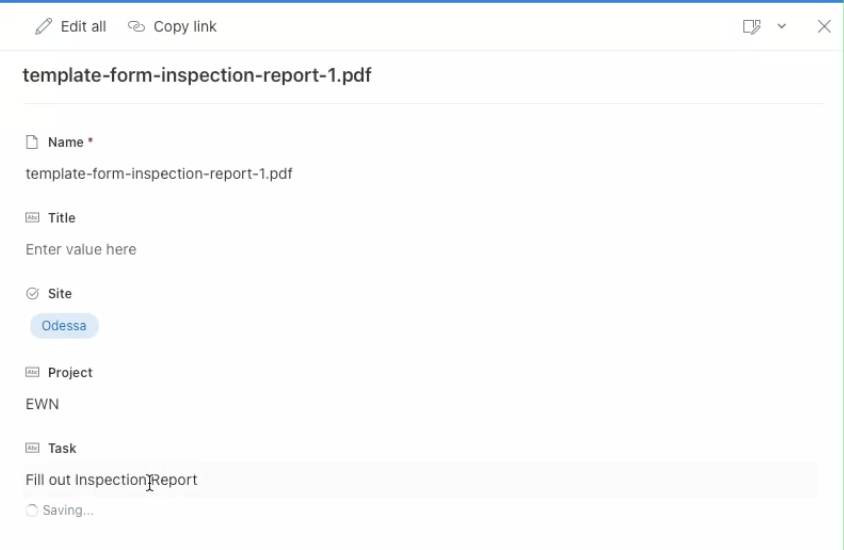
- Once the files are uploaded, you can assign columns, or also called properties:
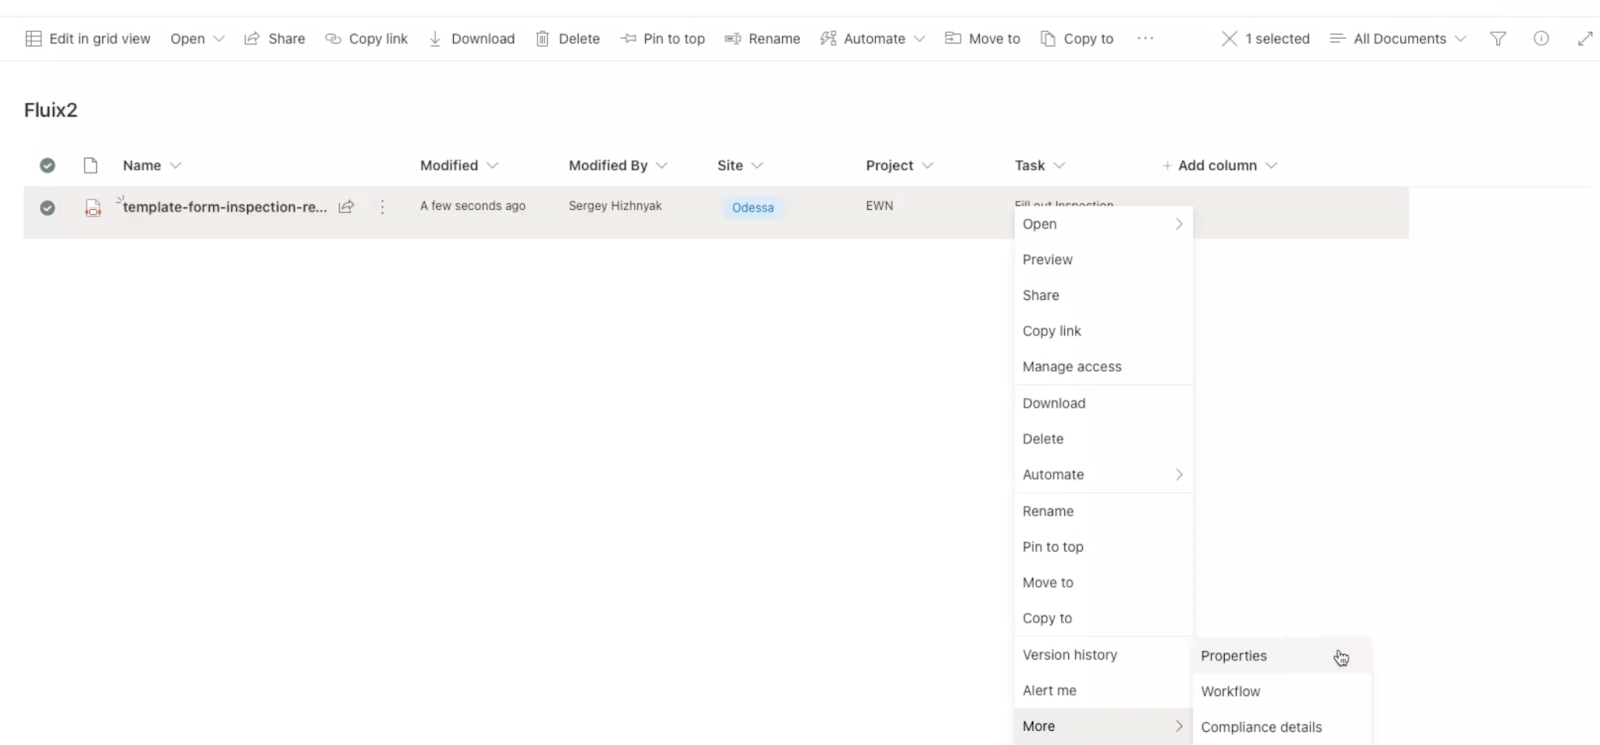
In our example, we used all three columns we created earlier: Site, Project and entered the Task name:
Step 2 – Connecting Sharepoint List storage to Fluix
- Log into the Fluix admin portal and navigate to the Workflow Setup section, Integrations tab.
- Click Connect Storage and choose SharePoint List.
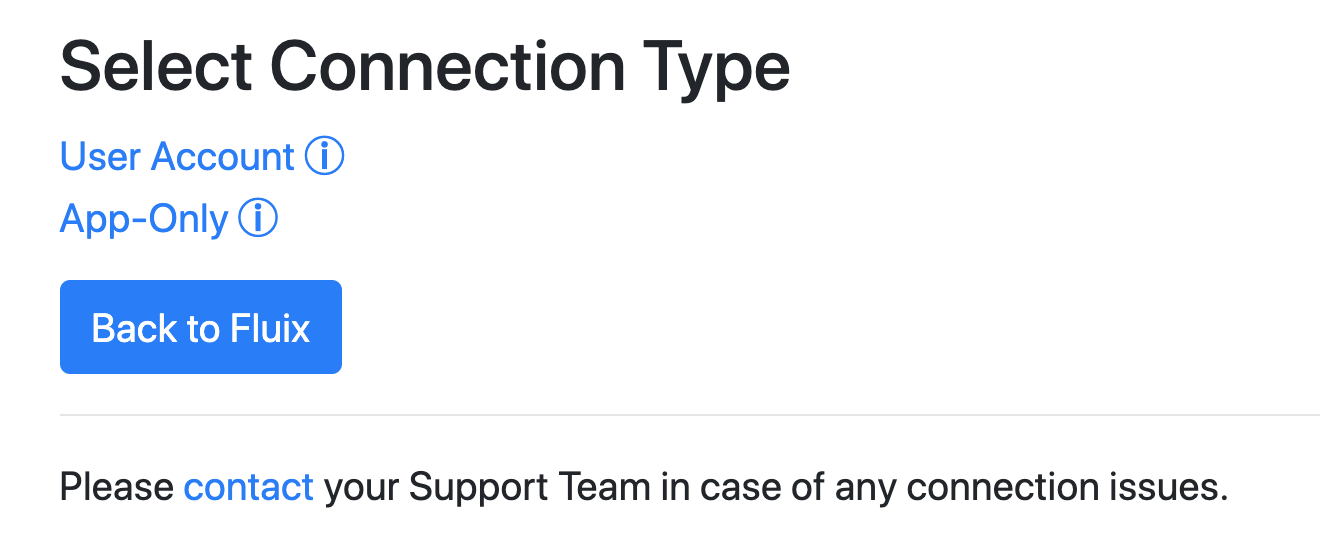
- Select User Account (based on permissions of an individual user in SharePoint) or App-Only as a more secure one.
- Enter credentials to your SharePoint account
- Choose SharePoint Site.
- Choose a list you created in SharePoint
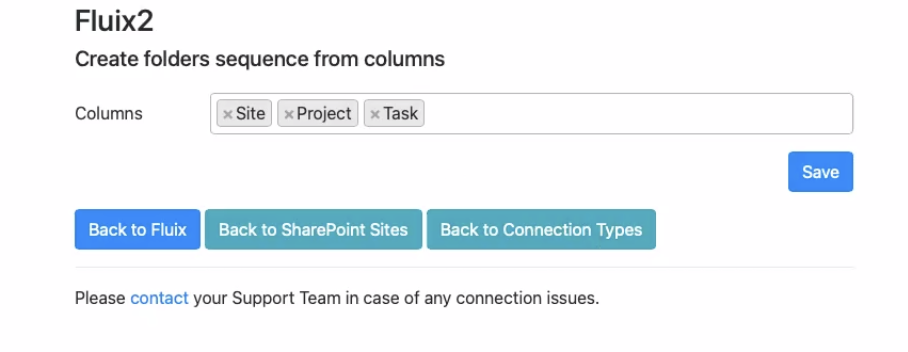
- Select columns names needed that will form the folder hierarchy and click Save
Step 3 – Configuring Workflow in Fluix
In the Fluix admin portal, in the Workflow setup section, the Workflows tab edit an existing or create a new workflow.
Choose SharePoint as document source or as destination point for the documents completed in Fluix.
If the folder is selected as document source:
Choose the file path. In our case we it is /Site/Odessa/Project/EWN/Task/Fill out Inspection Report/template-form-inspection-report-1.pdf

If the folder is selected as document source, the files completed in Fluix will be uploaded to SharePoint List with the respective columns (tags). In our case: Site – Odessa, project – EWN, Task – Fill out inspection report.

Click Save & Publish to save changes to a workflow.
Step 4 – Testing Setup
As a participant of a workflow, go to the User app in web browser, or app on device. There you will see an appeared folder with the form inside.
/Site/Odessa/Project/EWN/Task/Fill out Inspection Report/template-form-inspection-report-1.pdf
In case you have any questions or difficulties with setup, contact our support at support@fluix.io and we’ll be happy to help you.
Check other business integrations here.