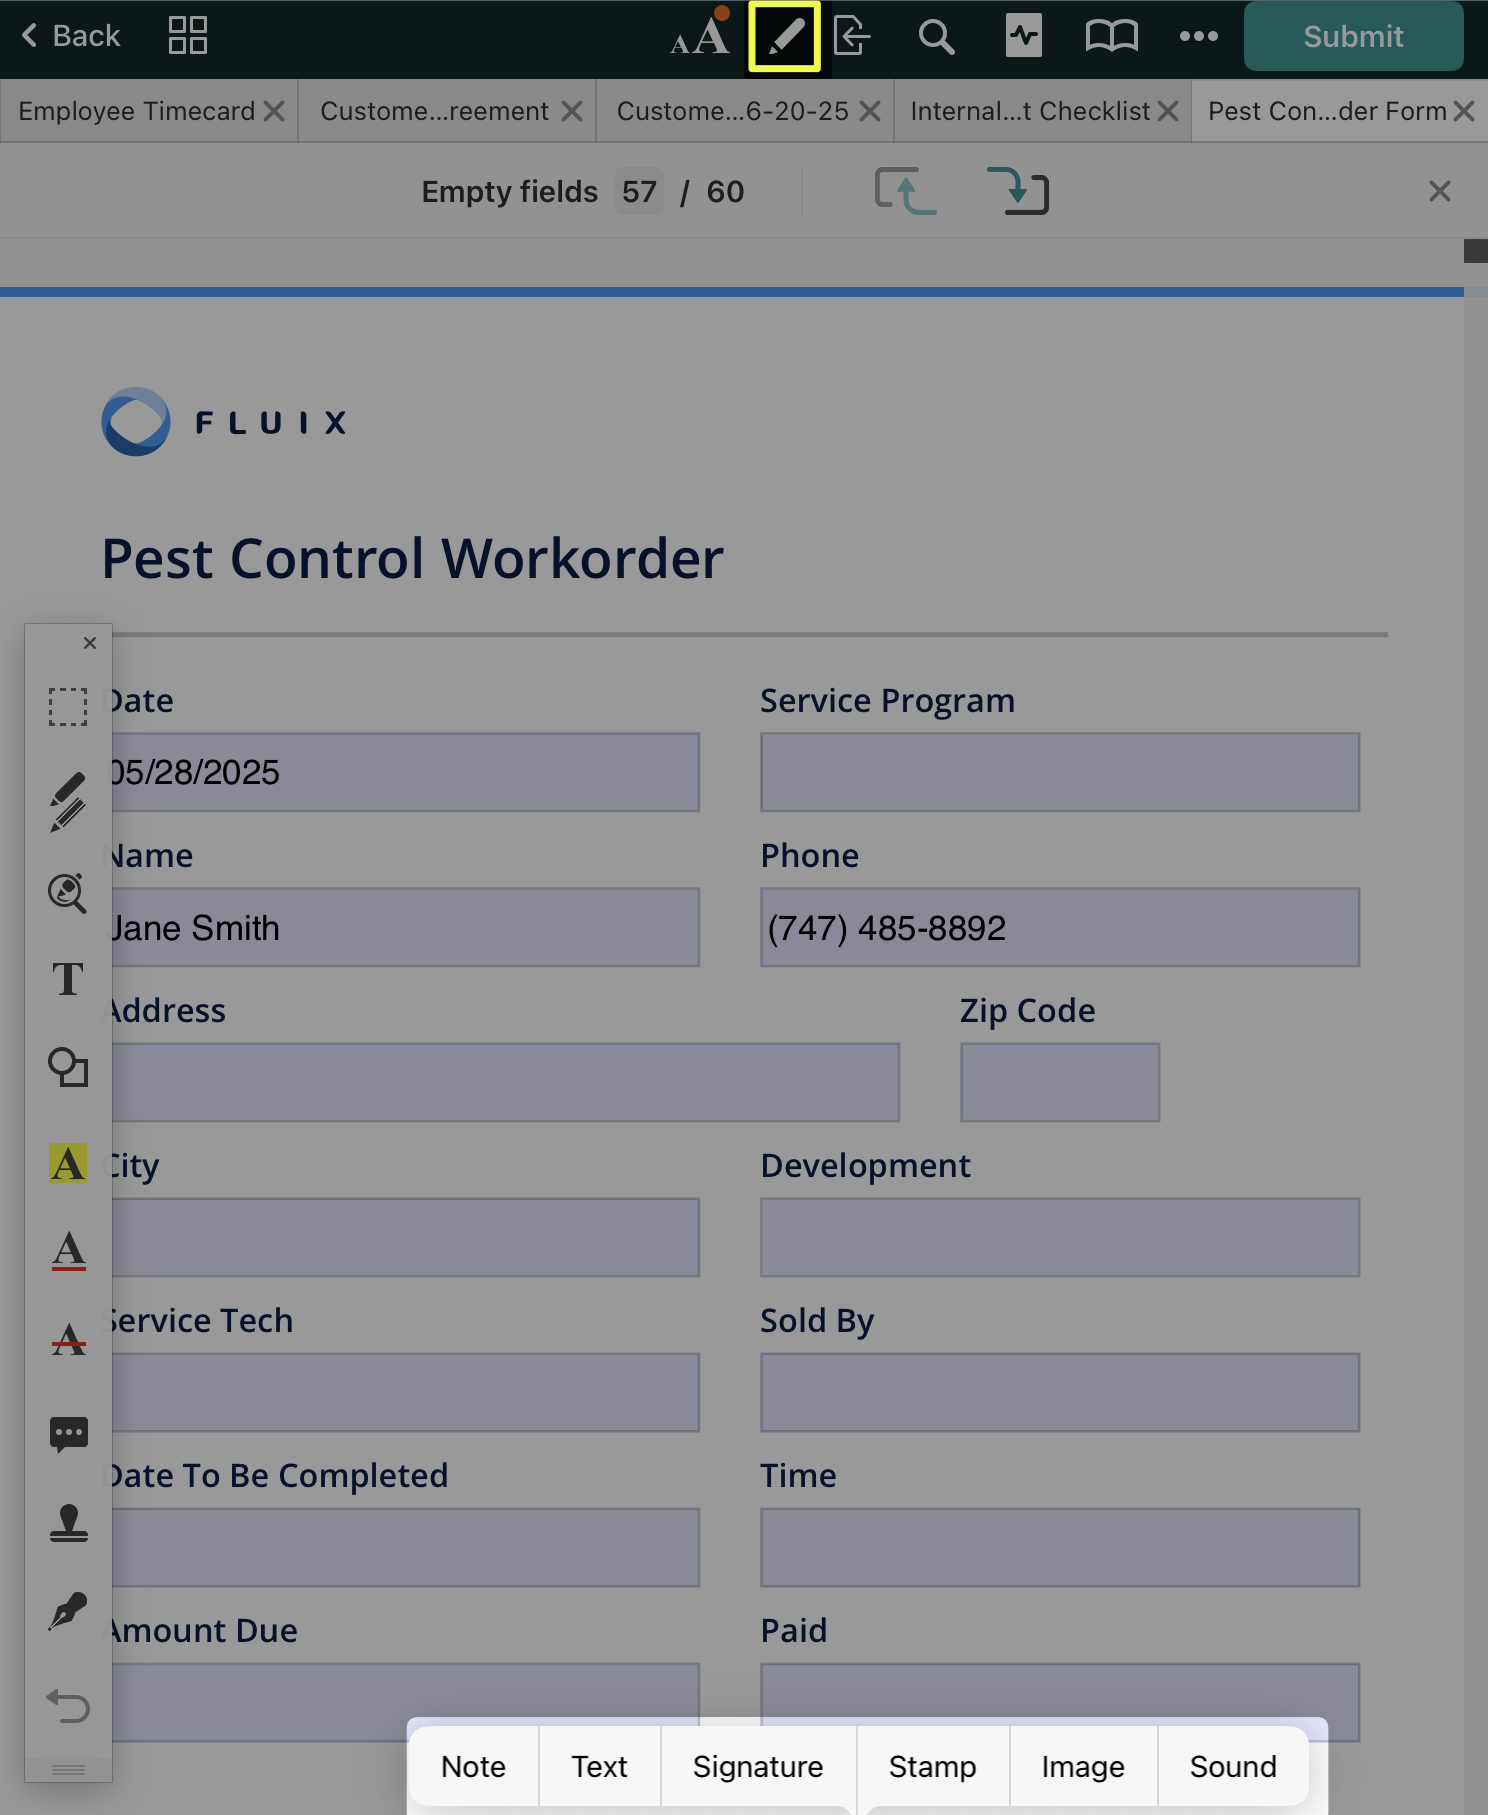
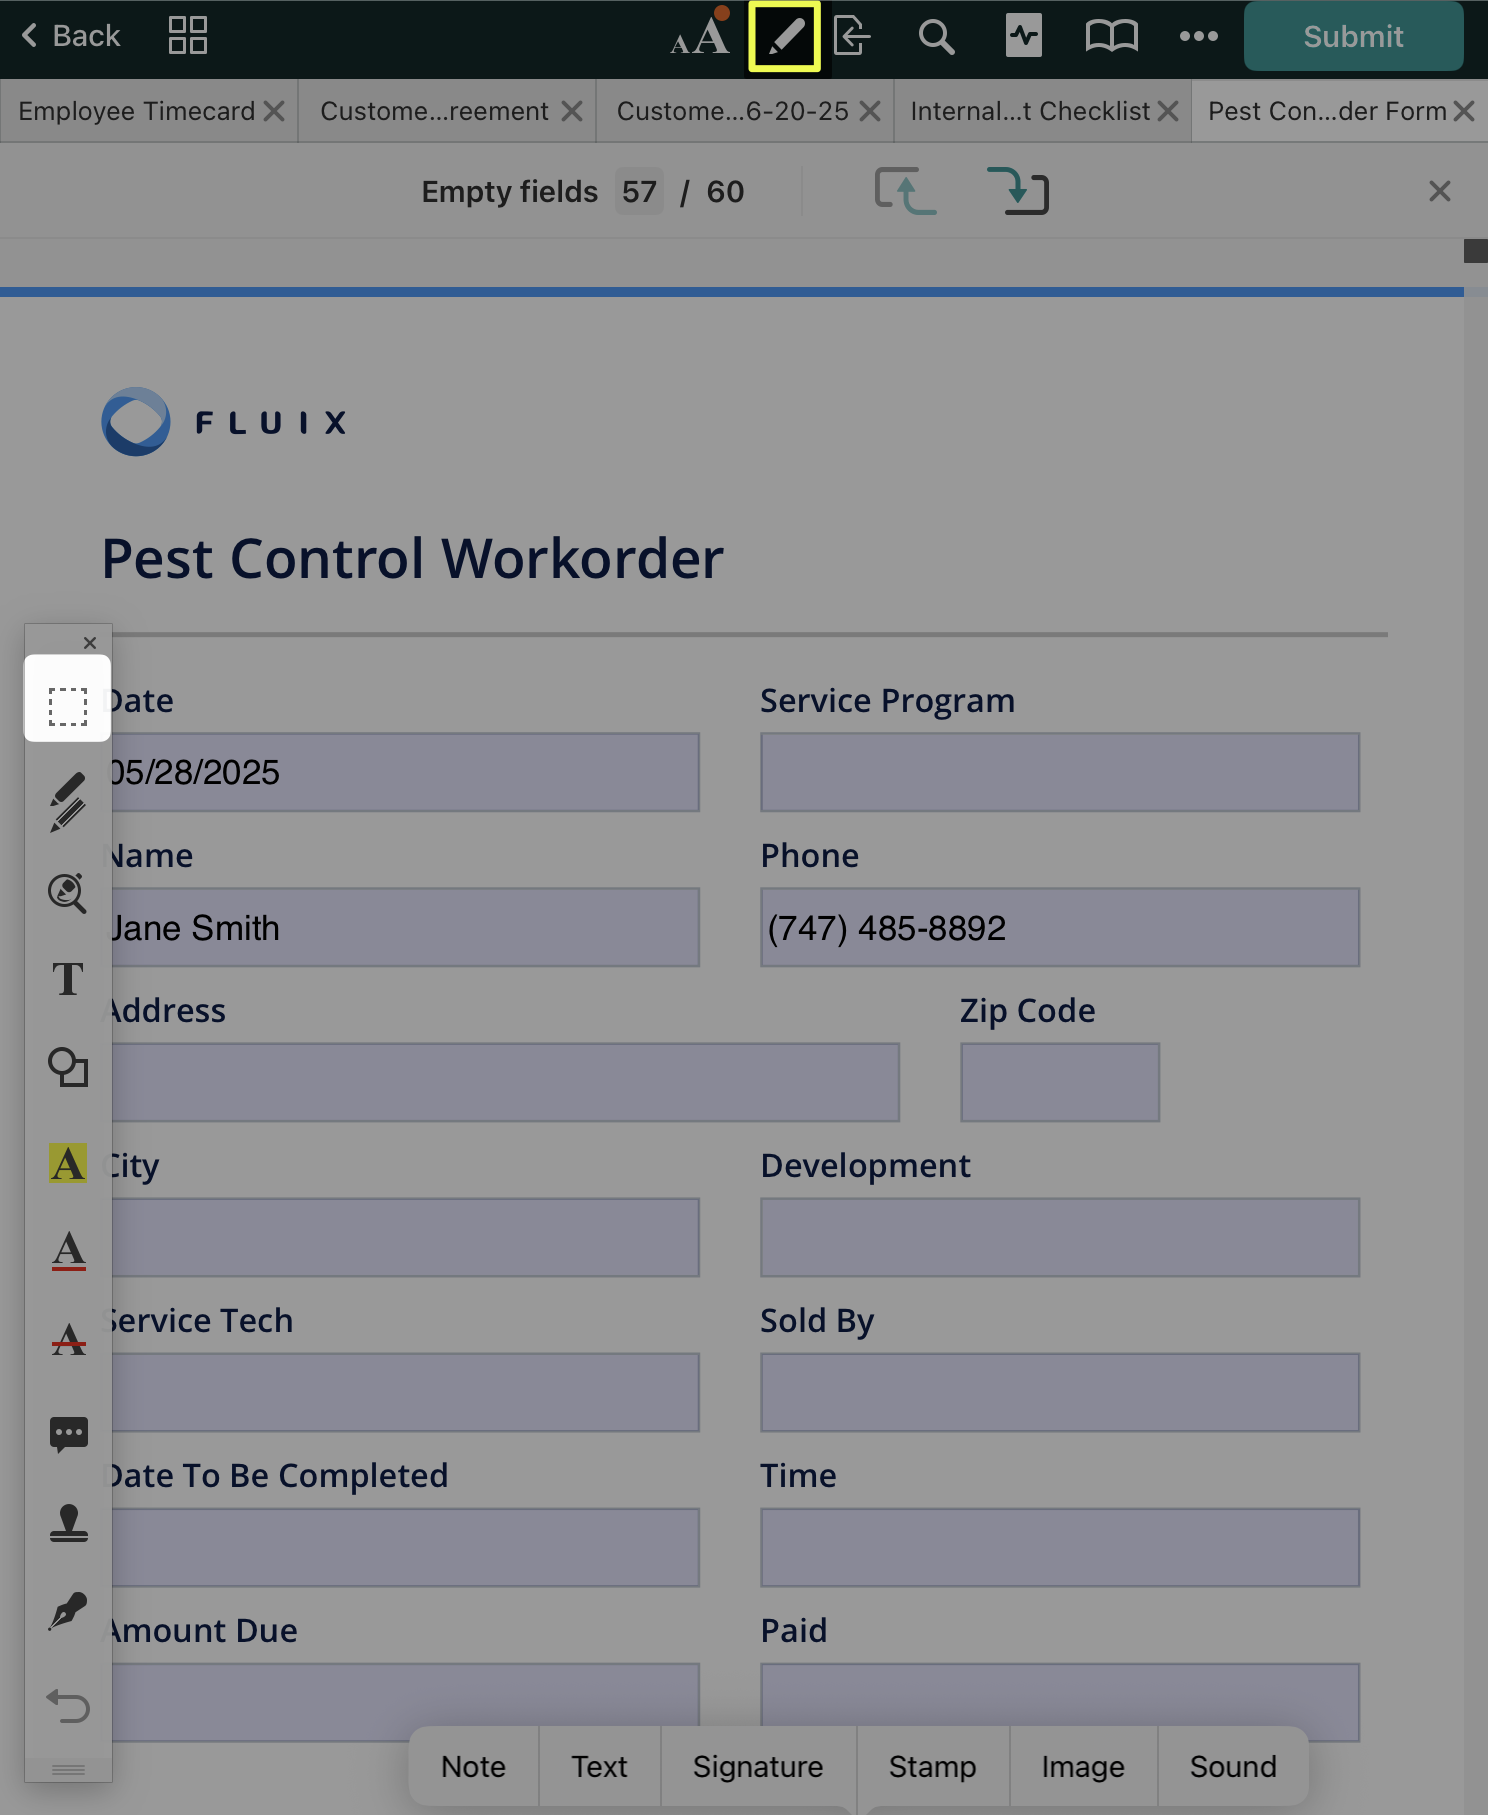
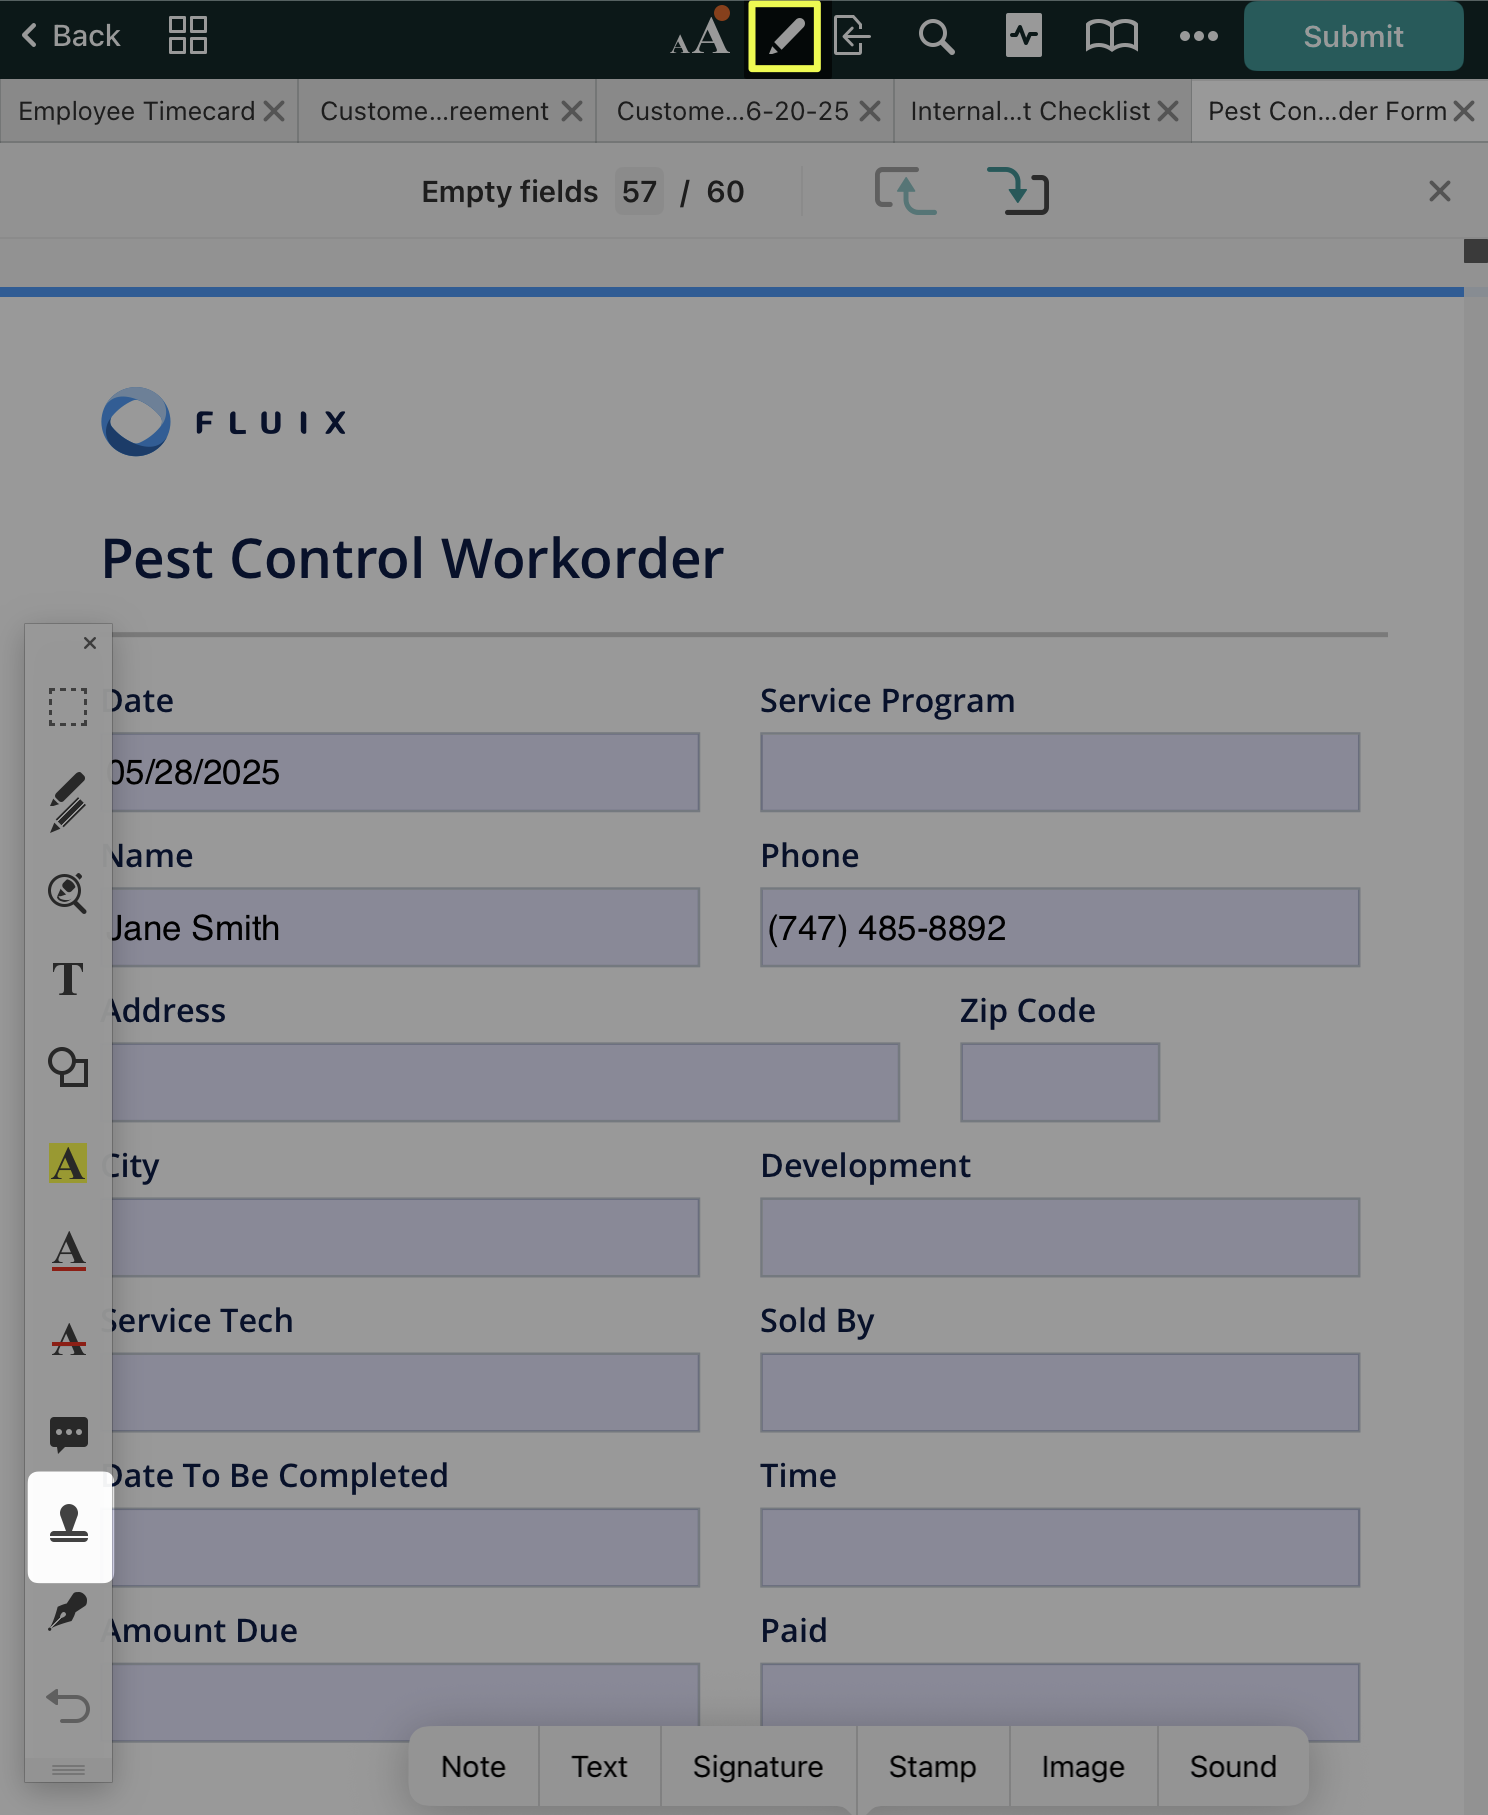
In the Fluix app, open the PDF you want to annotate and tap the icon at the top. On the left side of your screen, the annotation toolbar will appear. To hide the annotation toolbar, tap again.
Let’s dive deeper and check the tools you may use to work with your PDFs.
Draw, highlight, and sketch on your PDFs.
With the tool , you will get a selection of four configurable pencils: two thick and two thin. Each has adjustable color, opacity, and line thickness. Select one of the pencils or markers to start drawing on your PDF.
The eraser removes parts of the drawing and can be adjusted in size. The hand allows dragging the document around. When you have added the necessary annotations to your PDF, tap the green checkmark at the top of the toolbar to exit the selection.
Zoom writing mode on PDFs.
With the tool , you may access a zoom writing mode and select one of the pencils or markers to start drawing. You will get the two configurable pencils: one thick and one thin. Each has adjustable color, opacity, and line thickness.
The eraser is used to remove parts of the drawing and can be adjusted in size. The zoomed and full view can also be adjusted in size. Arrows help move the zoom window around.
When the document is close up, the pitch-to-zoom mode is activated automatically. It allows controlling the editable area with two adjustable screens at the top and bottom of the document.
Adjust your annotation property.
With the tool , you can adjust the annotation (object) colors, opacity, line thickness, and move, copy, or delete them.
Create a text note in your PDF.
The tool lets you add specific notes to your PDFs on the spot. Select a place in the PDF where you want to add text, type it, and feel free to move it by holding the note and then dragging it.
Add a shape element to your PDF.
Tap , tool to select a shape and add it to the PDF.
Highlight important text in your PDF
The tool will help you highlight the needed text in your form to draw more attention to it. To change the color of the highlight, tap and hold the icon . Pick ‘Color’ from the pop-up.
Underline text in your PDFs.
With the tool , you can easily underline text. To change the color of the underline, tap and hold , and pick ‘Color’ from the pop-up.
Strike out text in your PDFs if necessary.
With the tool , you may strike unnecessary data from your PDF. To change the color of the strike, tap and hold the tool and pick ‘Color’ from the pop-up.
Create pop-up notes for your teammates.
With the tool , you can add a pop-up note that will be saved in the PDFs for your teammates working with the respective PDFs. Tap on the place in the PDF you’d like to add the note and type some text. You can move the pop-up note by holding it and then dragging it.
Add a standard or custom stamp to your PDFs.
Tap or select ‘Stamp’ from the tap and hold popup menu. Select a stamp from the ‘Standard’ list to add to your form.
To create a custom stamp, open the ‘Custom’ tab and tap the ‘+ ’.
Choose ‘Text Stamp’ to create a stamp with any text you’d like, as well as the current date and time.
Choose ‘Image Stamp’ to create a stamp of an image from your iPad’s Camera Roll.
Manage your signatures easily.
With the tool , you can add a signature to the document and edit it accordingly in the dedicated section. You can also draw a signature to be included in the document. Up to four signatures can be stored in the app and adjusted in color and line thickness, or removed at will.
Undo or redo your annotations.
Tap the tool to undo the previous annotation. To redo your annotations, tap and hold the icorn.
Additional annotation options.
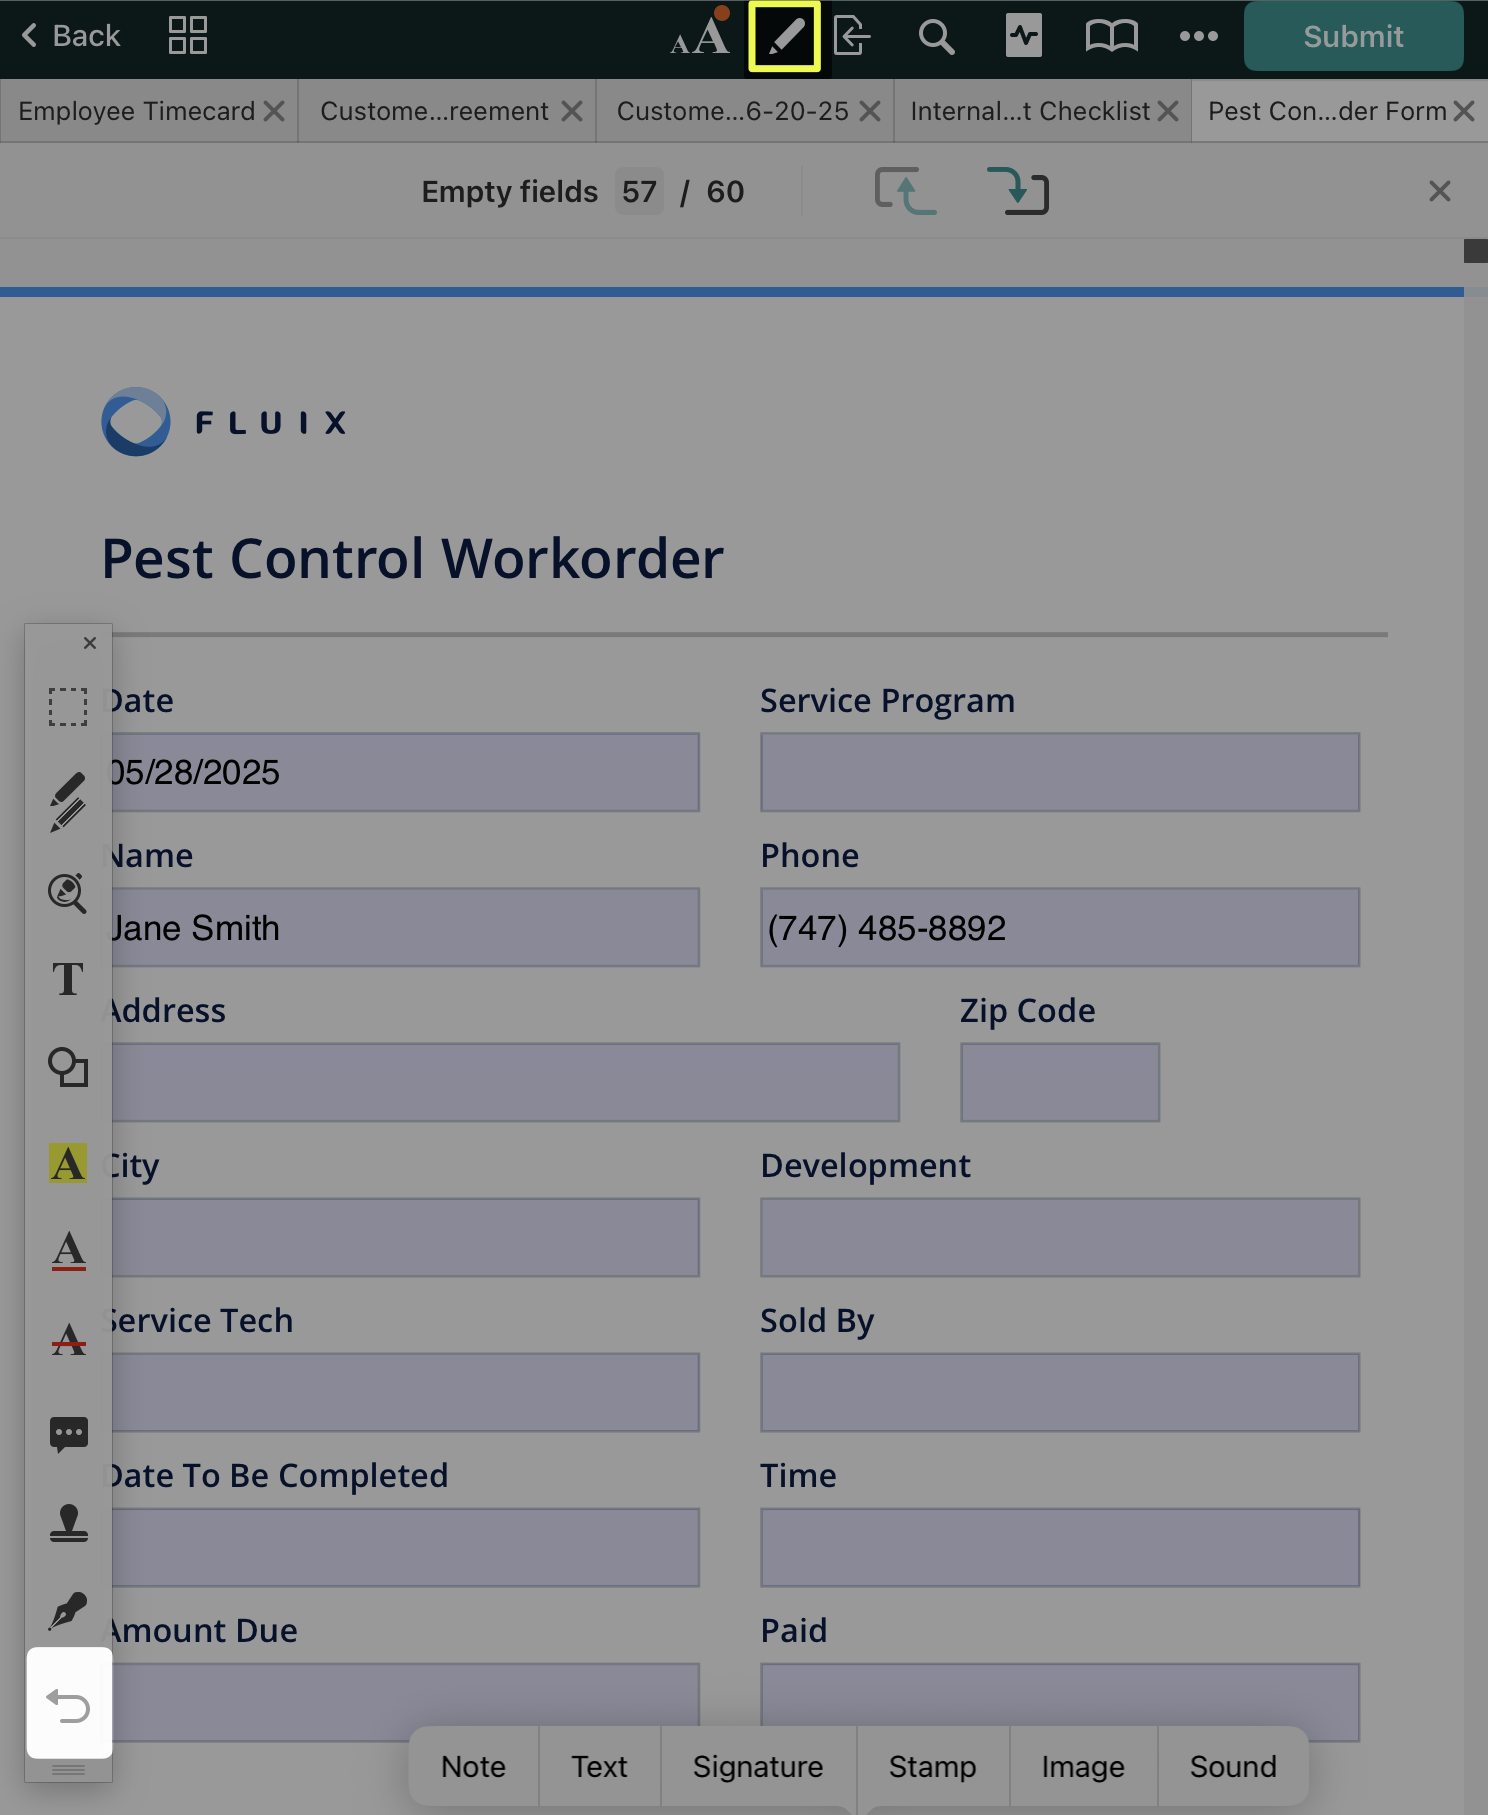
Another way you can add annotations to your PDFs is by tapping and holding on the document to display a pop-up menu that shows select annotation tools:
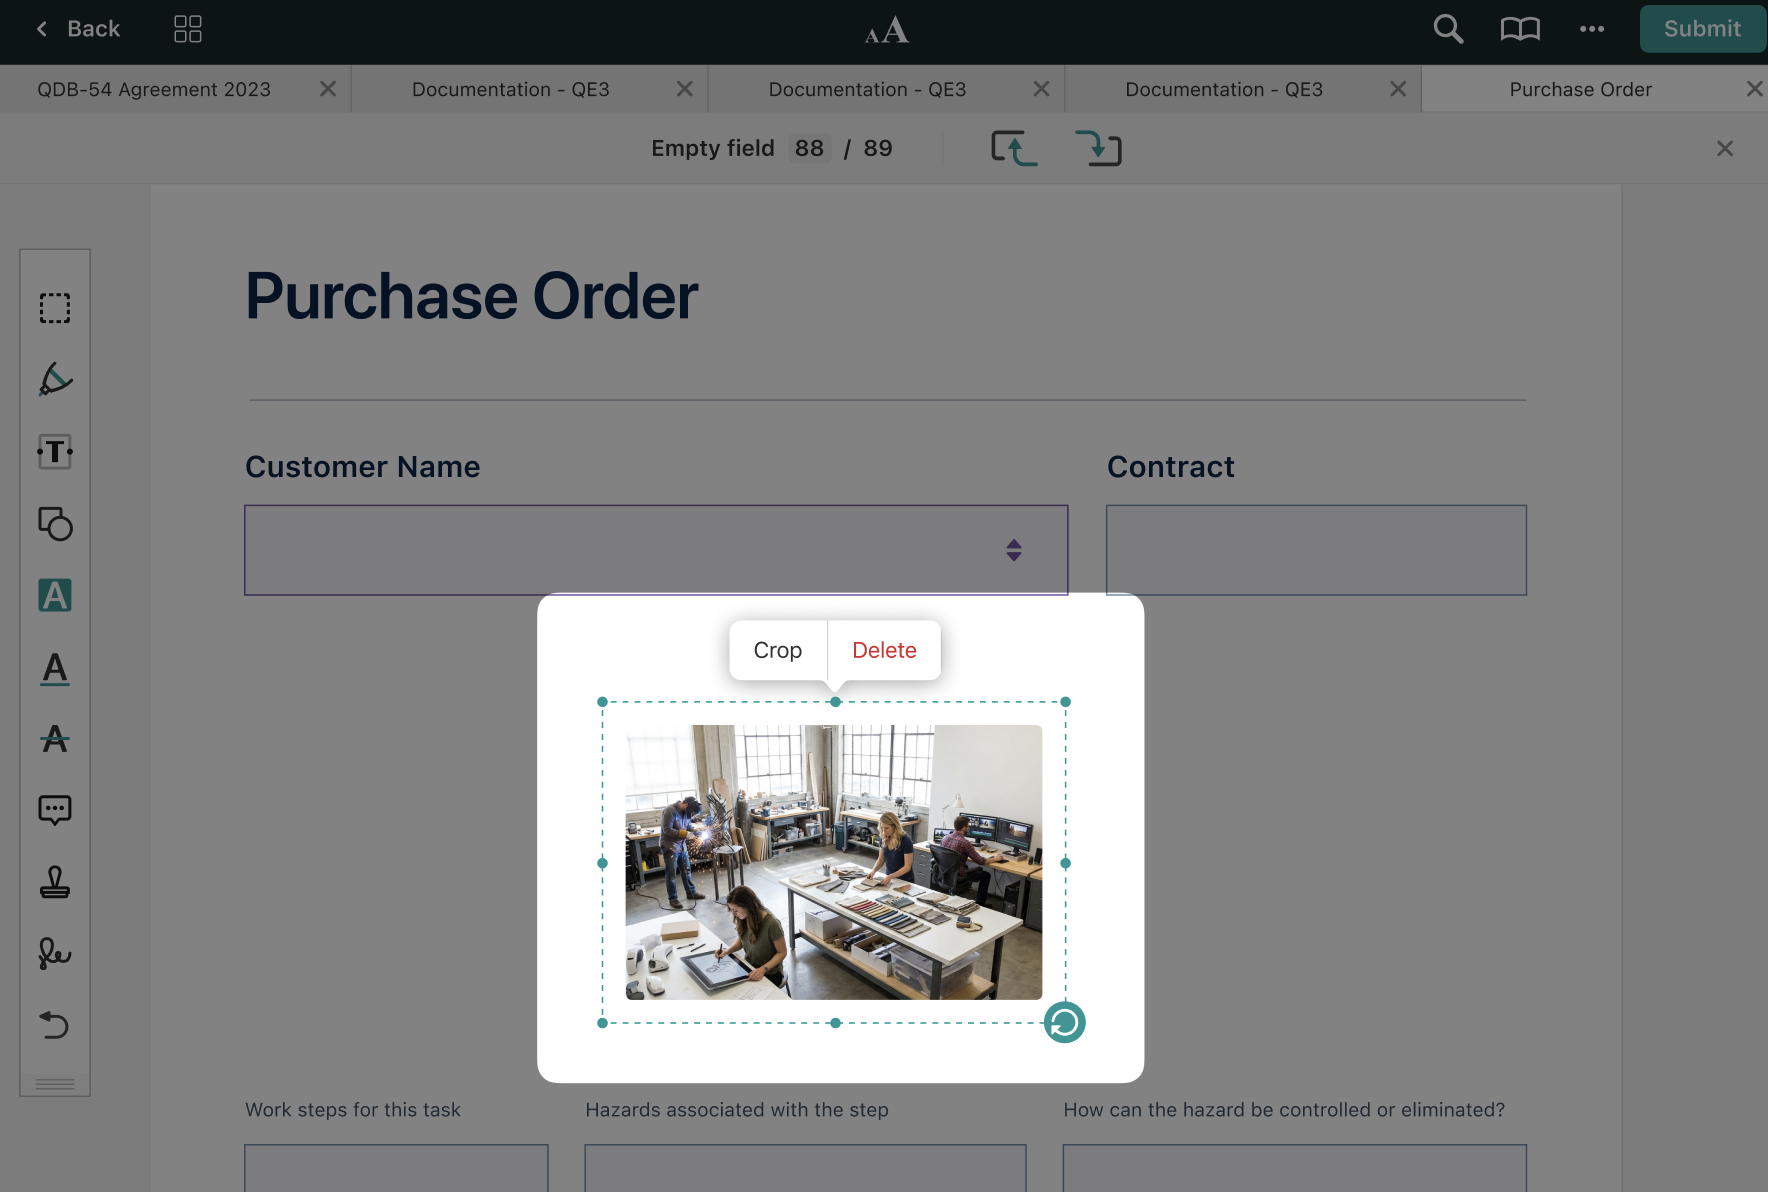
Add an image option. Select ‘Image’ from the pop-up menu, and then choose a picture from your iPad’s Camera Roll or take a photo. Tap on the picture to move, crop, or delete it. Tap and hold on the image to scale it.
The crop functionality is available for both Photos and Stamps.
Note: You need to have your camera enabled in iPad Settings > Privacy & Security > Camera > Fluix as follows:
Add an audio note. Tap and hold on the PDF to create an audio note with ‘Sound’ option.
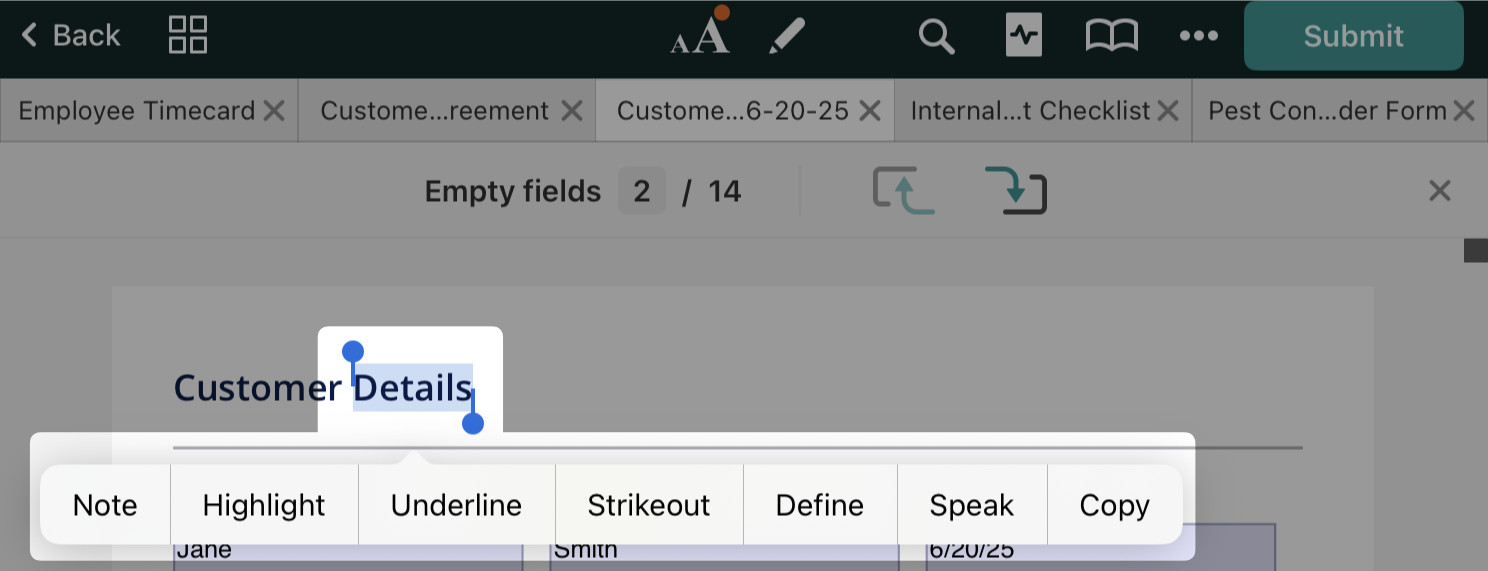
If you tap and hold on the text, a pop-up menu with text-specific annotation tools will appear.
Feel free to contact us at support@fluix.io if you have any questions or comments.
Was this article helpful?
Thanks for your feedback!
Oops, something went wrong. Please, try again later.
Thank you!
What details or examples would have made this article more helpful for you? We appreciate your insights!
Sign Up to Our Product Newsletter
The latest updates from our Product team, straight to your inbox


 , you will get a selection of four configurable pencils: two thick and two thin. Each has adjustable color, opacity, and line thickness. Select one of the pencils or markers to start drawing on your PDF.

 , you may access a zoom writing mode and select one of the pencils or markers to start drawing. You will get the two configurable pencils: one thick and one thin. Each has adjustable color, opacity, and line thickness.
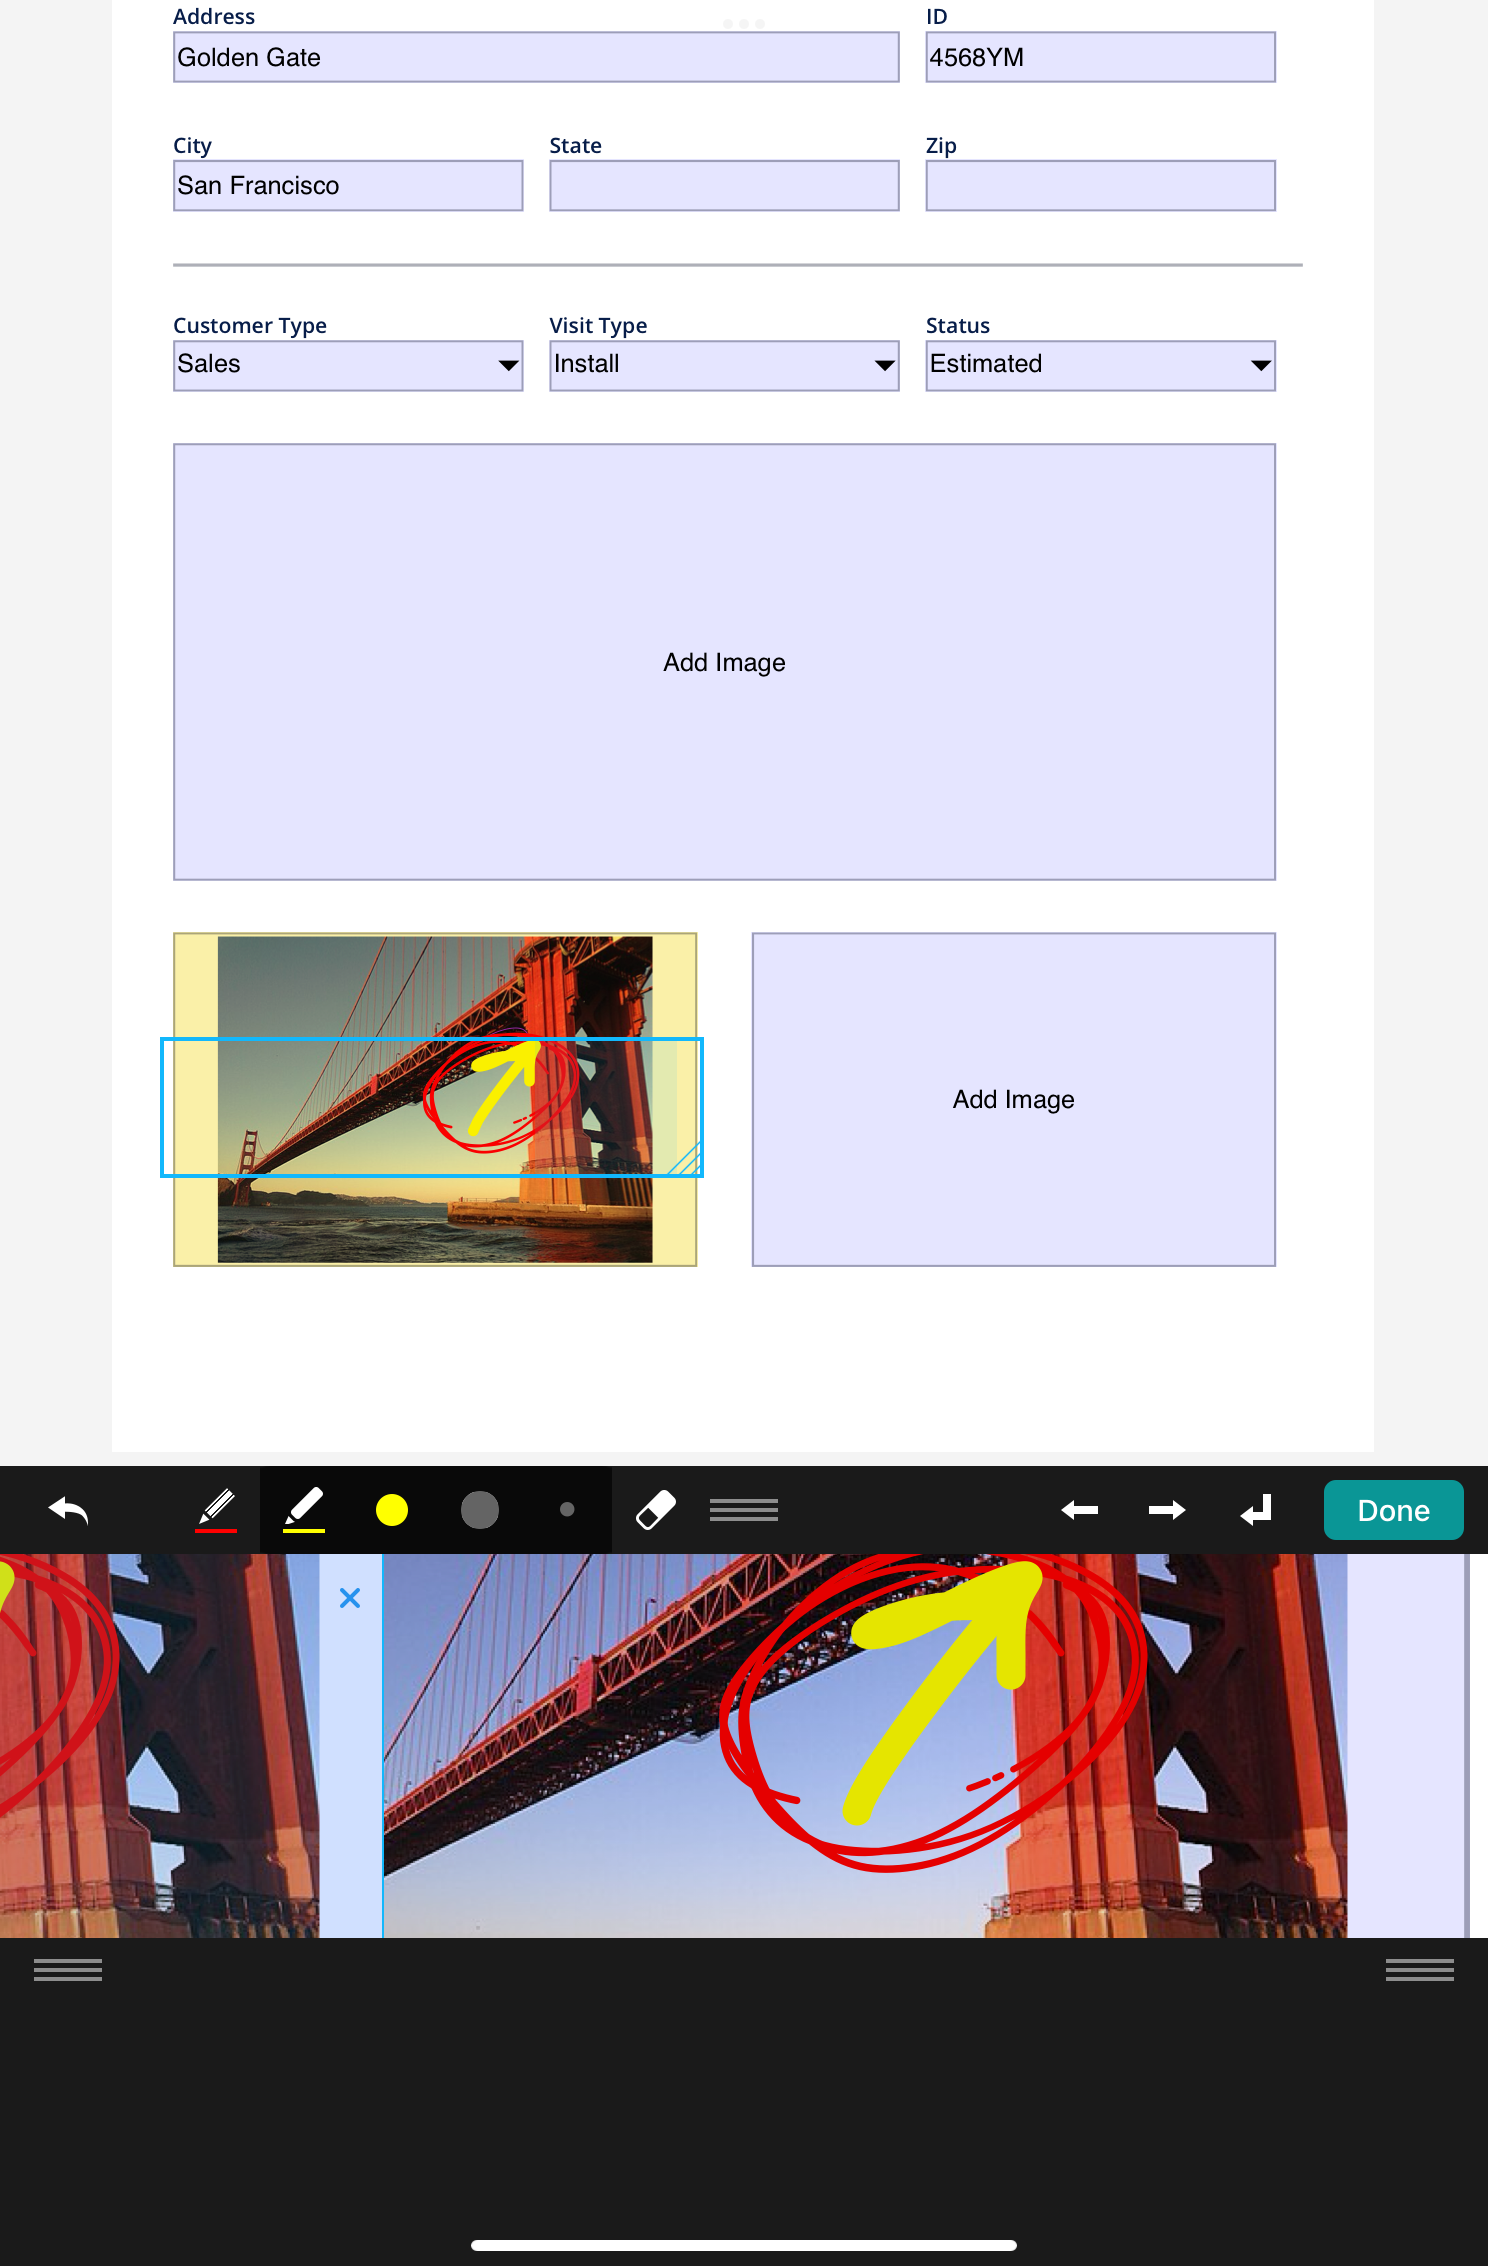
 , you can adjust the annotation (object) colors, opacity, line thickness, and move, copy, or delete them.
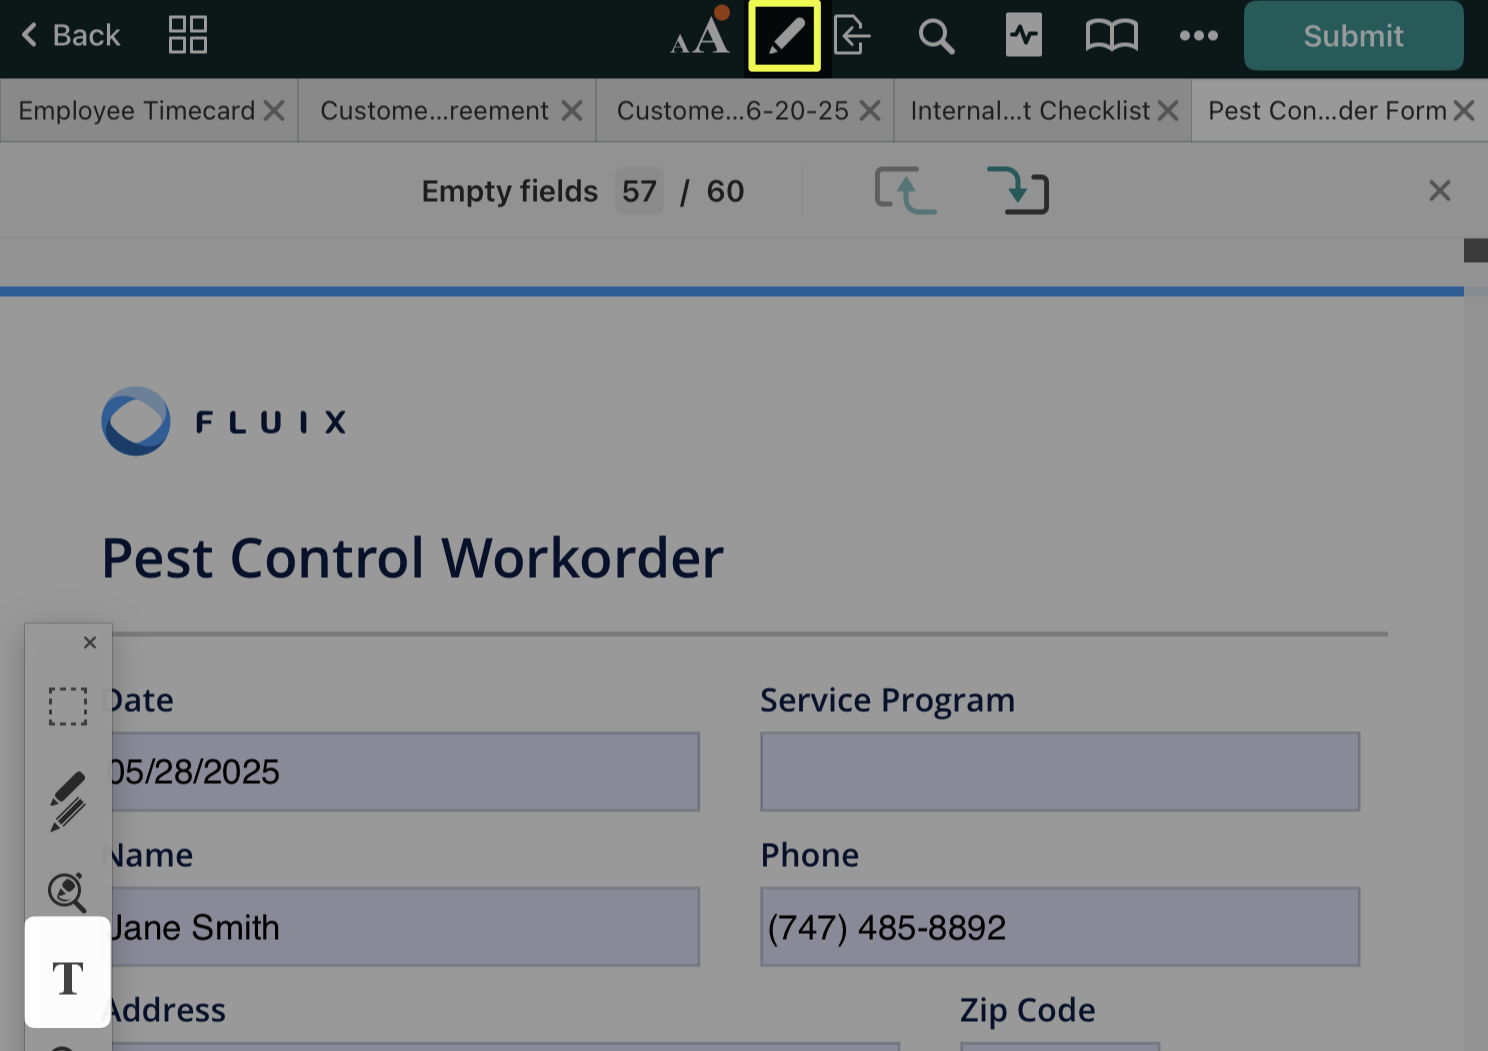
 lets you add specific notes to your PDFs on the spot. Select a place in the PDF where you want to add text, type it, and feel free to move it by holding the note and then dragging it.
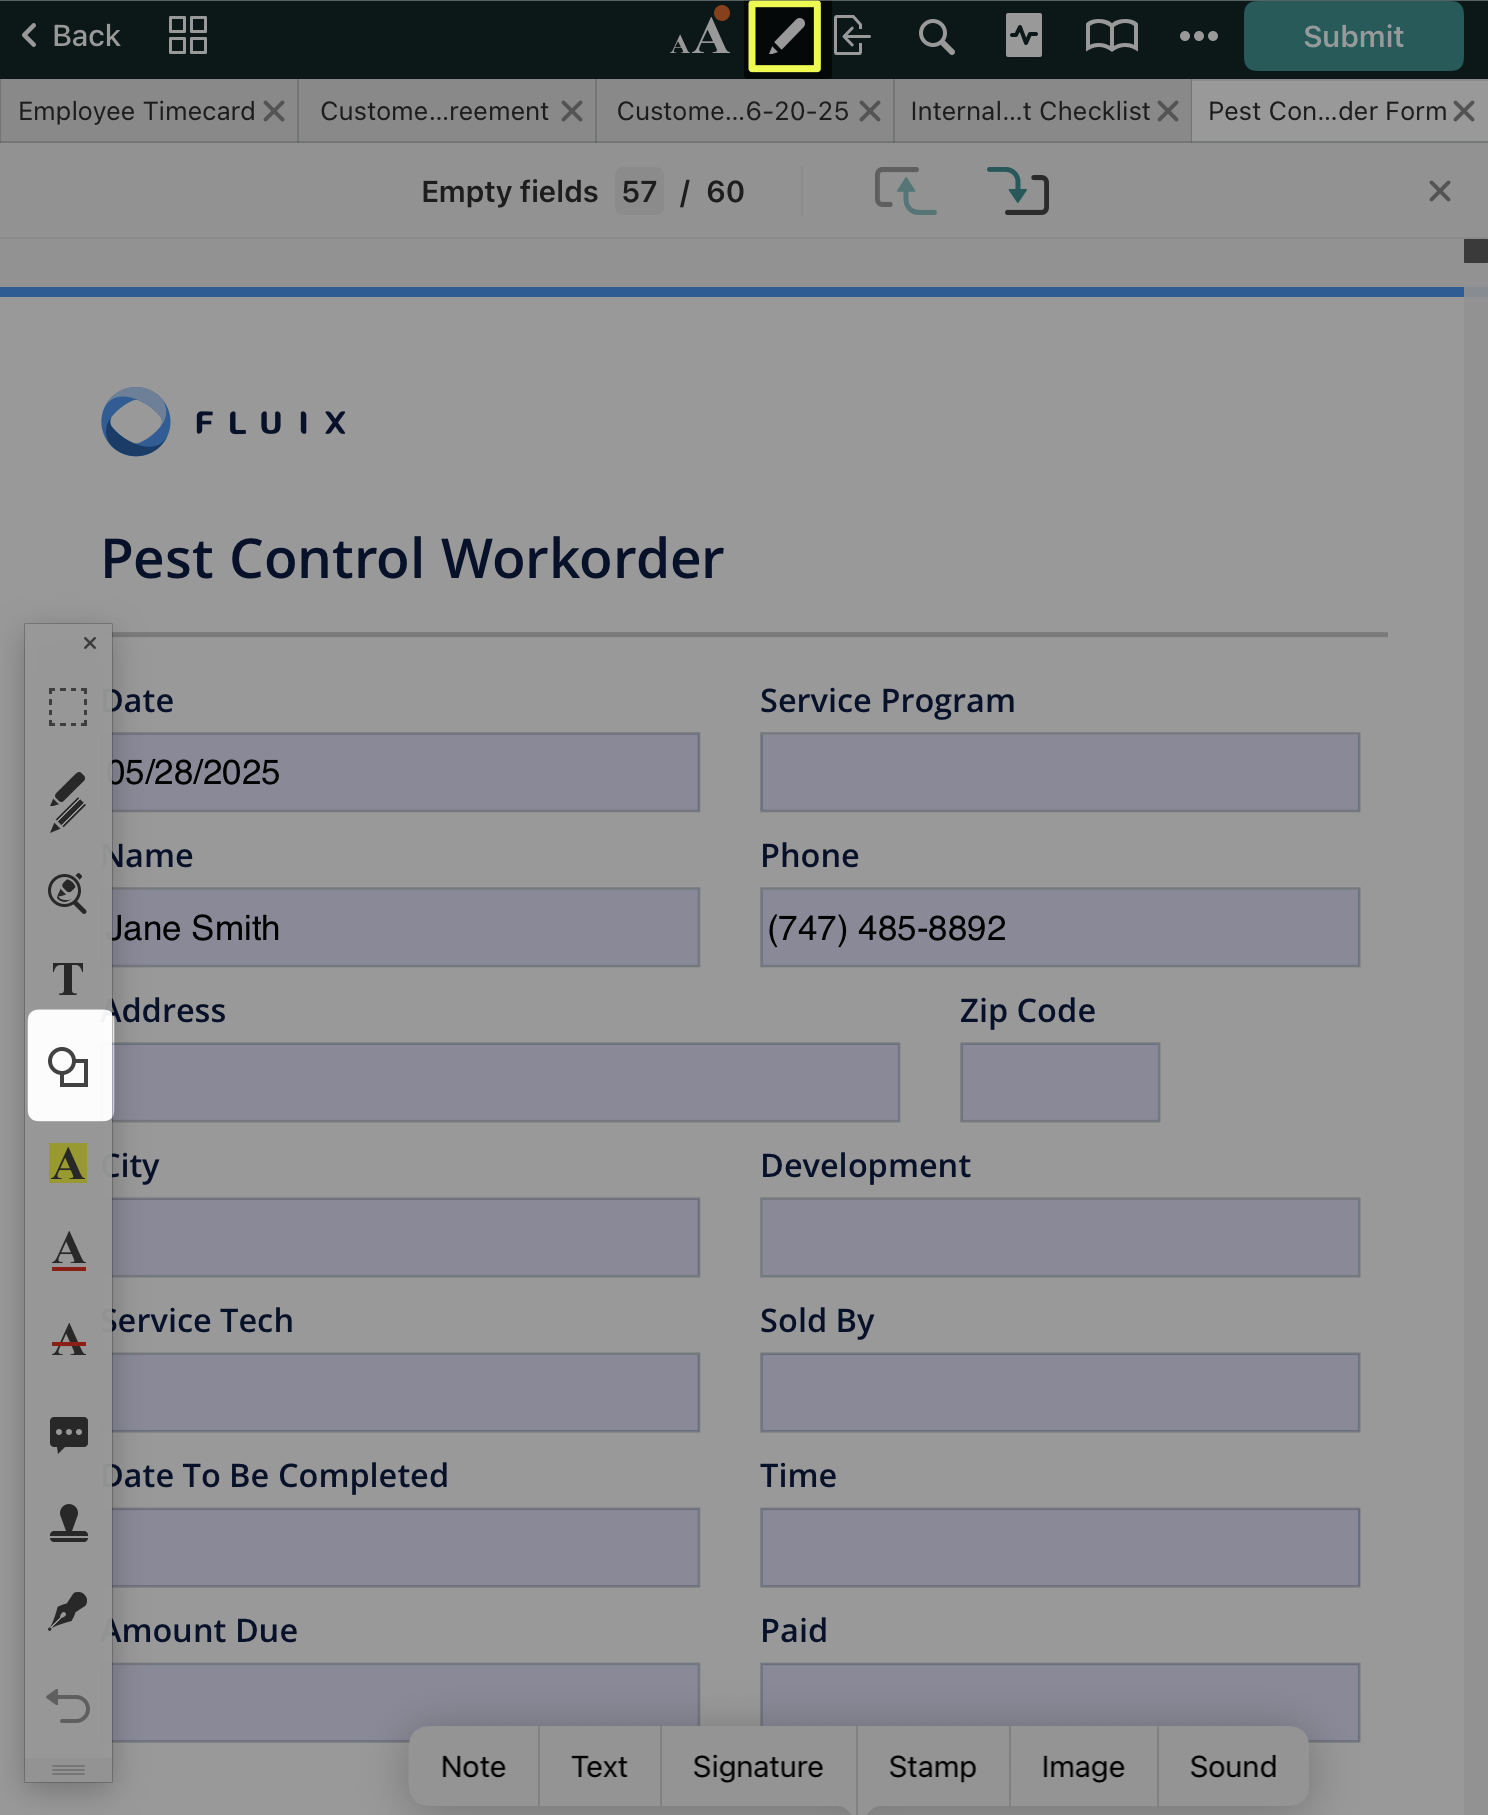
 , tool to select a shape and add it to the PDF.
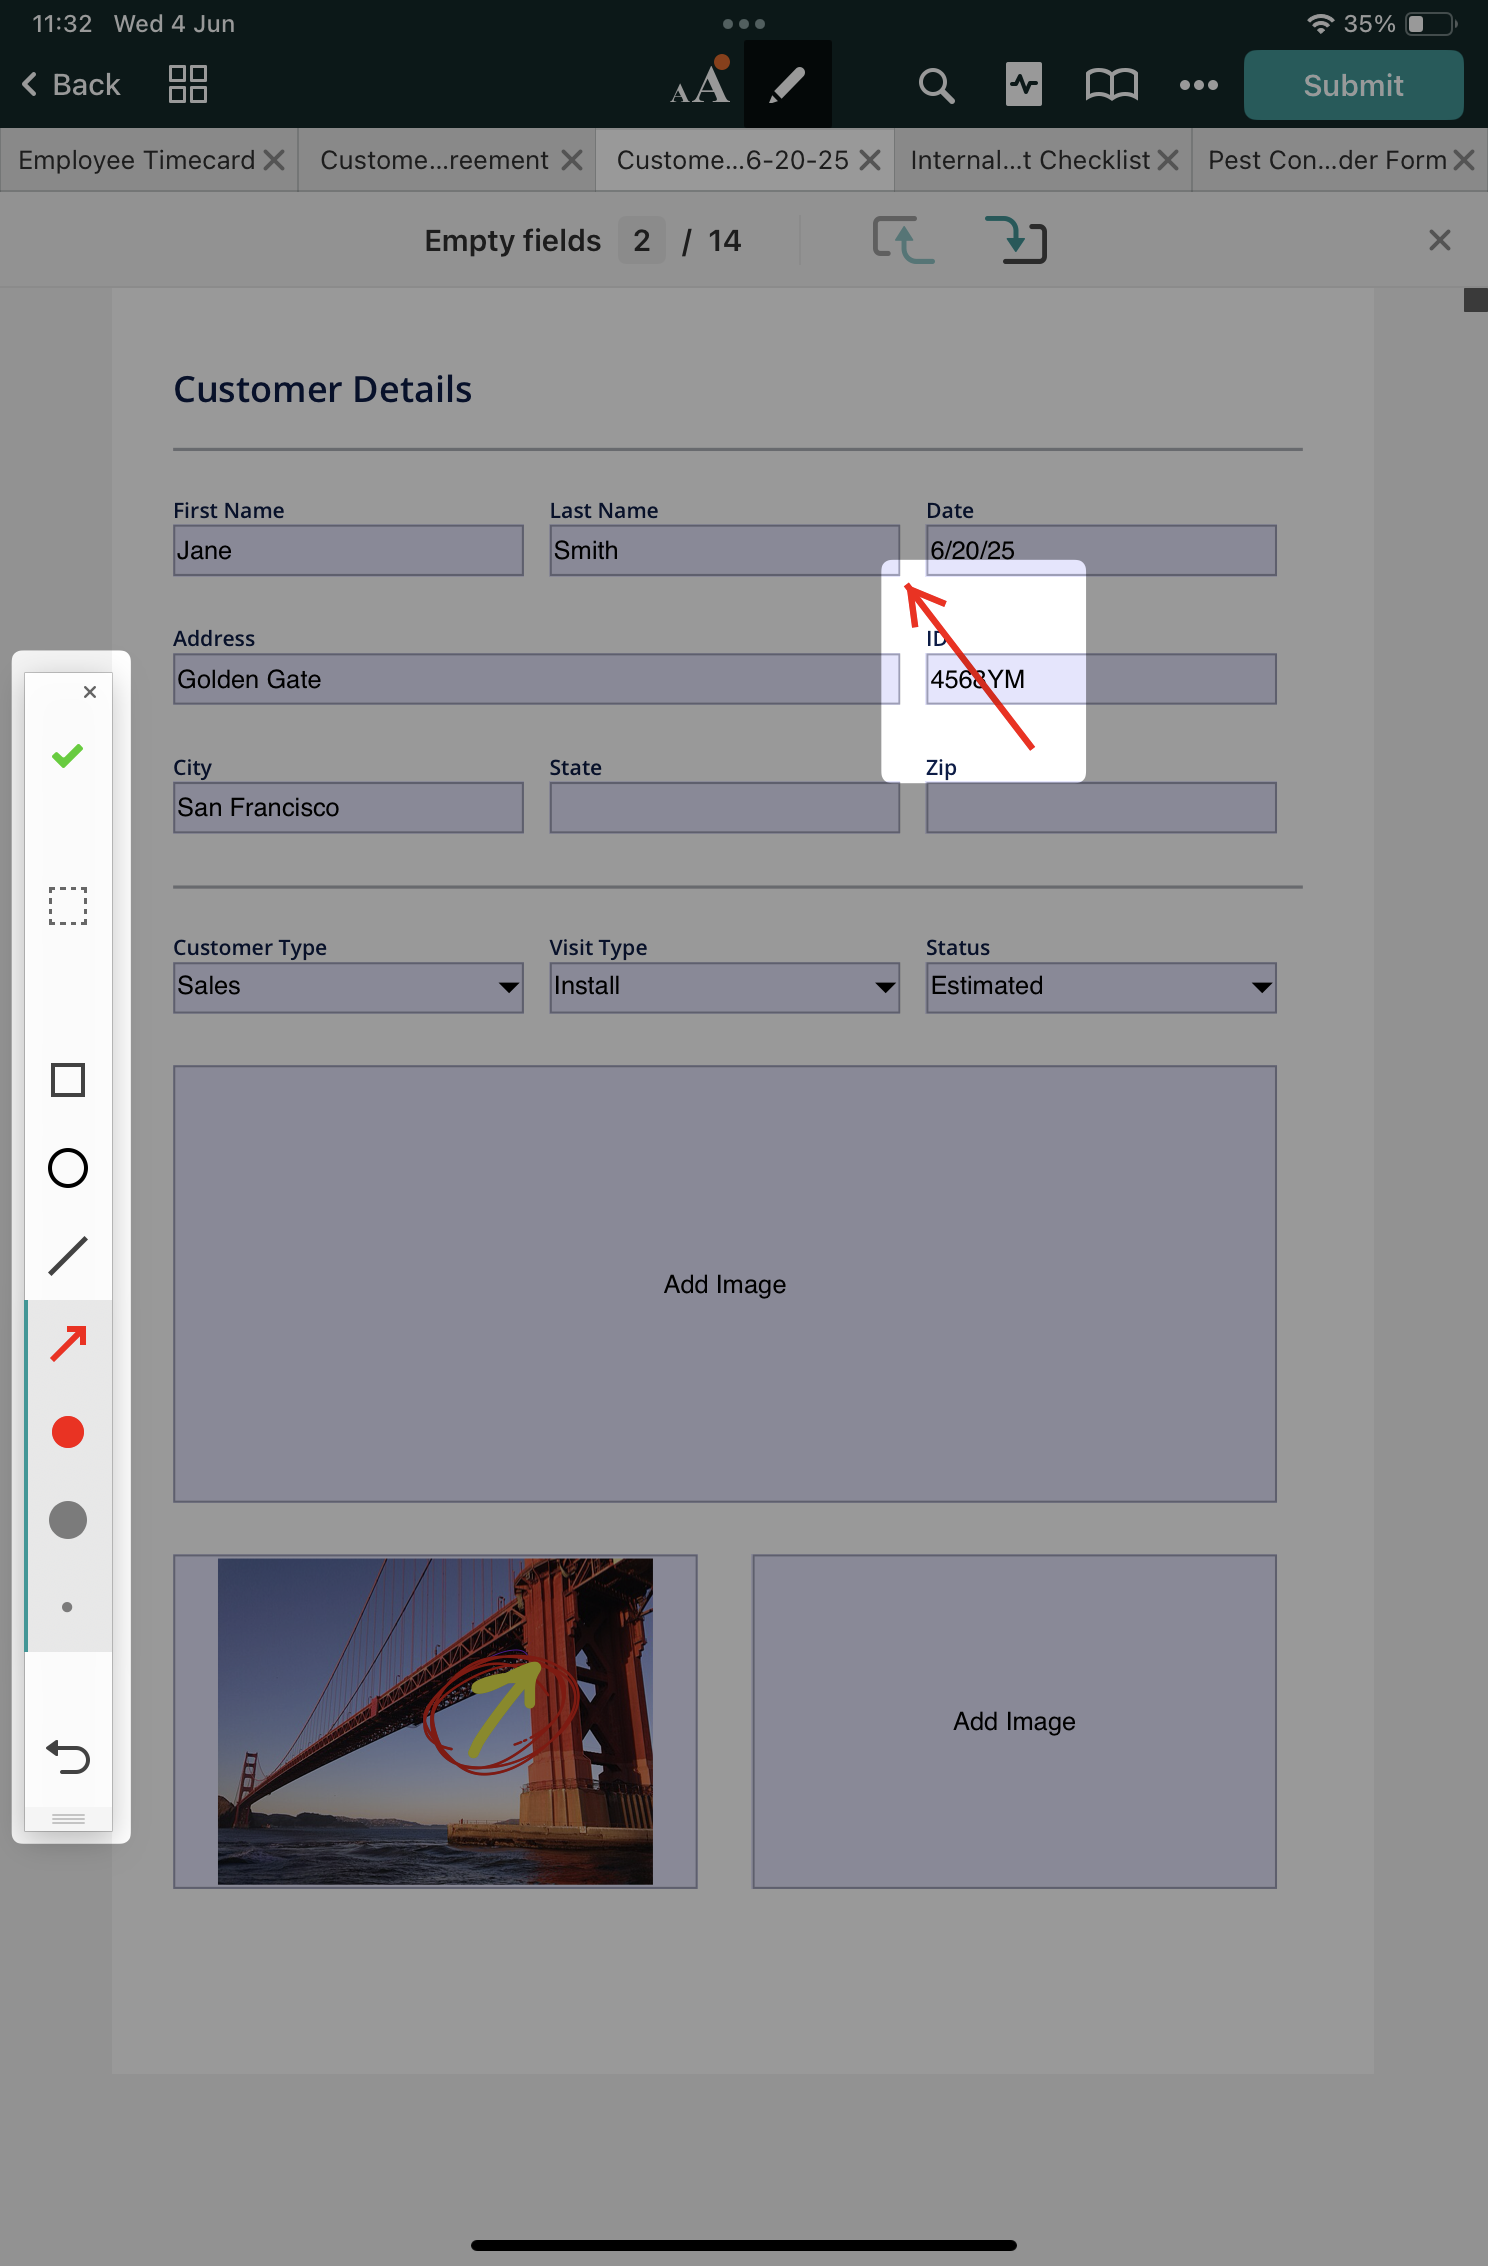
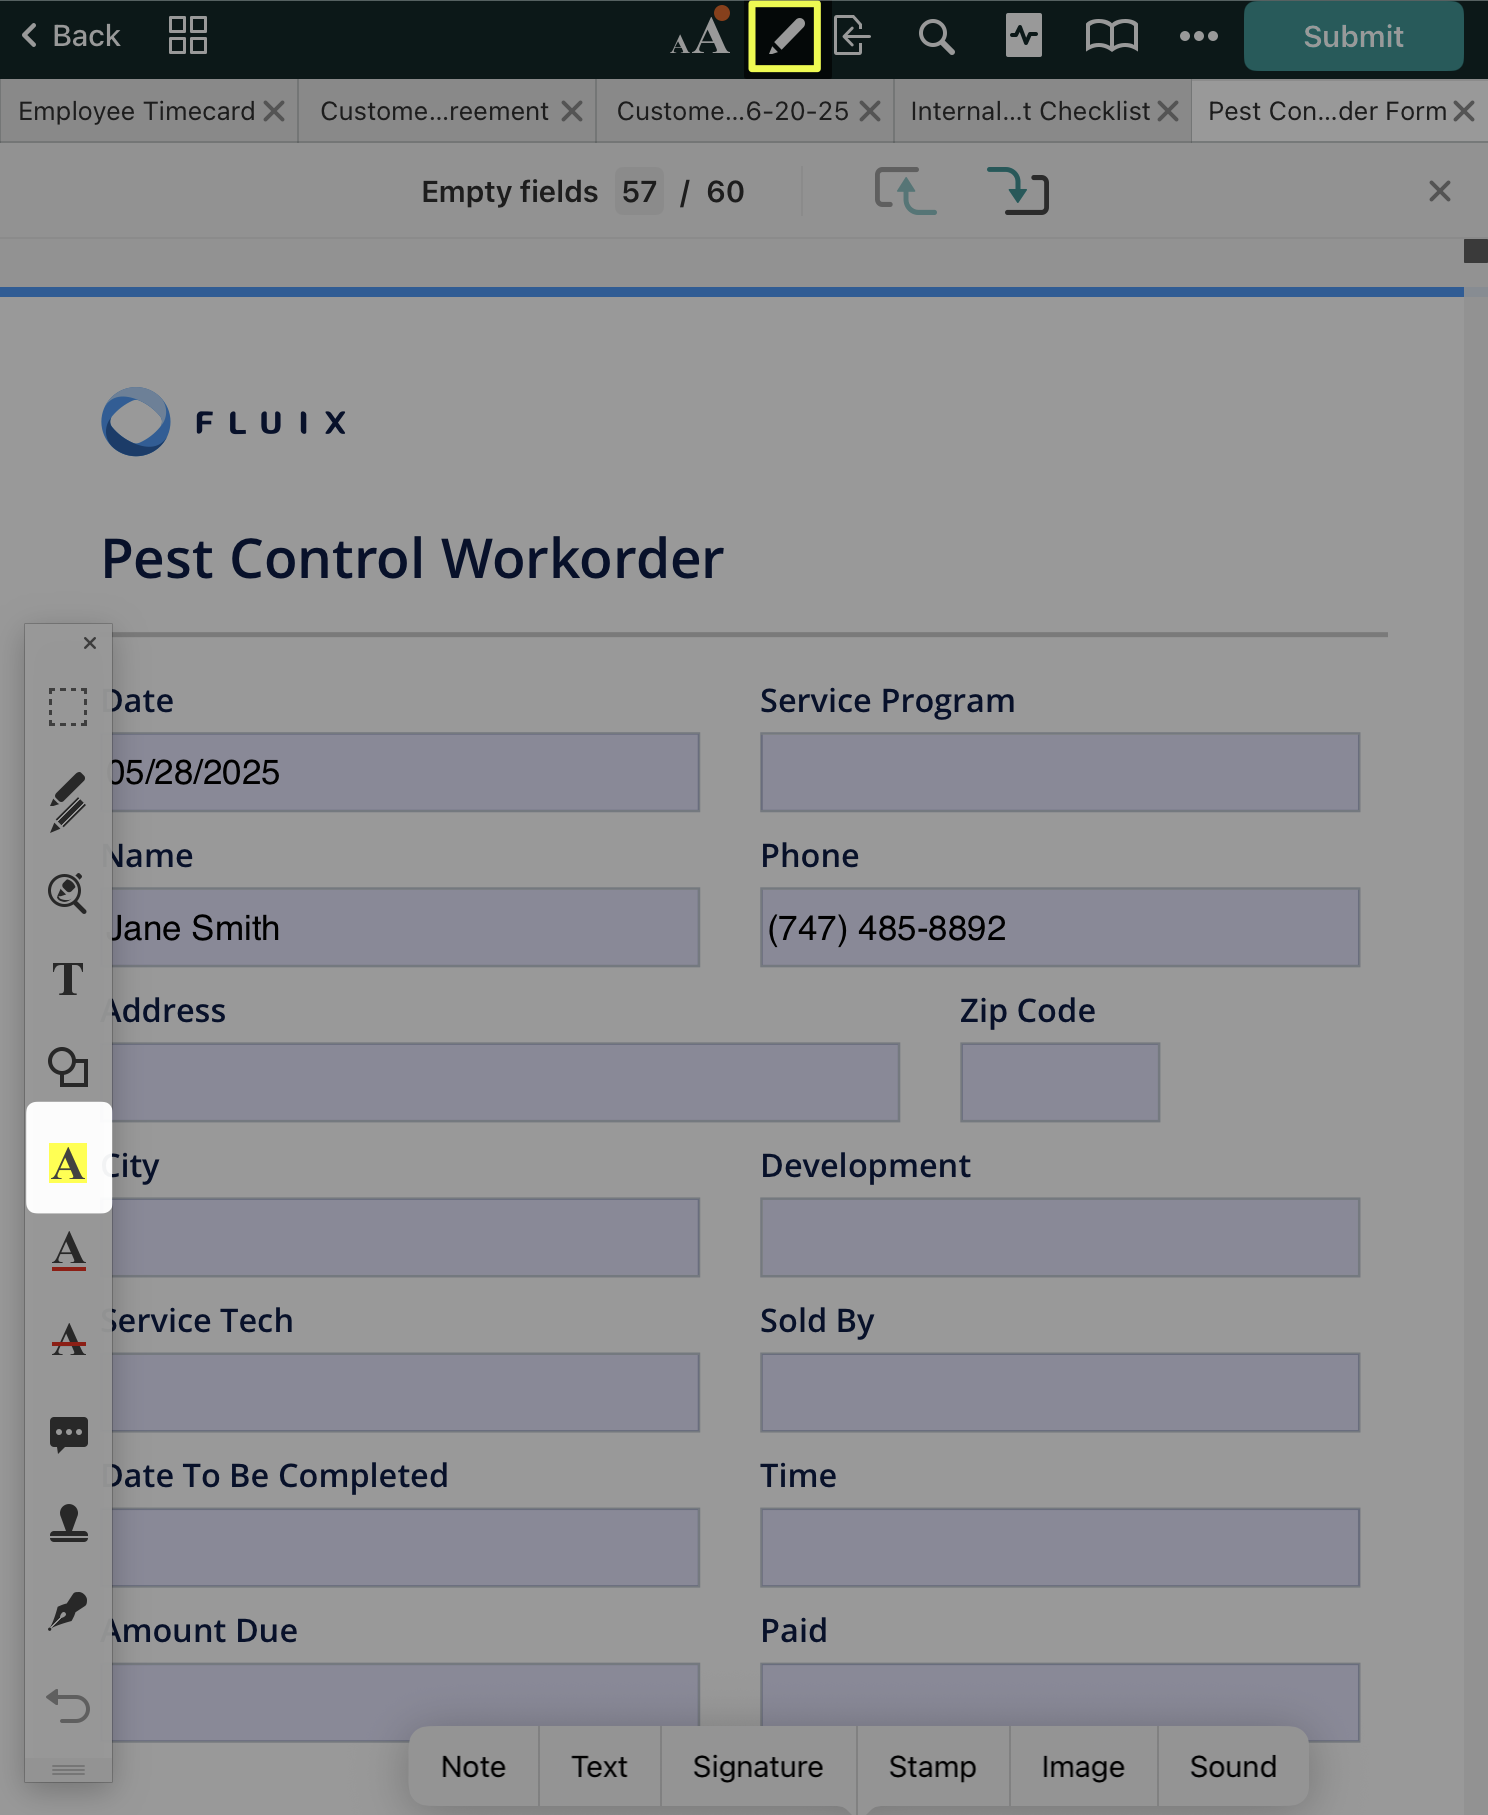
 will help you highlight the needed text in your form to draw more attention to it. To change the color of the highlight, tap and hold the icon
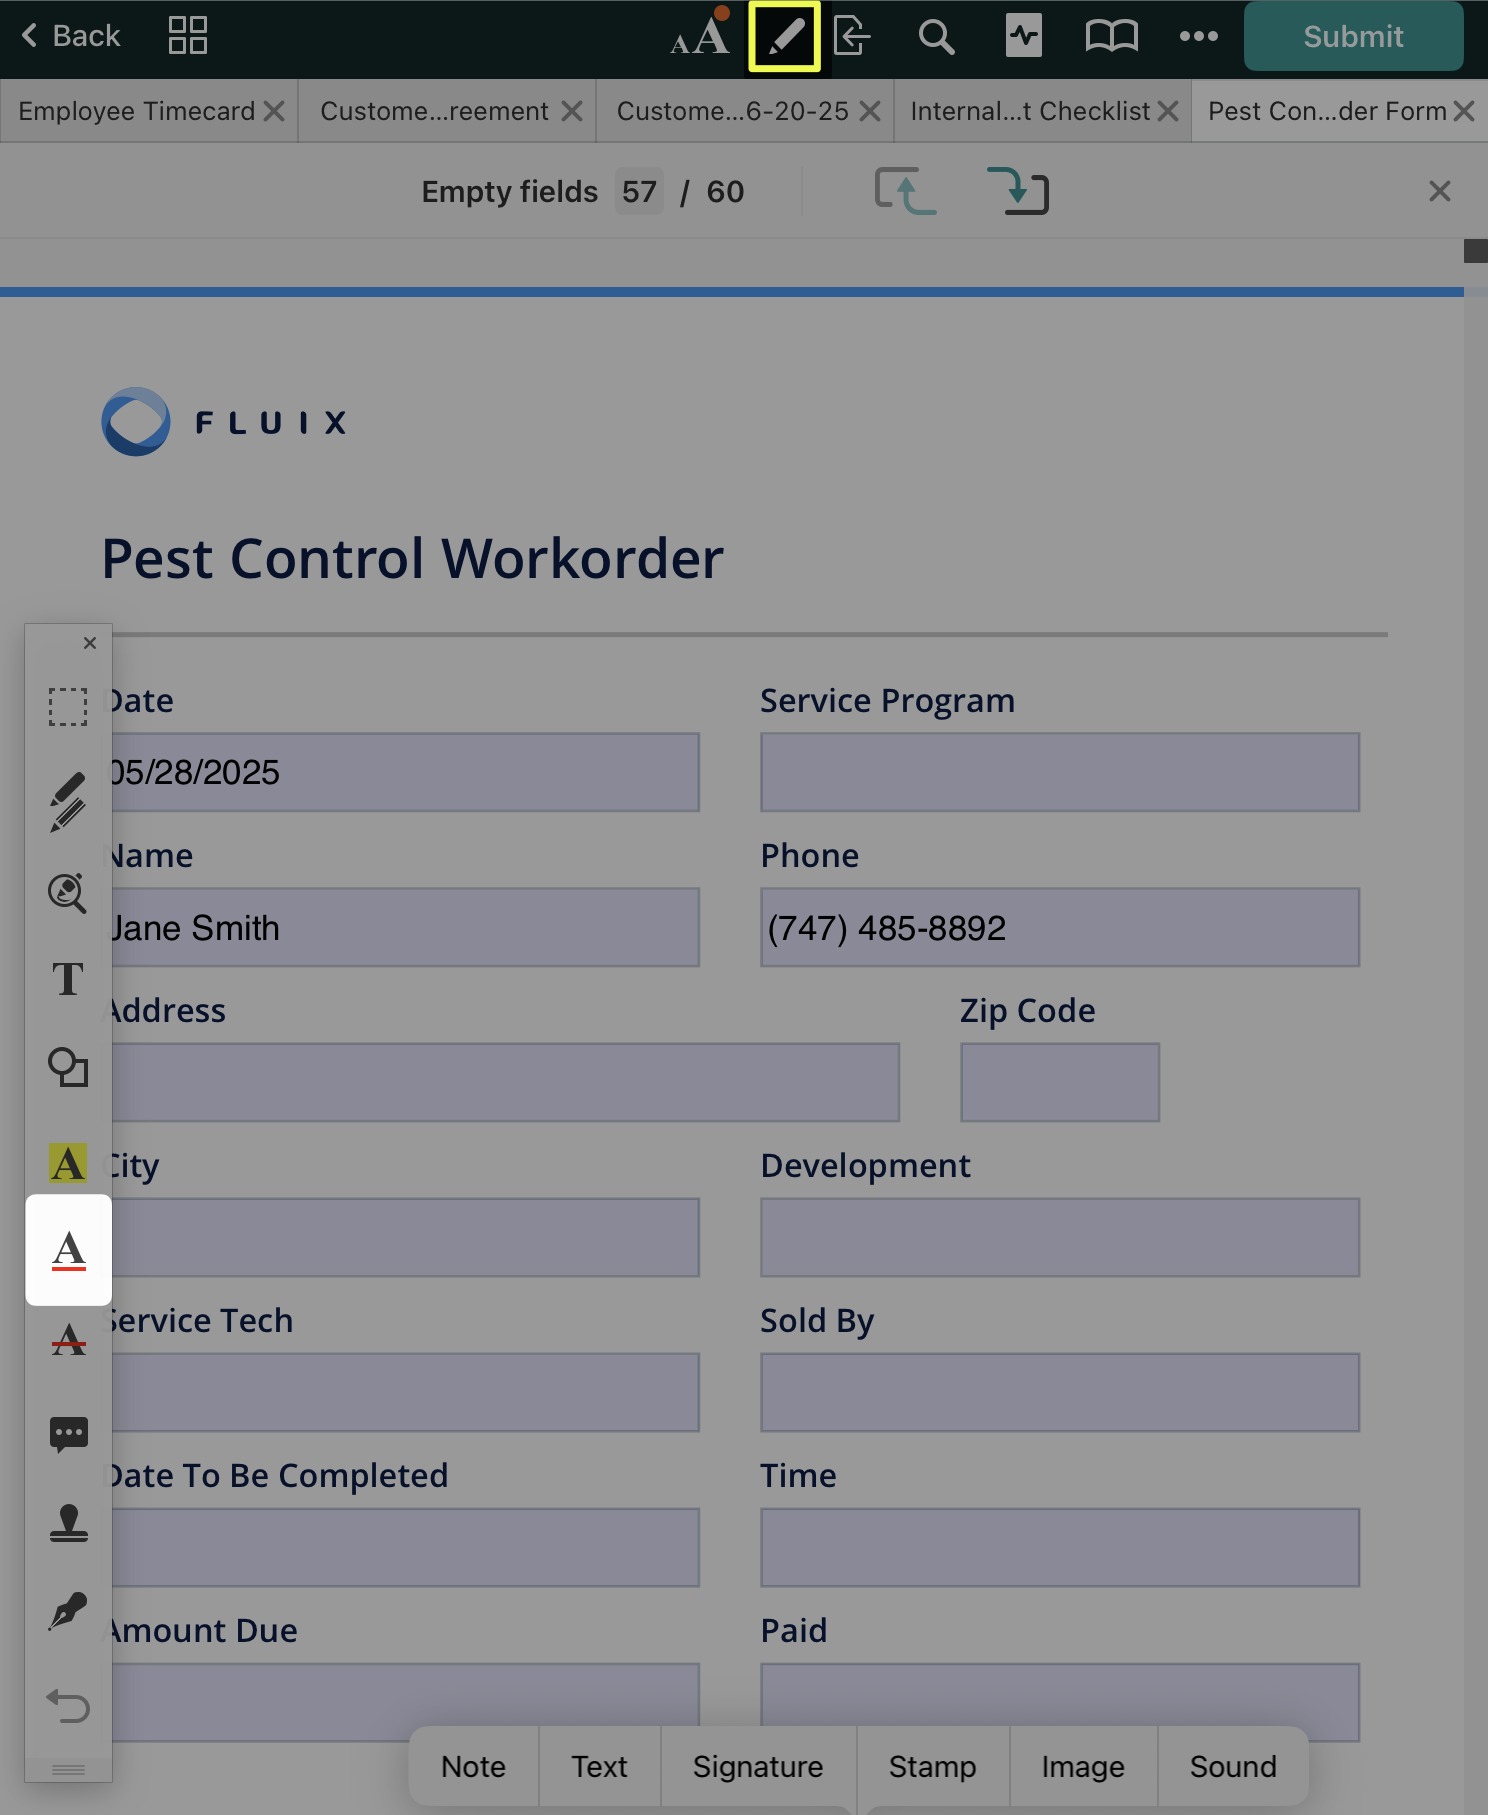
 , you can easily underline text. To change the color of the underline, tap and hold
 , you may strike unnecessary data from your PDF. To change the color of the strike, tap and hold the tool
 , you can add a pop-up note that will be saved in the PDFs for your teammates working with the respective PDFs. Tap on the place in the PDF you’d like to add the note and type some text. You can move the pop-up note by holding it and then dragging it.
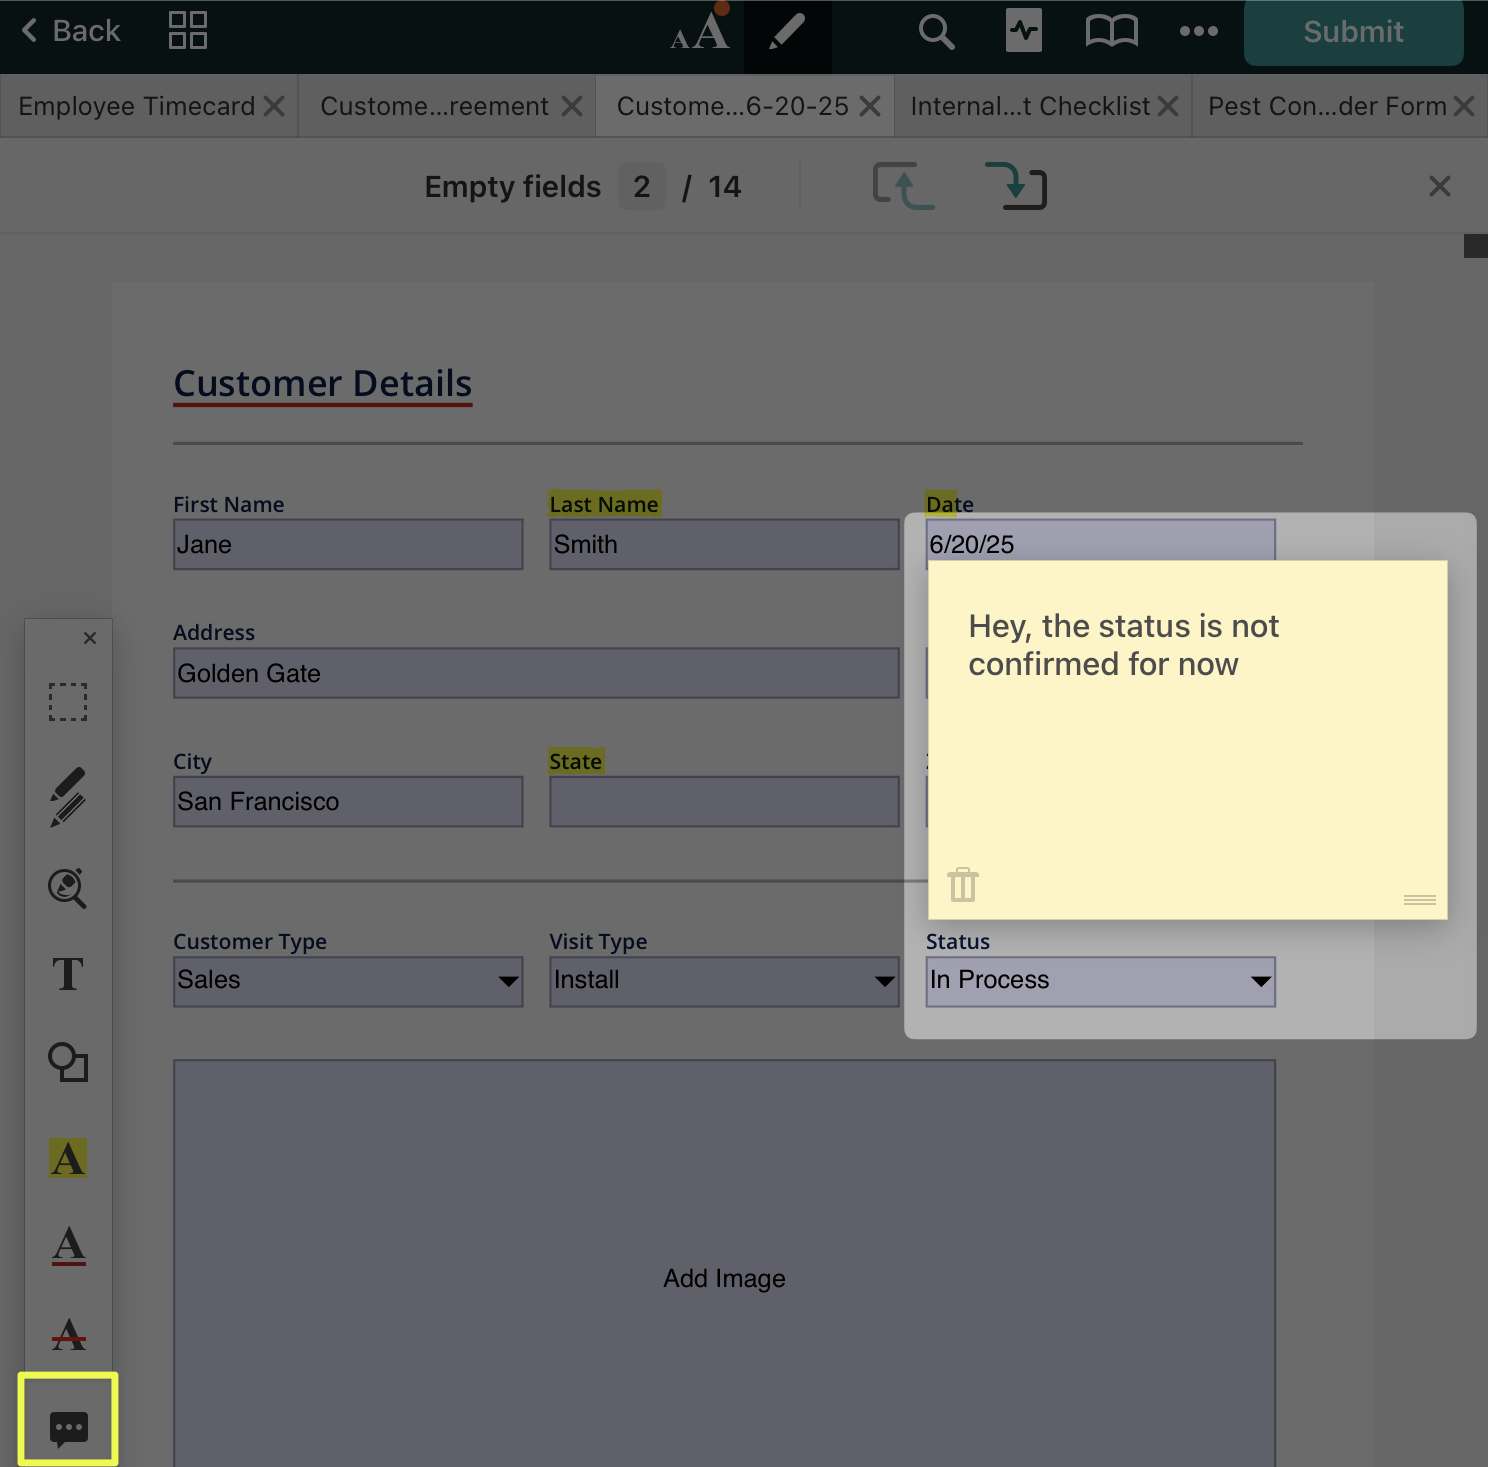
 or select ‘Stamp’ from the tap and hold popup menu. Select a stamp from the ‘Standard’ list to add to your form.
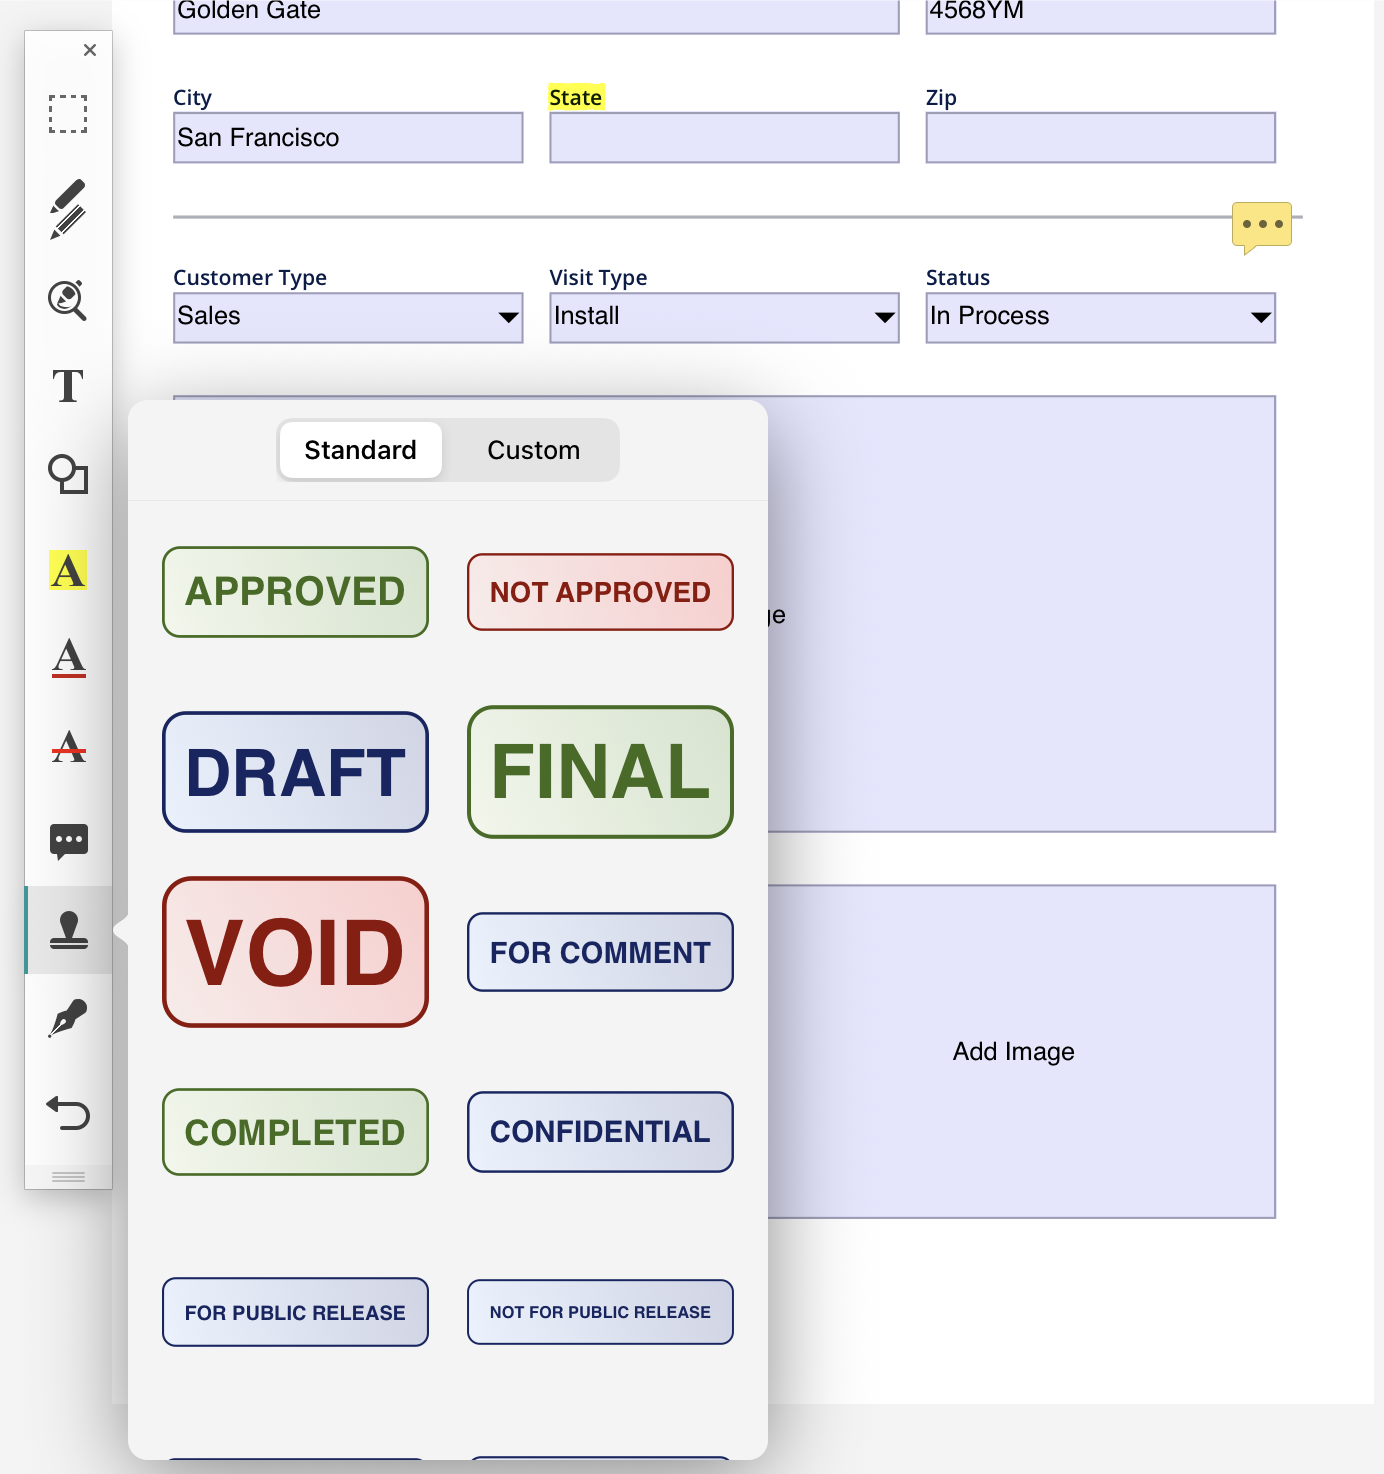
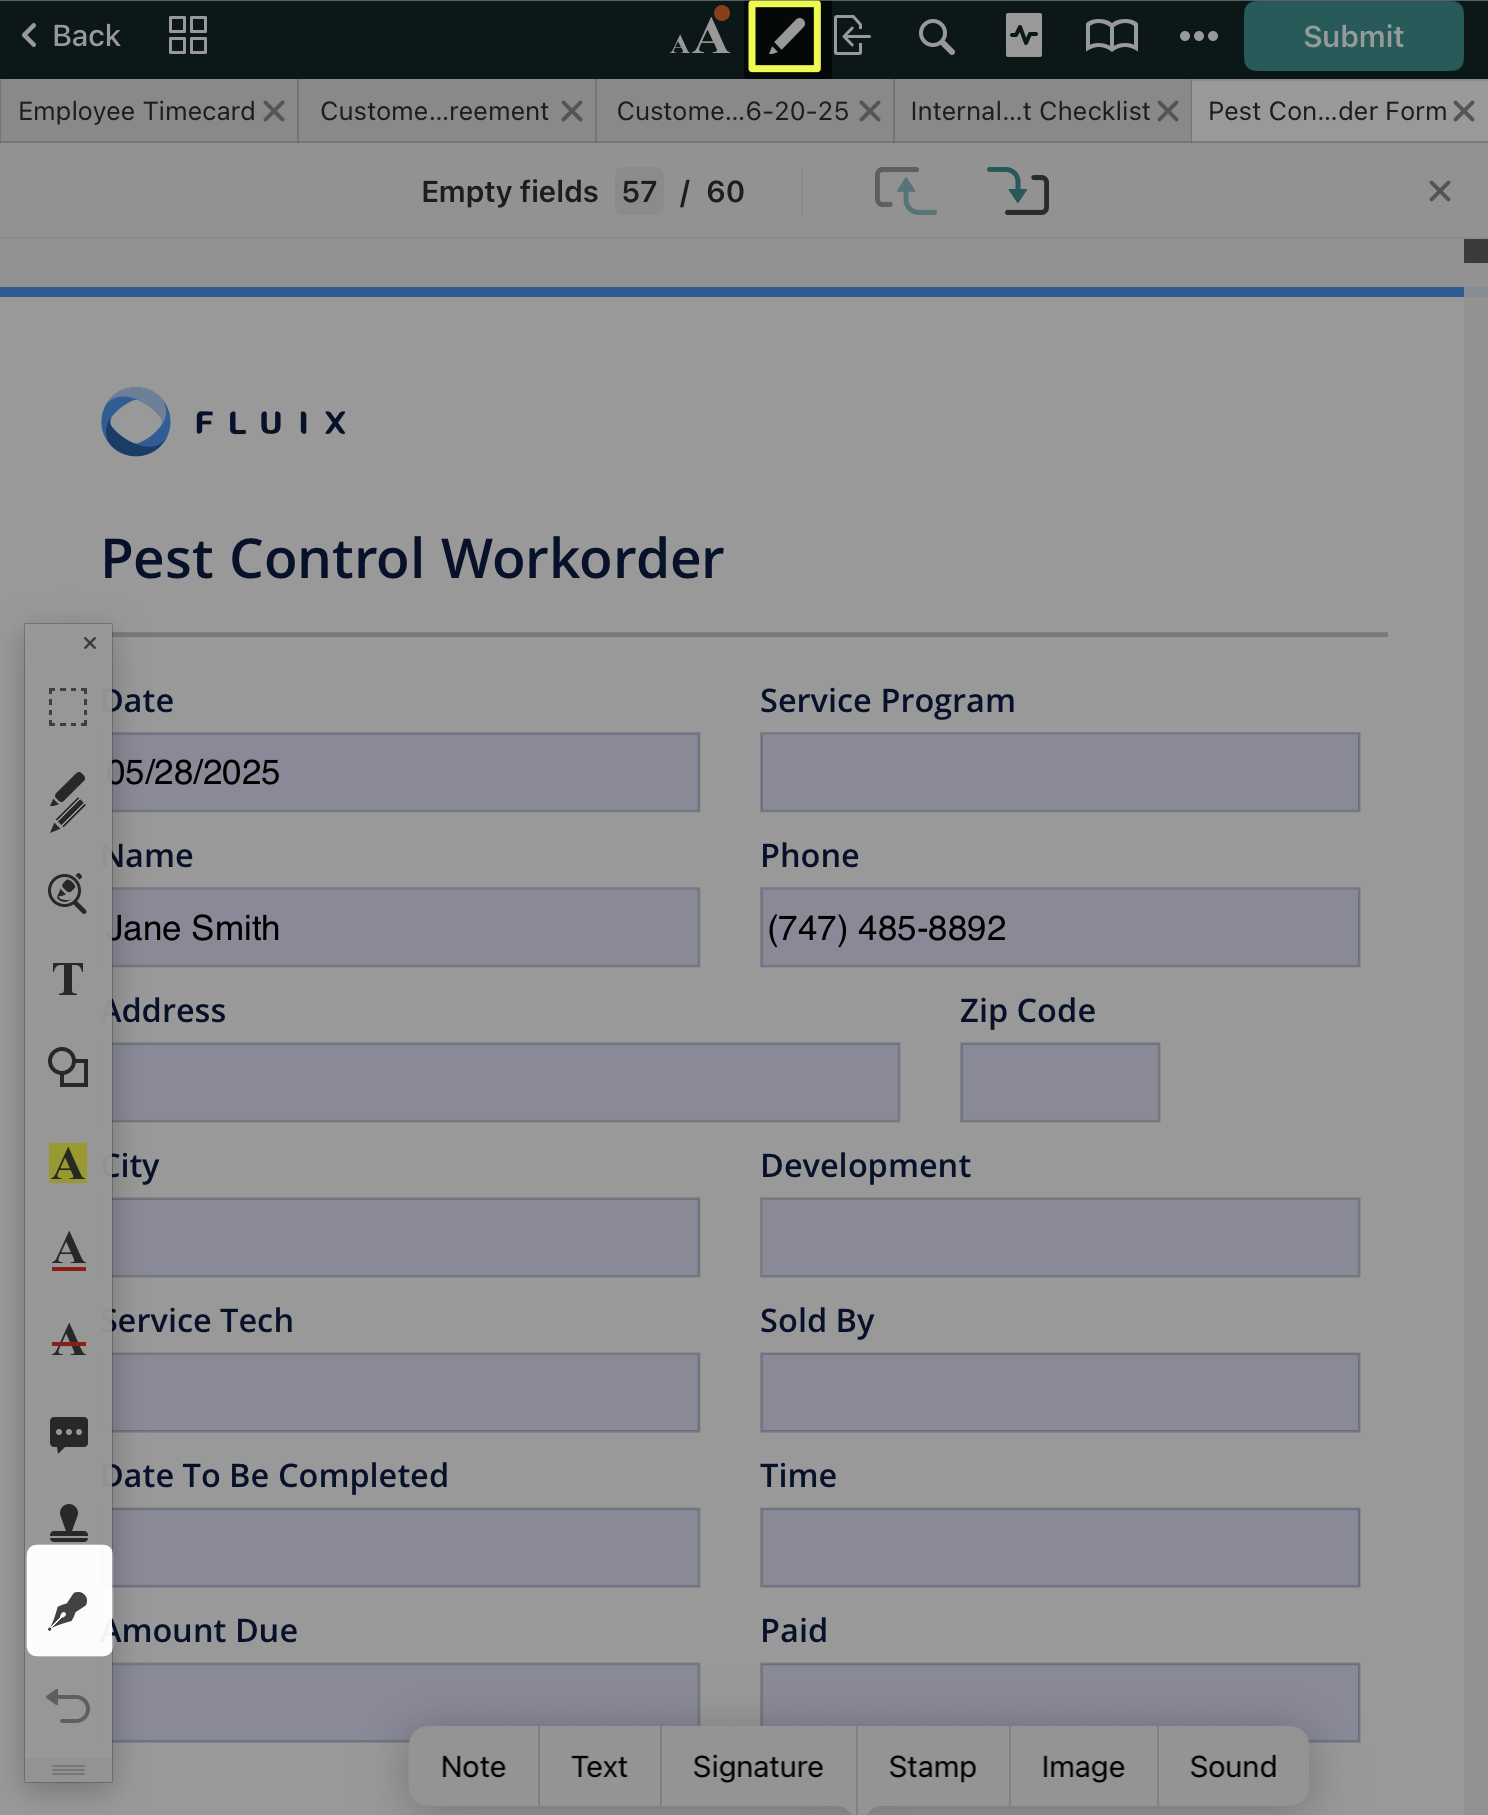
 , you can add a signature to the document and edit it accordingly in the dedicated section. You can also draw a signature to be included in the document. Up to four signatures can be stored in the app and adjusted in color and line thickness, or removed at will.
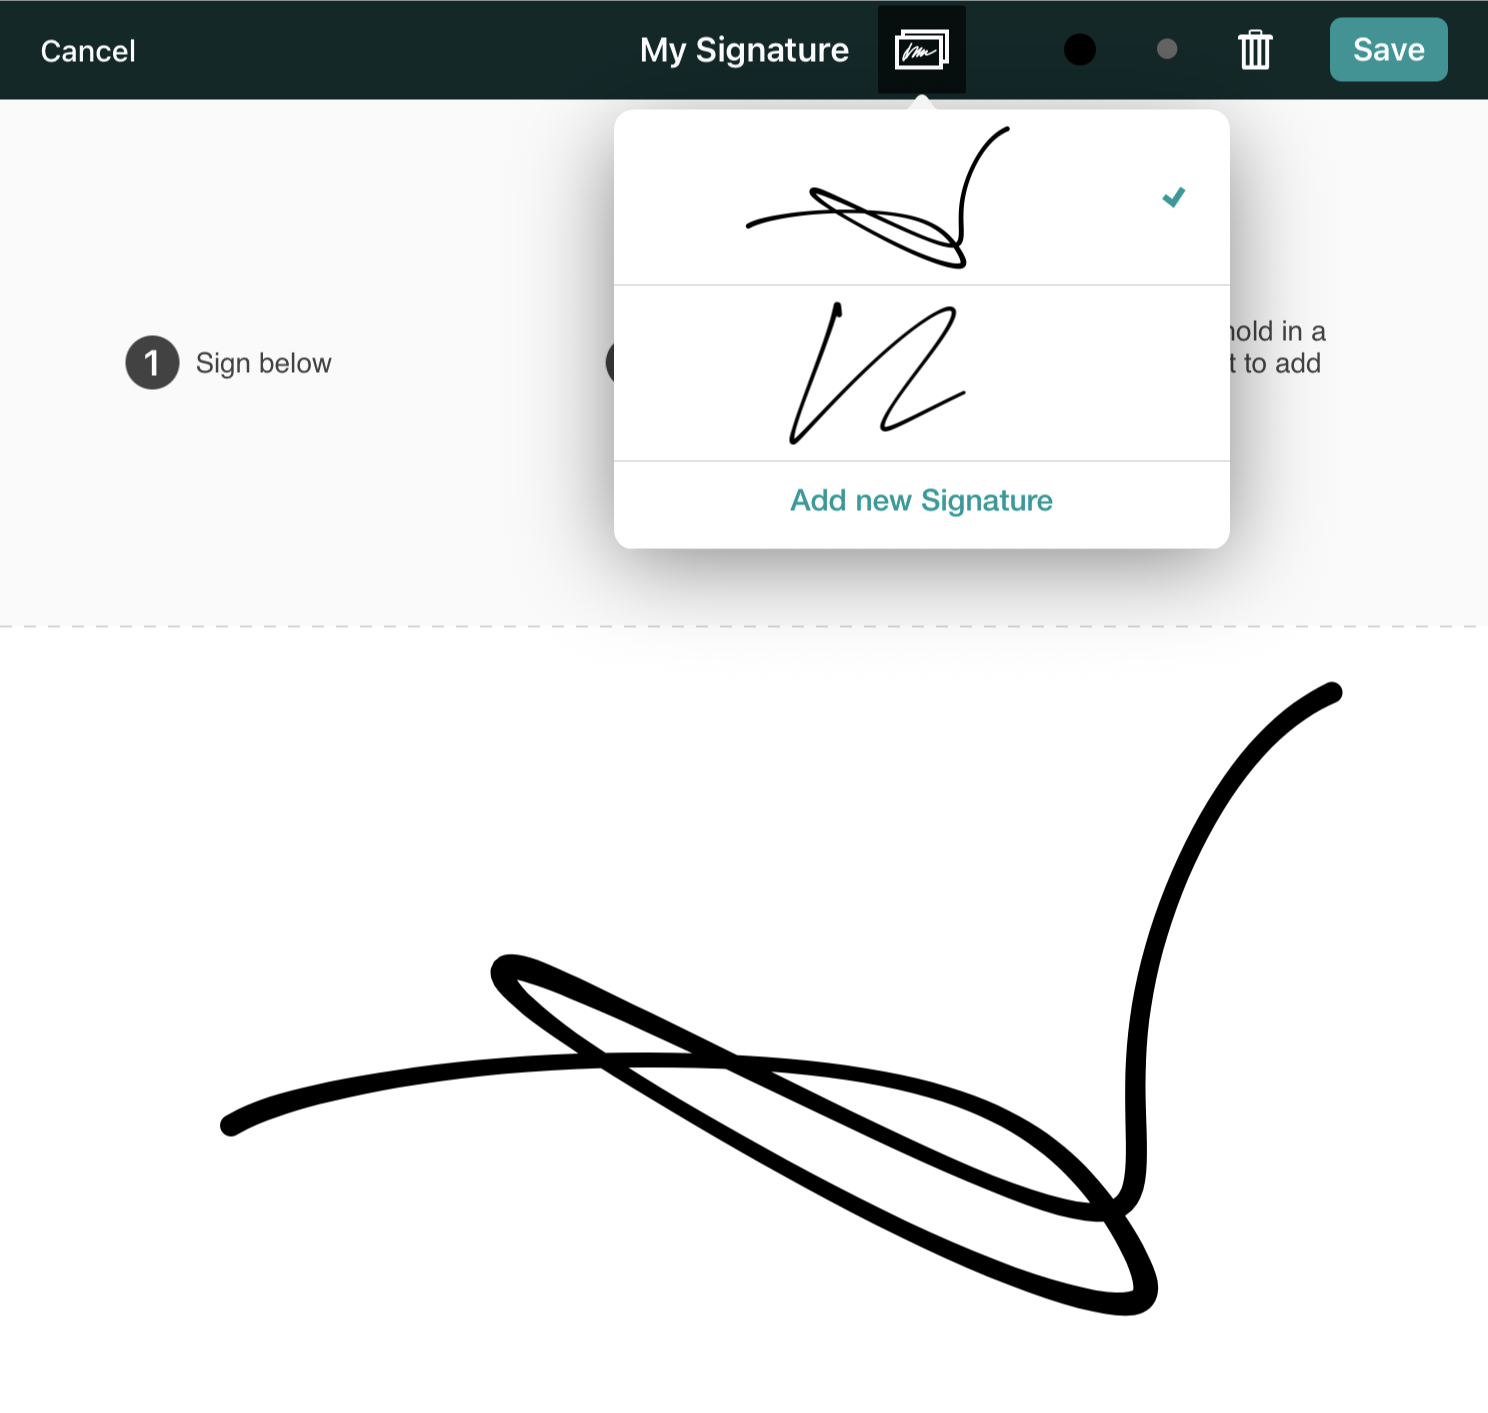
 to undo the previous annotation. To redo your annotations, tap and hold the icorn