Fluix is a software that helps companies to automate routine tasks for their team and increase productivity. Once your account is set up by your company administrator, you will receive an invitation letter to create your login password and to log into Fluix from an iPad, iPhone, Android Tablet or Phone.
If you used to download the apps from the App Store or Google Play Store (i.e. your company is not distributing apps on your device directly), then find Fluix in the App Store or Google Play Store, download it and log into the app using your email and password.
Once logged in, you’ll see the list of the following sections:
ToDo
In Progress
Finished
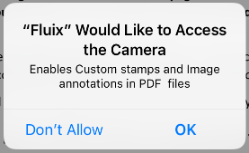
With Fluix you can easily fill out and sign PDFs, add images, scan barcodes, submit documents via workflow to your colleagues and customers, etc.
This guide provides tips on how to use Fluix, manage documents, and how to troubleshoot in case something goes wrong. We are always glad to hear your feedback and ideas at support@fluix.io.
Was this article helpful?
Thanks for your feedback!
Oops, something went wrong. Please, try again later.
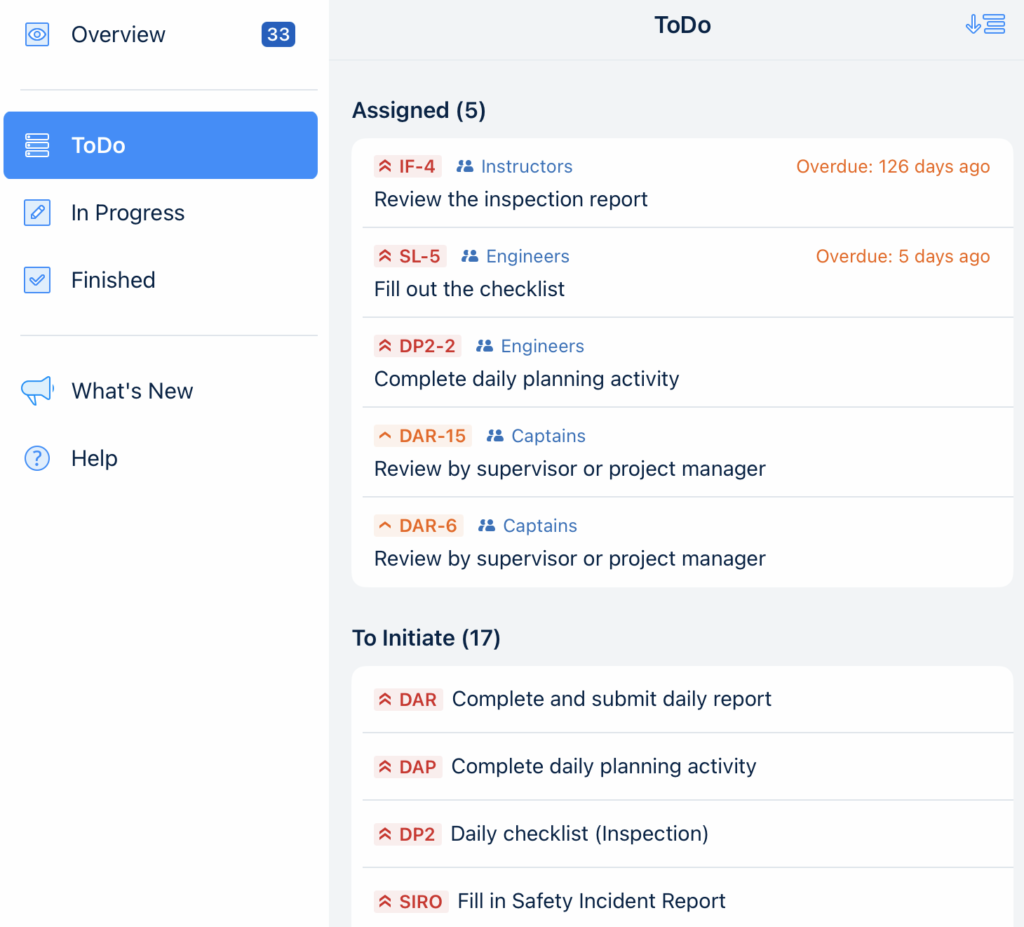
Depending on the setup, the following sections may be displayed in the ToDo tab:
Assigned
To Initiate
Assigned
The task can be assigned to you either as a user or as a member of a particular group. In case the task was assigned to a group where you are a participant, the name of the group will be displayed next to the Process ID.
When the task is assigned to a group and one of the group members assigns it to him or herself, it will not be displayed in the ToDo tab.
The Assigned task may have a due date, which is pre-configured by your company admin. Once the task is overdue, it is marked accordingly and shows the number of overdue days.
To Initiate
Tasks in the ‘To Initiate’ part are pre-configured by your company admin and can be initiated by you at any time, even offline. Since these tasks are always available in the ToDo tab, you may initiate as many tasks as needed, with empty template forms ready to be filled out.
Sorting the tasks
The ToDo tasks can be sorted by the following options:
Priority
Due Date
Creation Date
Assignee Name
Task Name
Upon selecting the option, the sorting will be applied both to the Assigned and To Initiate sections, however, since Assigned and To Initiate are separated sections, sorting will be applied to the tasks within the particular section, and tasks will not be mixed.
Once the ‘Priority’ option is selected, the tasks will be sorted from critical to low priority in both the Assigned and To Initiate sections.
Please note that the To Initiate tasks can be sorted only by priority or task name. In case any other option is selected, these tasks will be sorted by priority as per default.
Start working on tasks
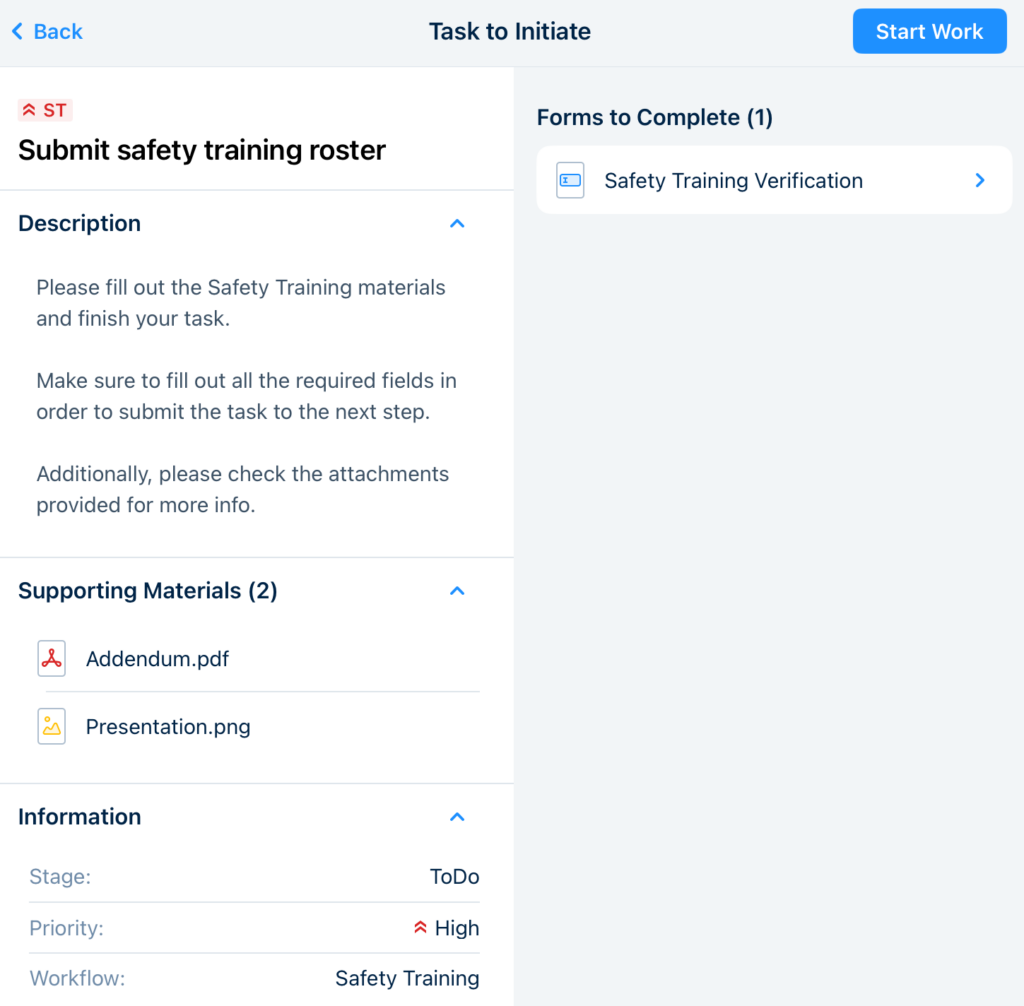
In order to review the task and/or to start working on it, simply tap on its line containing the basic information about the task.
In the left sidebar, you will see detailed information about the task, containing its full description and showing the stage, priority, and workflow name. In case the task was taken from the Assigned tab, it will show to whom and when the task was assigned, and its due date if any.
To start working on a task or assign it to yourself (in case the task was initially assigned to the group in which you are a participant), tap the ‘Start work’ button in the top right corner. Once you start working on a task, it will be automatically moved to the In Progress tab.
Feel free to contact us at support@fluix.io if you have any questions or comments.
Was this article helpful?
Thanks for your feedback!
Oops, something went wrong. Please, try again later.
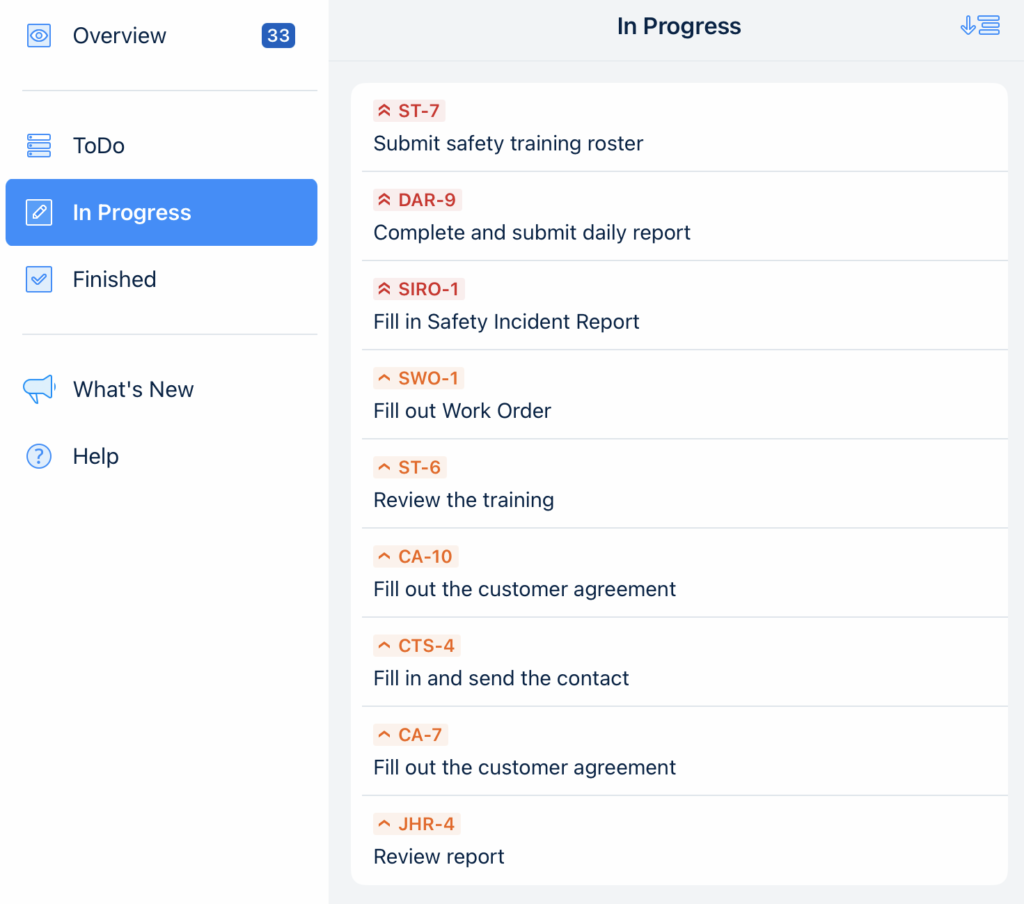
Once you start working on any of the tasks from the ToDo tab, the task will be automatically moved to the In Progress tab and will stay there until you finish it.
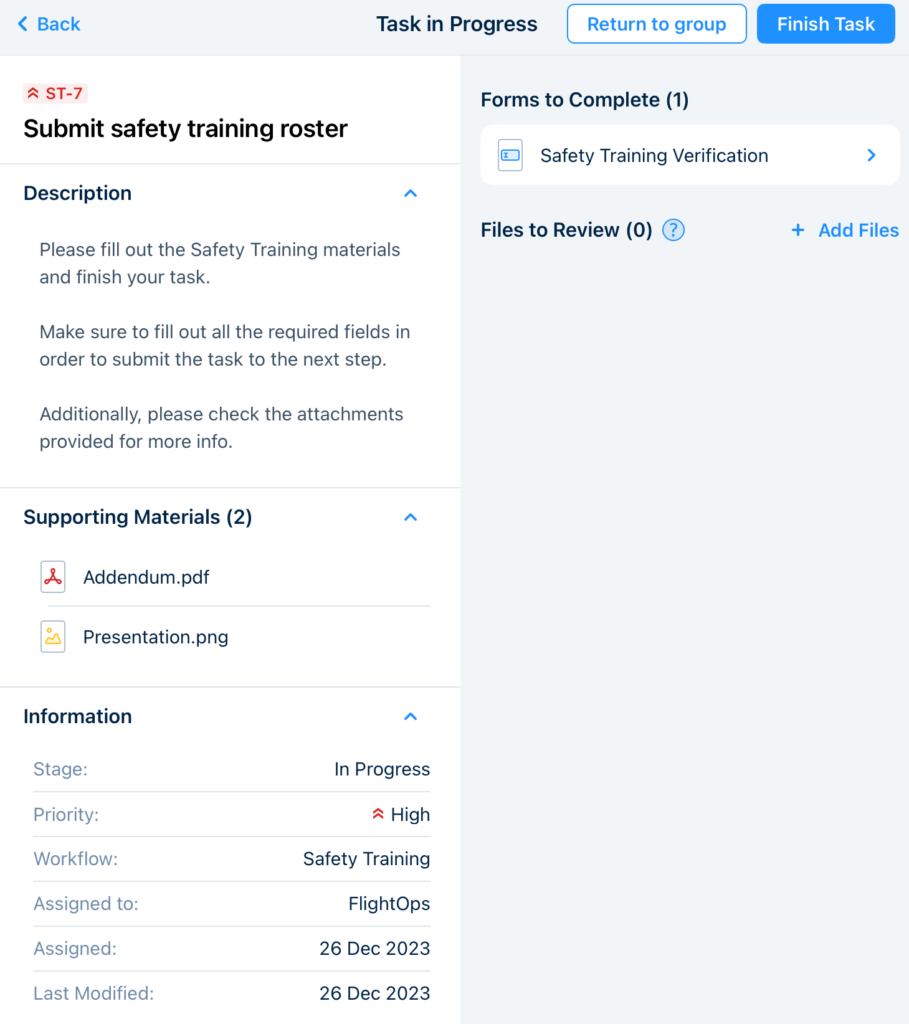
Forms and attachments
On the main screen, you can find the forms that need to be filled out to finish the task and the attachments for review. In case there are some required fields in the form configured by your company admin, the number of these fields will be displayed accordingly next to the name of the form. The task cannot be finished until all the required fields are filled out.
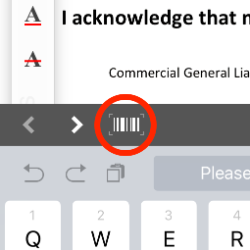
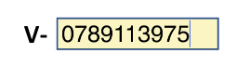
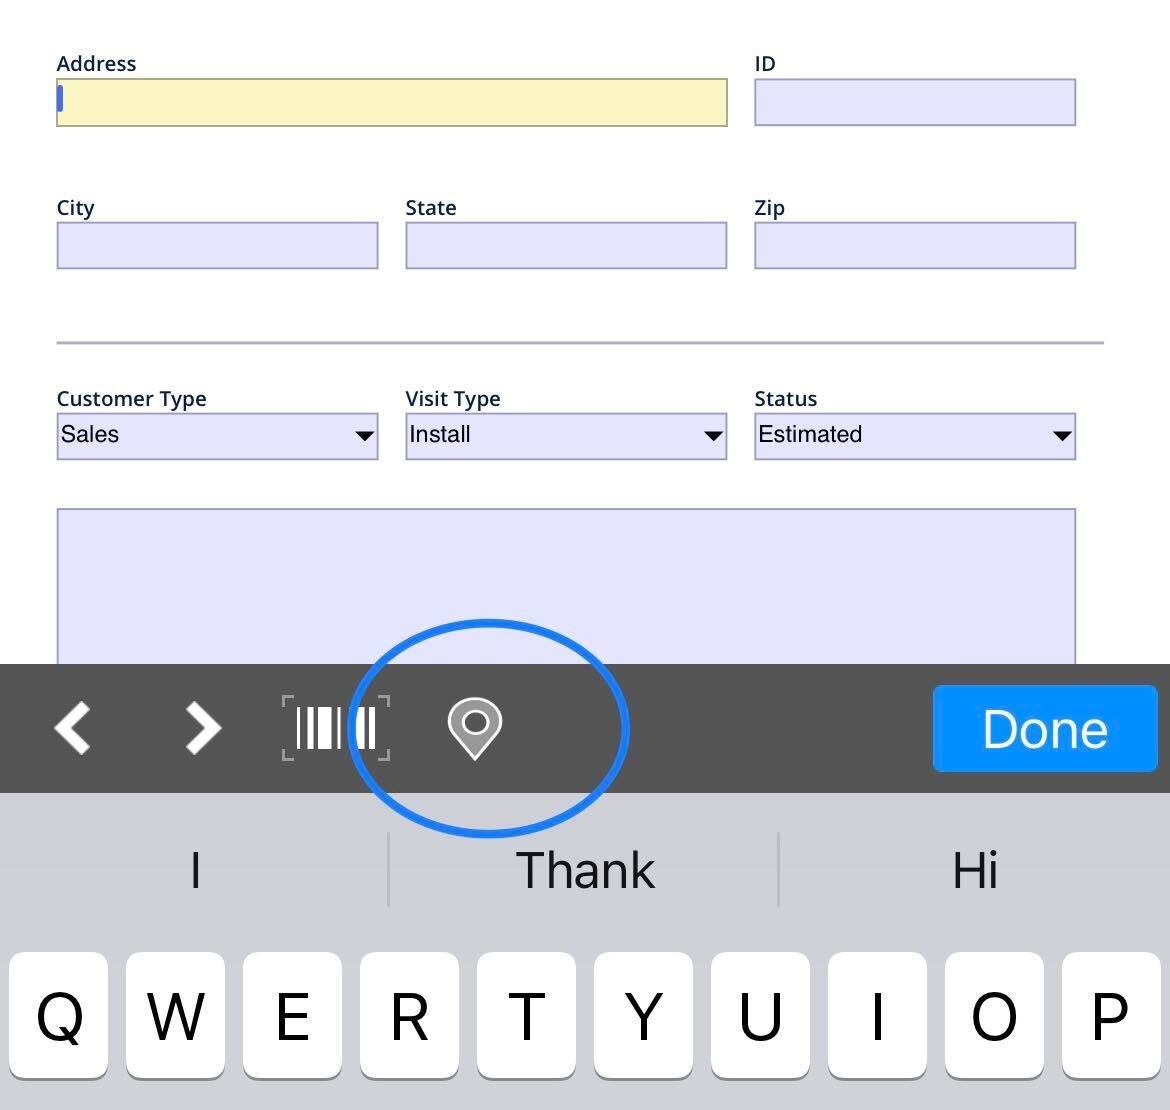
In a form, you can fill in text fields, add images, sign, add barcodes and QR codes.
In case you are working on a task that was initially assigned to a group in which you are a participant, besides having the option to finish the task, you see an option called ‘Return to Group’. It means that you can return the task back to the group, while it hasn’t been finished yet. It may happen if your shift is over, or you assigned this task to yourself by mistake. All the changes you made in the task will be saved.
The task can be deleted only in case it was initiated by you from the To Initiate section. Otherwise, it may be withdrawn from you by the admin only.
Once you tap the ‘Finish Task’ button, depending on the setup, you might be provided with a list of alternative submit actions to choose from. For example, if preconfigured by your Fluix account admin, you may select the individual assignee from the preconfigured group in the flow whom you would like to pass the completed form e.g. for approval.
Feel free to contact us at support@fluix.io if you have any questions or comments.
Was this article helpful?
Thanks for your feedback!
Oops, something went wrong. Please, try again later.
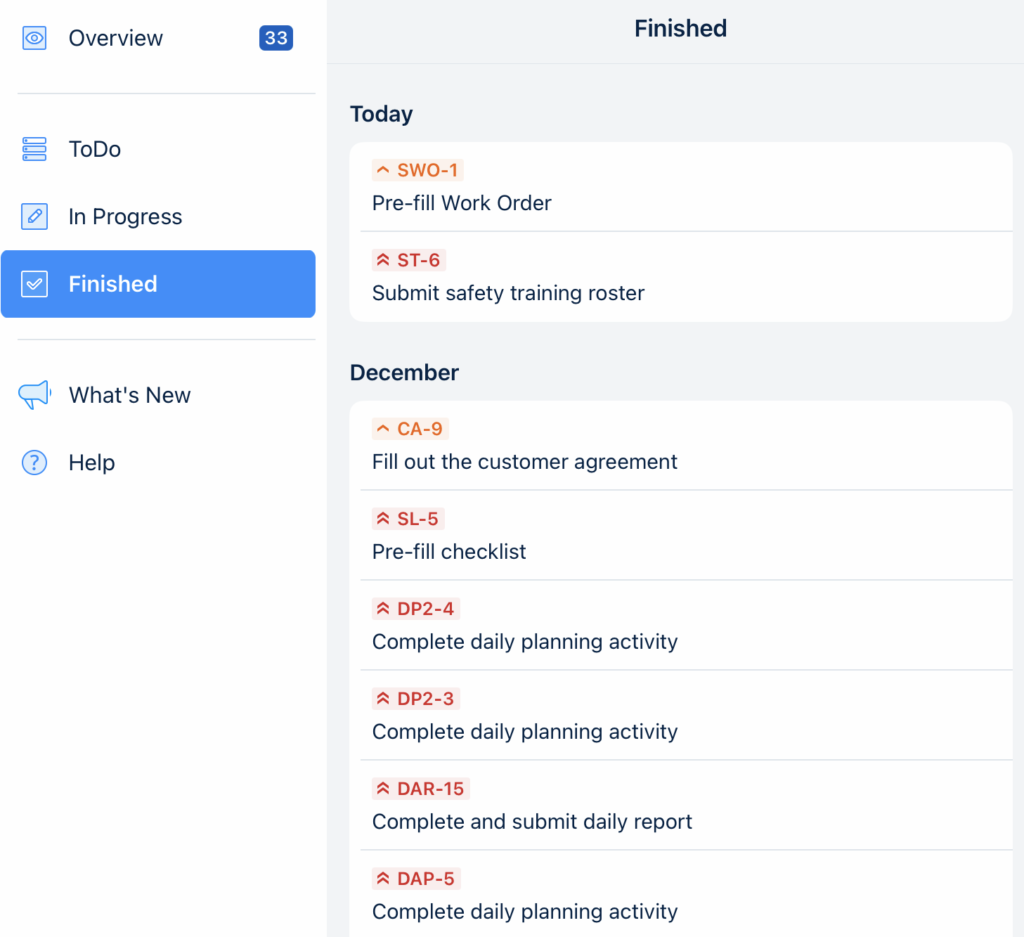
In the Finished tab, you may find the list of the last 500 tasks you finished. All tasks are opened in a view mode, i.e. there is no possibility to make any further changes and resubmit them.
The list of tasks is sorted by date and separated into sections depending on the date when the task was finished.
Feel free to contact us at support@fluix.io if you have any questions or comments.
Was this article helpful?
Thanks for your feedback!
Oops, something went wrong. Please, try again later.
In case you work offline or the connectivity is poor, it might take some time for the task to get finished. In such cases, the Outgoing tab appears and the task ends up there. Once the Internet connection is established, the task is automatically submitted and the section disappears.
Was this article helpful?
Thanks for your feedback!
Oops, something went wrong. Please, try again later.