Fluix Automate.io | Custom Business Integrations

Automate.io is an integration platform where you can build custom integrations between your cloud apps. Project management, payment, and other business processes can be automated in minutes, with no IT help required.
You can connect Fluix with 200+ applications with the help of Automate.io, both one-to-one, or multistep integrations. Let’s check how it works on a simple integration of Google Sheets with Fluix. The data collected in mobile forms in the Fluix app will be automatically submitted to the spreadsheets for further processing and analysis.
5 steps to set up the integration
To test the integration, you’ll need a Fluix Core license, an Automate.io license starting from a Professional plan, and access to Google Sheets.
Step 1 – Creating a Bot in Automate.io: Trigger app
To start creating an integration (they call them Bots), you need to choose the apps you need to connect. Every Bot has one Trigger app (the one that starts the process) and one or more Action apps (where the action is performed). In our case, the trigger app is Fluix that sends the data from the submitted form to the Action app – Google Sheets.
Let’s start with adding Fluix as a Trigger App:
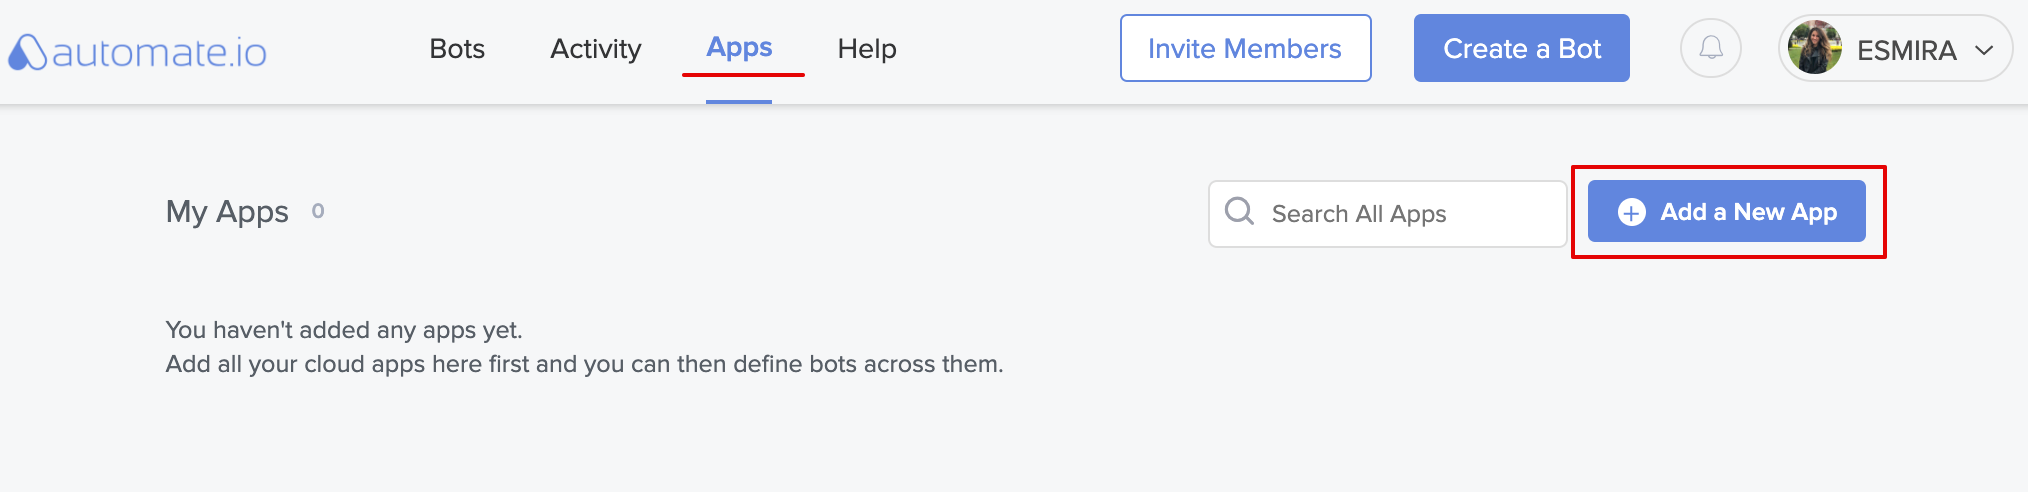
1. In your Automate.io account, open the Apps tab, click the Add a New App button in the top right corner and select Google Sheets app:
After selecting the app, you will be asked to authorize your Google Sheets account and allow Automate.io to access your Google account.
2. Go to the Bots tab and click the ‘Create a Bot’ button at the top of your dashboard:

3. Give a name to your Bot. Let’s say ‘Fluix leads to Google Sheets’, as we are using these two apps in this Bot.

4. Connect the Trigger app:
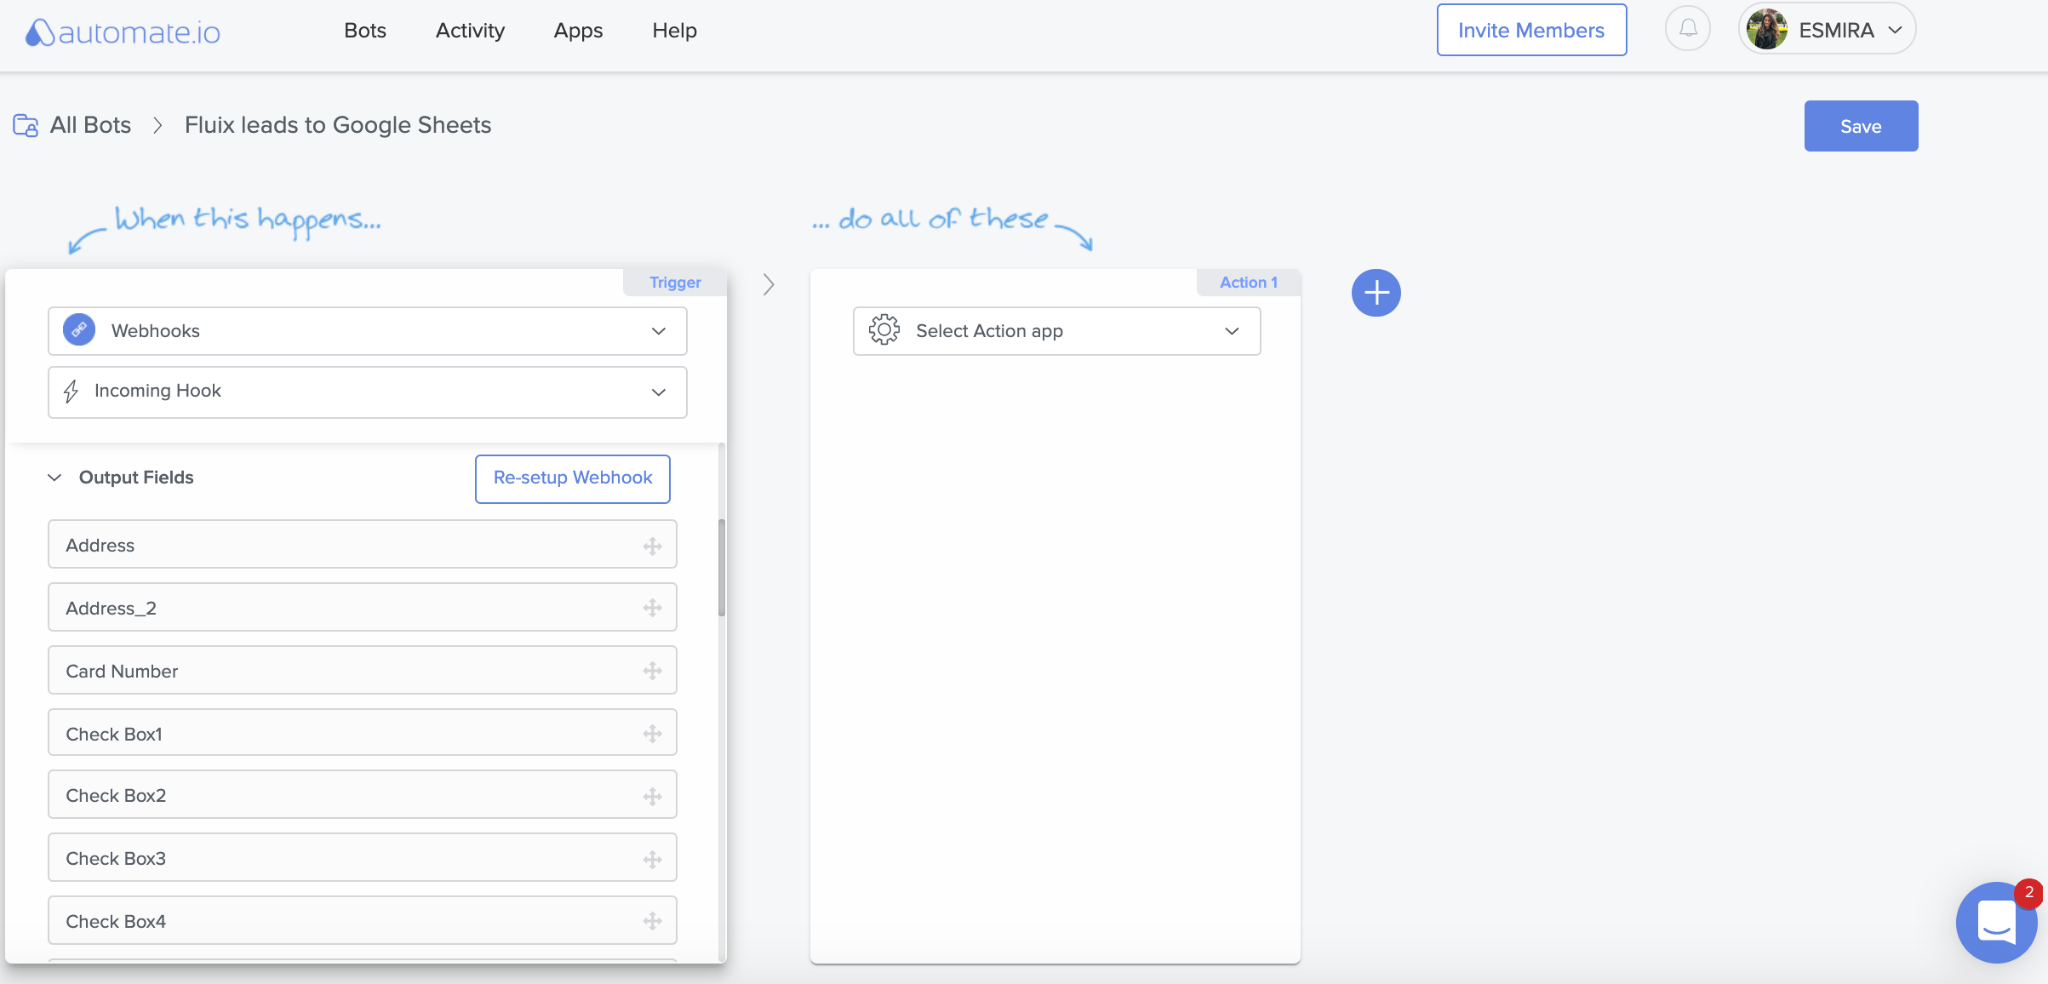
- At this step, the Fluix app is added. Since Fluix is not available in the list of apps, it can be linked as a Trigger app via Webhook.
- Select the Webhook from the list of the Trigger apps and Incoming hook to enable the ability to send data to Automate.io. Then click ‘Setup Webhook’.

- The window with the webhook URL will appear. Copy the URL and go to your Fluix account to proceed with the integration.
Step 2 – Configuring a Fluix workflow
In Fluix, you’ll need to create a new or adjust an existing workflow that you use to collect data from forms and from where this data will be automatically extracted to Google Sheets.
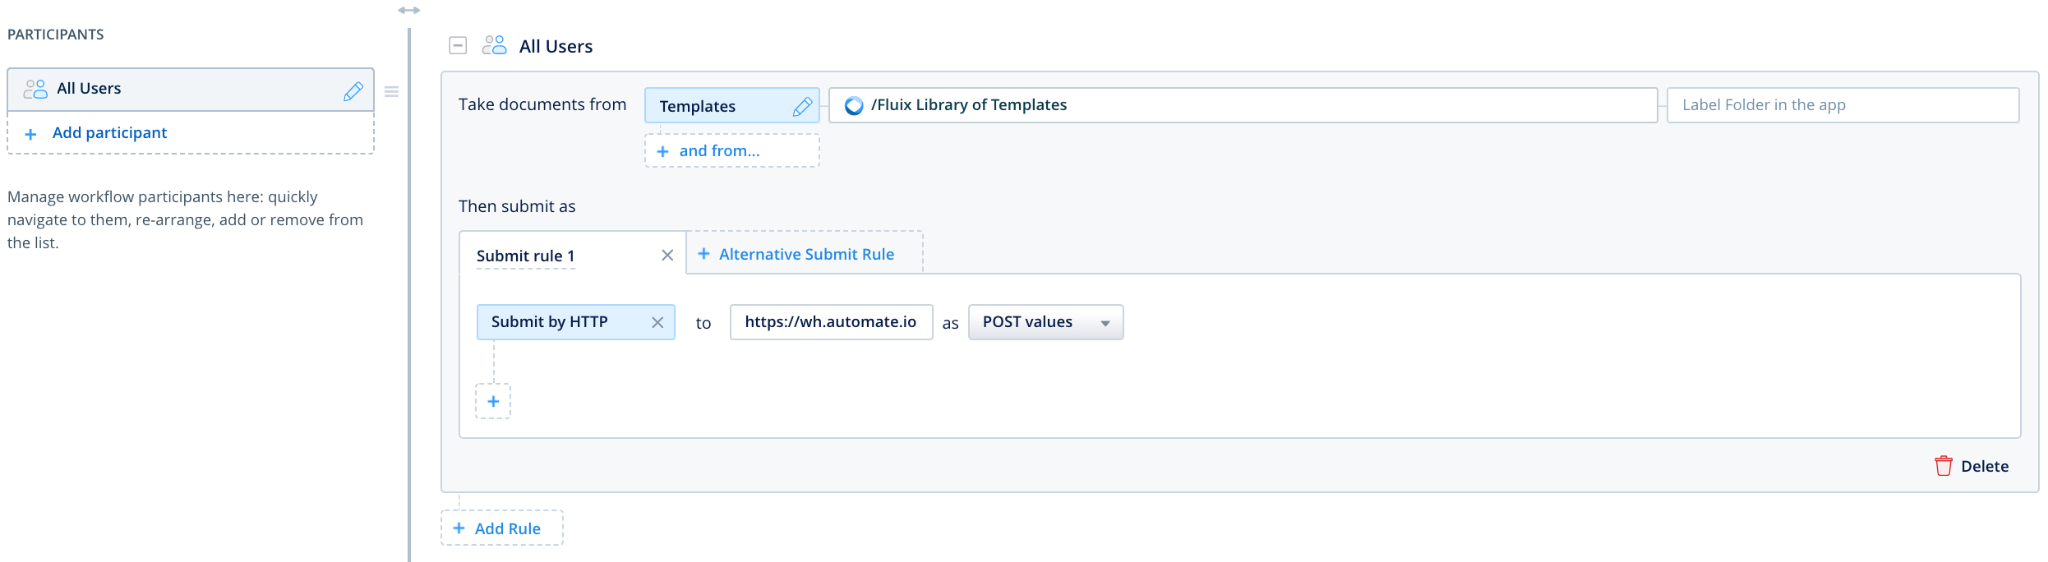
1. In the selected workflow, add submit action called Submit by HTTP and select POST values as the data type:
2. Add the webhook URL to the submit action and click Save Changes to save the workflow.
3. Come back to Automate.io’s Setup Webhook window and click I’m done. You will be asked to send in some sample data from Fluix.
4. To send sample data from Fluix, go to the Fluix app on the iOS device or User App in the web browser, and submit a test document related to the workflow you’ve just configured.
Step 3 – Creating a Bot in Automate.io: Configuring the Webhook
1. After sending the sample data, your fields from the Fluix form will appear here. If everything looks good, click Looks Good. But if you find that some important fields are missing, click Refetch Data at the bottom of the fields list. This allows you to try sending the sample data once again.

2. The fields will now show up in your Trigger’s Output Fields.
Step 4 – Creating a Bot in Automate.io: Connecting the Action App
Now let’s connect Google Sheets as an Action app and choose the spreadsheet and fields that need to be imported from the forms in Fluix.
1. Connect the Action app:
- The Action app performs an event in your Bot. In this case, it is Google Sheets.
- Select the Action app from the ‘Select Action app’ drop-down.
- Enter the login details in the window that appears.
- Perform the steps that follow. You have now selected the Action app.
2. Select the Action to be done:
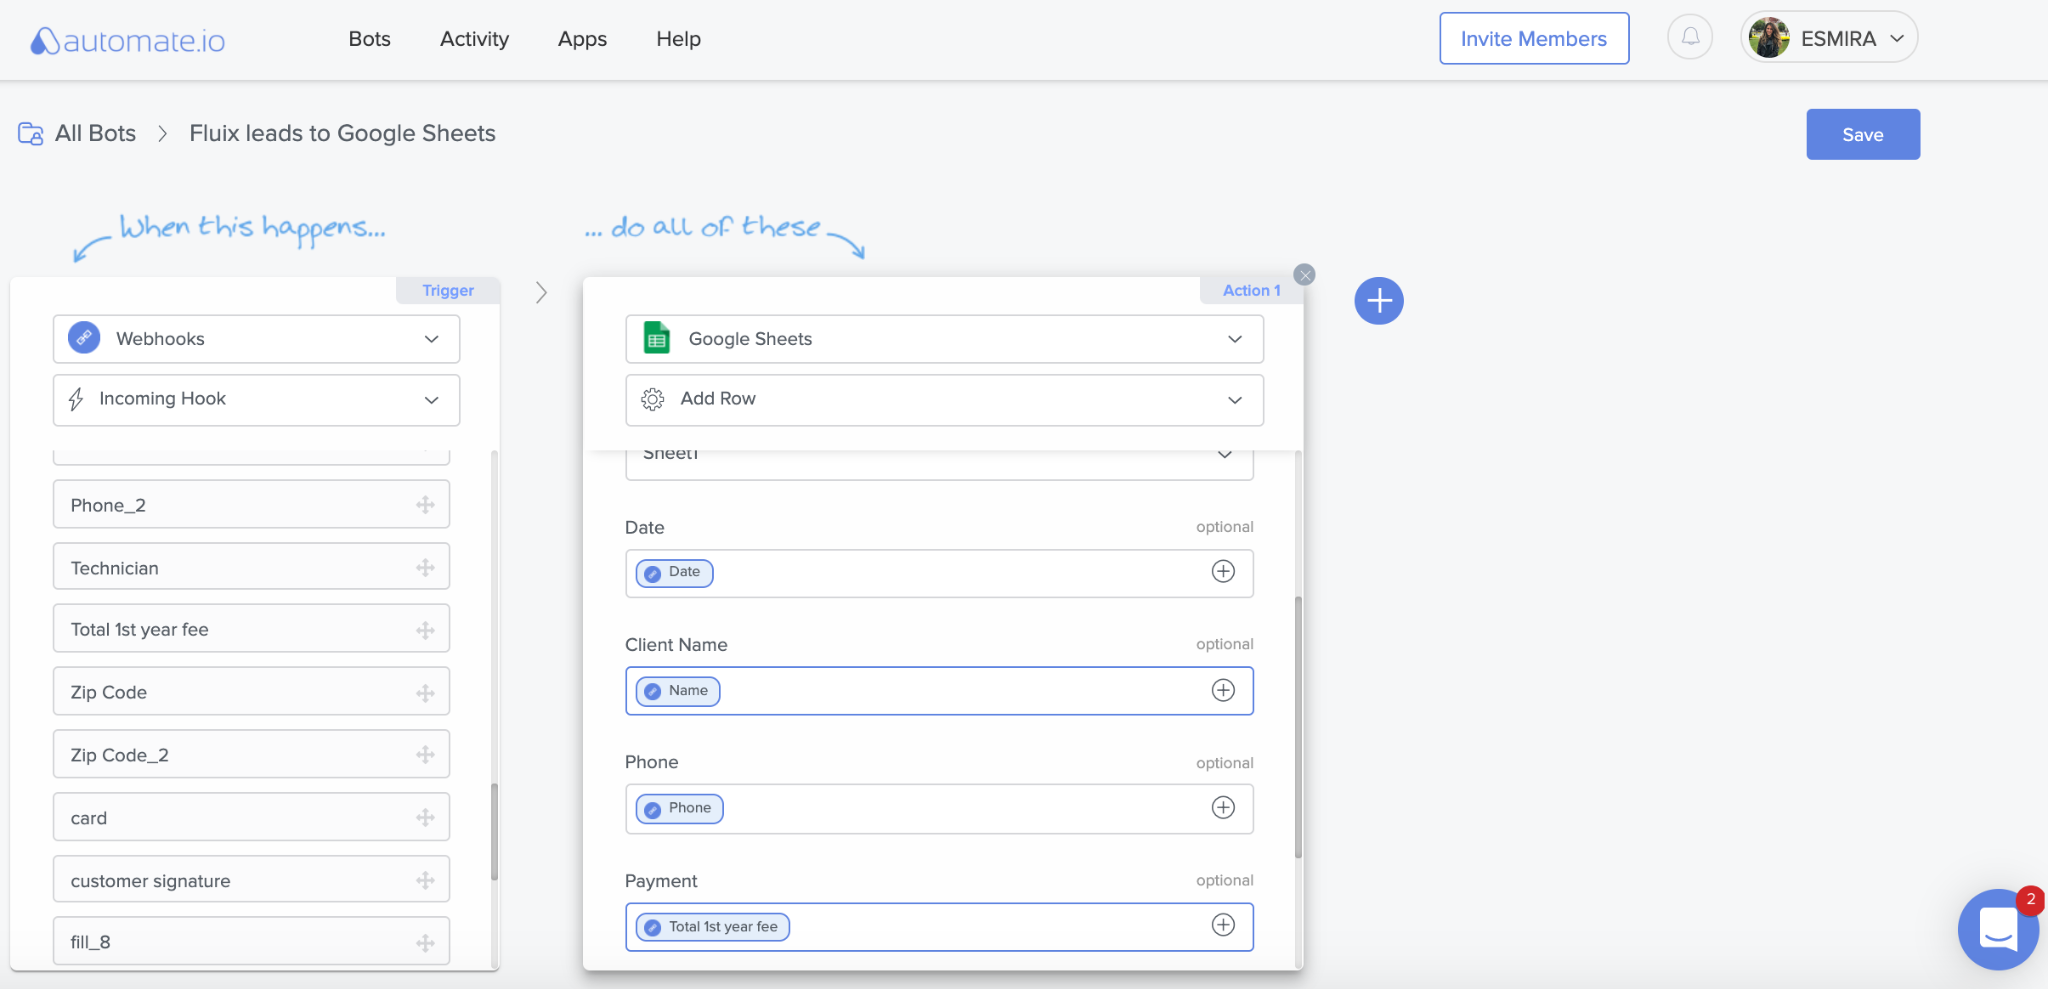
- In the drop-down, select Add a Row. You will then see a list called Input Fields for this action.
- Select Spreadsheet and Worksheet to which you would like the data to be added.
- You will then see a list of columns of the Worksheet you’ve selected.

3. Drag and drop the required fields from Webhook’s Output Fields to the Input Fields of the Google Sheet app.
After you are done with creating your Bot, save it by clicking on the Save button on the top-right. You will see that your Bot is in an OFF state. You can turn it ON using the toggle button.
Step 5 – Testing
After Bot is switched on, you will be asked to test it using live data:
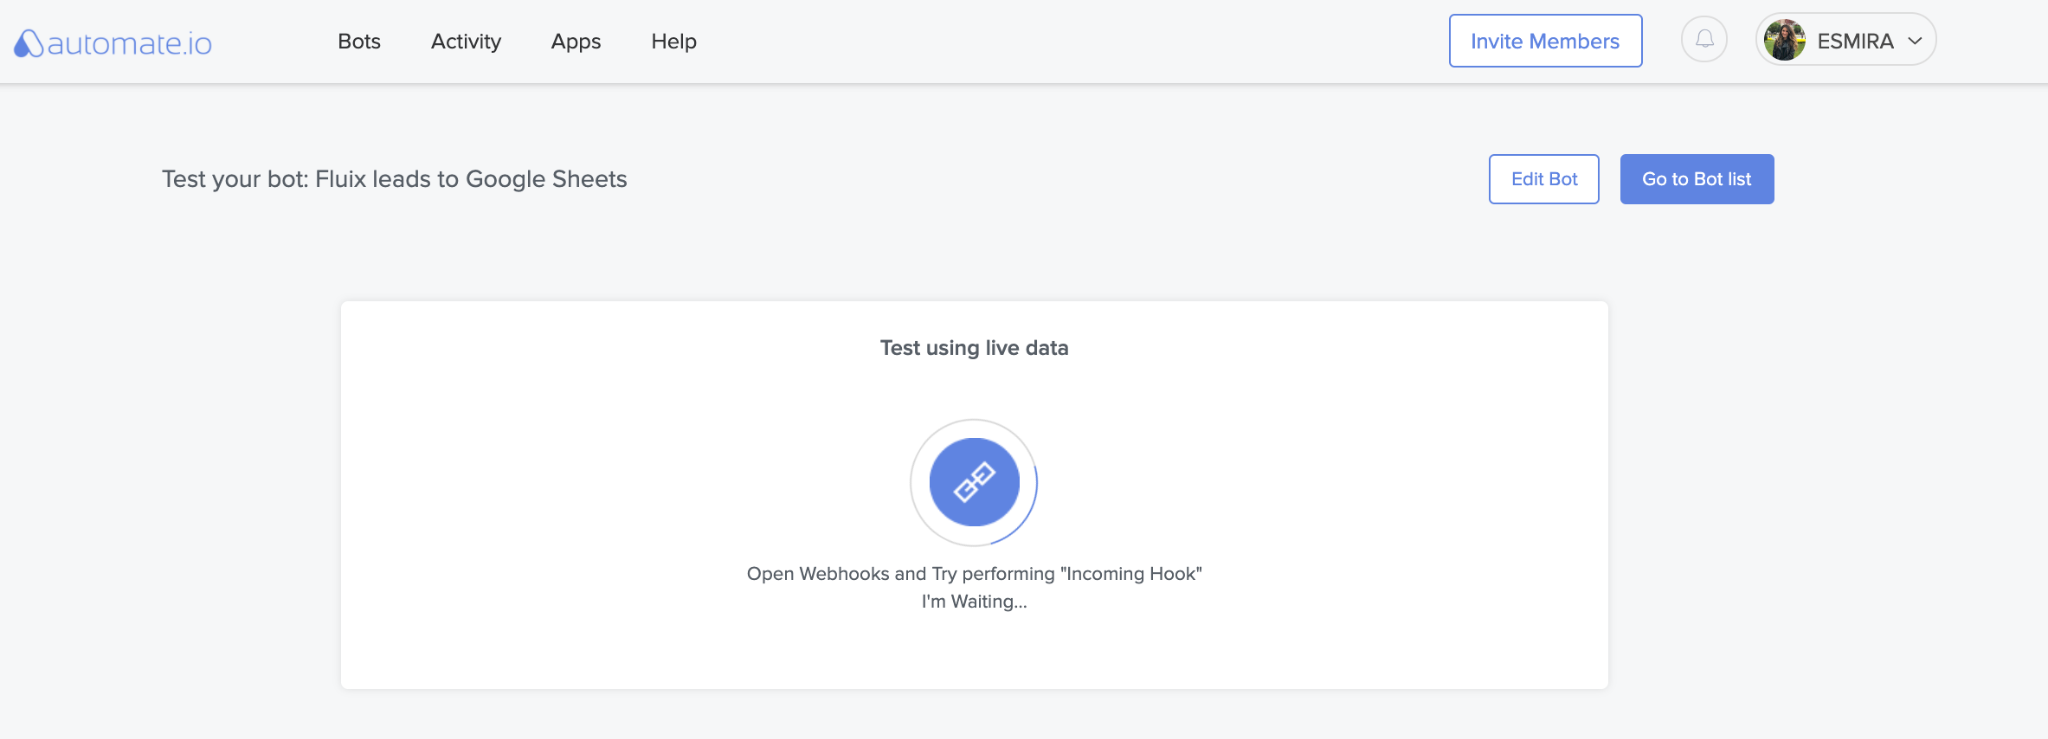
Go to the Fluix app and submit a test document through this workflow. Go back to Automate.io, when you see the success message, it means that everything went fine and the data has already been transferred from Fluix to Google Sheets via Automate.io.
In case you have any questions or difficulties with setup, contact our support at support@fluix.io and we’ll be happy to help you.
Check other business integrations here.
